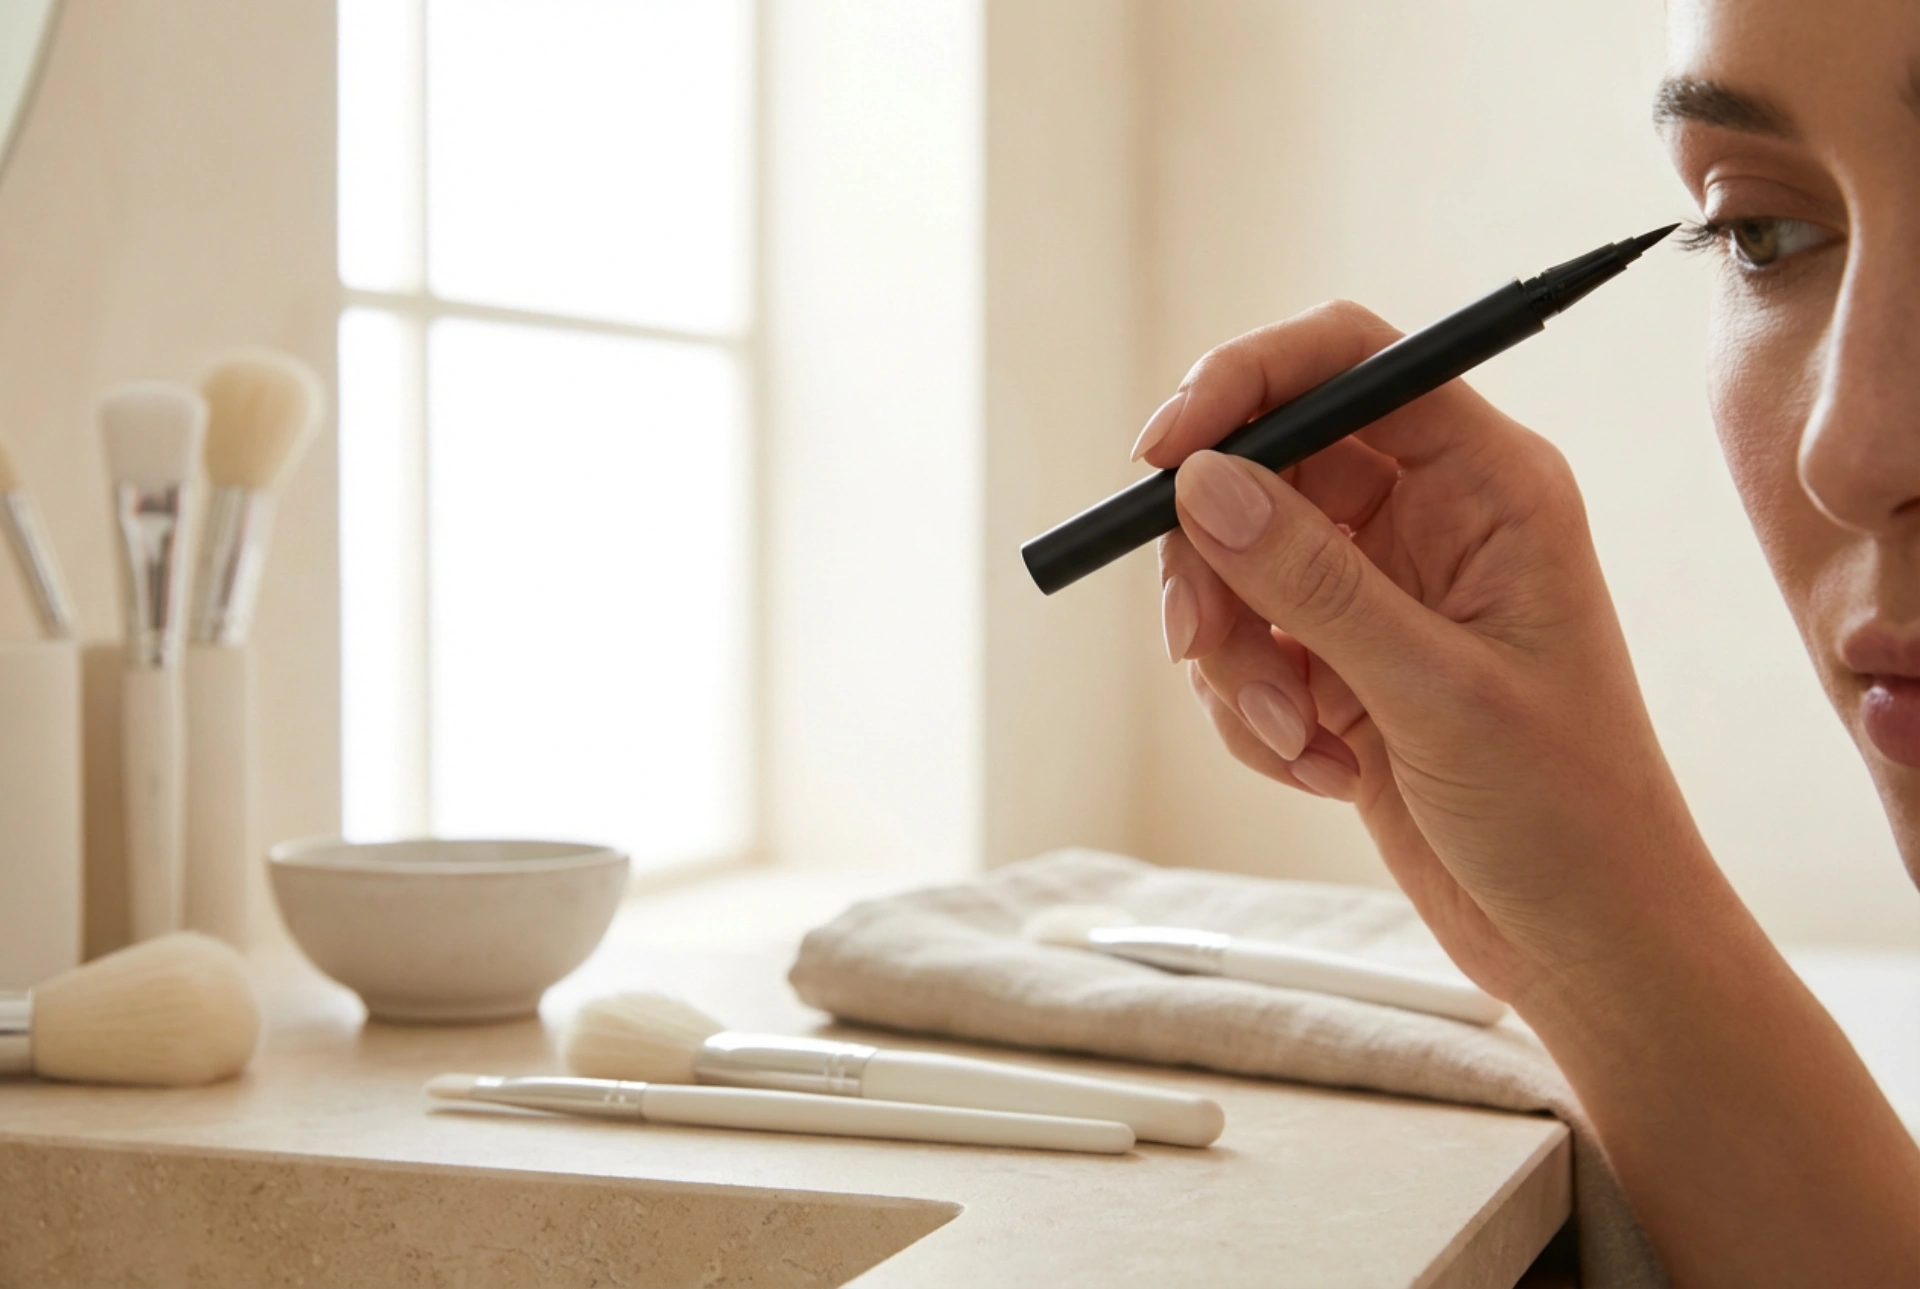


Perfecting the classic eyeliner wing can often feel like an elusive art form. While minimalist beauty setups and elegant vanity tables showcase sleek eyeliner pens as simple everyday tools, achieving symmetry and precision requires a solid understanding of one's own facial anatomy. Eyeliner is not a one-size-fits-all solution; the technique that accentuates round eyes may completely change the appearance of hooded or almond eyes. Understanding your unique features is the first step toward mastering this timeless makeup skill.
Identifying Your Eye Shape for Precise Application
Before reaching for an eyeliner pen, it is essential to analyse the natural structure of your eyes. Each shape benefits from a specific placement of product to enhance its natural beauty and create a harmonious, balanced look.
- Almond Eyes: Characterised by an oval shape with pointed corners, this shape is highly versatile. You can apply eyeliner along the entire upper lash line, starting thin at the inner corner and gradually thickening towards the outer third before ending in a classic flick.
- Hooded Eyes: Here, a fold of skin drapes over the crease, partially hiding the eyelid when the eyes are open. To prevent the wing from folding or disappearing, the batwing technique is ideal. This involves drawing the wing with the eyes open and looking straight ahead, creating a unique graphic shape that appears straight when open.
- Round Eyes: If you can see the whites of your eyes below the iris when looking straight ahead, your eyes are round. To elongate them, focus the eyeliner on the outer third of the lash line and draw a long, horizontal wing rather than an upward angled one.
- Downturned Eyes: For eyes that naturally tilt slightly downwards at the outer corners, the goal is to create an optical lift. Start the wing slightly before the actual end of the lash line, angling it sharply upwards towards the temple to counteract the downward slope.
Step-by-Step Guide to a Flawless Application
Achieving a neat line requires patience, a steady hand, and the right approach. Preparing your eyelids beforehand is just as important as the actual application process.
Step 1: Prep and Prime
Oil on the eyelids can cause even the most durable eyeliner to smudge or transfer. Begin by cleansing the area and applying a light dust of translucent powder or a neutral, matte eyeshadow. This creates a dry, smooth canvas that holds the pigment in place throughout the day.
Step 2: Map the Guide Points
Instead of trying to draw one continuous line, look straight into a mirror and map out your guide points. Place a tiny dot where you want the wing to end, and another where the wing connects to the lash line. This helps ensure symmetry between both eyes before you commit to a solid line.
Step 3: Connect and Fill
Rest your elbow on a flat, stable surface to steady your hand. Gently connect the dots using short, feather-like strokes rather than trying to pull the liner across in one swift motion. Keep the line as close to the natural lash root as possible to avoid any gaps.
Common Mistakes to Avoid
Even with high-quality products, certain habits can disrupt the final look. Recognising these common errors can elevate your daily makeup routine significantly.
Pulling the Skin During Application
One of the most frequent mistakes is stretching the skin of the outer corner outward while drawing the wing. When the skin is released, it bounces back to its natural position, leaving the line distorted, wrinkled, or uneven. Always apply eyeliner with your face relaxed and eyes looking straight ahead.
Ignoring the Lash Gap
Leaving a visible gap of bare skin between the eyeliner and the actual eyelashes can make the makeup look incomplete. Ensure you fill the space between the lashes, or gently tightline the upper waterline with a soft, neutral pencil to create a seamless transition.
An Improper Angle on the Wing
Aiming the wing too far downward can make the eyes look tired, while an angle that is too steep may look unnatural. A reliable rule of thumb is to follow the imaginary continuation of your lower lash line, projecting it upwards towards the end of your eyebrow.
Choosing the Right Product Type
The texture and format of your eyeliner will influence the final finish and the ease of application. Beginners often find felt-tip pens offer the most control, acting much like a regular pen. Gel eyeliners applied with a fine, angled brush provide a softer, more customisable line that can be easily smudged out for a smoky effect. Classic wooden pencils are ideal for a softer, daily look, though they require regular sharpening to maintain a precise tip.





