

Beautifully defined eyebrows frame the face and can instantly elevate your daily look, even on makeup-free days. Achieving a professional, long-lasting tint at home is an excellent way to save time and maintain a polished appearance. By using high-quality herbal powders or gentle tinting kits, you can create a natural shadow effect that mimics the work of a professional. A serene home beauty ritual, equipped with the right tools and a steady hand, is all it takes to master this art and enjoy flawless results for weeks.
Preparation is Key: Setting Up Your Workspace
Before you begin the application process, it is essential to prepare your space and your skin. Working under soft, diffused natural light will help you see the exact shape of your brows and prevent any uneven application. Gather your essential tools on a clean, light-colored surface to keep the process organized and calm.
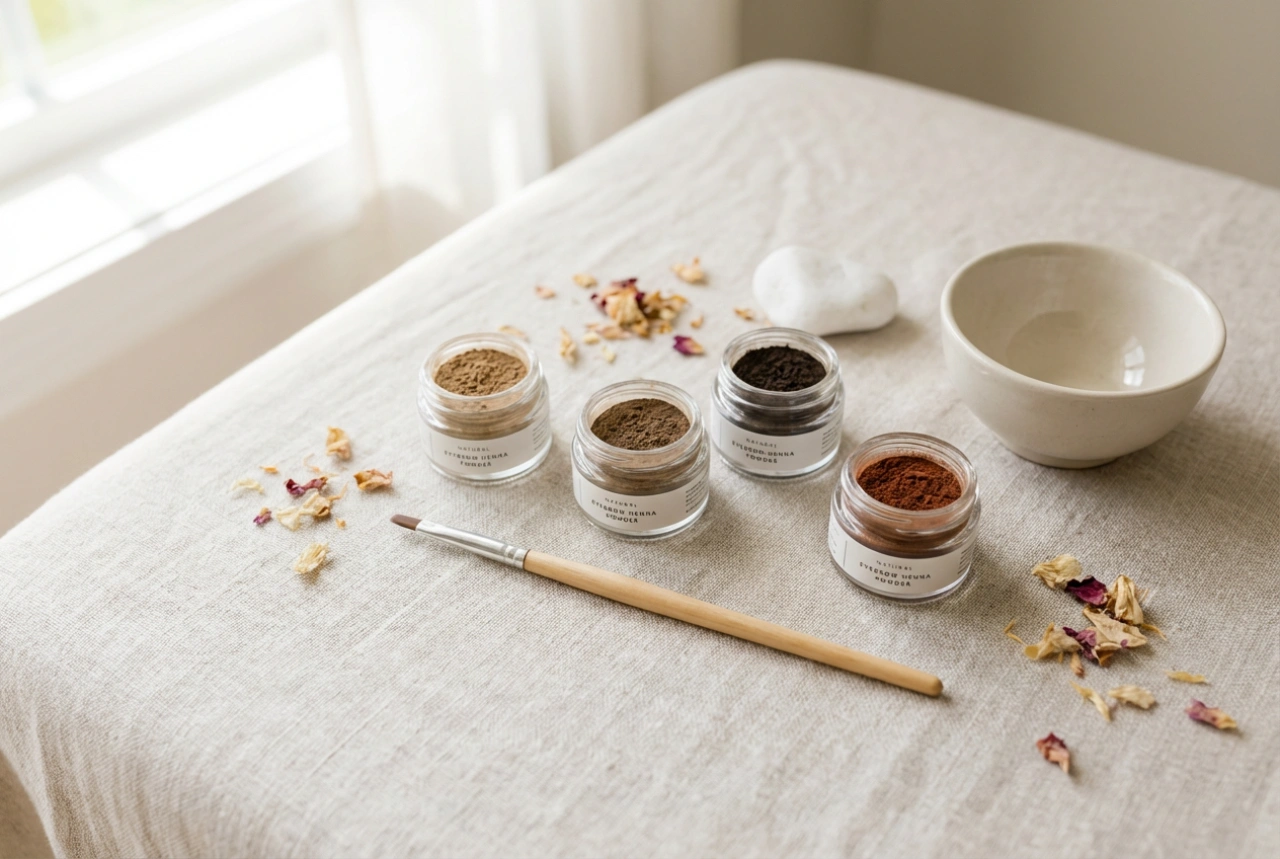
For a successful home tinting session, you will need the following items:
- A high-quality herbal eyebrow tint or powder.
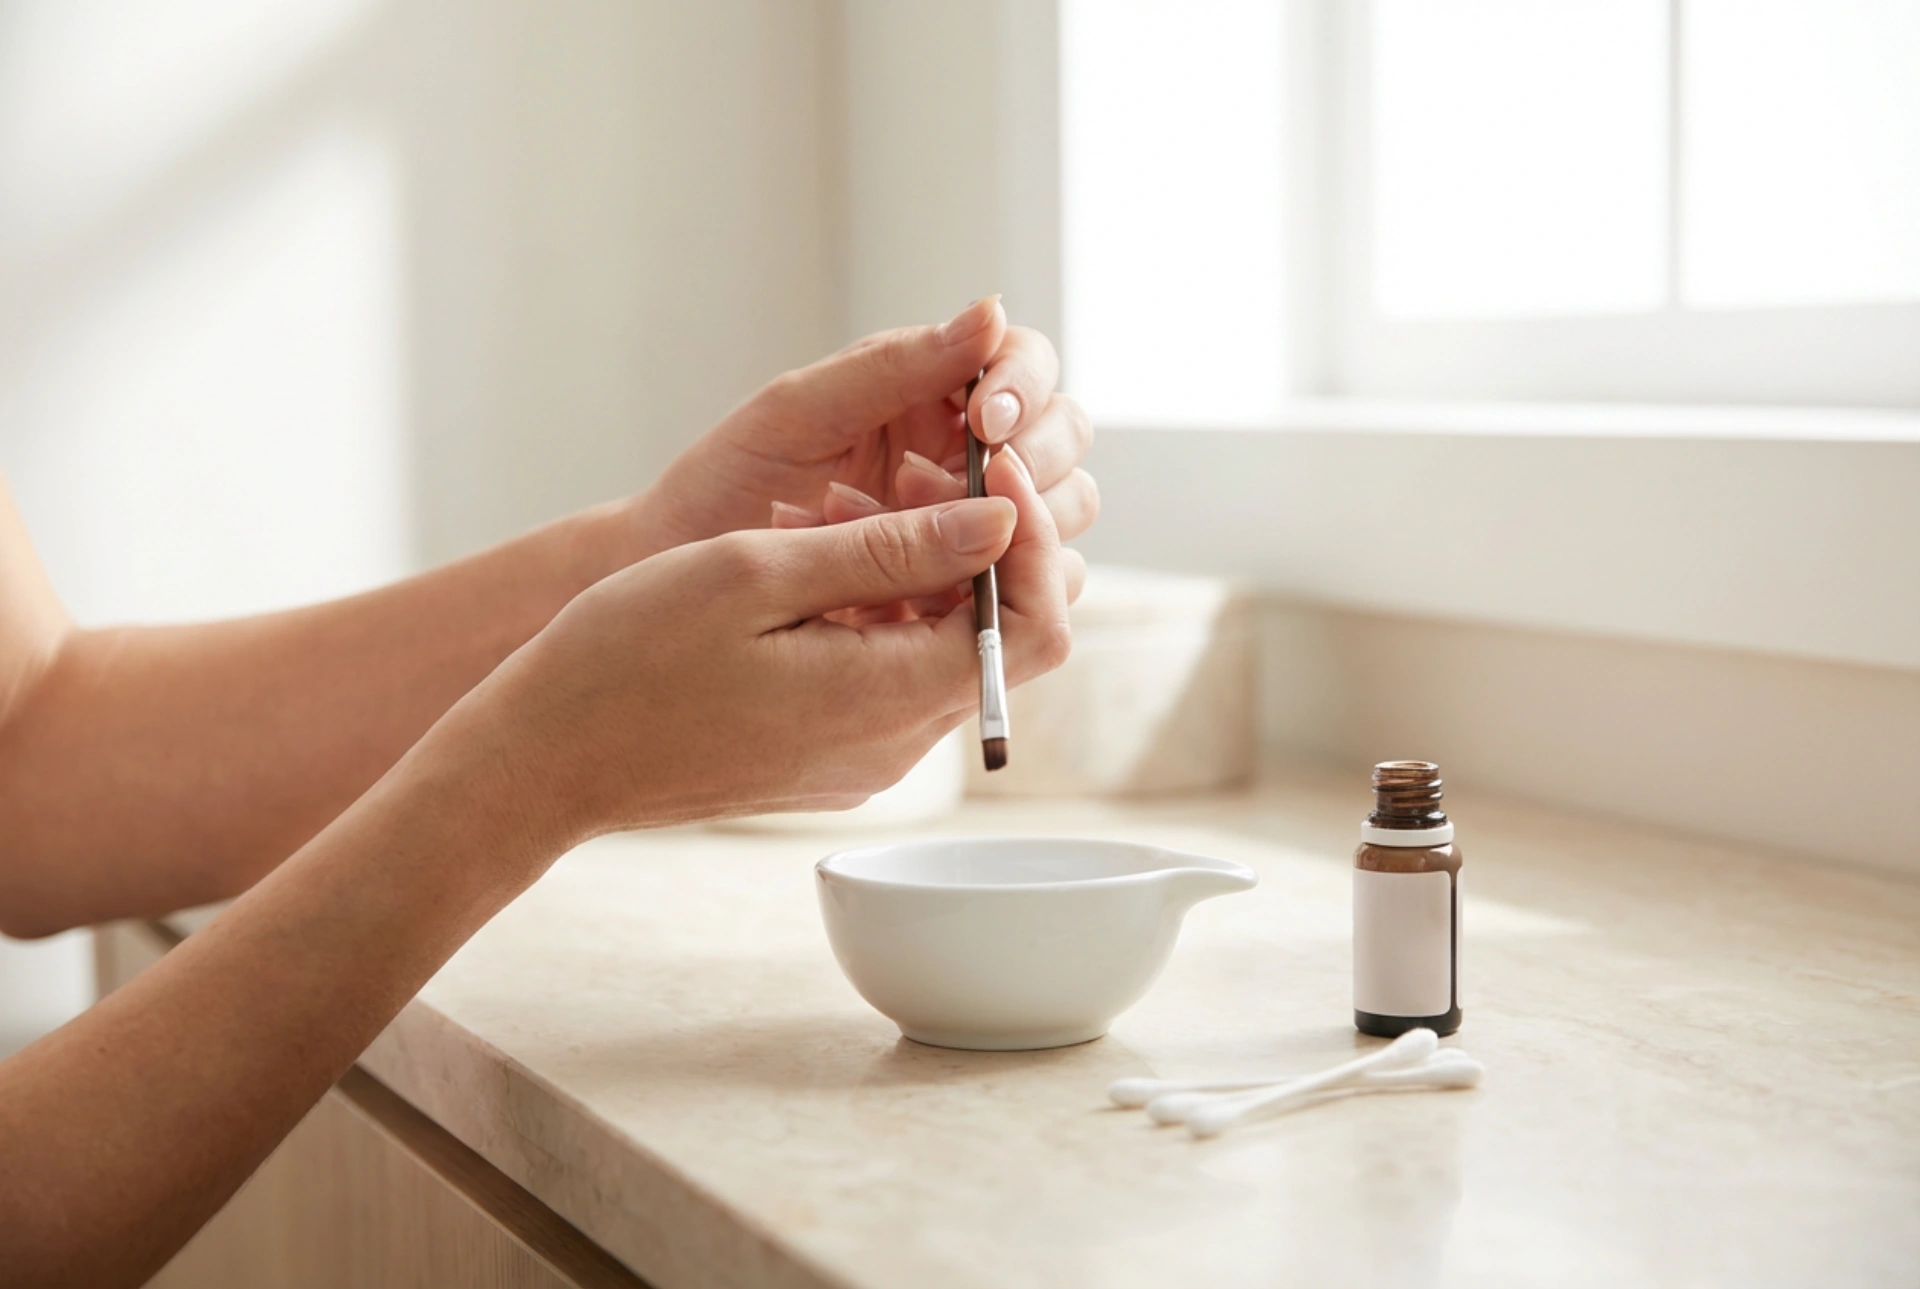
- A small, non-metallic mixing dish.
- A precise, angled brush for detailed application.
- A spoolie brush to groom the hairs.
- Cotton pads and reusable cotton buds for quick corrections.
- A rich barrier cream or petroleum jelly to protect the surrounding skin.
Step 1: Skin Preparation and Mapping
The secret to a smudge-free, professional-looking tint lies in how well you prepare the skin. Any oils, makeup residue, or dead skin cells can prevent the pigment from adhering evenly, leading to patchy results. Start by thoroughly cleansing your face with a gentle, oil-free cleanser. Gently exfoliate the eyebrow area with a soft scrub to create a smooth canvas.
Once the area is completely dry, brush your eyebrow hairs upward and outward using a clean spoolie. To ensure perfect symmetry and avoid unwanted staining on the skin, apply a thin layer of barrier cream just outside your natural brow line. Be extremely careful not to get any cream on the brow hairs themselves, as this will block the tint from developing.
Step 2: Mixing and Applying the Tint
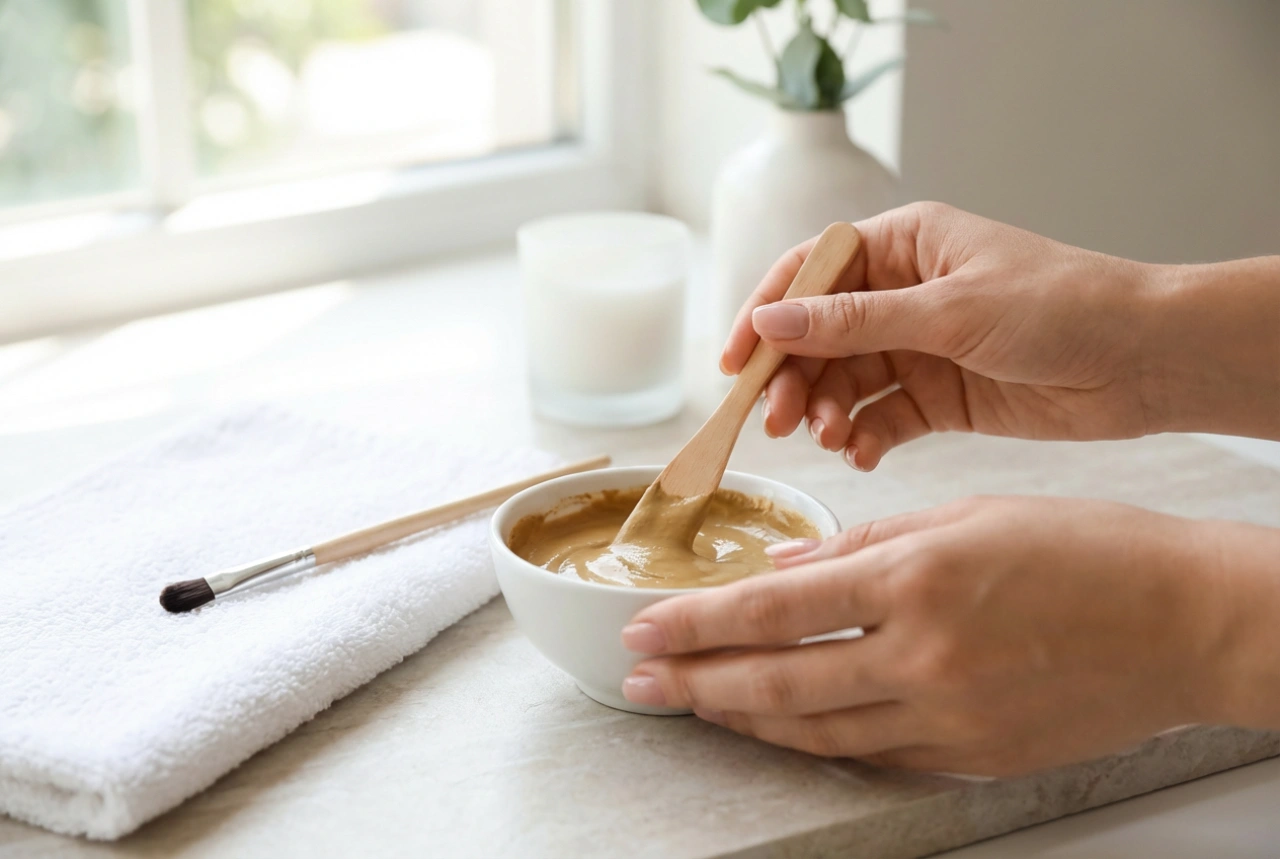
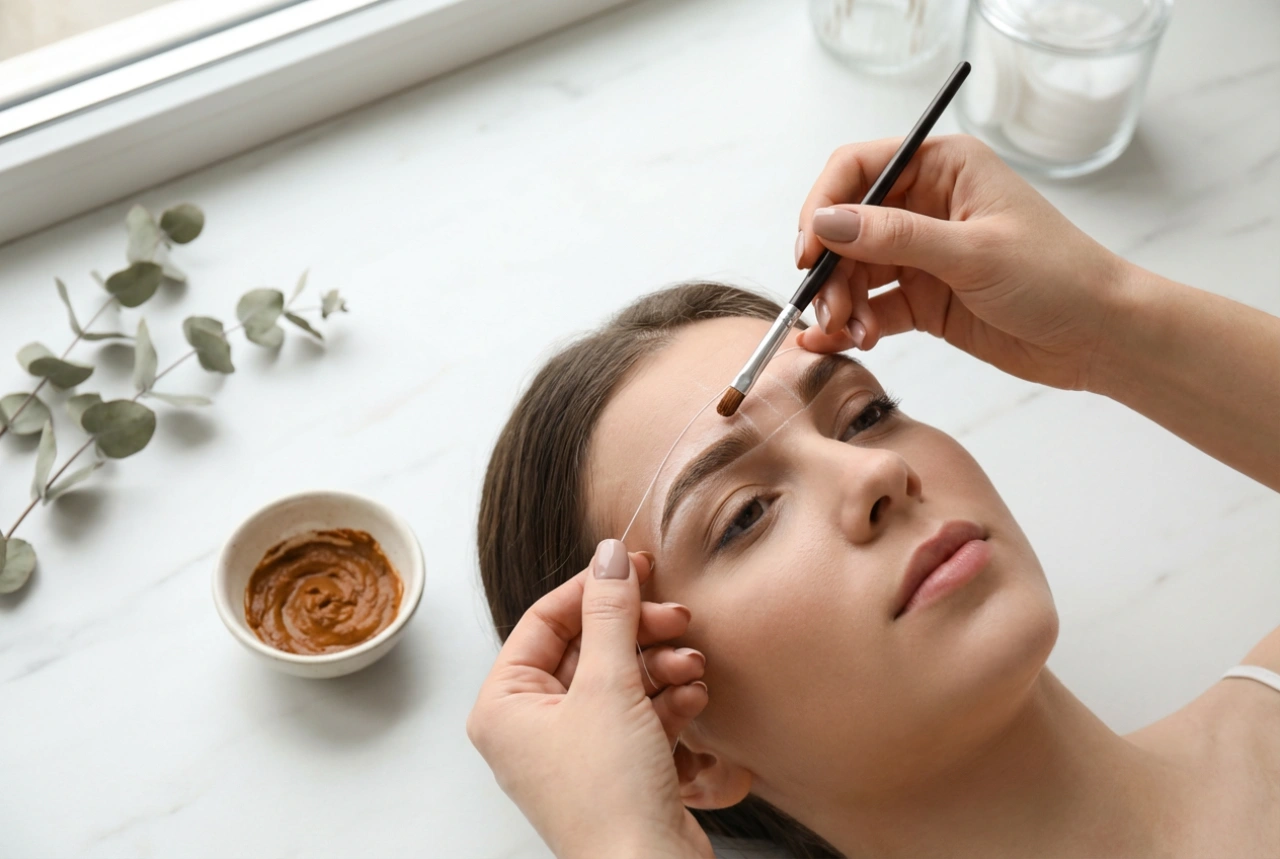
Carefully mix your chosen herbal tint in your small dish according to the manufacturer's instructions. The consistency should be smooth and creamy—not too runny, to prevent dripping, and not too thick, to ensure even distribution. Using your precise angled brush, start applying the mixture from the outer tail of the eyebrow, moving toward the center. The tail of the brow should always be the darkest and most defined part.
Apply the tint in press-and-wiggle motions to ensure the product reaches the skin beneath the hairs. Work in thin, buildable layers. When you reach the inner corner of the brow, use the remaining product on the brush and feather it gently upward to create a soft, natural gradient effect rather than a harsh, blocky start.
Step 3: Clean-Up and Processing Time
Even with a steady hand, minor slips can happen. Keep a damp cotton bud nearby to immediately wipe away any product that strays outside your desired shape. Defining the borders cleanly during this stage ensures a sharp, elegant finish once the tint is removed.
Allow the product to develop according to the recommended timing. If you are trying a product for the first time, it is always best to err on the side of caution and leave it on for a shorter duration. You can always reapply the product if you prefer a deeper shade, but removing excess pigment from the skin can be difficult once it has fully developed.
Step 4: Safe Removal and Aftercare
To remove the tint, moisten a clean cotton pad with lukewarm water. Gently wipe the brow from the inner corner outward, using a light touch to avoid irritating the skin. Do not scrub the area. Continue wiping with fresh pads until they come away completely clean.
To prolong the life of your freshly tinted eyebrows, avoid using oil-based cleansers, harsh exfoliants, or active skincare ingredients directly on the brow area for the first twenty-four hours. Keep them dry and touch-free to let the color settle beautifully, ensuring a gorgeous, natural look that lasts.