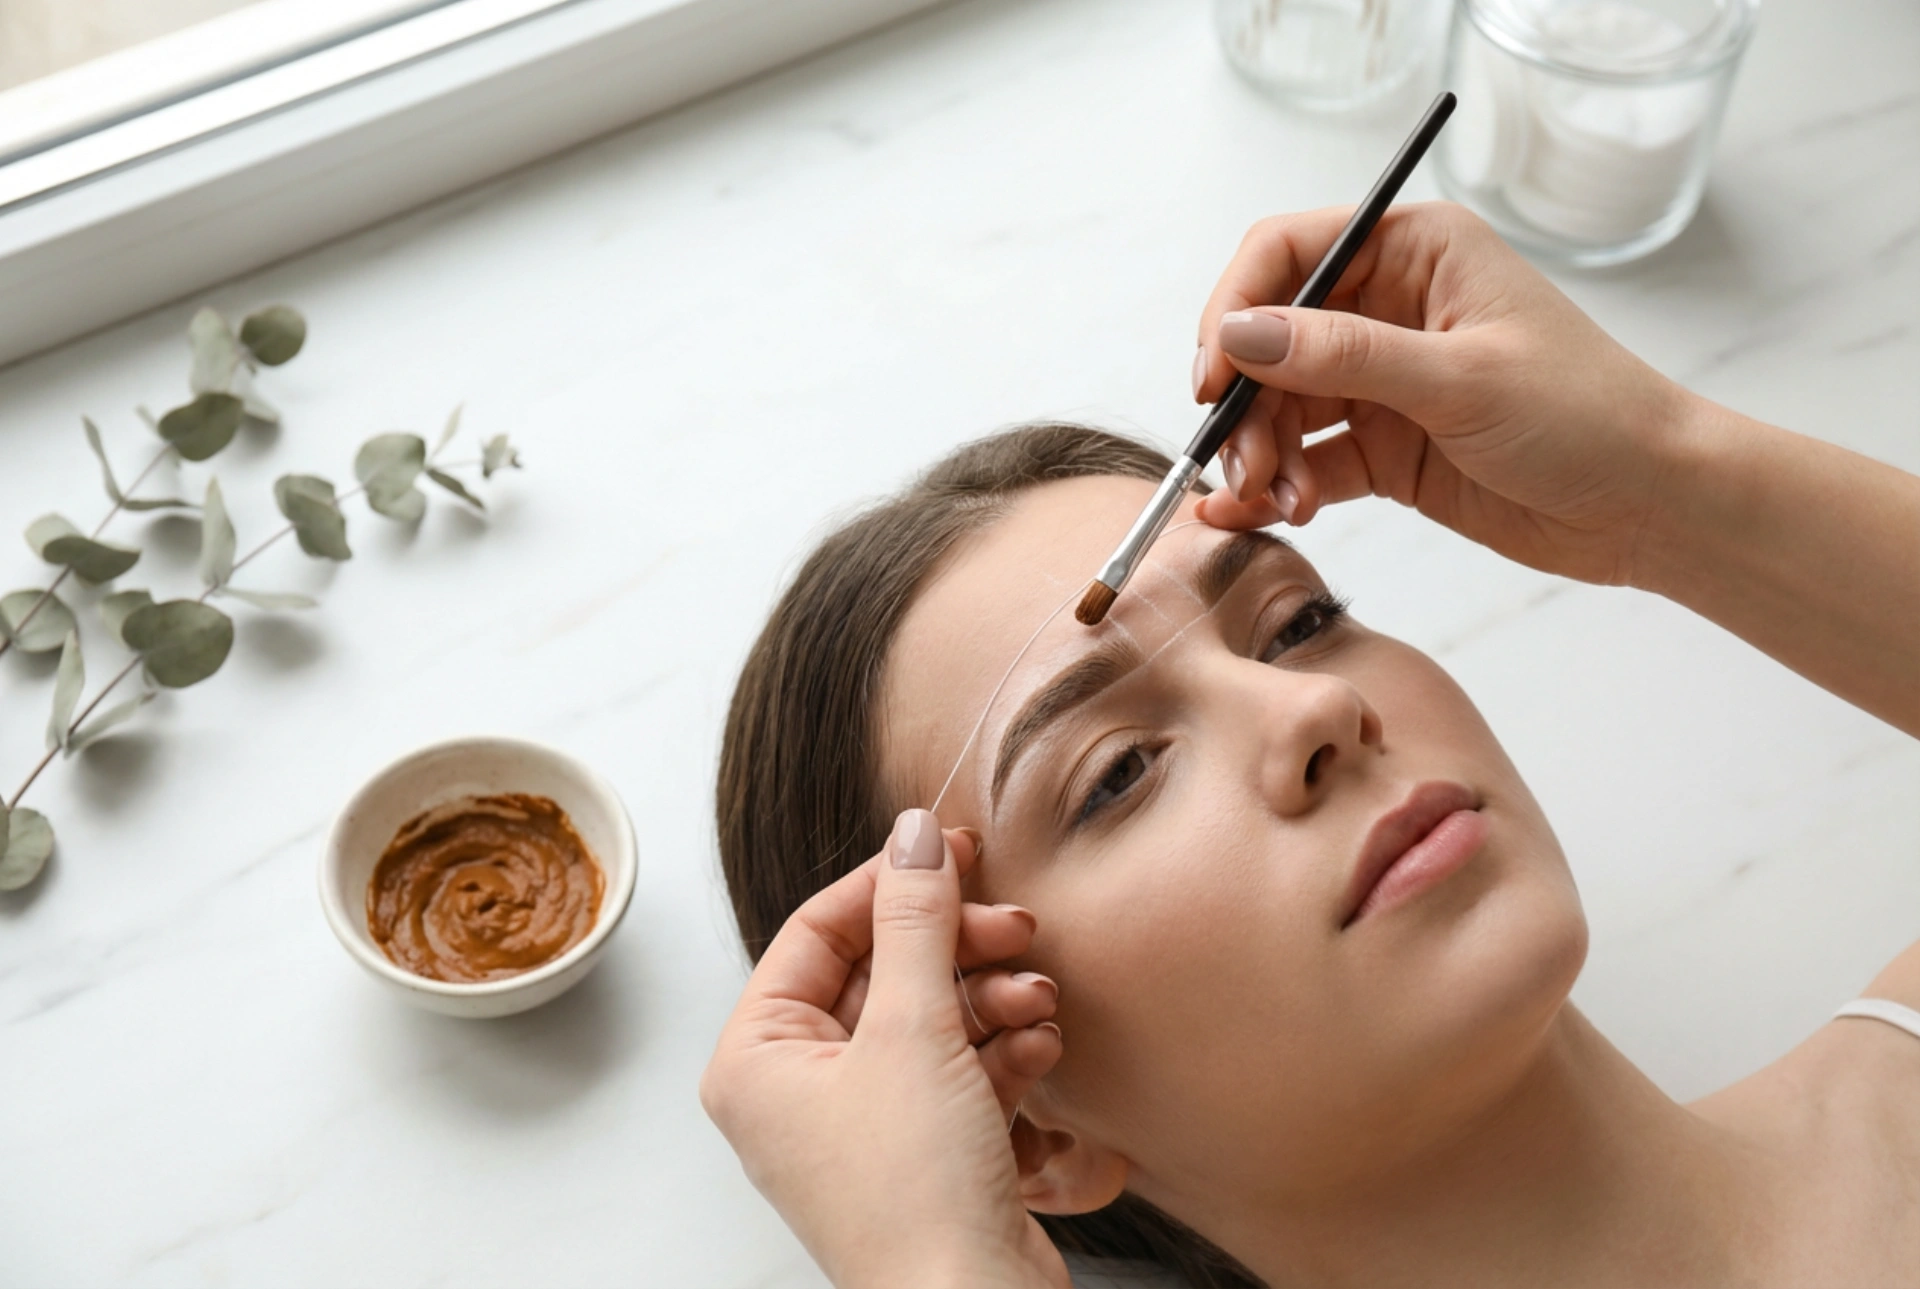


Beautifully framed, natural eyebrows are one of the key elements of a modern, harmonious look. The art of brow styling has evolved far beyond simple tweezing, paving the way for advanced methods like powder henna combined with precise geometric mapping. Using dedicated tools such as mapping strings, fine brushes, and mineral-based powders, this technique allows for a personalised approach that respects individual facial proportions. Achieving a flawless result requires a blend of artistic vision and geometrical calculations, turning brow styling into a refined craft that can be practised with patience and care.
Understanding Brow Geometry and Proportions
The foundation of beautiful eyebrows lies in symmetry and proportion. Every face has a unique structure, meaning there is no one-size-fits-all brow shape. To find the ideal form, brow geometry relies on three primary anchor points determined by the natural features of the face:
- The Start (Point A): To find where the brow should begin, place a straight instrument or string vertically from the dimple of the nose (the ala) straight up to the inner corner of the eye. This line marks the starting boundary.
- The Arch (Point B): The highest point of the brow, or the arch, creates a lifting effect. This is determined by drawing a diagonal line from the outer edge of the nose through the centre of the pupil. This point should represent about two-thirds of the total brow length.
- The Tail (Point C): The brow should end along a diagonal line stretching from the outer corner of the nose through the outer corner of the eye. The tail should never drop lower than the start point, as this can create a tired or droopy appearance.
By respecting these proportions, you can create a balanced frame that enhances the natural bone structure and brings harmony to the entire face.
The Art of Brow Mapping
Brow mapping is the blueprinting phase of the styling process. It involves creating a visible grid on the skin before any product is applied. Professional stylists and home enthusiasts alike use a thin mapping string coated with a skin-safe marking material, such as white mapping paste or cosmetic pencil, to construct straight, clean guidelines.
By gently pressing the taut string against the skin, you can map parallel lines across the forehead. These lines connect the starting points, the arches, and the tails of both eyebrows. This step ensures that both brows sit at the same height and feature identical angles. Once the main guidelines are drawn, the actual contour of each brow is filled in using a fine brush and mapping paste. This creates a physical barrier, ensuring that the henna stays strictly within the pre-defined borders during application.
Preparing and Mixing Powder Henna
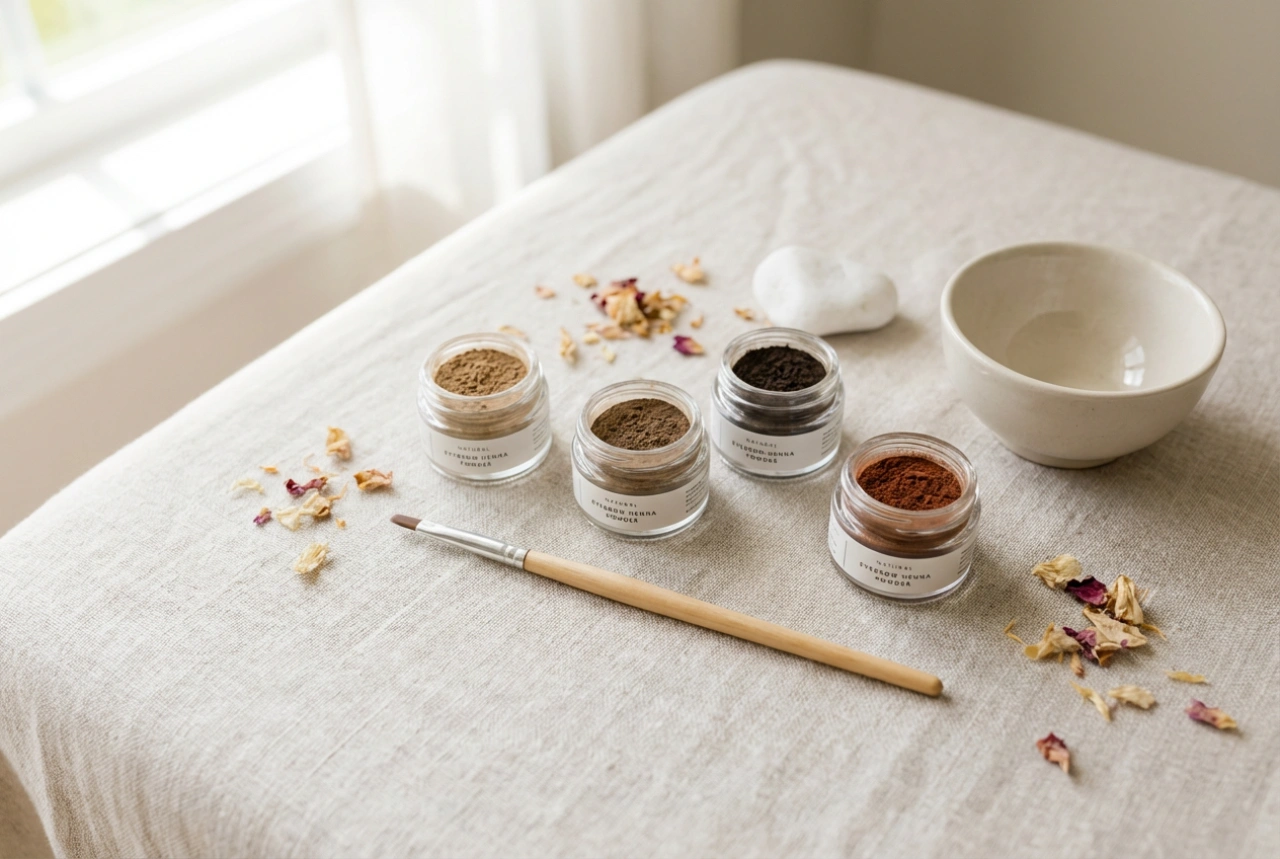
Powder henna is derived from natural plant sources and is celebrated for its ability to stain both the brow hairs and the underlying skin. This dual-action effect produces a soft, powdery shadow beneath the hair, mimicking the appearance of expertly applied brow make-up.
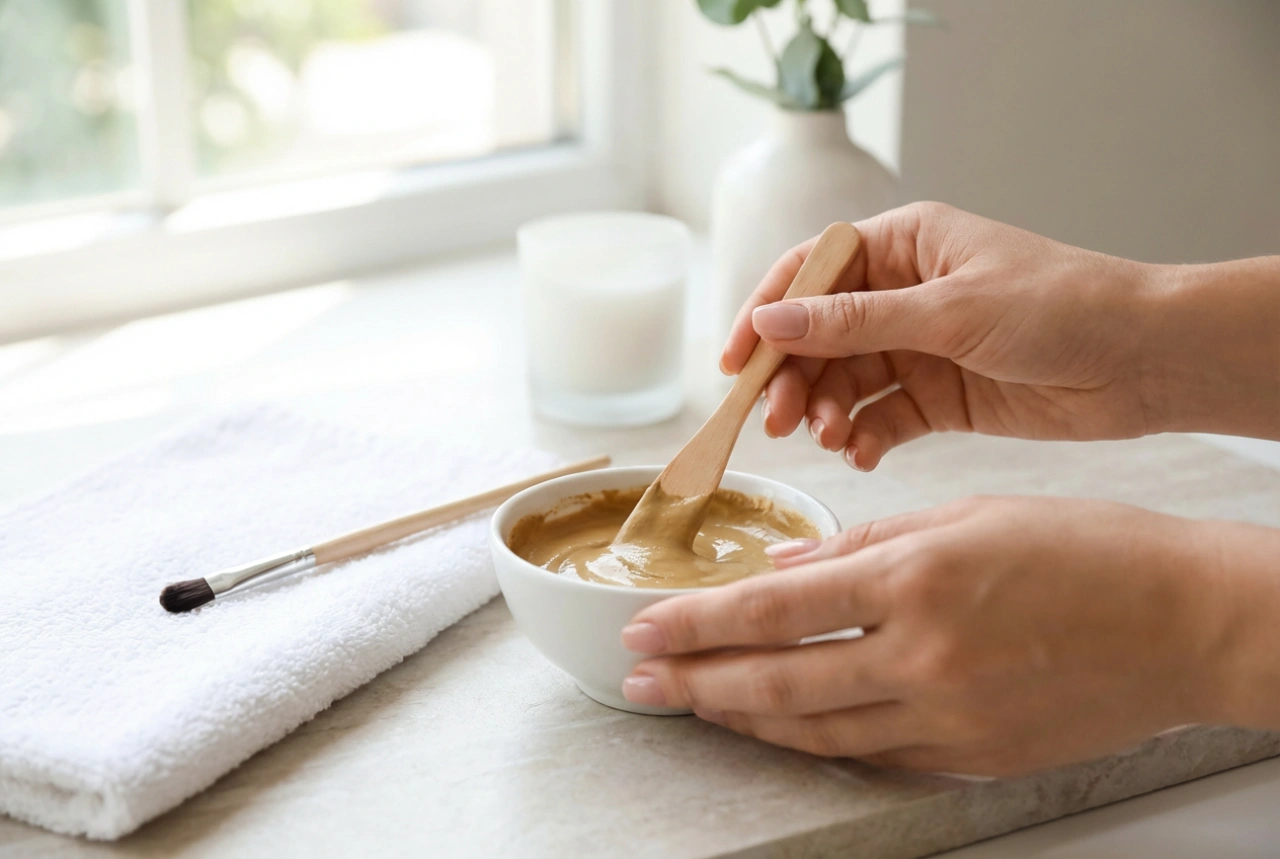
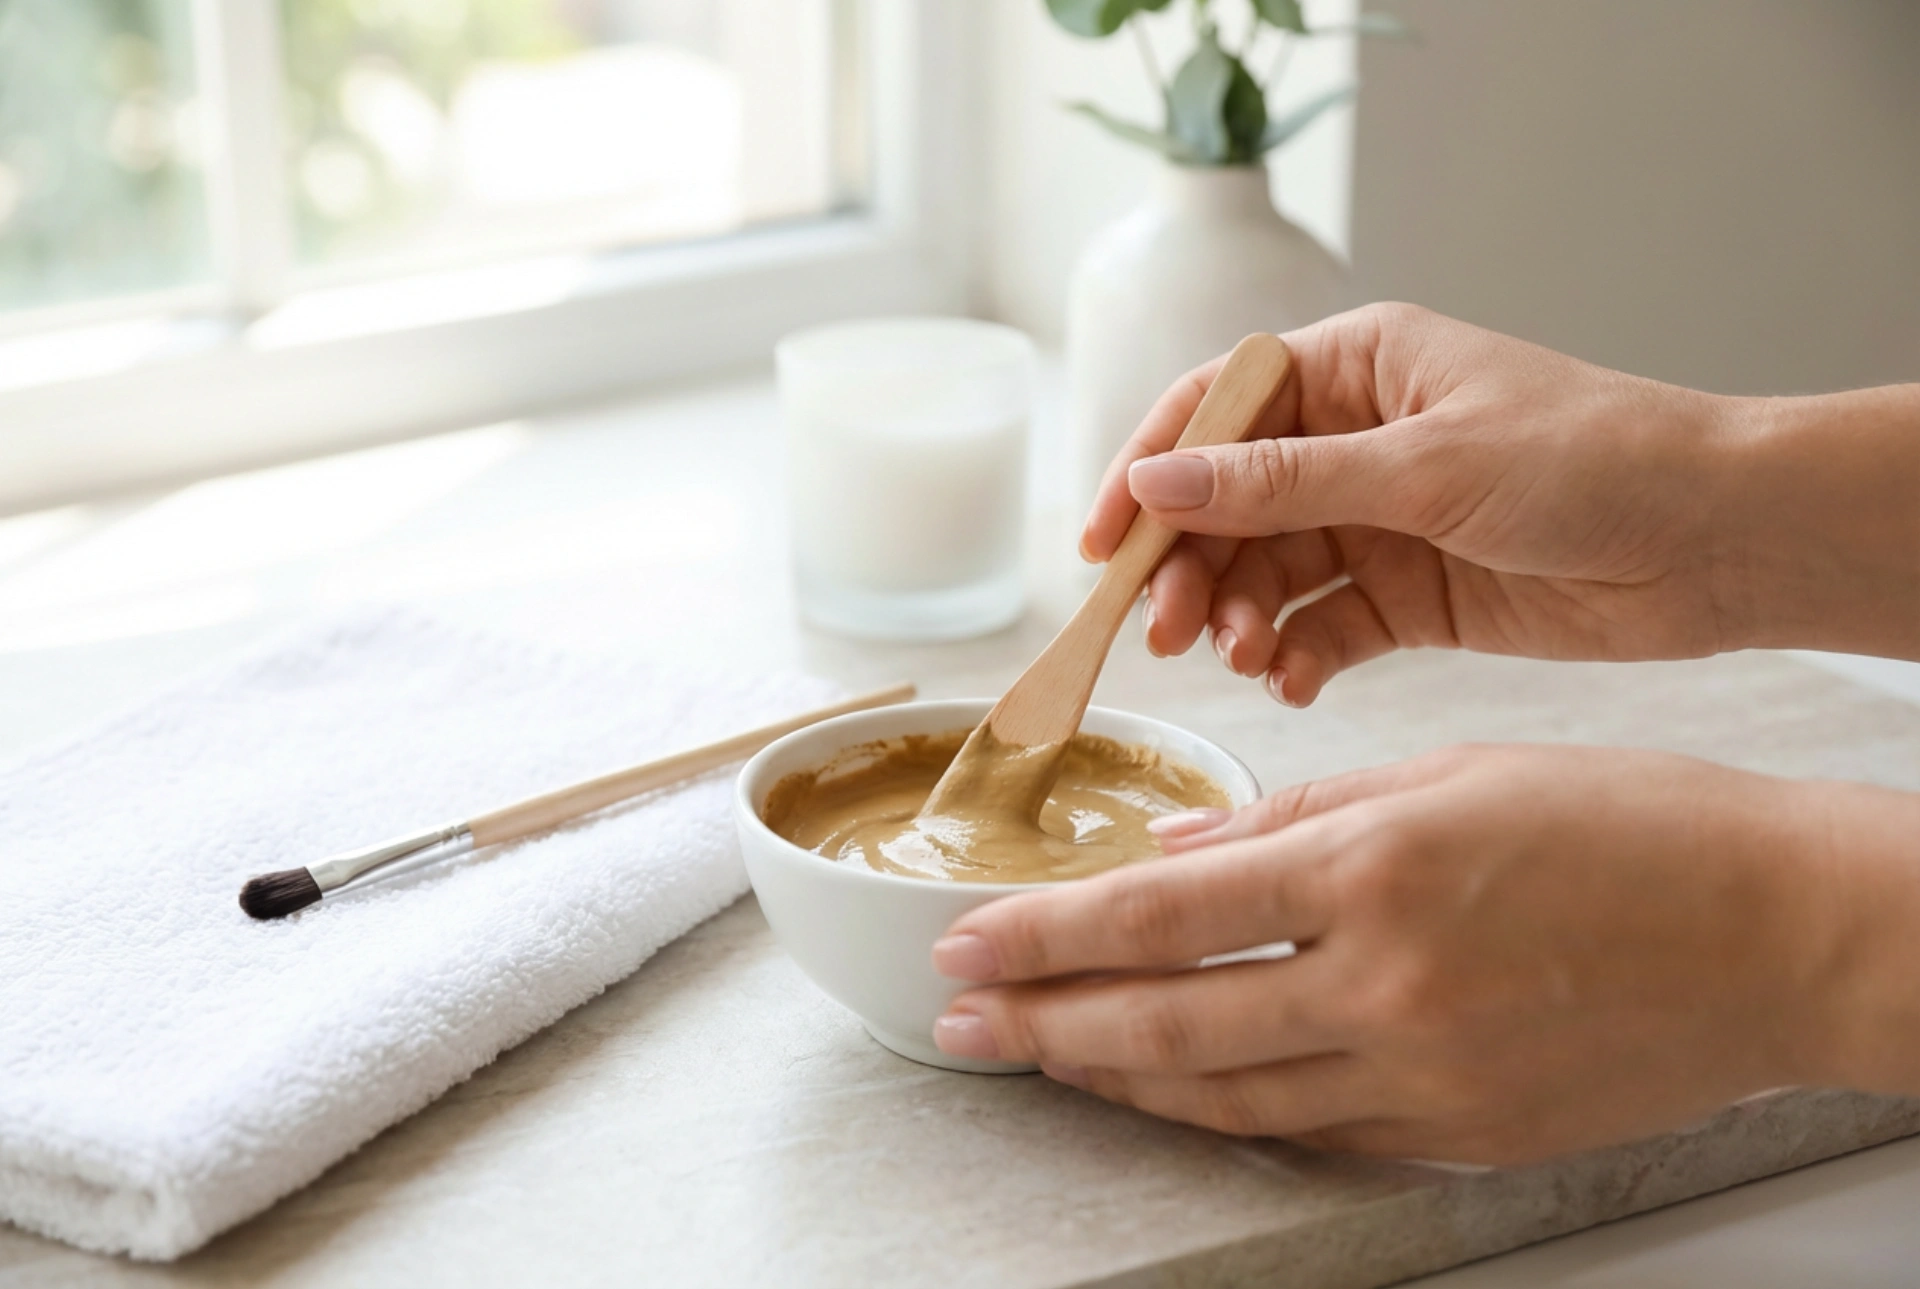
To prepare the henna, a small amount of the earthy-toned powder is placed into a clean ceramic or glass pot. It is then mixed with a few drops of purified water or a dedicated mineral solution. The mixture must be stirred thoroughly with a small spatula or a brush until it reaches a smooth, consistent texture similar to liquid soy sauce or thin paint. It is crucial to let the mixture sit for a minute or two to allow the natural pigments to activate fully before application.
Step-by-Step Application Technique
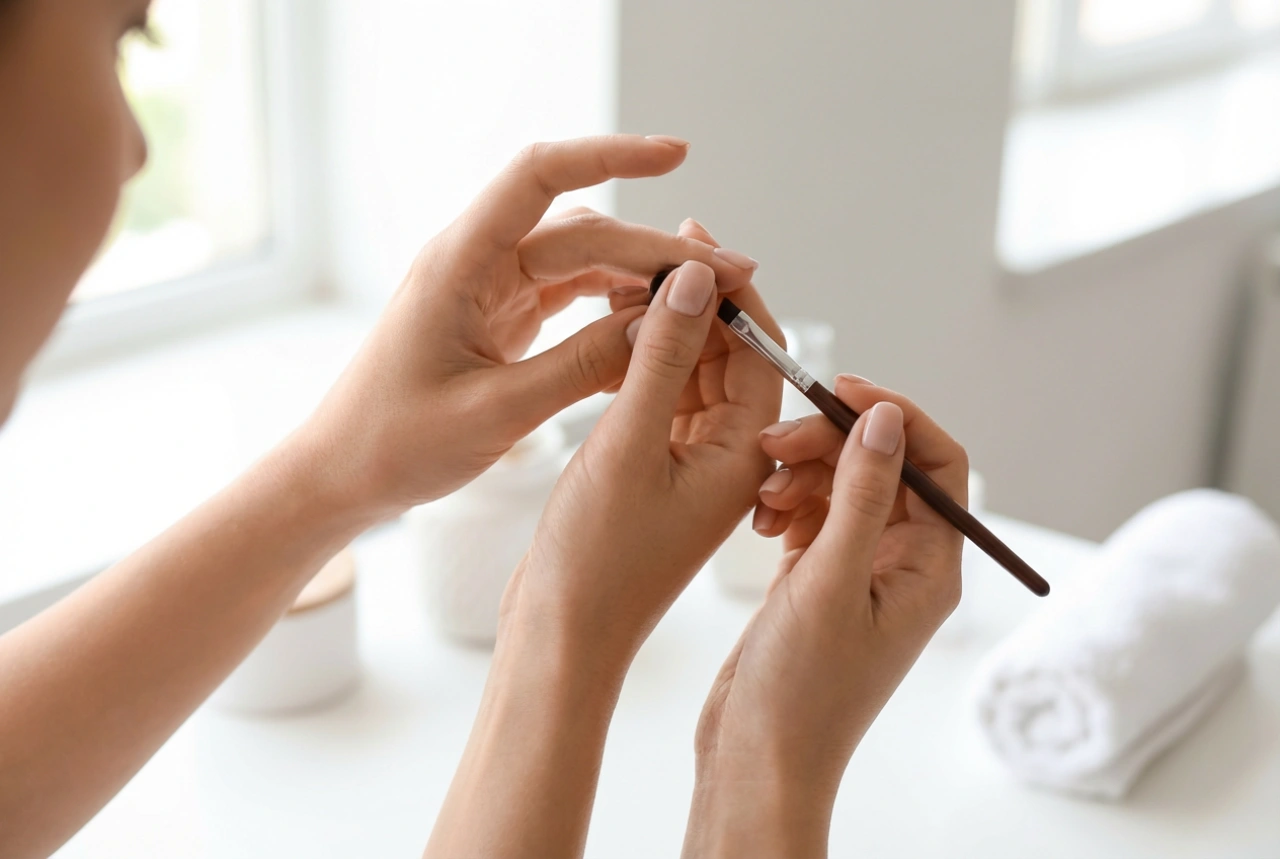
Applying powder henna with precision requires a steady hand and a high-quality, angled brush. The application process should follow a systematic approach:
First, ensure the skin is thoroughly cleansed and gently exfoliated to remove dead skin cells and excess sebum, allowing the henna to bond evenly. Next, begin applying the henna at the tails of the eyebrows. The tail and the lower border require the deepest saturation, so starting here allows the product to sit on the skin the longest.
Using a pressing motion rather than sweeping strokes, pack the mixture onto the skin, ensuring it penetrates between the brow hairs. Work your way towards the middle of the brow, keeping the application within the mapped boundaries. Finally, apply a very light layer to the front section of the brows. To achieve a soft, gradient ombre effect, the front part should only be left to process for a few minutes before being gently wiped away with a damp cotton pad.
The remaining henna should be allowed to dry completely. Depending on the desired intensity, a second thin layer can be applied over the dry first layer. Once the processing time is complete, remove all the product gently using a damp cotton pad. Avoid harsh rubbing, which can disrupt the fresh tint on the skin.
Post-Treatment Care and Longevity
To ensure the geometric precision of your powder henna lasts as long as possible, proper post-treatment care is essential. The stain on the skin can last anywhere from several days to two weeks, while the colour on the hairs can persist for up to six weeks, depending on skin type and daily routine.
For the first 24 hours after application, it is vital to keep the brow area completely dry. Avoid swimming, steam rooms, heavy workouts, and washing the face with hot water. When cleansing the face later on, try to avoid applying oil-based cleansers, strong exfoliants, or active skincare ingredients like retinol and alpha-hydroxy acids directly onto the eyebrow area, as these can accelerate the fading of the skin stain. Gently brushing the hairs daily with a clean spoolie will keep the shape looking sharp and neat.