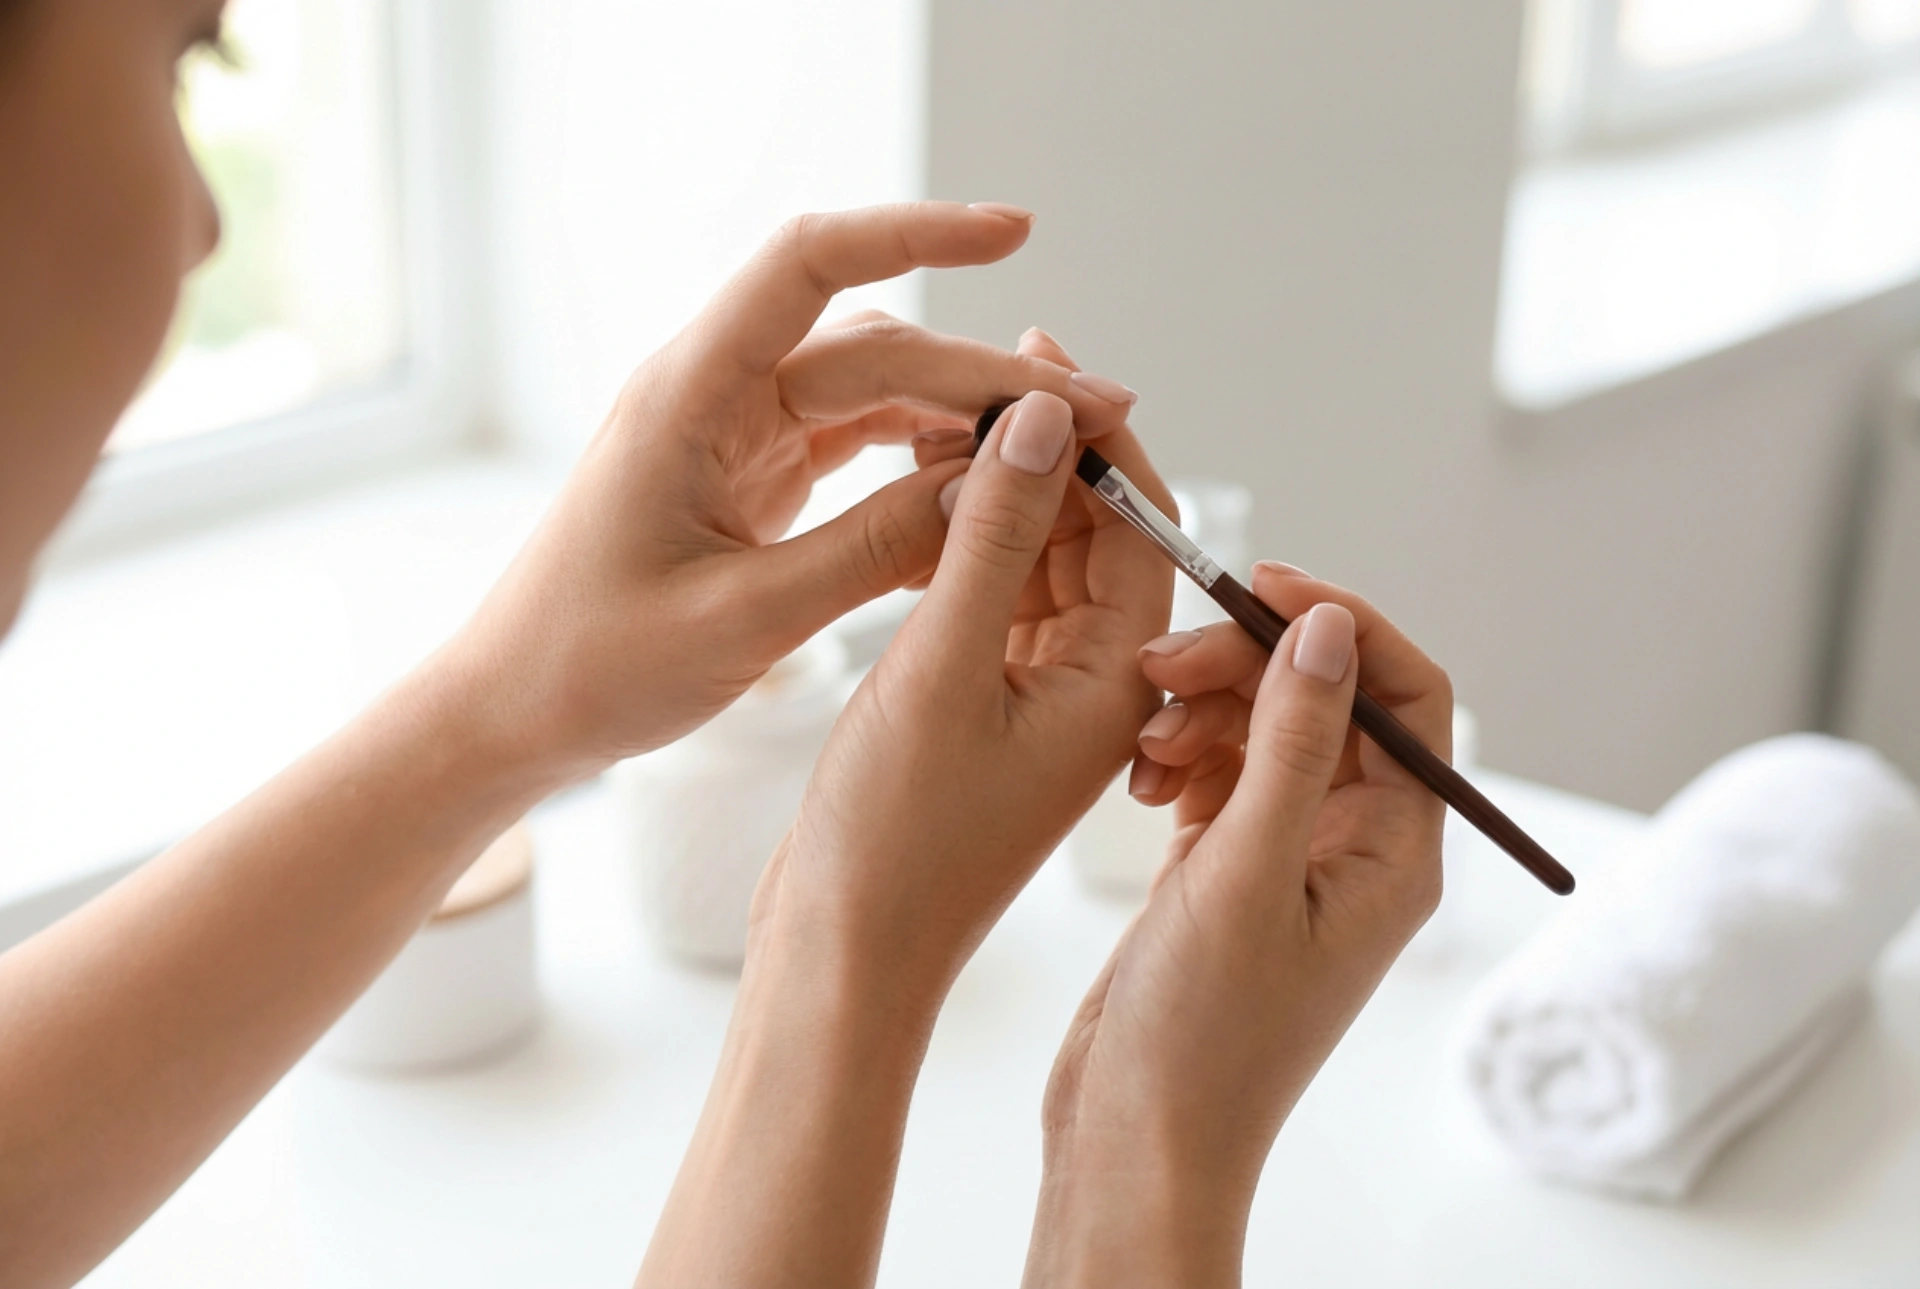


Perfectly shaped and defined eyebrows have the power to frame the face and highlight one's natural beauty. Achieving this look often requires a careful technique, where precise application meets the right colour choice. While there are many temporary brow styling products on the market, eyebrow henna has emerged as a favourite choice for those seeking a longer-lasting, natural-looking definition. Using natural plant-based ingredients, henna gently coats the brow hairs and subtly tints the underlying skin, creating a full and polished finish that requires minimal daily upkeep.
What is Eyebrow Henna and How Does It Work?
Eyebrow henna is a natural colouring agent derived from the leaves of the Lawsonia inermis plant. Unlike traditional chemical dyes, which penetrate the hair shaft with the help of oxidants, henna coats the exterior of the hair. This wrapping effect not only imparts rich colour but also helps to make individual brow hairs appear thicker and glossier. Additionally, henna tints the skin beneath the brows, which helps to fill in sparse areas and create a shadow effect that mimics the look of professional brow powder.
The longevity of henna is one of its main appeals. While the tint on the skin typically lasts for one to two weeks, the colour on the brow hairs themselves can remain visible for up to six weeks. This makes it an ideal option for those looking to simplify their morning beauty routine without committing to permanent cosmetic procedures.
Selecting the Perfect Henna Shade for Your Features
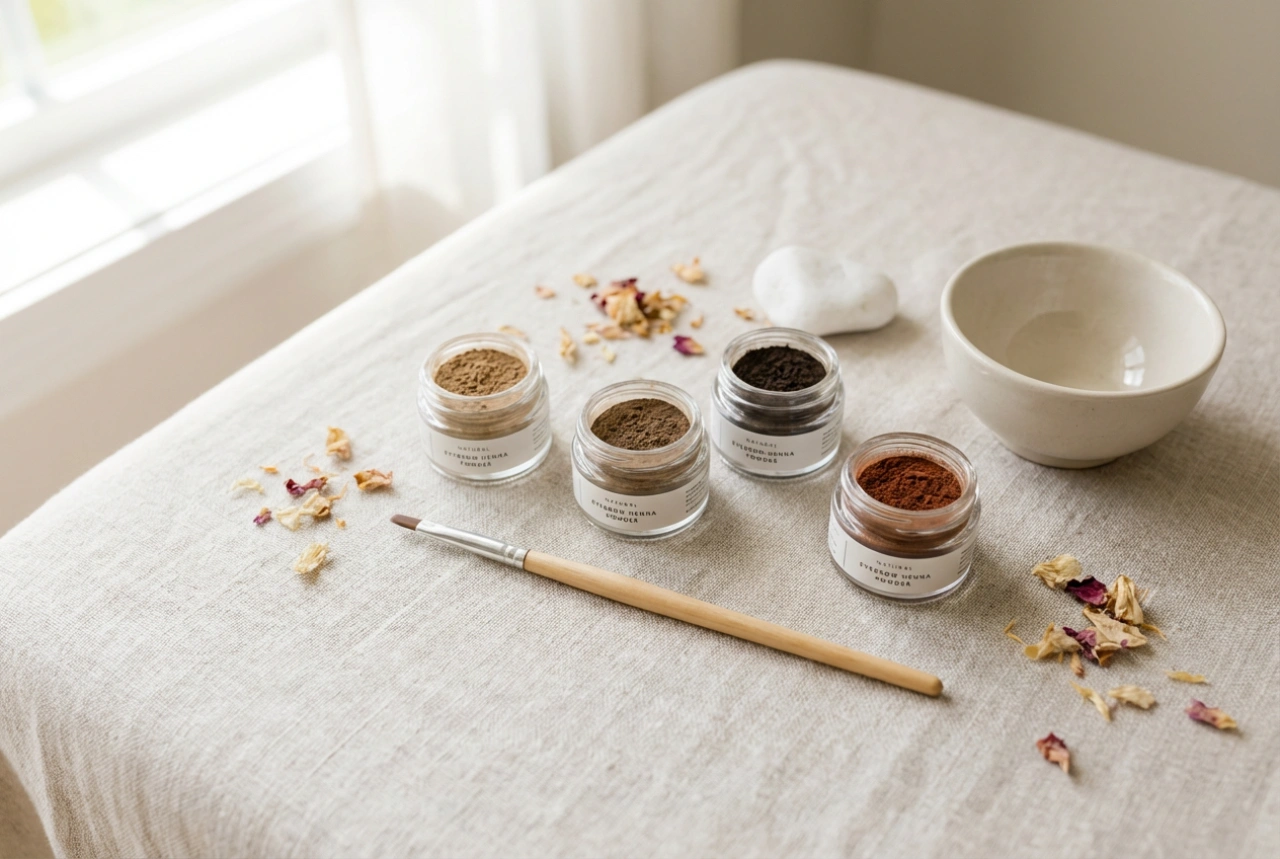
Choosing the correct shade is the most crucial step in achieving a natural and flattering result. A colour that is too dark can look harsh and unnatural, while a shade that is too light will fail to provide the desired definition. To find your ideal match, you should consider both your natural hair colour and your skin's undertones.
- Blonde and Fair Hair: If you have light hair, opt for soft, warm taupes or light ash brown shades. Avoid choosing anything with reddish undertones unless you have natural strawberry blonde or auburn hair. The goal is to define the brows without overpowering your delicate features.
- Brunettes and Dark Hair: Medium brown, dark brown, or soft charcoal tones work best for brunettes. If your hair has cool undertones, stick to ash-based browns. For warm chestnut or chocolate hair, choose a richer, chocolate-brown henna.
- Black and Very Dark Hair: Do not immediately reach for pure black henna, as this can look excessively dramatic. Instead, look for dark grey, graphite, or deep dark brown. These shades provide intense depth while keeping the overall look elegant and soft.
In addition to skin and hair tones, consider your lifestyle and the look you want to achieve. If you prefer a subtle shadow that merely fills in gaps, a lighter application or shorter processing time might be appropriate. If you prefer a bold, structured look, choosing a shade slightly darker than your natural brow hair will help you achieve that definition. Always perform a patch test 48 hours before the full application to ensure you do not have any sensitivity to the natural ingredients.
Step-by-Step Henna Application at Home
To achieve a clean, professional finish at home, preparation and precision are key. Having the right tools on hand, such as an angled brush, cotton pads, and a gentle cleanser, will make the process seamless.
1. Preparing the Brows
The skin around and under the eyebrows must be completely free of oil, makeup, and dead skin cells for the henna to adhere properly. Start by cleansing the area thoroughly. A gentle exfoliation with a soft brow scrub can help remove dry skin, ensuring an even tint on the skin. Wipe the area with water and dry it completely before proceeding.
2. Mapping the Shape
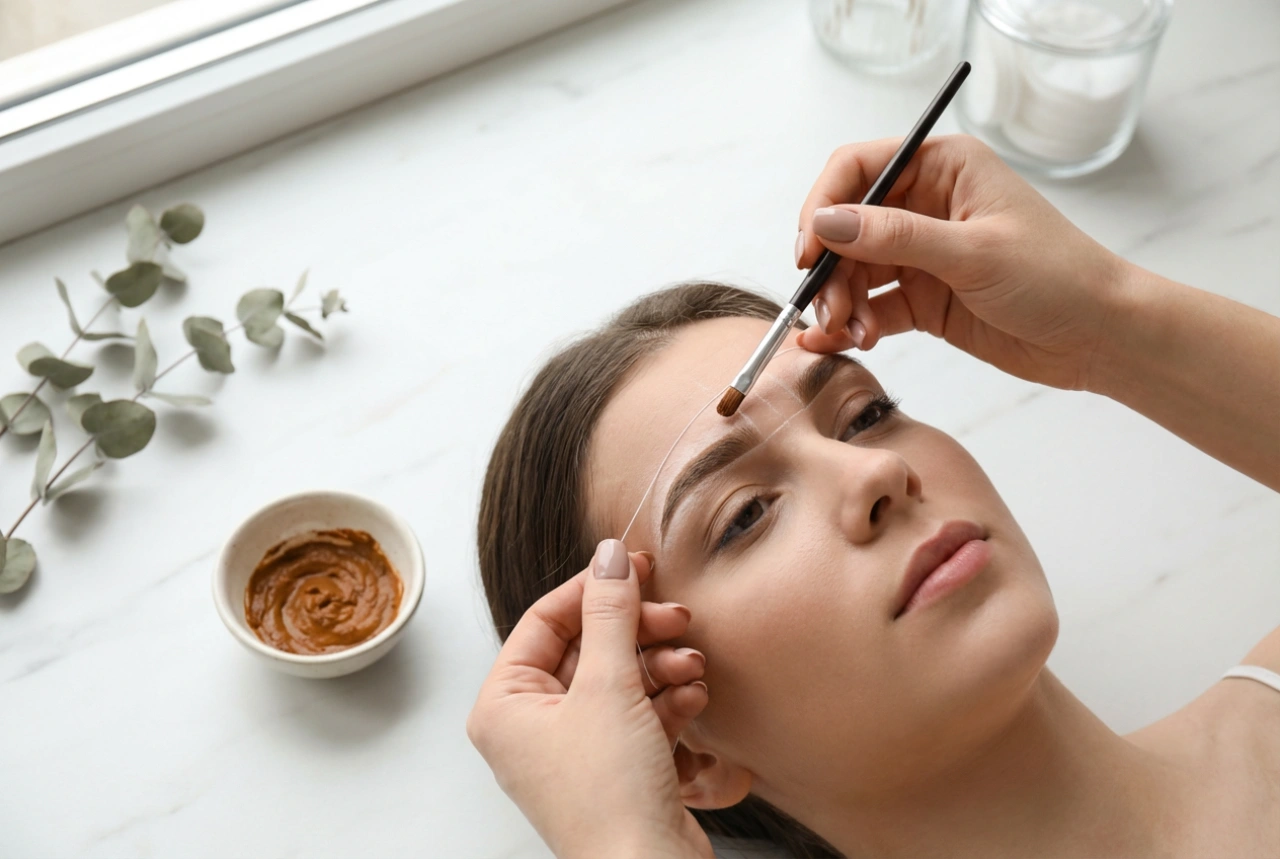
Before applying the mixture, outline the desired shape of your brows. You can use a white makeup pencil to map out the start, arch, and tail of your brows. This acts as a protective guide, ensuring that you apply the henna exactly where you want it and avoid any unwanted staining on the surrounding skin.
3. Mixing the Henna
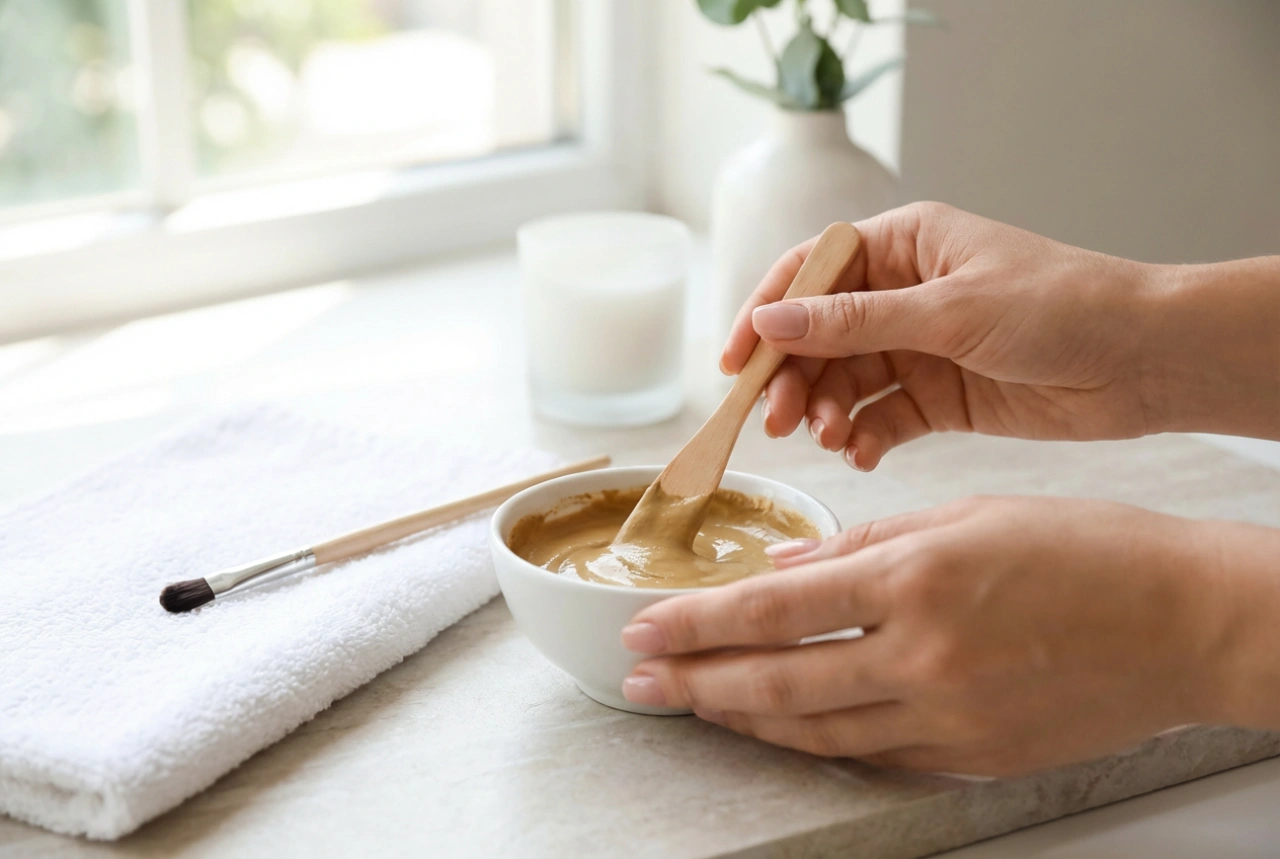
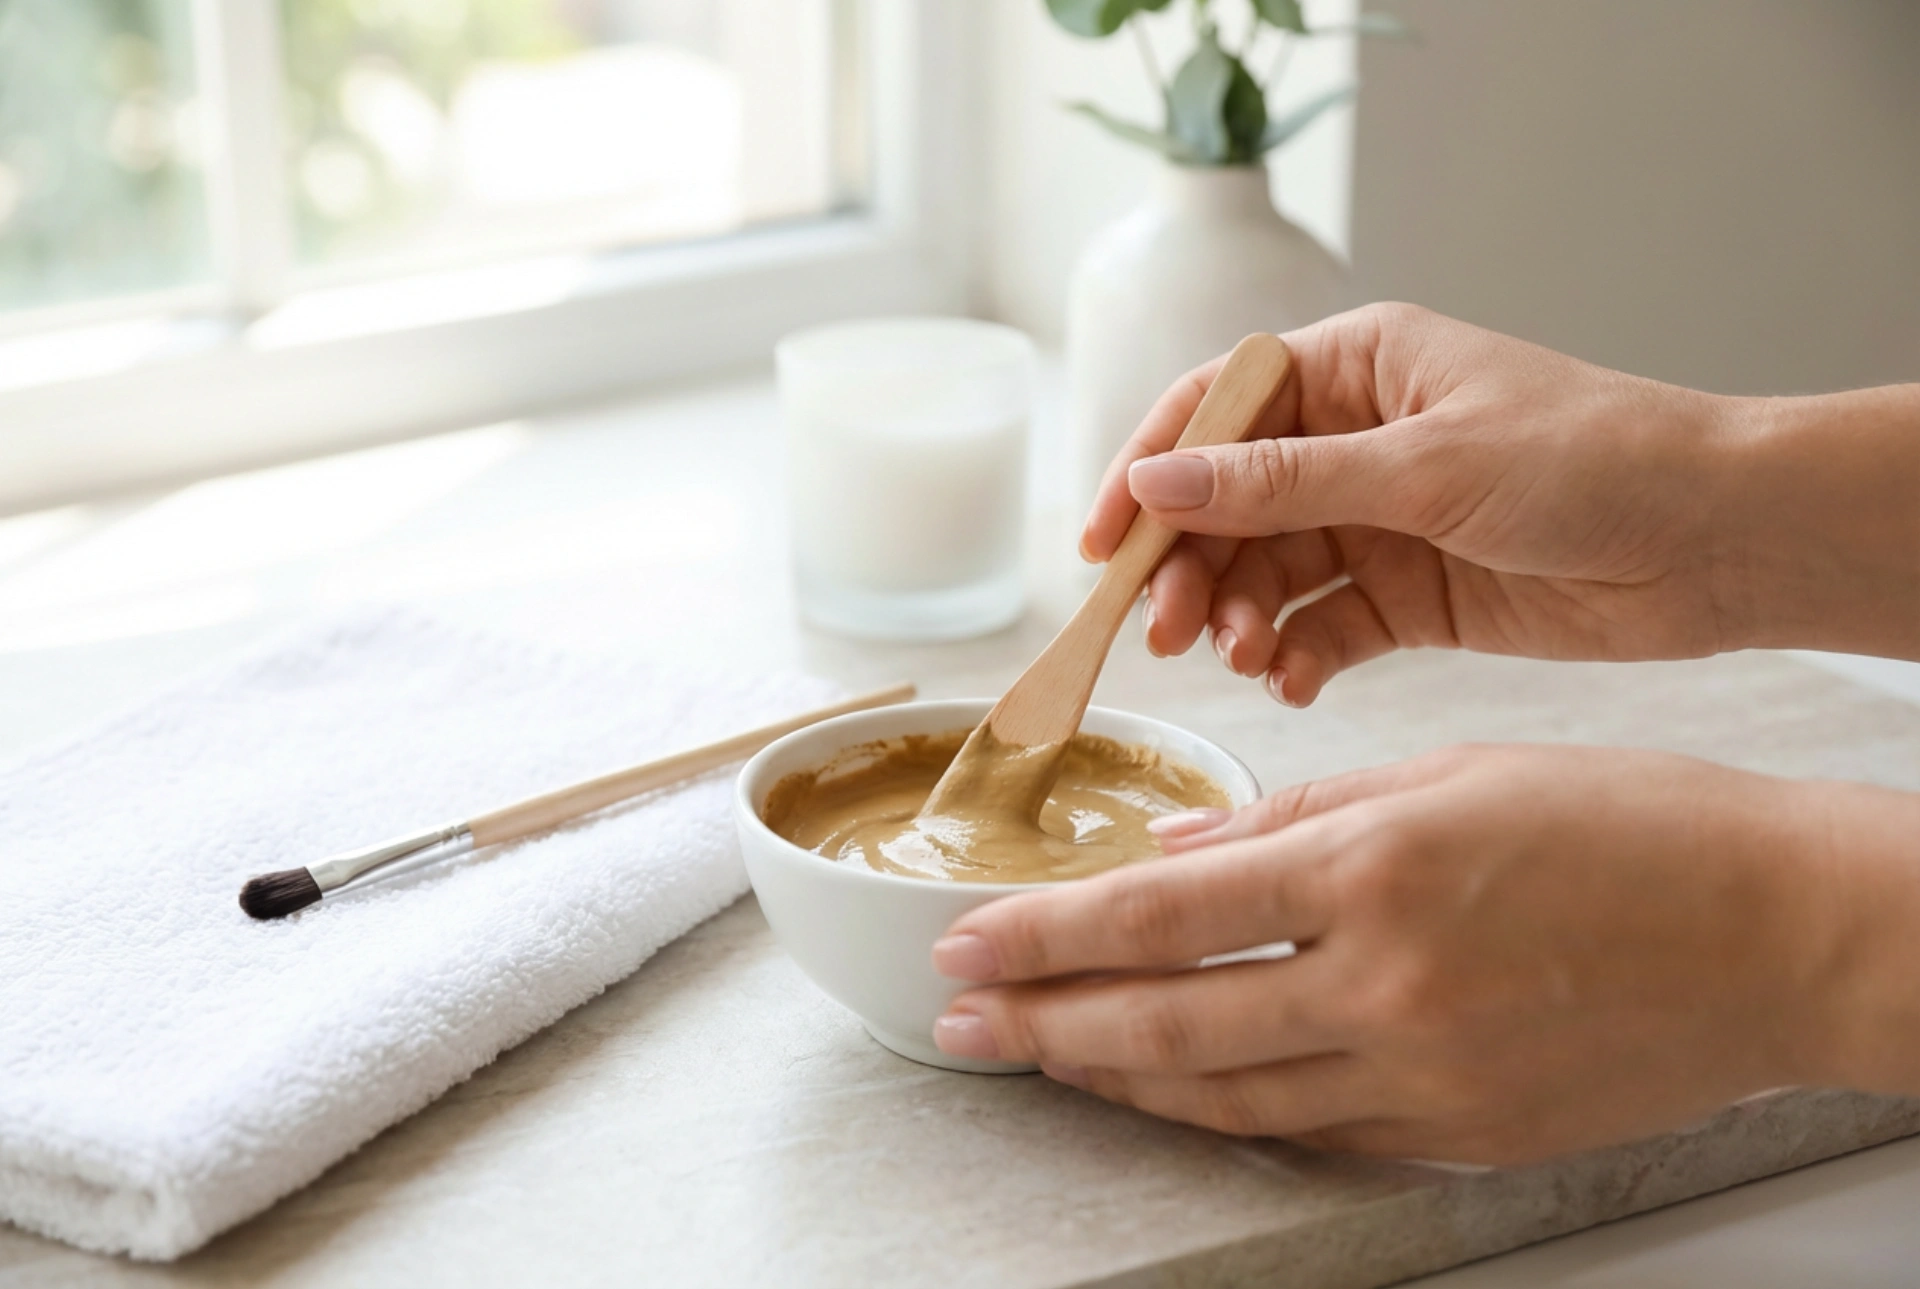
Follow the manufacturer's instructions to mix the henna powder with water or the specified activating solution. The ideal consistency should be similar to thick sour cream or paste. If it is too runny, it may drip and cause staining; if it is too thick, it will be difficult to apply evenly.
4. Precise Application
Using a firm, angled brush, begin applying the henna from the tail of the eyebrow, moving slowly towards the front. The front of the brow should always be slightly lighter to create a natural, gradient effect. Press the henna paste into the skin beneath the hair to ensure full coverage. If you make any mistakes, wipe them away immediately with a damp cotton bud.
5. Timing and Removal
Allow the henna to dry and develop on the brows. This usually takes between 15 and 30 minutes, depending on the intensity of the colour you wish to achieve. Once the development time is complete, soften the dried henna with a damp cotton pad, then gently wipe it away. Avoid rubbing the brows aggressively, as this can irritate the skin and wash away the fresh tint.
Tips for Long-Lasting Brow Henna Results
To maintain your freshly tinted brows and ensure the colour remains vibrant for as long as possible, some simple post-treatment care is recommended:
- Keep the brows dry for the first 24 hours after application to allow the colour to fully set.
- Avoid using oil-based cleansers, makeup removers, or heavy face creams directly on the eyebrow area, as oil can break down the henna tint more quickly.
- Limit exposure to direct sunlight, steam rooms, and saunas during the first few days.
- Apply a drop of natural oil, such as castor oil or argan oil, to the brow hairs daily to keep them hydrated and nourished.