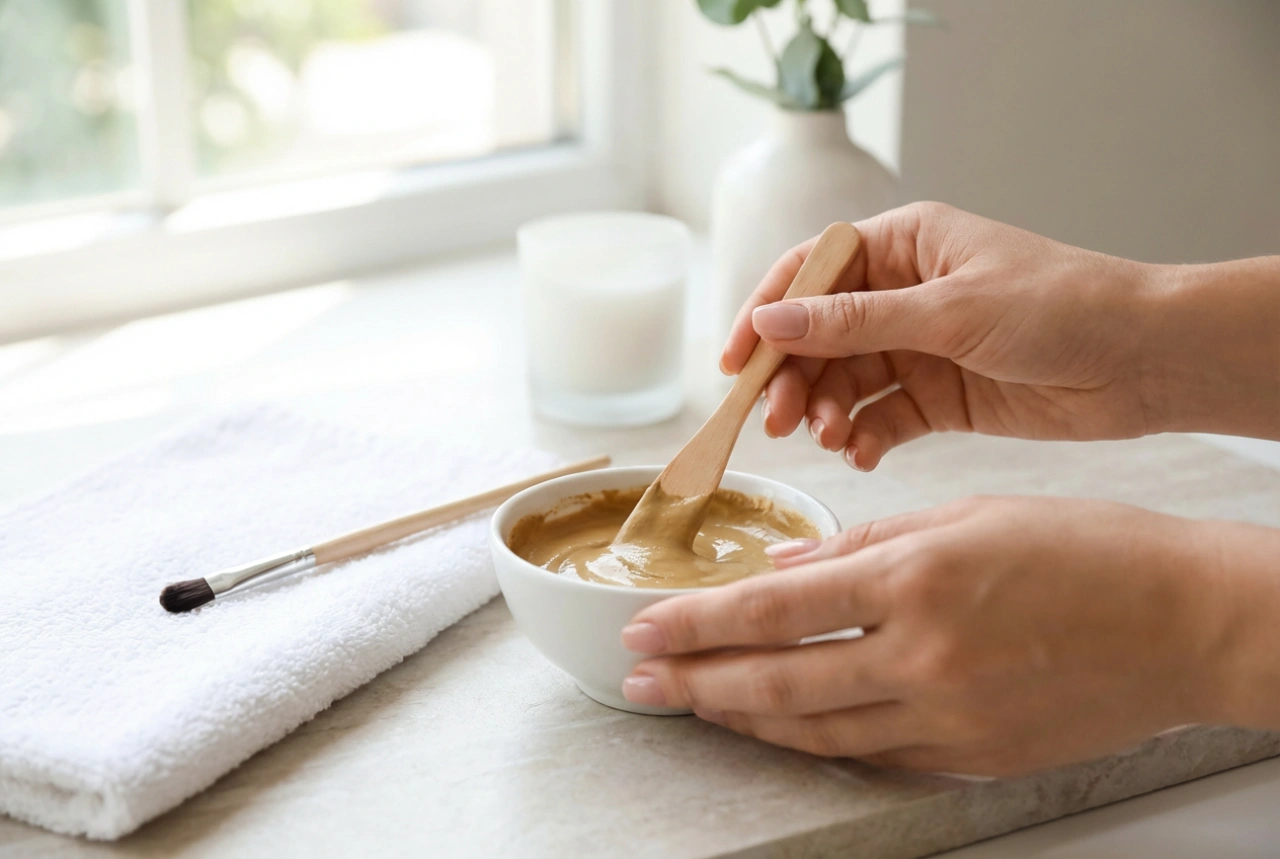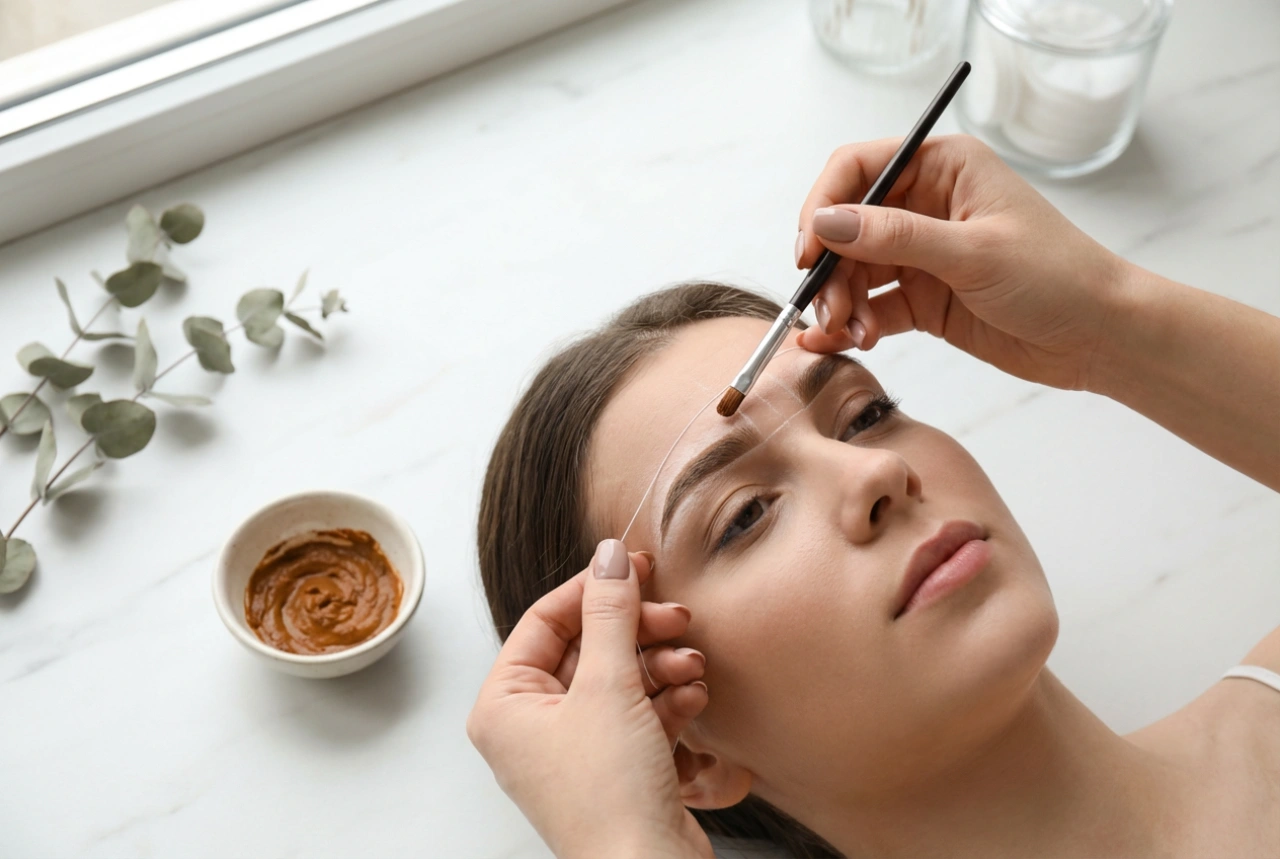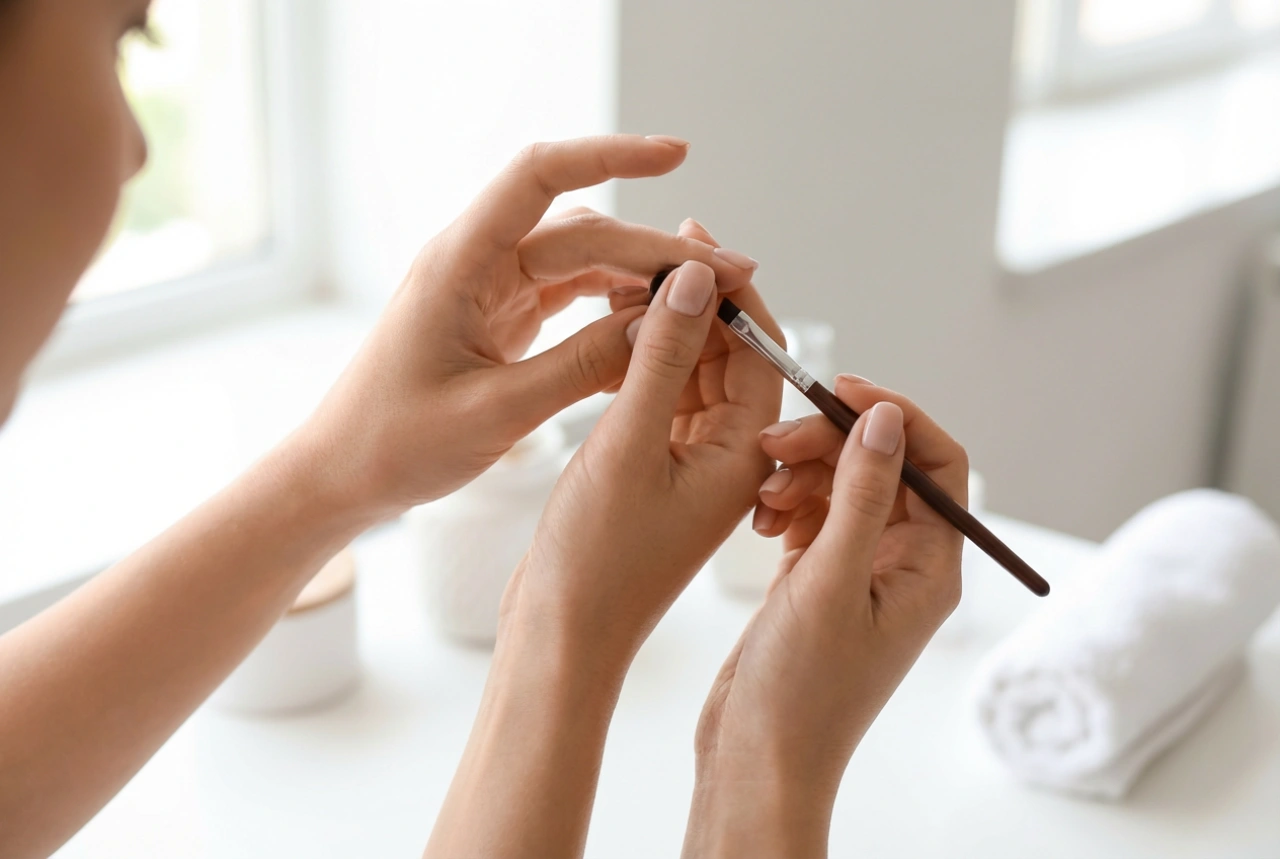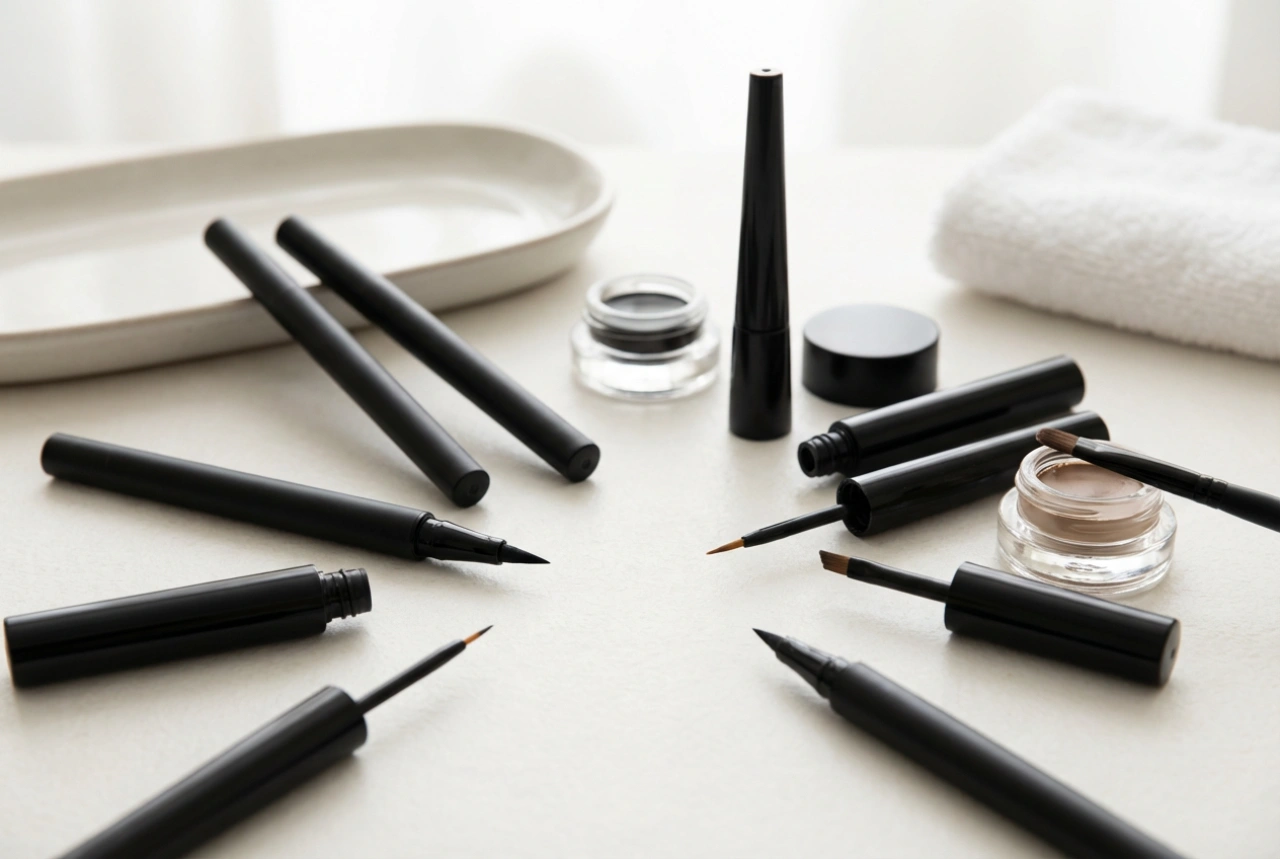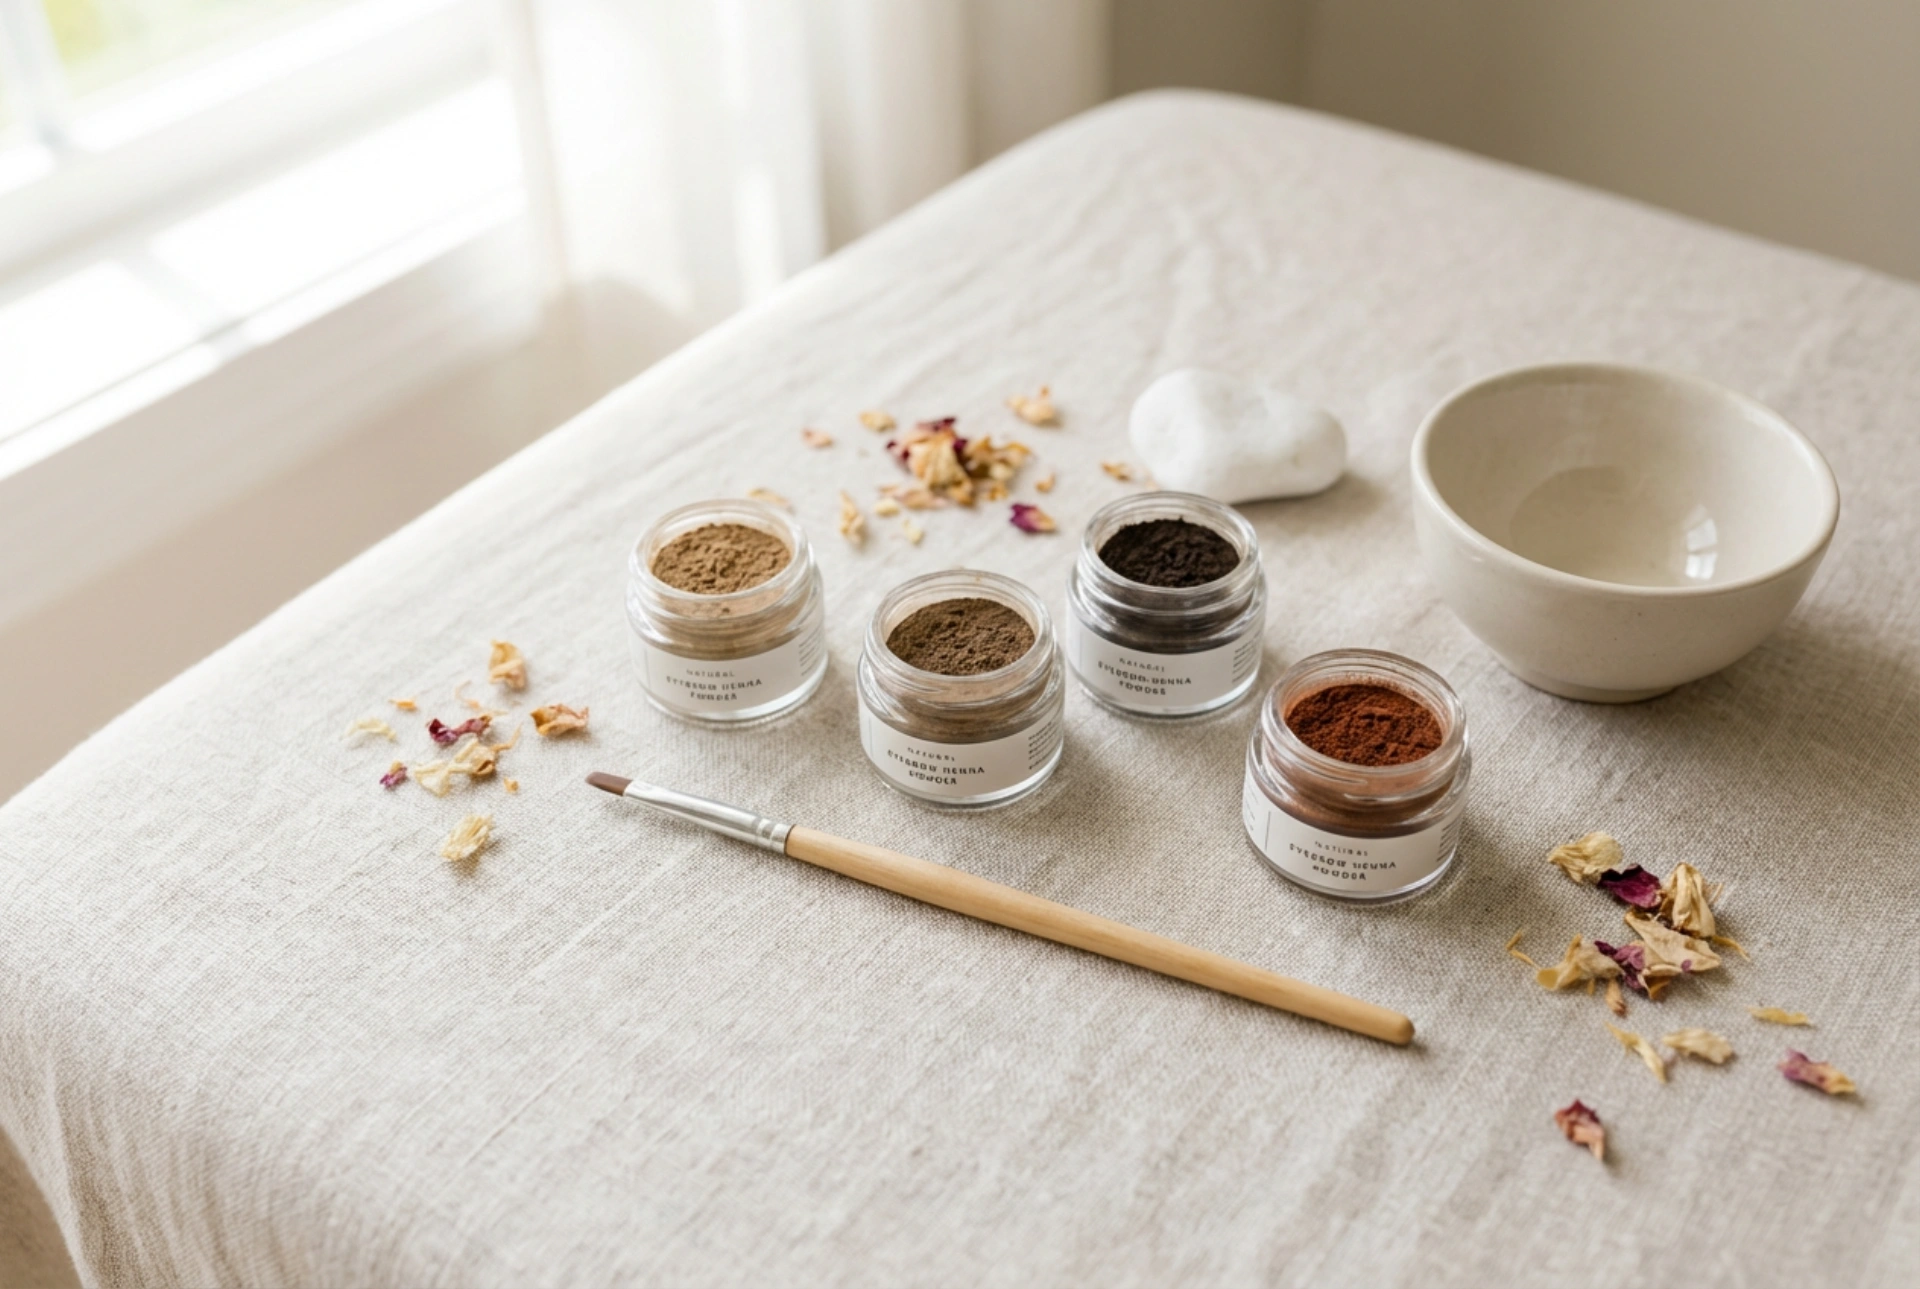


Achieving beautifully defined eyebrows can completely transform the symmetry and expression of the face. In modern home beauty routines, eyebrow henna has emerged as a preferred method for enhancing brow shape and depth without the permanence of cosmetic tattooing. Using delicate mixing bowls, fine applicator brushes, and cosmetic jars filled with diverse natural shades, anyone can master the art of brow tinting. This natural dye, derived from plant extracts, offers a reliable way to tint both the fine brow hairs and the underlying skin, creating a fuller, more structured appearance that lasts for weeks.
Understanding the Different Types of Eyebrow Henna
When exploring eyebrow henna, you will typically find two main formats available for home use: traditional powder henna and modern gel or cream-based formulations. Each type has its unique characteristics, making them suitable for different styling preferences and skill levels.
Traditional Powder Henna
Powder henna is the classic choice, closely resembling the traditional botanical extracts used for centuries. It usually requires mixing with a specific activator or warm water to form a smooth paste. Powder henna is highly favoured for its ability to stain both the skin and the hair, making it excellent for filling in sparse areas and creating a structured, defined shape. Because it provides a stronger stain, it is ideal for those seeking a bold, long-lasting look.
Gel and Cream Henna
For beginners or those preferring a softer, more subtle enhancement, gel or cream henna is a fantastic alternative. These pre-formulated options are easier to mix and apply, offering a gentler colour deposit that primarily tints the brow hairs rather than staining the skin deeply. The application process is often quicker, making it a convenient option for a subtle, everyday refresh.
How to Choose the Perfect Shade for Your Features
Selecting the right tone is crucial for achieving a natural-looking result. An incorrect shade can make the eyebrows look overly harsh or unnaturally warm. To find your ideal match, consider both your natural hair colour and skin undertone.
- Blondes and Light Hair: Opt for soft grey-brown or light ash-blonde tones. Avoid dark brown shades, which can look too dramatic against pale complexions. Cool-toned, lighter pigments will mimic natural shadows beautifully.
- Brunettes: Medium to dark brown shades work best. If you have warm undertones in your hair, look for rich chocolate or chestnut tones. For cool-toned dark hair, choose deep ash-brown or espresso shades to maintain harmony.
- Redheads: Warm, copper-infused browns or soft terracotta shades complement red hair beautifully without looking overly red or unnaturally dark.
- Dark or Black Hair: A dark grey, graphite, or soft black shade is ideal. Avoid using absolute jet black, as it can appear flat and artificial; instead, a very deep charcoal provides a softer, more sophisticated finish.
Step-by-Step Safe Application at Home
Applying henna at home requires patience, precision, and safety precautions to ensure a clean, professional finish. Following a structured process helps minimise mistakes and ensures even colour distribution.
Step 1: The Sensitivity Patch Test
Before applying any dye to your face, it is essential to perform a sensitivity test. Apply a small amount of the mixed henna to an inconspicuous area, such as the inside of your elbow or behind your ear, and leave it for 24 hours. If no redness, itching, or irritation occurs, it is safe to proceed with the brow application.
Step 2: Preparation and Cleaning
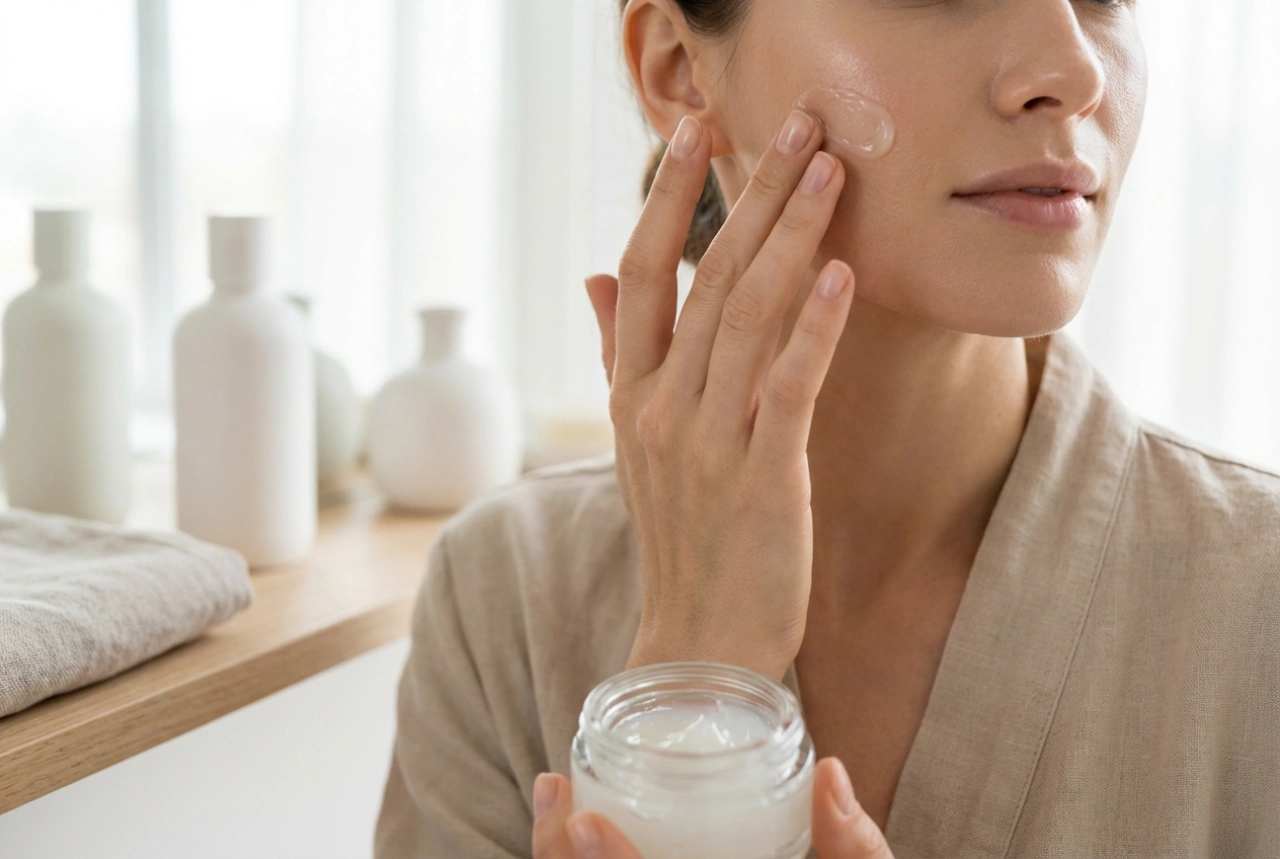
For the henna to adhere properly, the brow area must be completely clean and free of oils, makeup, and dead skin cells. Cleanse the area with a gentle oil-free cleanser and pat dry. You can apply a thin layer of barrier cream or petroleum jelly around the outer border of the eyebrows to prevent accidental staining on the surrounding skin.
Step 3: Mixing and Precise Application
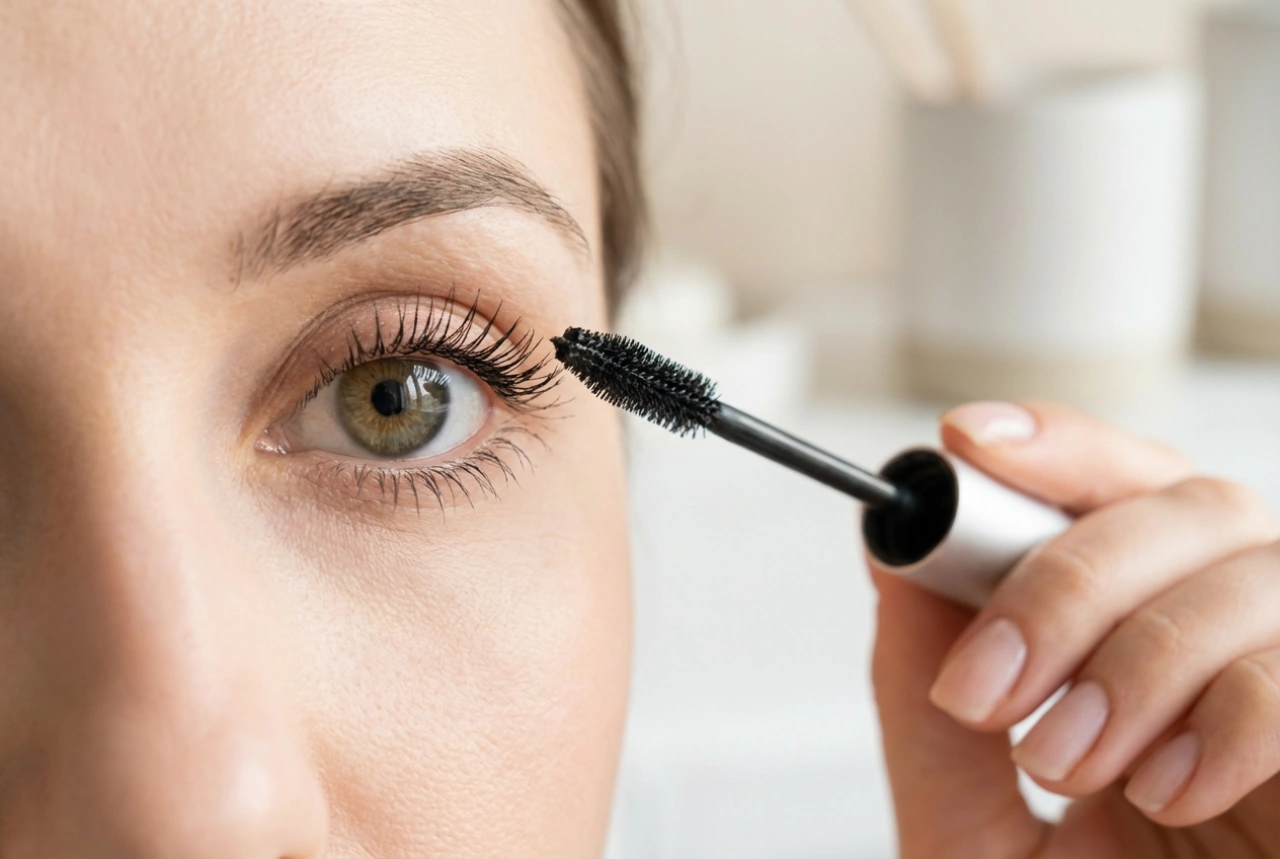
Using a delicate mixing bowl, combine the henna powder or cream according to the package instructions until you achieve a smooth, paste-like consistency. Dip a fine applicator brush into the mixture. Start applying the henna from the tail of the eyebrow, moving slowly towards the centre, and finally applying a very light layer to the inner front corner. This gradient approach creates a natural, soft ombre effect rather than a harsh, solid block of colour.
Step 4: Removal and Finishing
Allow the henna to dry and process according to the recommended time—usually between 10 to 20 minutes depending on the desired intensity. To remove the dried paste, dampen a clean cotton pad with warm water and gently press it against the brow to soften the henna, then wipe it away smoothly without rubbing hard.
Aftercare and Maximising the Longevity of Your Brow Tint
To enjoy your defined brows for as long as possible, proper aftercare is essential. In the first 24 hours after application, avoid getting the brow area wet, and stay away from steam rooms, saunas, and intense workouts that cause excessive sweating.
In your daily skincare routine, avoid applying heavy oils, active serums, or exfoliating products directly onto the eyebrows, as these can accelerate the fading of the stain on the skin. When cleansing your face, gently wipe around the brow area to keep the colour looking fresh, vibrant, and perfectly defined for weeks.