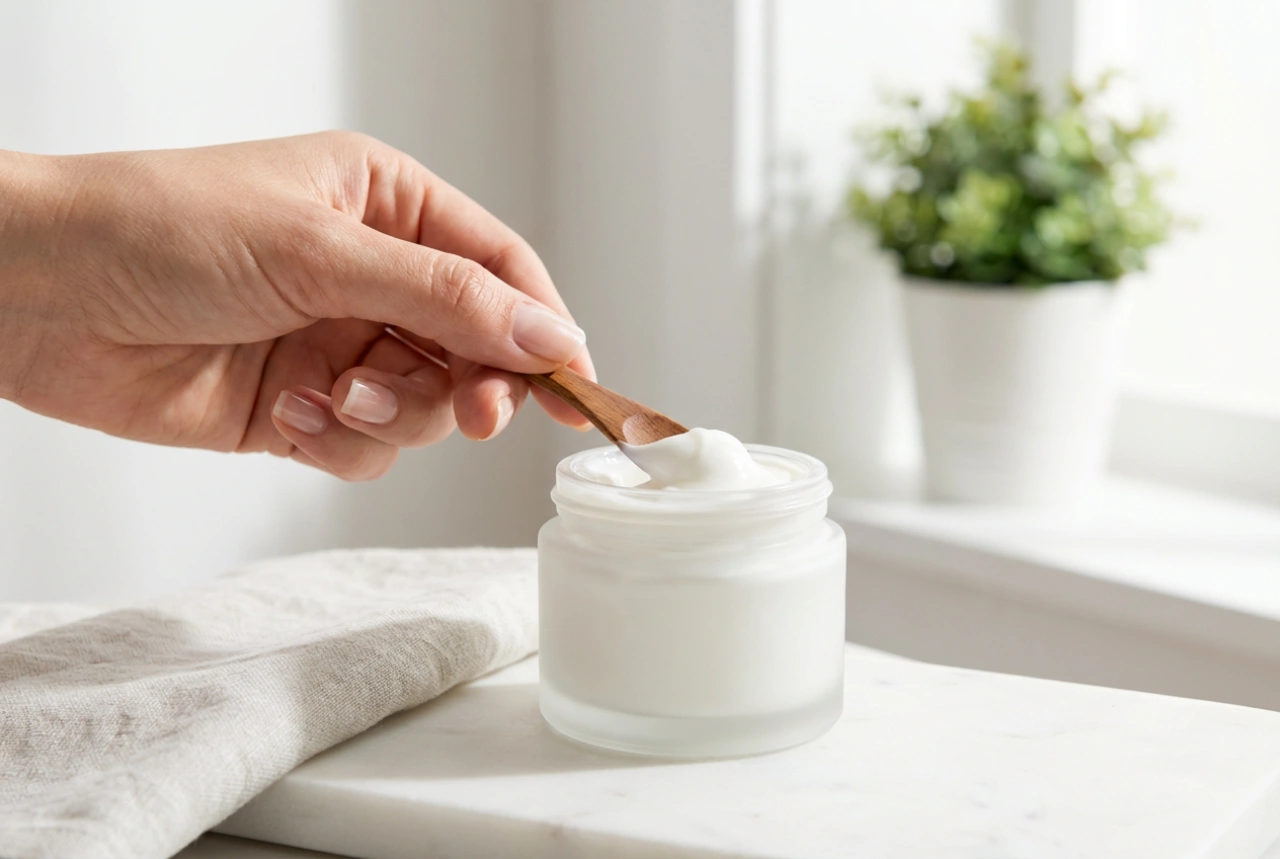


Creating your own skincare treatments at home can be a deeply satisfying ritual. The process of mixing a clay mask, feeling the smooth texture form between your fingertips or against a spatula, is a moment of calm and self-care. But to truly reap the benefits of this natural wonder, it's essential to understand the proper techniques for preparation, application, and removal. Mastering these steps ensures your skin receives all the goodness the clay has to offer, leaving it feeling refreshed and purified.
Understanding Different Types of Clay
Not all clays are created equal, and choosing one that suits your skin's needs is the first step towards a successful mask session. Each type of cosmetic clay has a unique mineral composition, which determines its colour and properties.
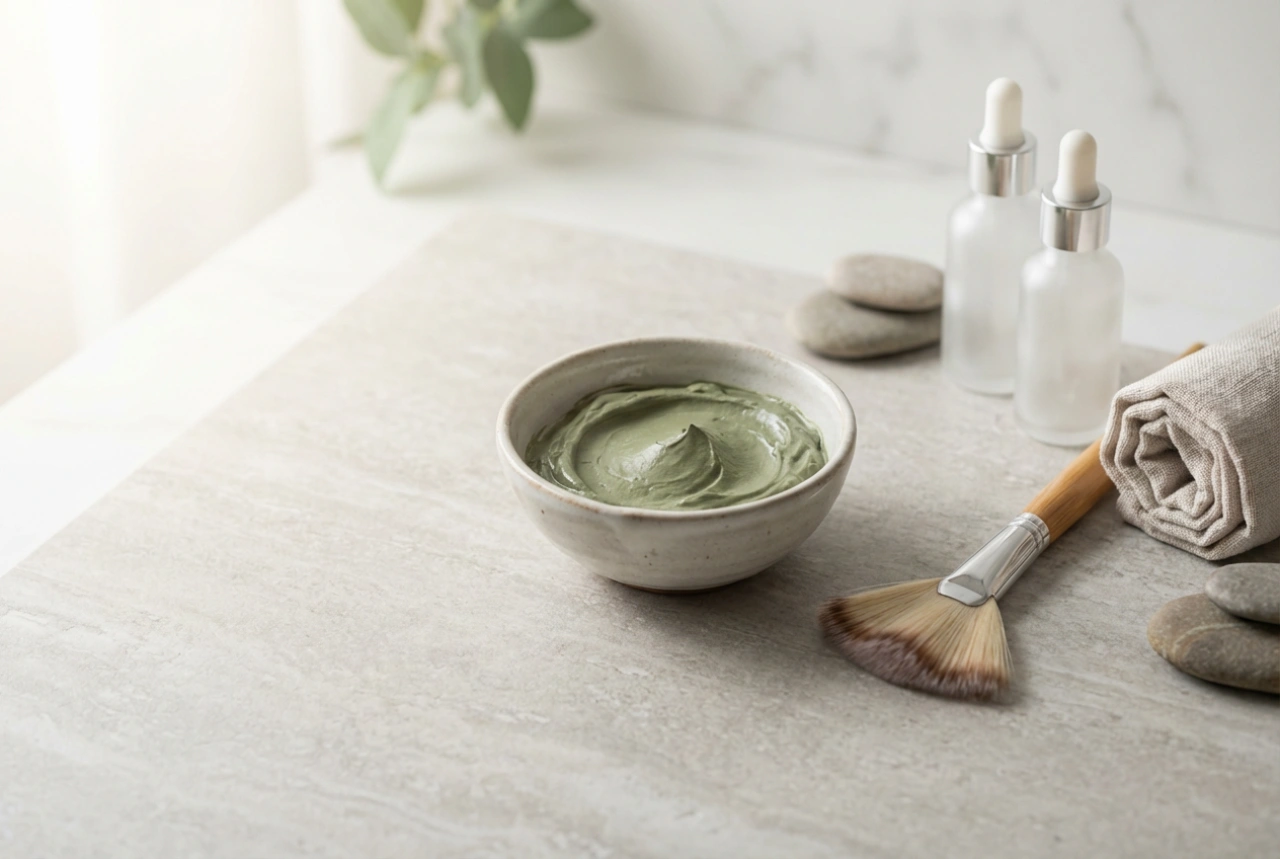
- Green Clay: Highly absorbent, it's an excellent choice for oily or combination skin. It helps to draw out impurities and excess sebum from the pores.
- White Clay (Kaolin): This is the gentlest of all clays, making it ideal for sensitive, dry, or mature skin. It cleanses mildly without stripping the skin of its natural oils.
- Pink Clay: Often a blend of red and white clays, it offers a balance of properties. It's great for normal to sensitive skin types, helping to soften and improve skin tone.
- Red Clay: Rich in iron oxides, red clay is known for its revitalising and brightening effects. It's particularly beneficial for tired or mature skin, helping to boost radiance.
How to Properly Prepare Your Clay Mask
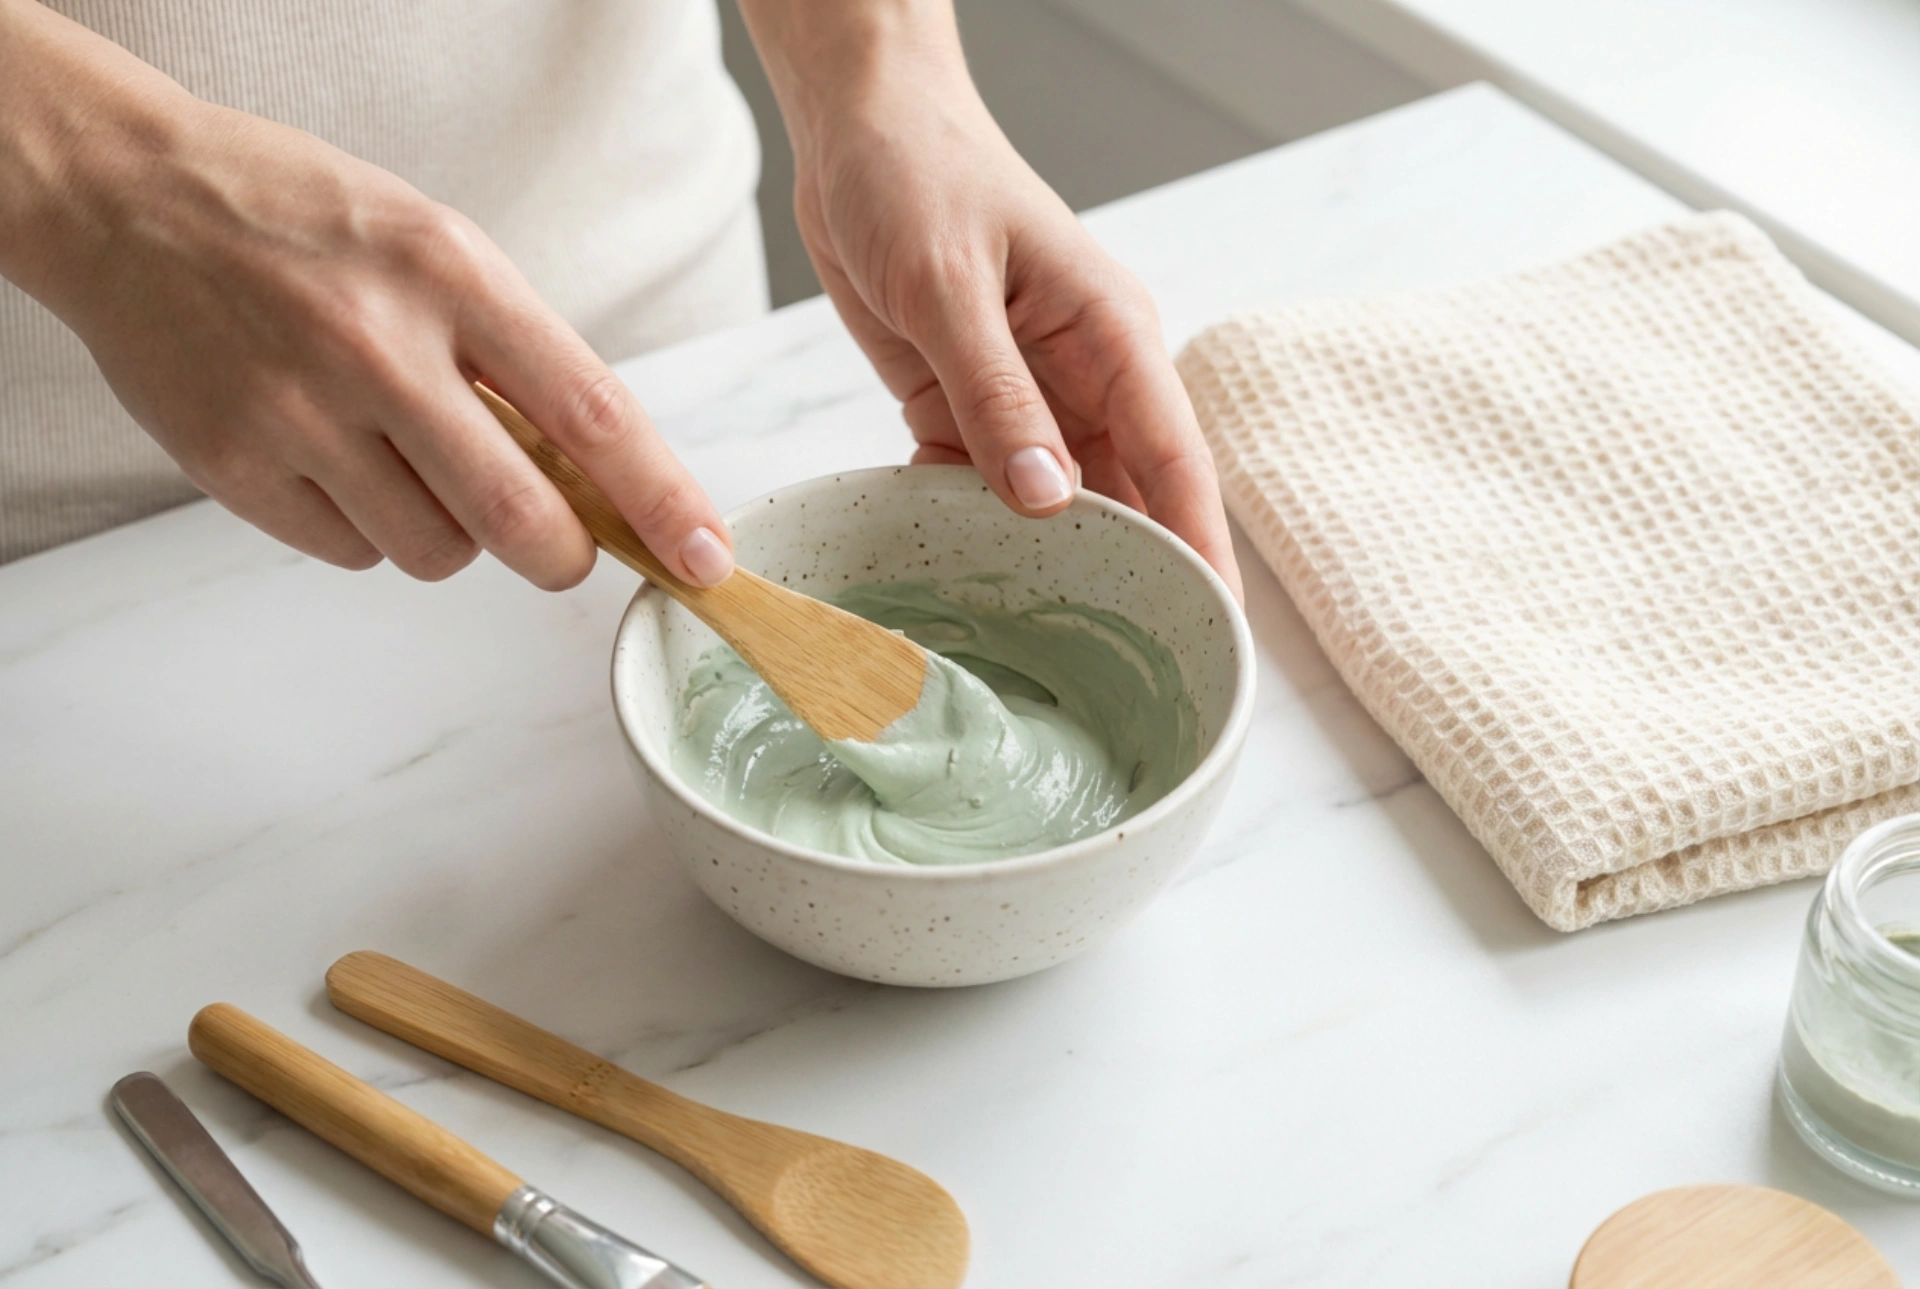
The preparation stage is crucial. To maintain the clay's beneficial properties, it's recommended to avoid using metal bowls or utensils, as metal can react with the minerals in the clay and reduce its effectiveness. Opt for glass, ceramic, or wooden tools instead.
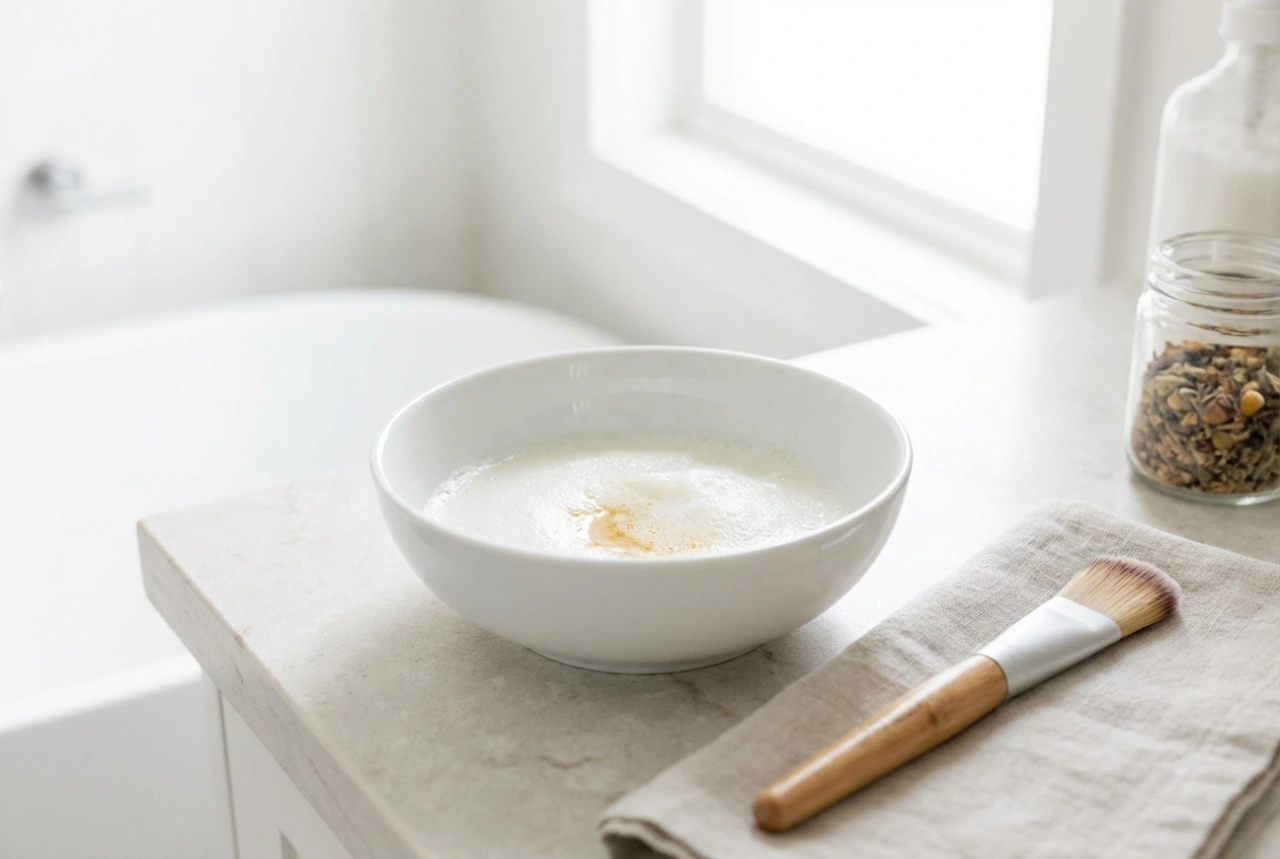
Step-by-Step Mixing Guide
- Measure the Clay: Start by placing the desired amount of clay powder (usually 1-2 teaspoons) into your bowl.
- Add Liquid Slowly: Gradually add your chosen liquid. You can use purified water, but for an added boost, consider a floral water (hydrolat) like rosewater or chamomile water. Add the liquid bit by bit, mixing continuously.
- Achieve the Perfect Consistency: Continue mixing until you have a smooth, creamy paste that is not too thick or too runny. The ideal texture is similar to that of yoghurt, thick enough to cling to your skin without dripping. Let it sit for a minute to ensure all the powder is fully hydrated.
The Art of Applying a Clay Mask Evenly
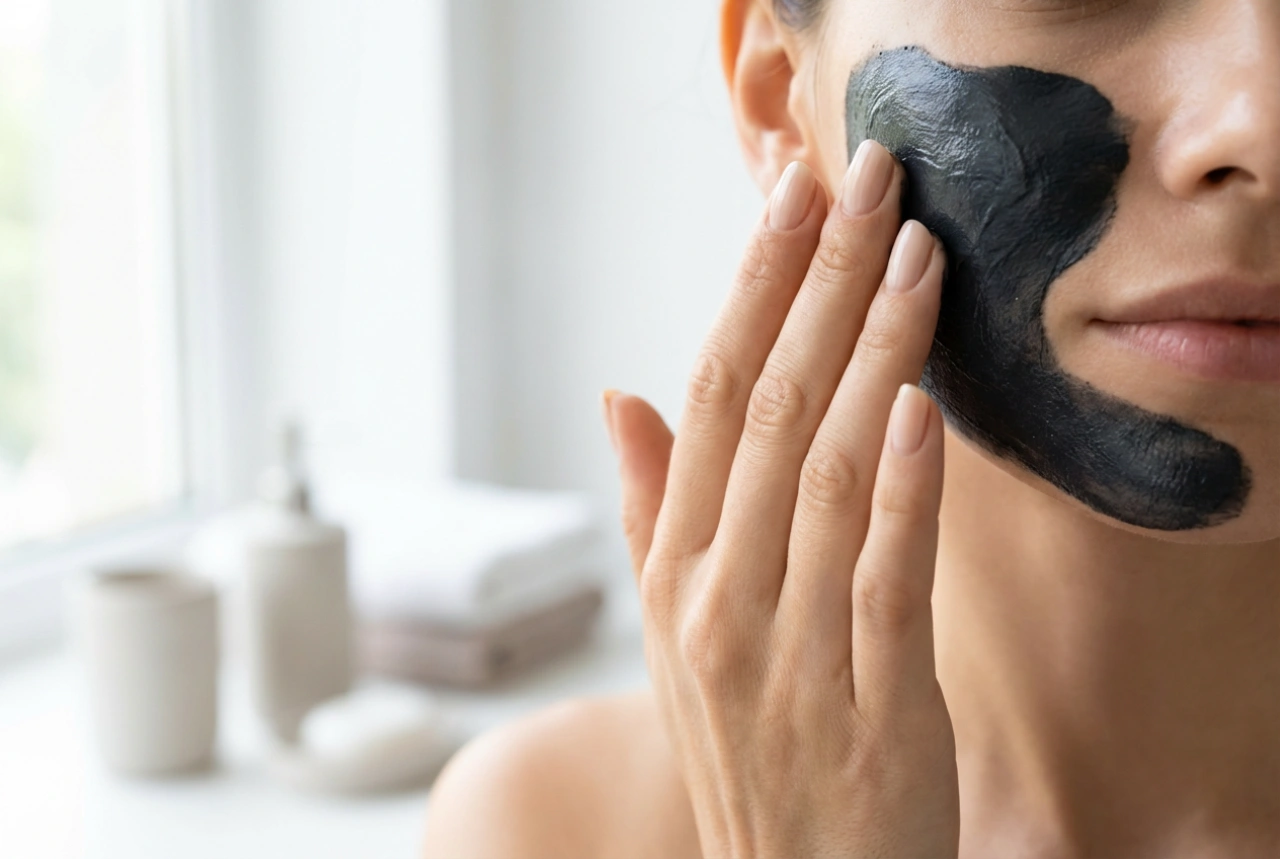
Before applying the mask, ensure your face is clean and free of makeup. You can wash it with your usual gentle cleanser and pat it dry. A clean canvas allows the clay to work more effectively.
Using a clean, flat foundation brush or your fingertips, apply the mask in an even layer across your face. Start from the centre of your face and work your way outwards. Pay attention to areas prone to excess oil, such as the T-zone (forehead, nose, and chin). Be careful to avoid the delicate skin around your eyes and lips. A layer that is about 1-2 millimetres thick is sufficient; applying it too thickly will only prolong the drying time without adding extra benefits.
When and How to Remove the Mask
This is perhaps the most misunderstood step in using a clay mask. Contrary to popular belief, you should not let the mask dry completely until it cracks. When the clay is wet, your skin absorbs the beneficial minerals. As it begins to dry, it stimulates blood flow and starts to draw out impurities. However, once it's fully dry and cracking, it can begin to draw moisture *from* your skin, leading to dehydration and irritation.
The perfect time to remove the mask is when it starts to feel tight and is still slightly tacky to the touch. It will look lighter in colour but not completely pale and dusty. If you've left it on too long, you can spritz your face with water or a hydrolat to rehydrate it before removal.
To remove the mask, soak a soft washcloth or a cosmetic sponge in warm water and gently press it against your face for a few moments to soften the clay. Then, gently wipe the mask away without harsh scrubbing. Rinse your face with lukewarm water to remove any remaining residue.
Essential Aftercare for Your Skin
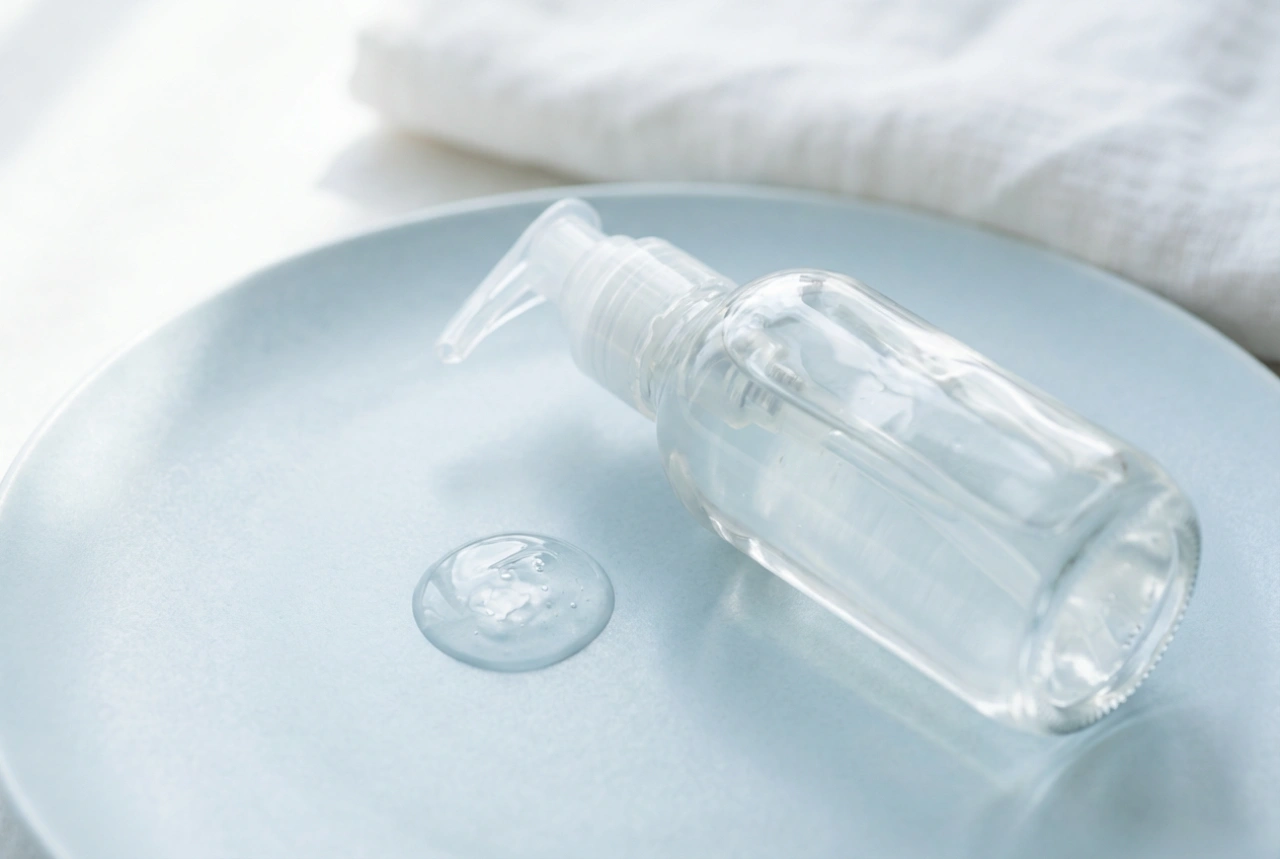
After you've removed the mask, your skin is perfectly prepped for the next steps in your routine. Gently pat your face dry with a clean, soft towel. Your pores are clean and receptive, making this an ideal time to apply nourishing products. Follow up immediately with a hydrating toner to help rebalance your skin's pH. Finally, lock in moisture by applying your favourite serum and moisturiser. This final step is essential to keep your skin hydrated, soft, and glowing after the deep-cleansing treatment.