


Enhancing your eyes with fuller, longer lashes has become a staple in many beauty routines. Magnetic eyelashes offer a modern and convenient alternative to traditional false lashes that require glue, promising a simpler and cleaner application. Using a dedicated applicator can make the process even more straightforward, providing precision and control for a flawless finish. This guide will walk you through the entire process, from preparation to removal, ensuring you can confidently master this beauty technique.
Preparing Your Eyes and Lashes
Proper preparation is the foundation for a successful and long-lasting application. Starting with a clean canvas ensures the magnetic lashes adhere correctly and blend seamlessly with your natural ones. Neglecting this step can lead to slippage or an unnatural appearance.
- Start with a Clean Base: Ensure your eyelids and natural eyelashes are completely clean and free from any oils or residual makeup. Use a gentle cleanser and pat the area dry.
- Apply Your Eye Makeup: If you plan to wear eyeshadow or eyeliner, apply it before the magnetic lashes. A line of dark eyeliner can help to camouflage the lash band, creating a more integrated look. However, you should wait to apply mascara until after the lashes are in place.
- Curl Your Natural Lashes: Use an eyelash curler to give your natural lashes a gentle lift. This helps them to support the magnetic lashes and creates a more cohesive, upward curve, preventing the false lashes from pointing downwards.
The Application Process Using an Applicator
The applicator is designed to hold both the upper and lower lash strips, allowing you to position them perfectly around your natural lashes before clicking them into place. While it may take a little practice, this tool simplifies what can be a tricky process.
Positioning the Lashes on the Applicator
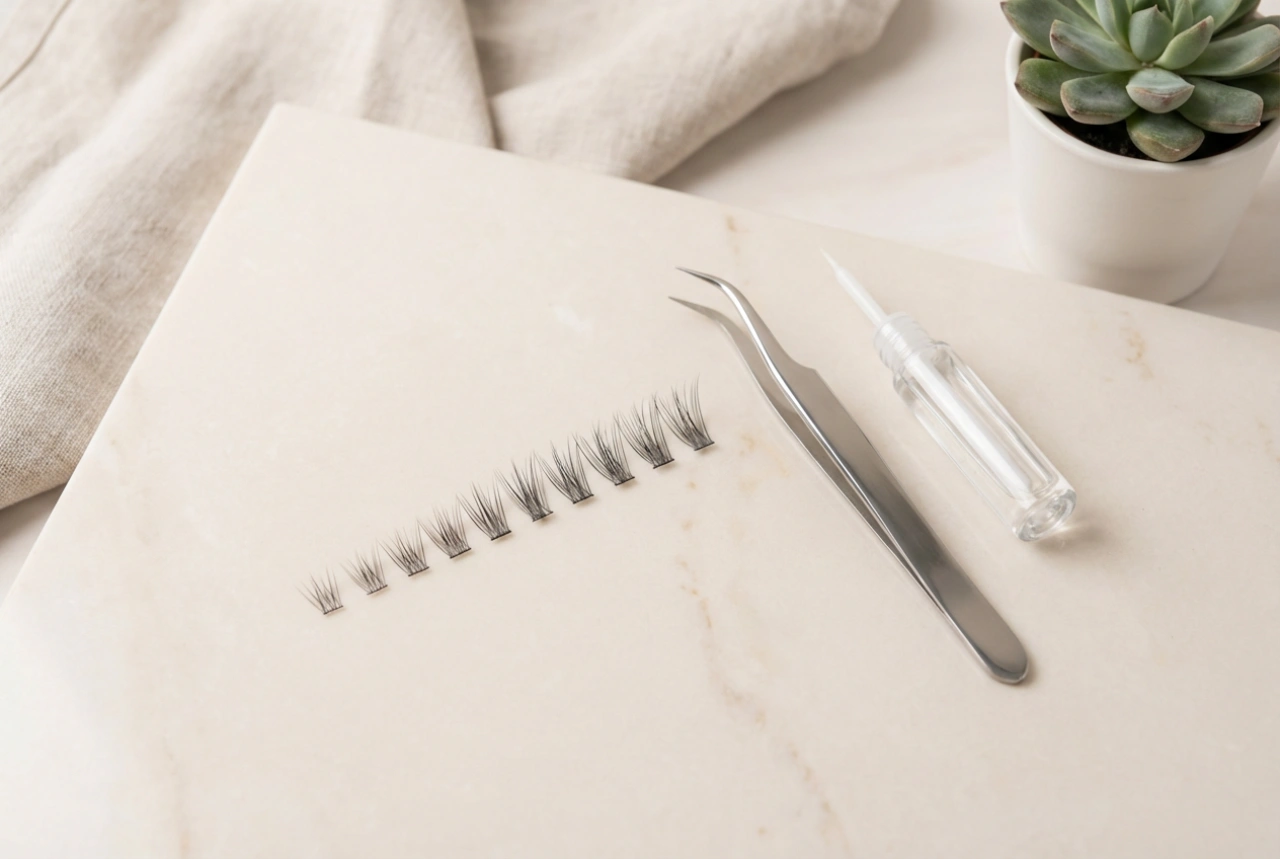
Familiarise yourself with your applicator. Most have two curved arms, one for the top lash strip and one for the bottom. Identify which is which. Gently place the top magnetic lash strip along the upper curve of the applicator, with the magnets facing inwards. Do the same with the bottom lash strip on the lower curve, again ensuring the magnets face inwards, ready to connect with their counterparts on the top strip.
Applying to Your Lash Line
Once the lashes are secured on the tool, the main part of the application begins. Hold the applicator with the open end facing your eye. Bring it close to your face and carefully position it so that your natural lash line rests between the upper and lower magnetic strips. The upper curve of the applicator should be just above your natural lashes, and the lower curve should be right underneath them. Take your time to get the alignment right; it should be as close to the root of your lashes as possible without pinching your skin. When you are happy with the position, firmly but gently press the applicator's arms together. You should hear a soft 'click' as the magnets connect, sandwiching your natural lashes between them. Hold for a second, then slowly open the applicator and pull it away from your eye.
Achieving a Flawless Finish and Comfortable Wear
After the lashes have snapped into place, a few minor adjustments can make all the difference between a good application and a great one. The goal is for the lashes to feel weightless and look like a natural extension of your own.
- Check the Placement: Look in the mirror from different angles. The lash band should sit snugly against your lash line. If there are any gaps or if the ends are lifting, you may need to adjust them.
- Make Gentle Adjustments: You can use your fingertips or the end of the applicator to gently nudge the lashes into the perfect position. If they feel uncomfortable or are poking your eyelid, it is best to remove them and reapply. Comfort is essential.
- Blend with Mascara (Optional): For an ultra-seamless blend, you can apply a very light coat of mascara to your natural lashes at the root, helping to merge them with the magnetic set. Be careful not to apply too much, as this can make cleaning the magnetic lashes more difficult.
Safe Removal and Aftercare for Longevity
Proper removal and care are crucial for protecting your natural lashes and extending the life of your reusable magnetic ones. Never pull the lashes straight off, as this can damage both them and your own lashes.
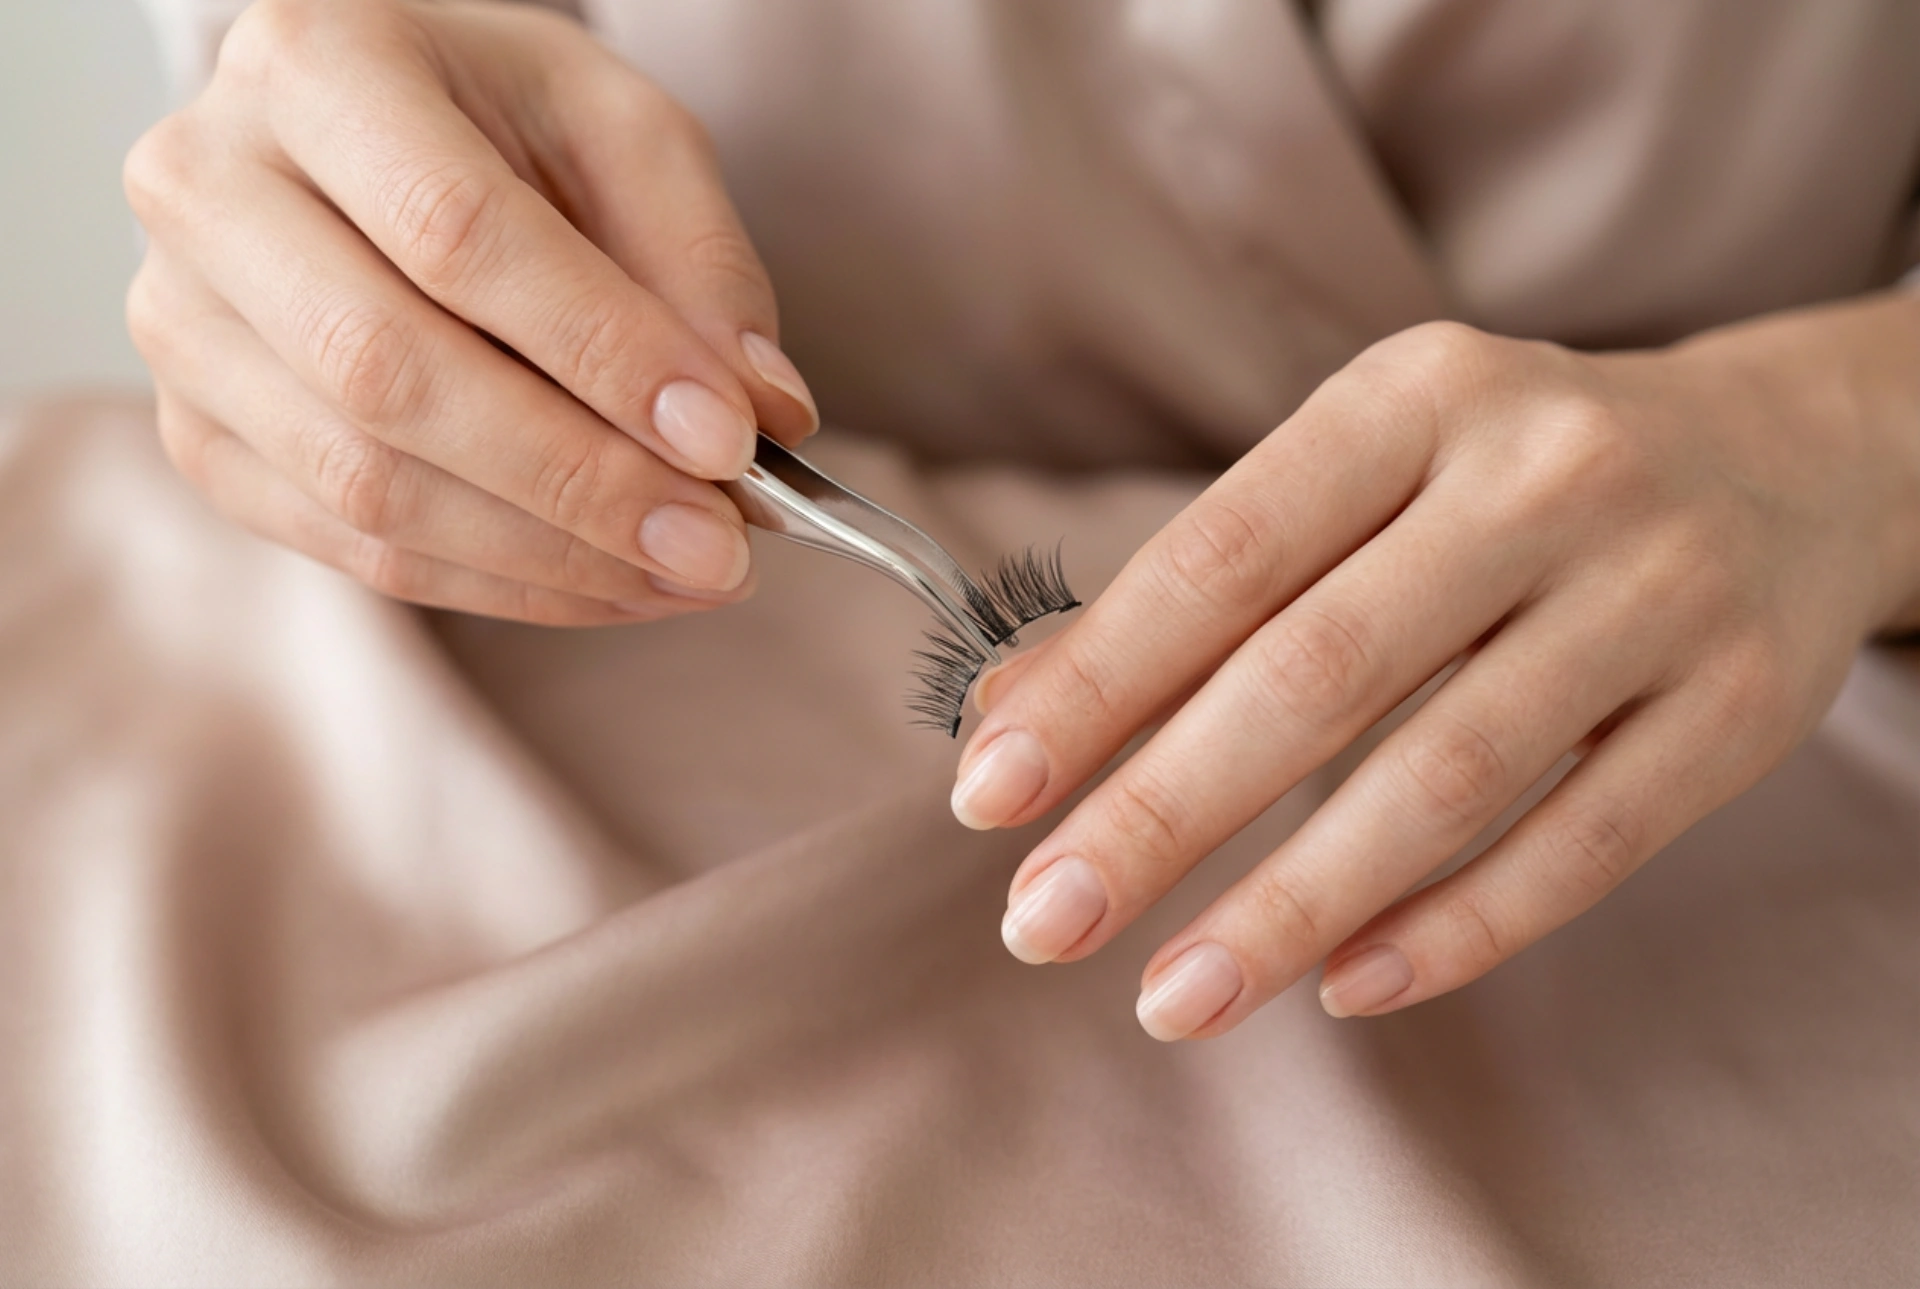
How to Remove Magnetic Lashes
To remove the lashes, use your thumb and index finger to grasp the outer corner where the two magnetic strips meet. Gently slide the top and bottom magnets apart in a sideways motion. They should separate easily without any pulling or tugging on your natural lashes. Repeat on the inner corner if necessary.
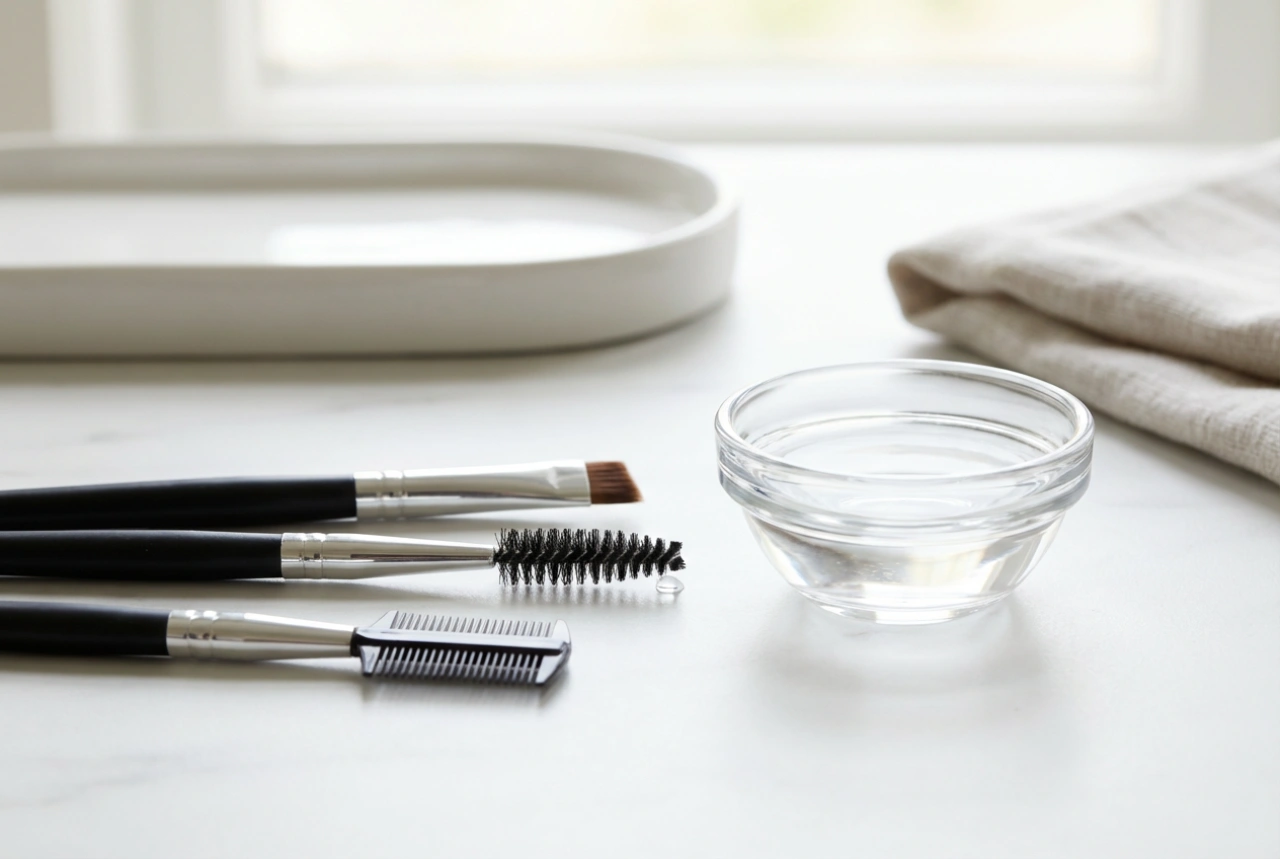
Cleaning and Storing Your Lashes
After each use, it's important to clean your magnetic lashes. Use a cotton bud dipped in an oil-free makeup remover to gently wipe away any eyeliner or mascara residue from the lash bands and the magnets. Be thorough but gentle. Allow them to air dry completely on a clean paper towel before storing them. Always place them back into their original magnetic case. This not only keeps them clean and safe but also helps them maintain their curved shape for future applications.