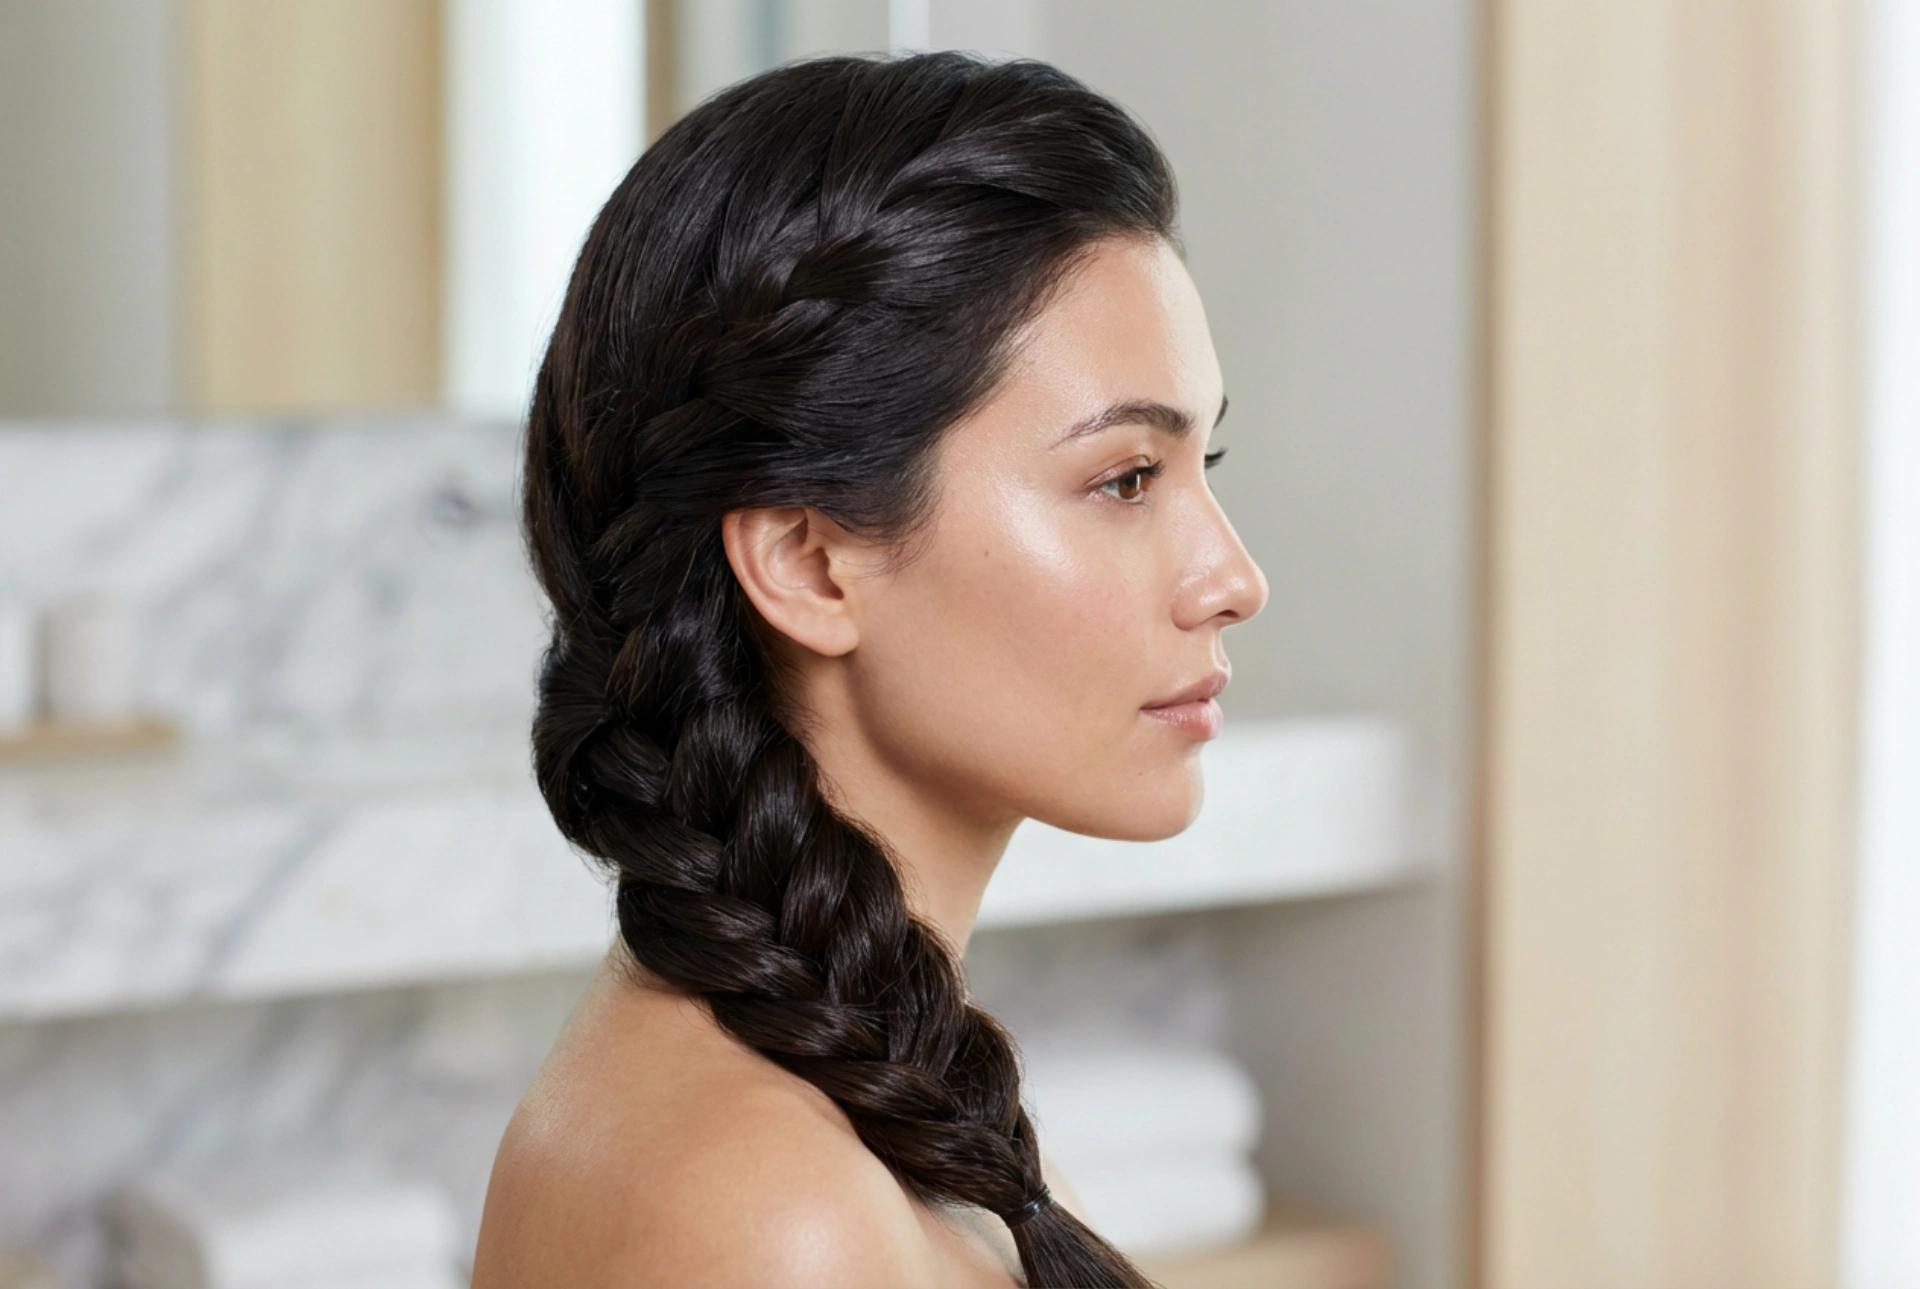


The side braid is a truly timeless hairstyle, blending elegance with a touch of romantic charm. It's a versatile look that can be adapted for a casual daytime outing or a sophisticated evening event. The key to transforming a simple side plait into a durable updo lies in the preparation, technique, and finishing touches. If you've ever wondered how to create a beautiful side braid that holds securely all night long, this guide will walk you through every essential step, ensuring your style remains impeccable from the first moment to the last dance.
Preparing Your Hair for Braiding
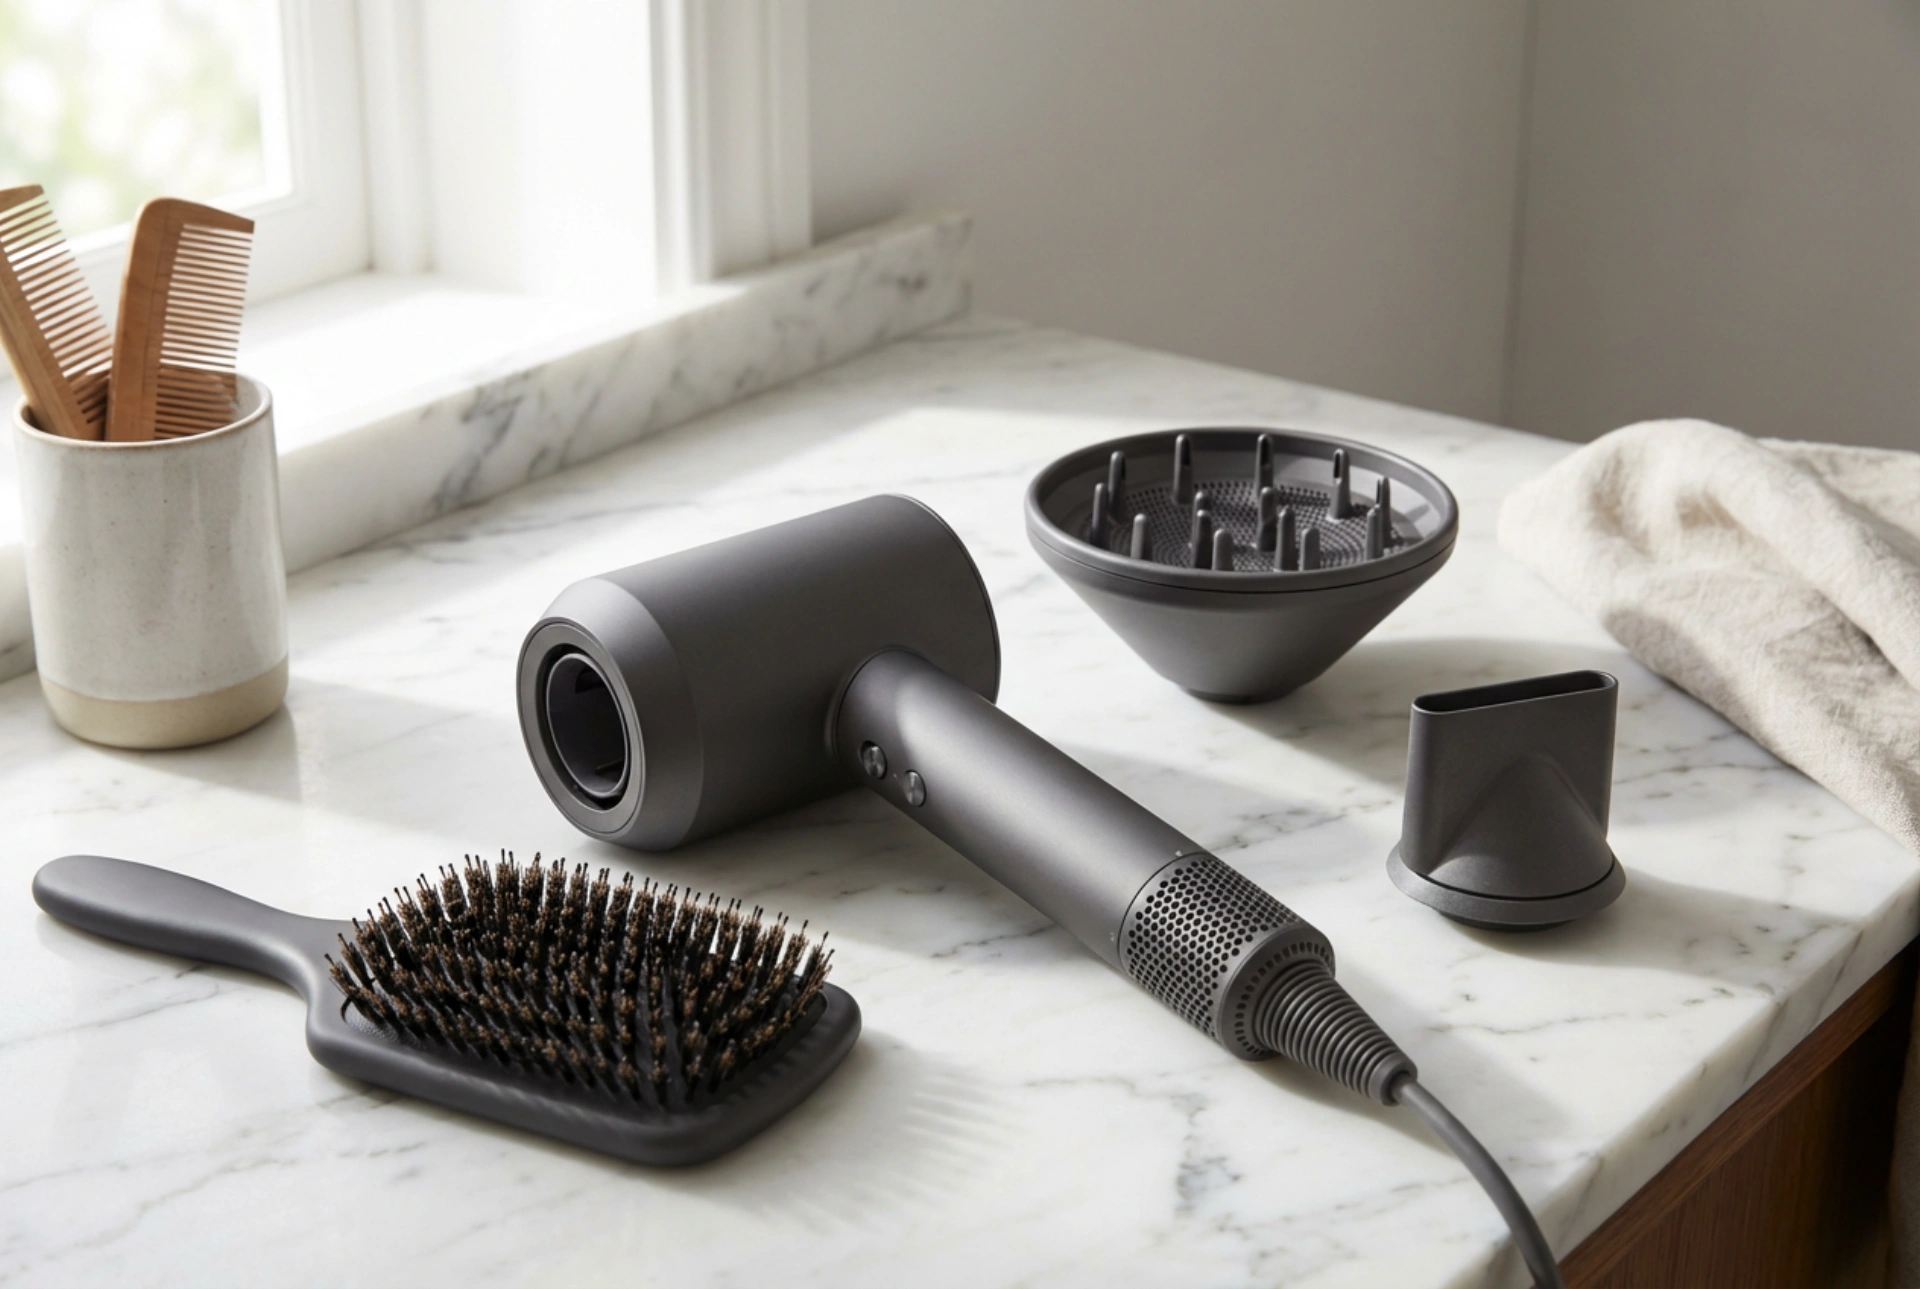
The foundation of any long-lasting hairstyle is proper preparation. Starting with the right hair texture is crucial for giving your braid grip and preventing it from loosening over time. While freshly washed, silky hair can be difficult to plait, second-day hair often has the ideal texture. If you are starting with clean hair, you can easily add the necessary grip.
- Build Texture: Lightly spritz a texturising spray or a small amount of dry shampoo at the roots and through the lengths. These products absorb excess oils and create a slightly coarser feel, which helps the strands of the plait interlock more securely. A light-hold mousse applied to damp hair before blow-drying can also provide excellent structure.
- Detangle Thoroughly: Before you begin, brush your hair completely to remove any knots or tangles. A smooth canvas is essential for creating a neat, uniform braid. Work from the ends upwards to gently detangle without causing breakage.
- Choose Your Parting: Decide which side you want your braid to fall on and create a deep side parting. This will determine the direction and flow of your hairstyle. Use a comb for a clean, precise line.
Step-by-Step Guide to the Side Plait
With your hair prepped, you're ready to begin plaiting. The technique you choose will define the final look, whether you prefer a classic, integrated style or a more prominent, three-dimensional braid. Gather all your hair over to the chosen shoulder to begin.
The Classic Side French Braid
The French braid creates a smooth, elegant finish where the plait is woven into the hair. It’s perfect for a polished look. To create it, start with a small section of hair at the front, near your parting. Divide this section into three equal strands and begin a traditional plait: cross the right strand over the middle, then cross the left strand over the new middle. Before each subsequent cross, pick up a small, new section of hair from the hairline and add it to the outer strand before crossing it over the middle. Continue this pattern, gathering hair as you work your way down and across the back of your head towards the opposite shoulder. Once all the hair has been incorporated, continue with a standard three-strand plait to the ends and secure with a clear elastic band.
The Romantic Dutch Braid
A Dutch braid, also known as an 'inside-out' braid, sits on top of the hair for a bolder, more defined effect. The process is very similar to the French braid, but instead of crossing the outer strands *over* the middle, you will cross them *under*. This simple change in direction makes the braid pop. Start with your initial three strands, cross the right strand under the middle, then the left strand under the new middle. As you continue, add new sections of hair to the outer strands before crossing them under the middle. Continue this underhand pattern until all hair is gathered into the plait, then finish with a standard plait to the ends and secure it.
How to Pin and Secure Your Braid
This is the most critical stage for ensuring your hairstyle lasts. Strategic pinning provides hidden support that will keep your braid in place without feeling stiff or heavy. Before pinning, you might want to gently pull apart the sections of your braid—a technique called 'pancaking'—to add volume and a softer, more romantic feel. Do this carefully, starting from the top and working your way down.
- Choose Your Pins: Bobby pins are essential for anchoring the braid. Choose pins that match your hair colour for a seamless look. U-shaped pins are excellent for tucking in looser sections and securing the final shape without creating too much tension.
- Create an Anchor: At the nape of your neck, underneath where the braid starts to descend, create a strong anchor point. Take two bobby pins and slide them in an 'X' formation, catching the base of the braid and securing it to the underlying hair. This prevents the weight of the braid from pulling it down.
- Hide the Pins: To pin down any loose areas along the back of your head, slide the bobby pin in the direction of the hair and then turn it back on itself, hiding it within the hair or under the braid. This locking technique provides a much stronger hold than simply sliding a pin straight in.
Finishing Touches for All-Night Perfection
The final step is to lock everything in place. A few finishing products will provide hold, add shine, and tame any flyaways for a flawless finish. Use a good-quality hairspray to set your style. Hold the can about 30 centimetres (12 inches) away from your head and spray a light, even mist all over. This prevents the hair from becoming crunchy or wet-looking. For extra security, you can lightly spray the bobby pins before inserting them for added grip. If you have any stubborn flyaways around your face or hairline, spray a small amount of hairspray onto a clean mascara wand or a toothbrush and gently comb them into place. A tiny amount of smoothing serum or pomade warmed between your fingertips can also be used to define the braid and smooth any stray hairs. Finally, give your head a gentle shake to test the security of the updo. If anything feels loose, add another strategically placed pin.