


Peel-off masks offer one of the most satisfying experiences in a skincare routine, promising to lift away impurities and reveal a smoother, more radiant complexion underneath. The magic, however, lies in the technique. Proper application and removal are crucial not only for achieving the best results but also for ensuring the process is comfortable and gentle on your skin. From preparing your face to the final hydrating touch, mastering the art of the peel-off mask can transform it from a simple treatment into a truly effective and enjoyable ritual.
Preparing Your Skin for a Peel-Off Mask
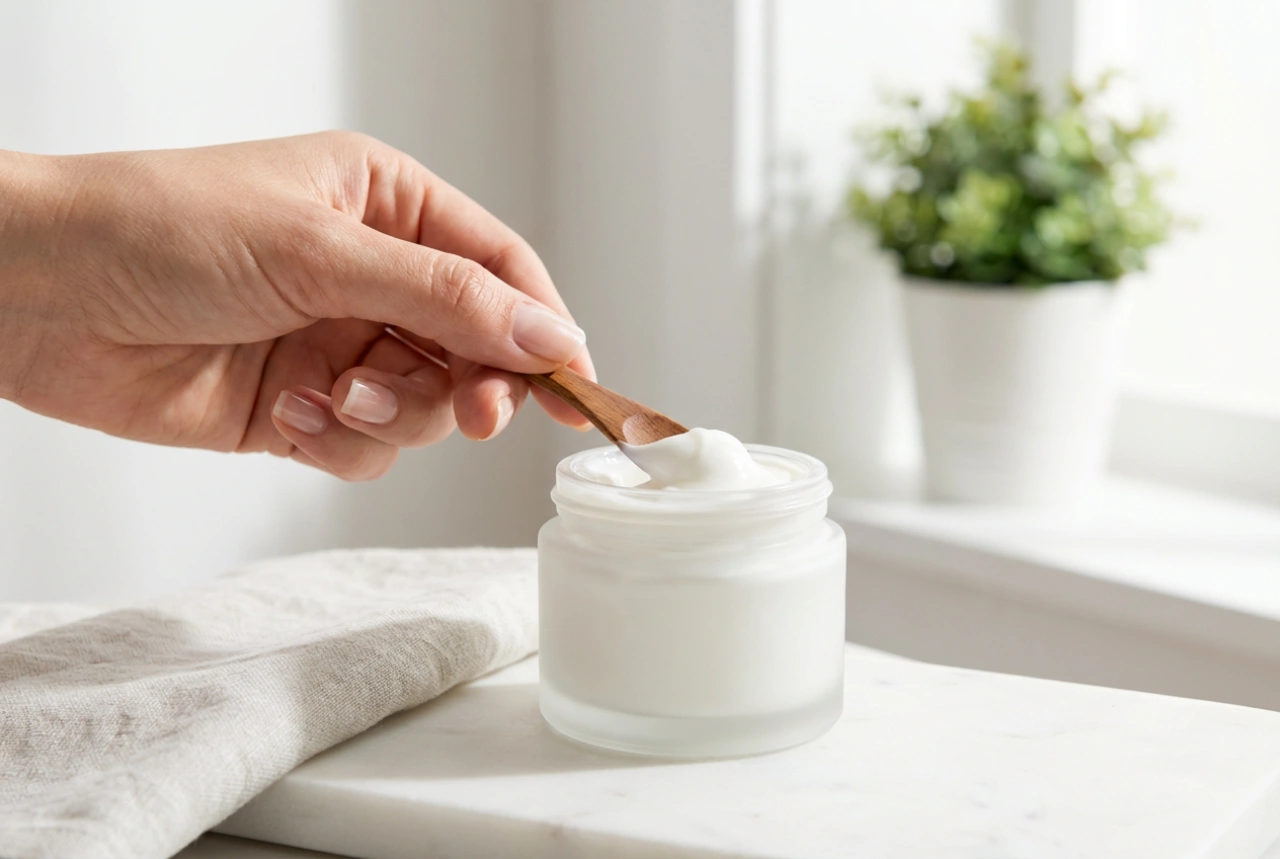
A great outcome starts with a clean foundation. Before you even open the mask, taking a few moments to prepare your skin will make a significant difference in its effectiveness and ease of removal.
Cleanse Thoroughly
Begin with a completely clean canvas. Use your favourite gentle cleanser to wash away any makeup, surface oils, and environmental pollutants. These can form a barrier that prevents the mask from properly adhering to your skin and working on your pores. After cleansing, pat your face completely dry with a soft, clean towel. Any residual dampness can interfere with the mask setting correctly, leading to a patchy and difficult removal.
Consider a Patch Test
If you have sensitive skin or are trying a new peel-off mask for the first time, a patch test is a non-negotiable step. Apply a small amount of the product to a discreet area of skin, such as behind your ear or along your jawline. Wait for it to dry and peel it off, then monitor the area for the next 24 hours. This simple precaution helps you check for any potential adverse reactions before applying the product to your entire face.
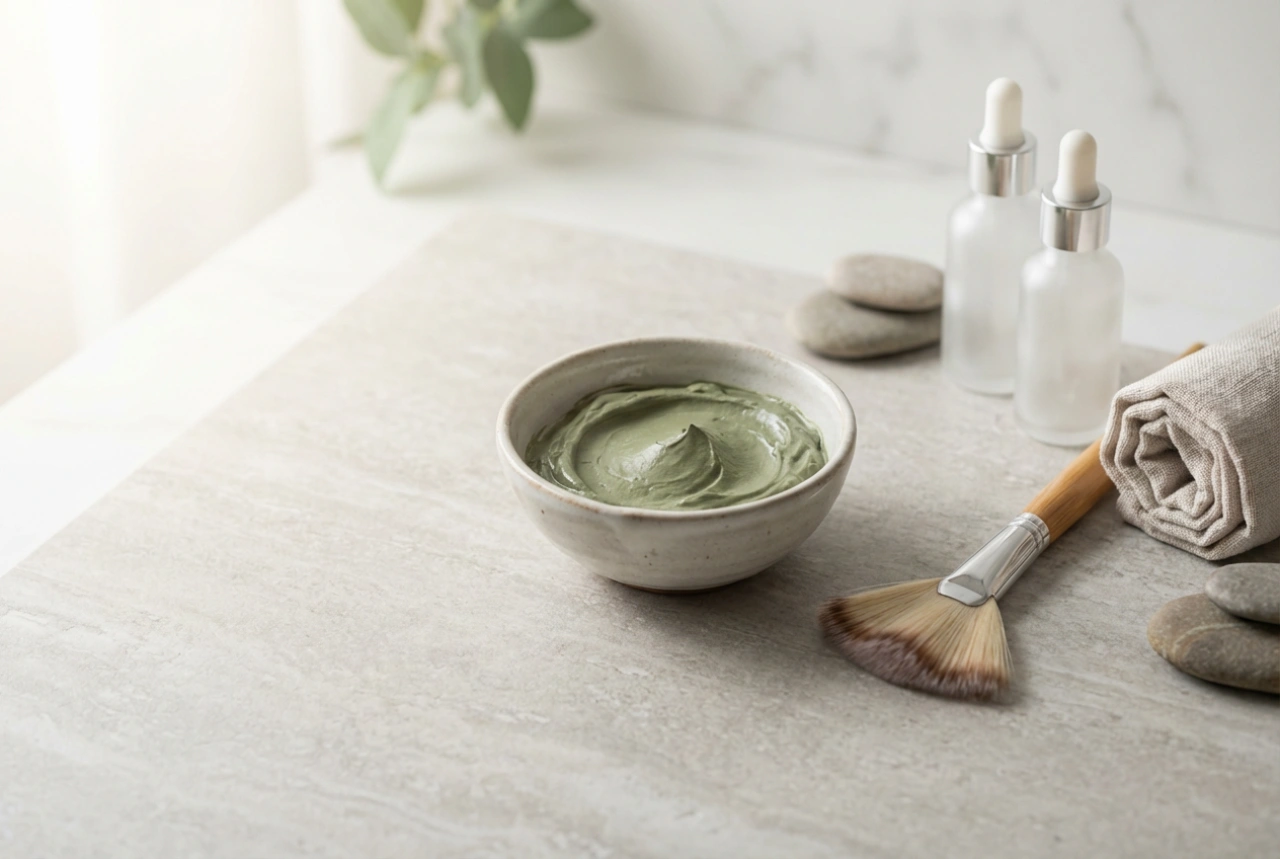
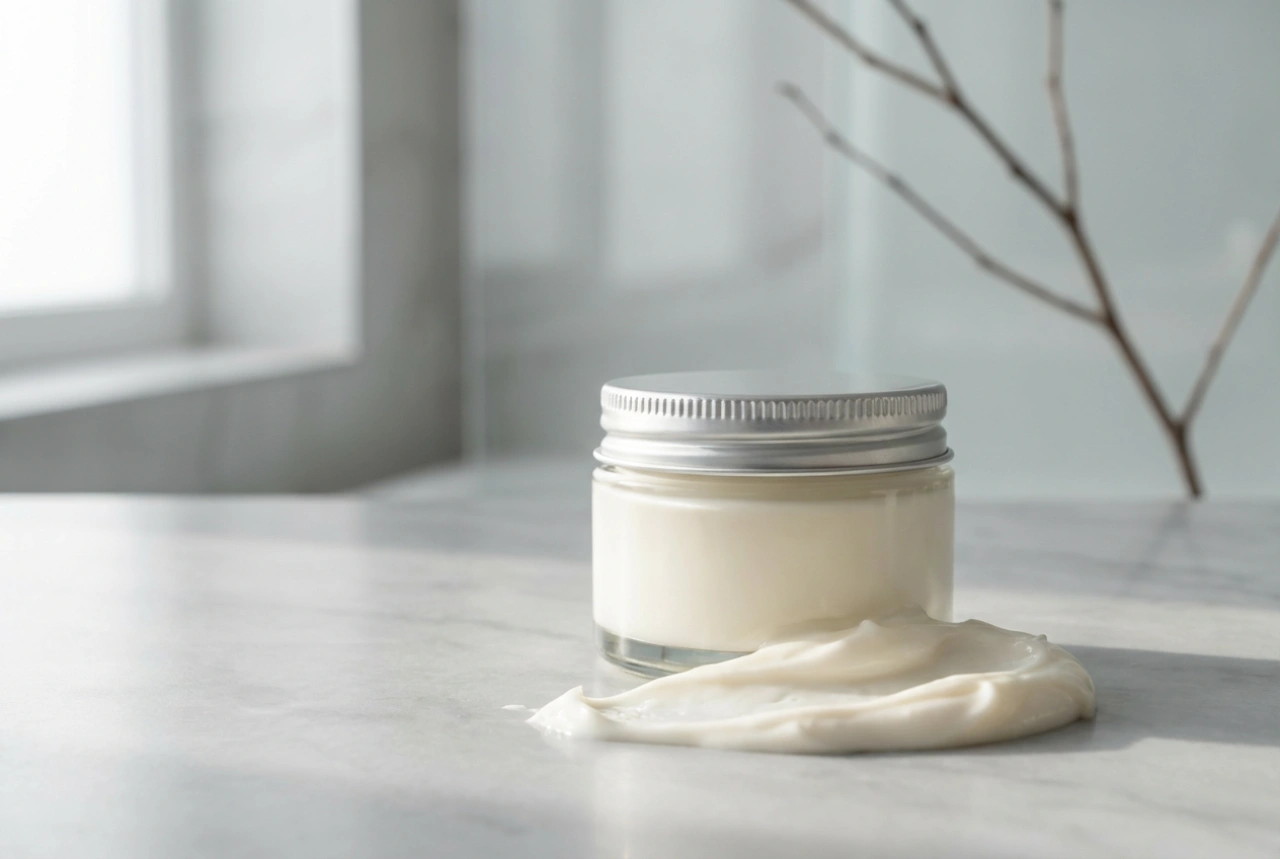
The Art of Applying an Even Layer
The secret to that satisfying, single-sheet peel is a consistent and even application. This step requires a bit of precision but is easy to master with practice.
Why an Even Layer Matters
An even layer ensures that the entire mask dries at a relatively uniform rate. If some spots are too thin, they will dry quickly but are likely to tear and break into small pieces during removal. Conversely, areas that are too thick will take much longer to dry, potentially remaining wet and gooey while the rest of the mask is ready to be peeled. This leads to a messy and frustrating experience. The goal is an opaque film that is strong enough to hold together as you peel.
Application Techniques
You can use clean fingertips, but a flat, synthetic-bristle mask brush or a silicone spatula often provides more control for a smoother, more even coat. Start applying the mask to the larger areas of your face, like your cheeks and forehead, and then carefully cover your nose and chin. Work in smooth, overlapping strokes to create a seamless layer.
Areas to Avoid
Be meticulous about avoiding sensitive areas where peeling would be painful or problematic. Steer clear of your hairline, eyebrows, the delicate orbital area directly around your eyes, and your lips. Applying the mask too close to these zones can result in pulling out fine hairs and causing significant irritation.
Patience is Key: Allowing the Mask to Dry Completely
Once the mask is on, the hardest part is often waiting. Giving it enough time to dry fully is essential for it to function correctly and peel off in one piece.
How to Check for Dryness
The mask is ready when it is no longer tacky or wet to a light touch. It should feel firm, and your face might feel tight as the mask contracts. The surface should look matte and feel like a smooth, solid film. The recommended drying time on the packaging is a good guide, but it can vary based on the thickness of your application and the ambient humidity. This usually takes between 15 and 30 minutes.
Embrace the Waiting Time
Use this waiting period as an opportunity for self-care. Relax, listen to a podcast, meditate, or simply rest your eyes. Avoid making expressive facial movements like smiling or frowning, as this can crack the mask and disrupt the film.
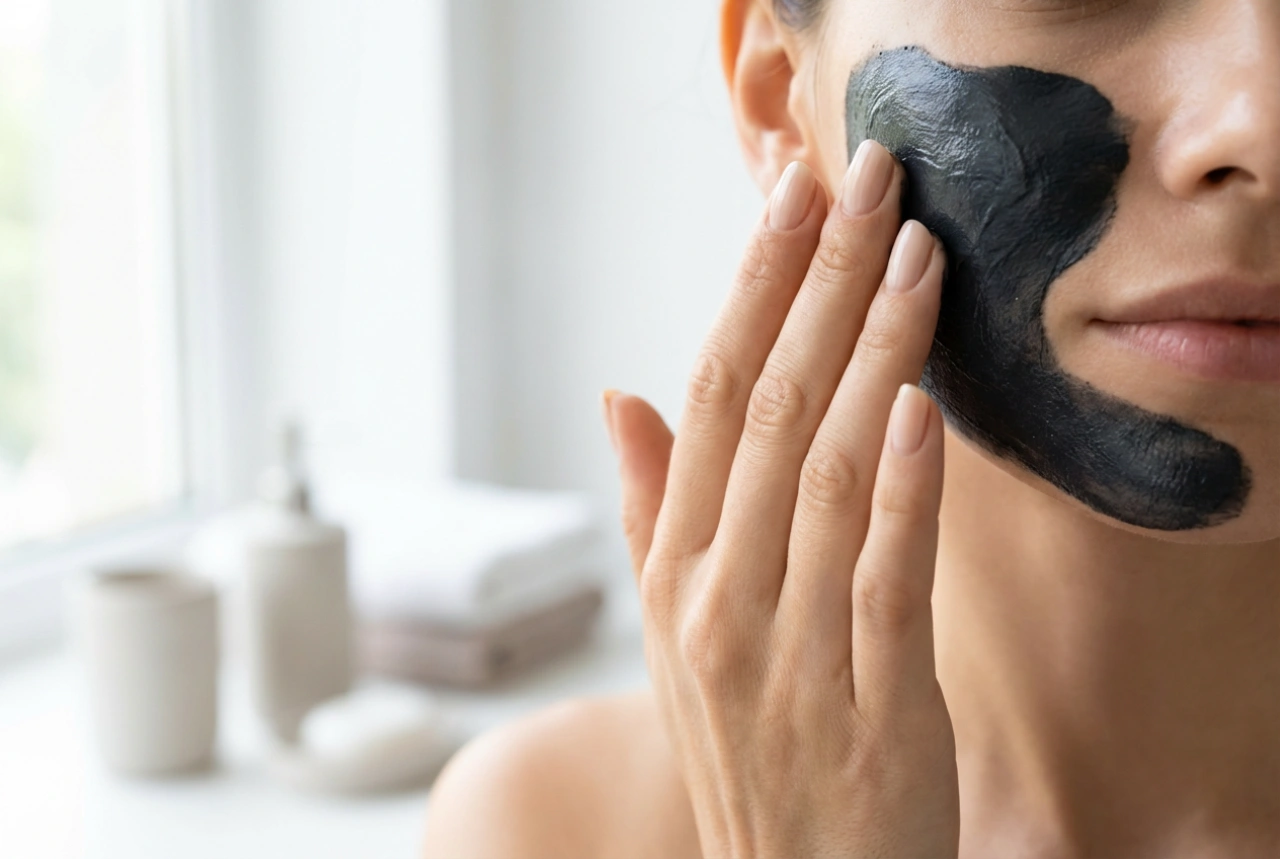
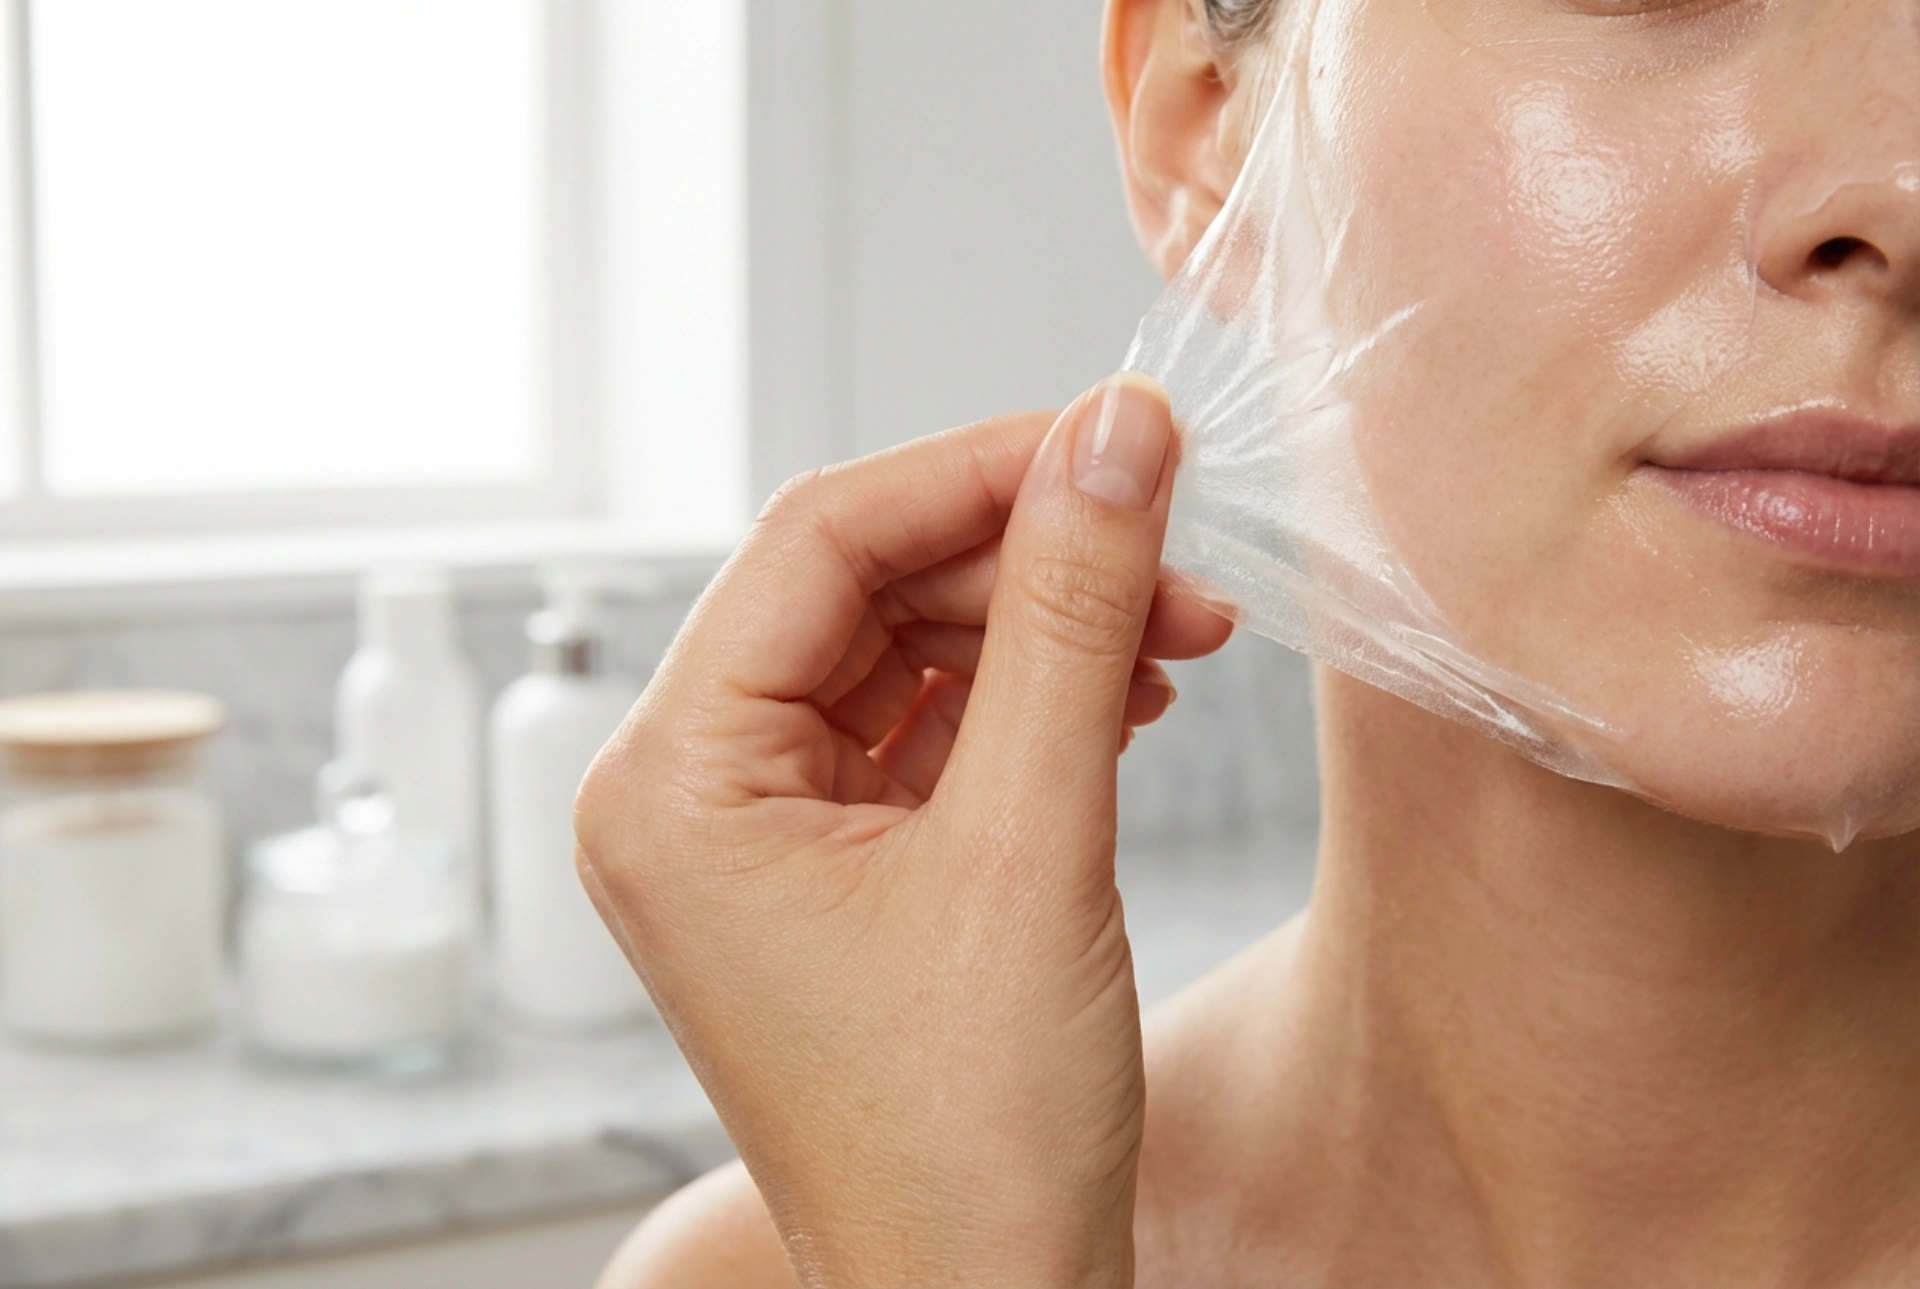
The Secret to Gentle and Pain-Free Removal
This is the moment of truth. A slow and steady approach is the best way to ensure a comfortable and effective peel that leaves your skin feeling refreshed, not raw.
Start at the Edges
Do not attempt to scratch at the centre of the mask to get it started. Instead, gently probe the outer edges—along your jaw, chin, or the sides of your forehead—to find a loose spot. Carefully lift the edge to create a small flap that you can grip.
Peel Slowly and Steadily
Once you have a secure hold, begin to peel the mask off. Pull it slowly and evenly, either upwards or downwards, in a continuous motion. This gentle tension helps to lift away dead skin cells and impurities from the pores. Ripping it off quickly is not more effective and can cause redness, irritation, and discomfort.
What to Do If It Hurts
If you encounter a particularly stubborn or painful spot, stop pulling. Moisten a soft washcloth with warm water and press it against the area for 30 seconds. The warmth and moisture will soften and dissolve the mask, allowing you to gently roll it off or rinse it away without stressing your skin.
Post-Mask Care for a Flawless Finish
What you do after peeling the mask off is just as important as the preceding steps. This final stage helps to soothe the skin and lock in the benefits.
Rinse Away Residue
It is common to have a few small bits of mask left behind, especially near the hairline. Splash your face with lukewarm water to gently rinse away any residue. Avoid hot water, which can be stripping, and avoid rubbing your skin harshly.
Soothe and Hydrate
Your skin has just undergone a light exfoliation, so it is important to replenish its moisture and calm any minor sensitivity. Apply a soothing, alcohol-free toner to restore your skin’s pH balance. Follow this with a hydrating serum and a nourishing moisturiser. This will calm your complexion and leave it feeling soft, smooth, and looking visibly radiant.