


Floral motifs on nails are a timeless classic that adds delicacy and elegance to any look. Achieving intricate floral patterns can be challenging with freehand painting, but nail art stickers offer a simple and effective solution for a professional-looking manicure at home. With a little planning regarding composition, background colour, and proper finishing, you can create a stunning and durable design that looks like it came straight from a salon.
Creating a Harmonious Composition
The key to an aesthetically pleasing manicure with floral stickers lies in the composition. Before you start applying them, it's worth considering the overall effect you want to achieve. You can choose from a variety of sticker types, from tiny individual blossoms to larger, more complex bouquets or even full-nail wraps.
- Accent Nail: A popular and elegant choice is to apply a more elaborate floral design to just one nail on each hand, usually the ring finger. The other nails can be painted in a complementary solid colour.
- Subtle Embellishments: For a more minimalist look, place a single small flower or a delicate sprig near the cuticle or at the tip of each nail. This creates a subtle, refined decoration.
- Asymmetrical Designs: Do not feel obligated to make every nail identical. You can create a dynamic and modern look by varying the placement and size of the stickers across your nails. For instance, a larger sticker on the thumb could be balanced by smaller ones on the other fingers.
- Full Floral Look: For a bold statement, you can cover all nails with floral patterns. To avoid it looking too busy, choose stickers with a cohesive colour palette or alternate between different but complementary designs.
Choosing the Perfect Background Colour
The colour of your base nail polish plays a crucial role in how your floral stickers will appear. The background can either make the flowers pop or create a more subtle, integrated look. Preparing the nail surface is the first step; ensure your nails are clean, shaped, and have a smooth base coat for the best adhesion.
Background Colour Ideas:
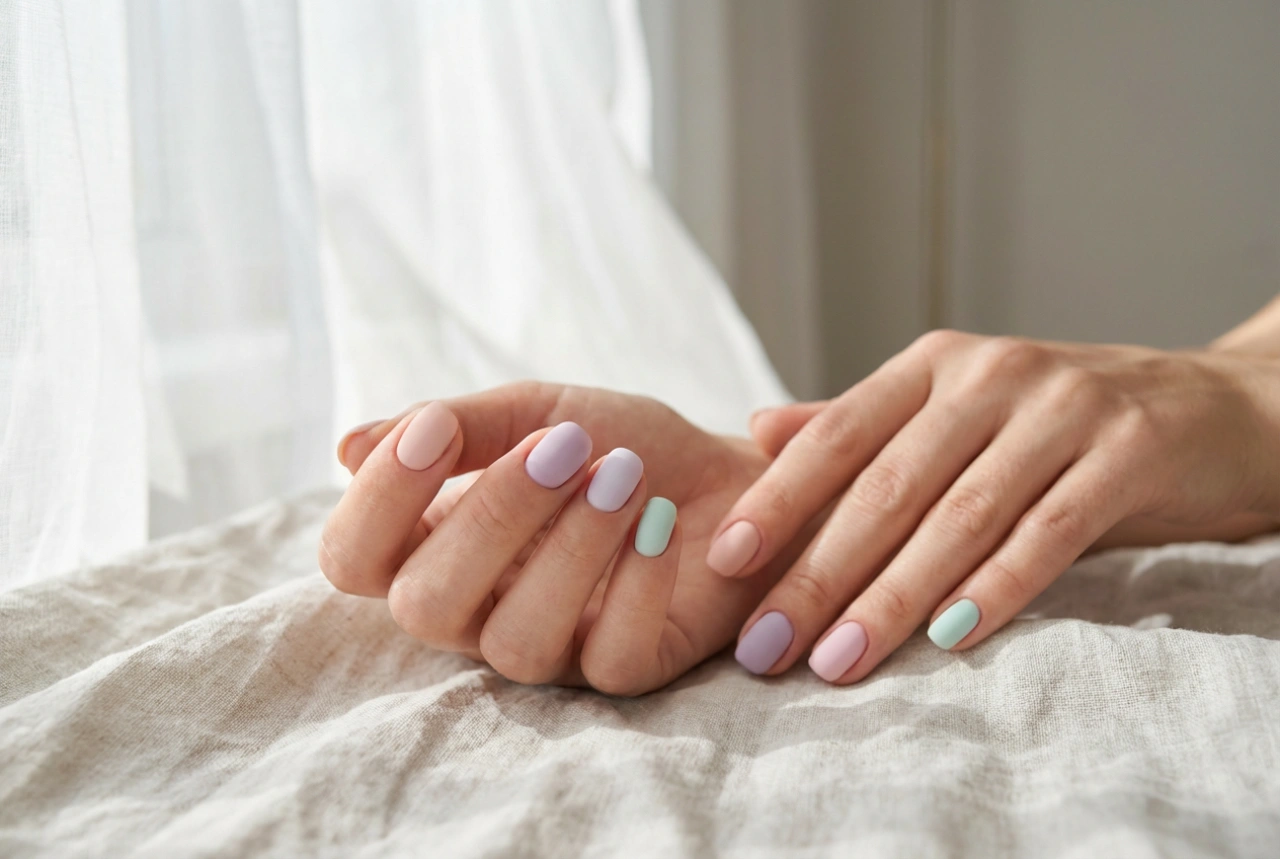
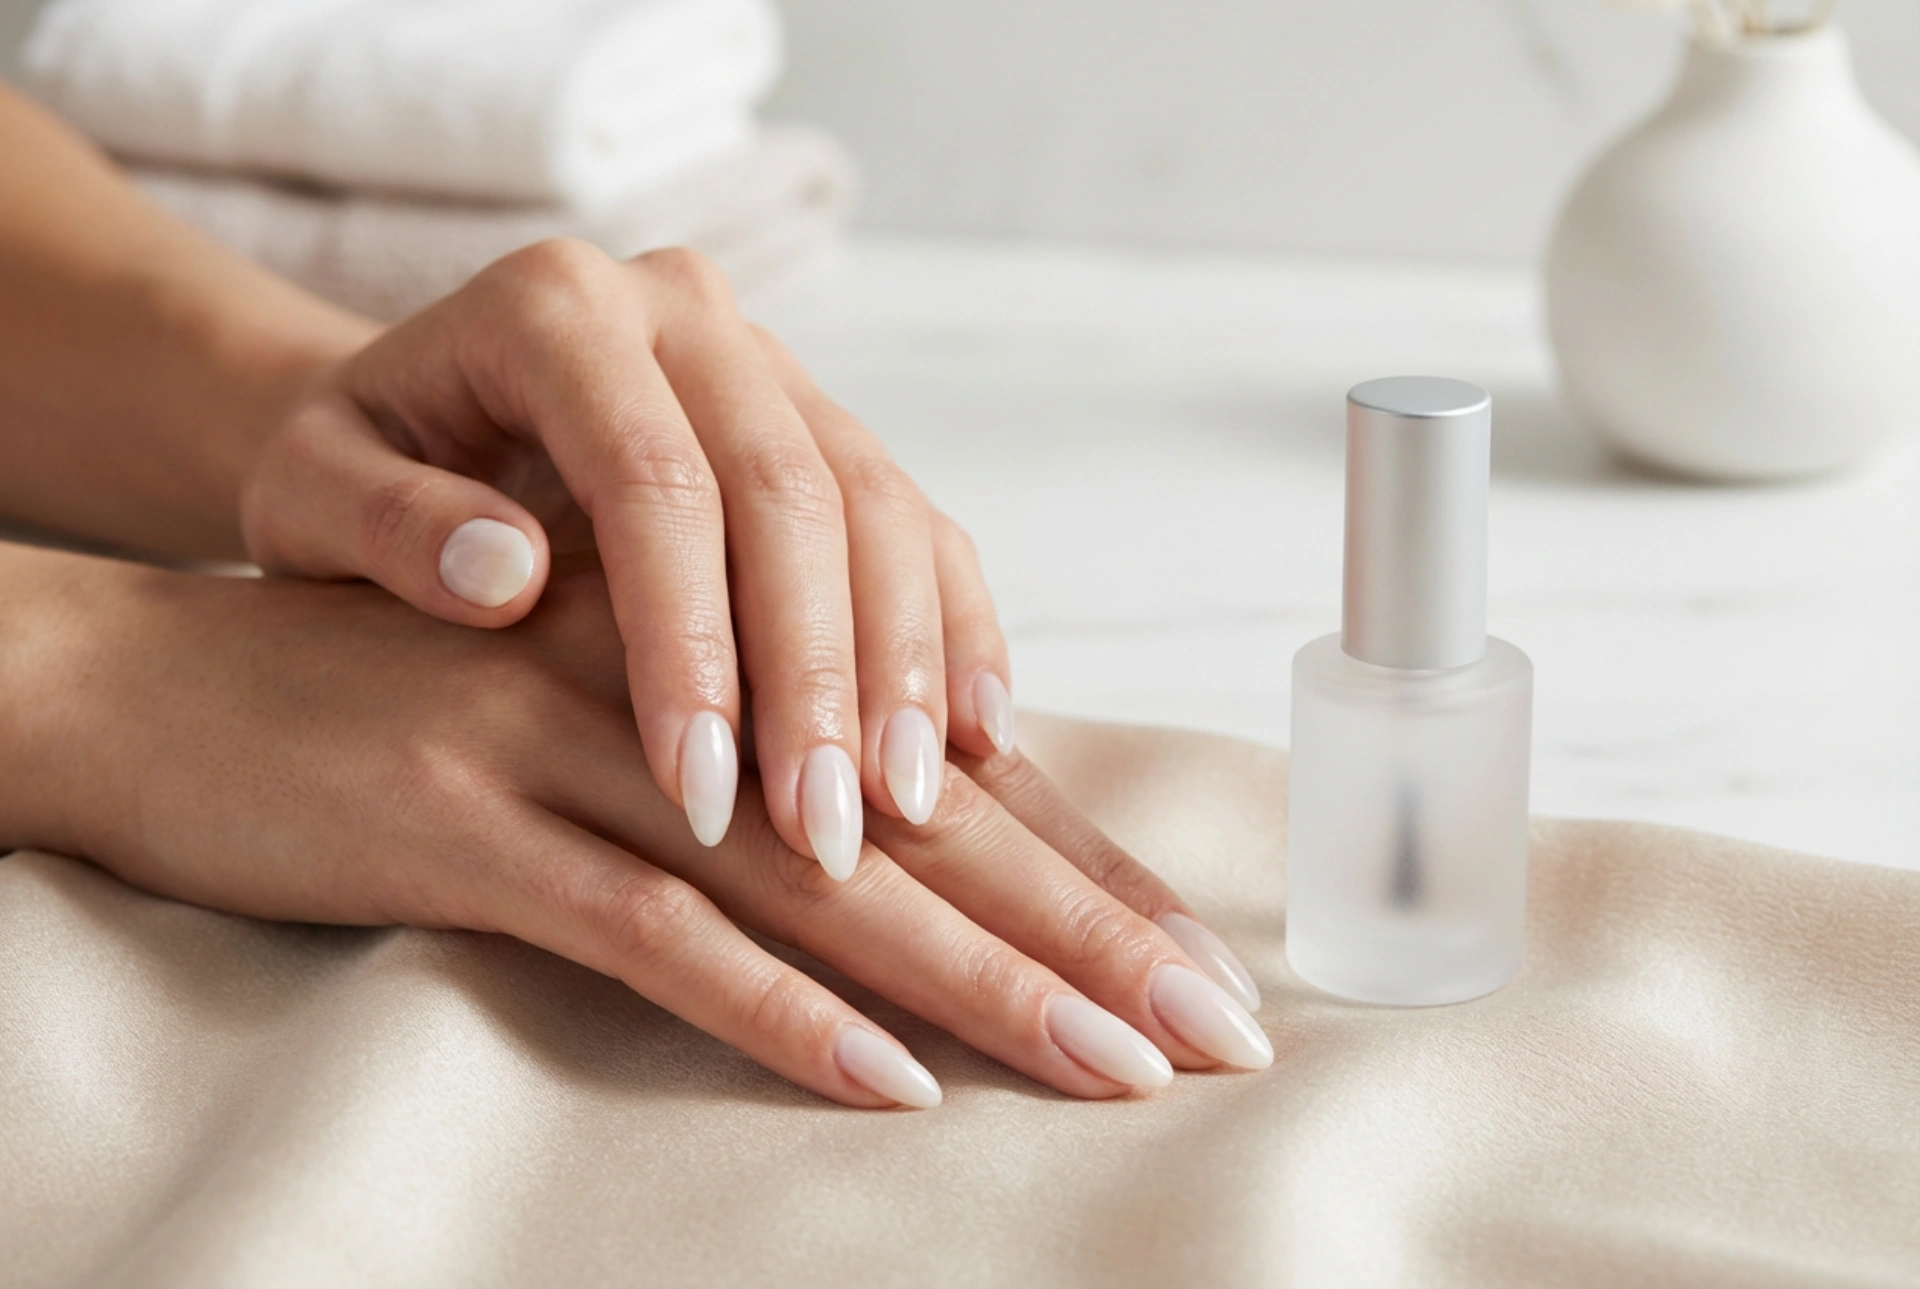
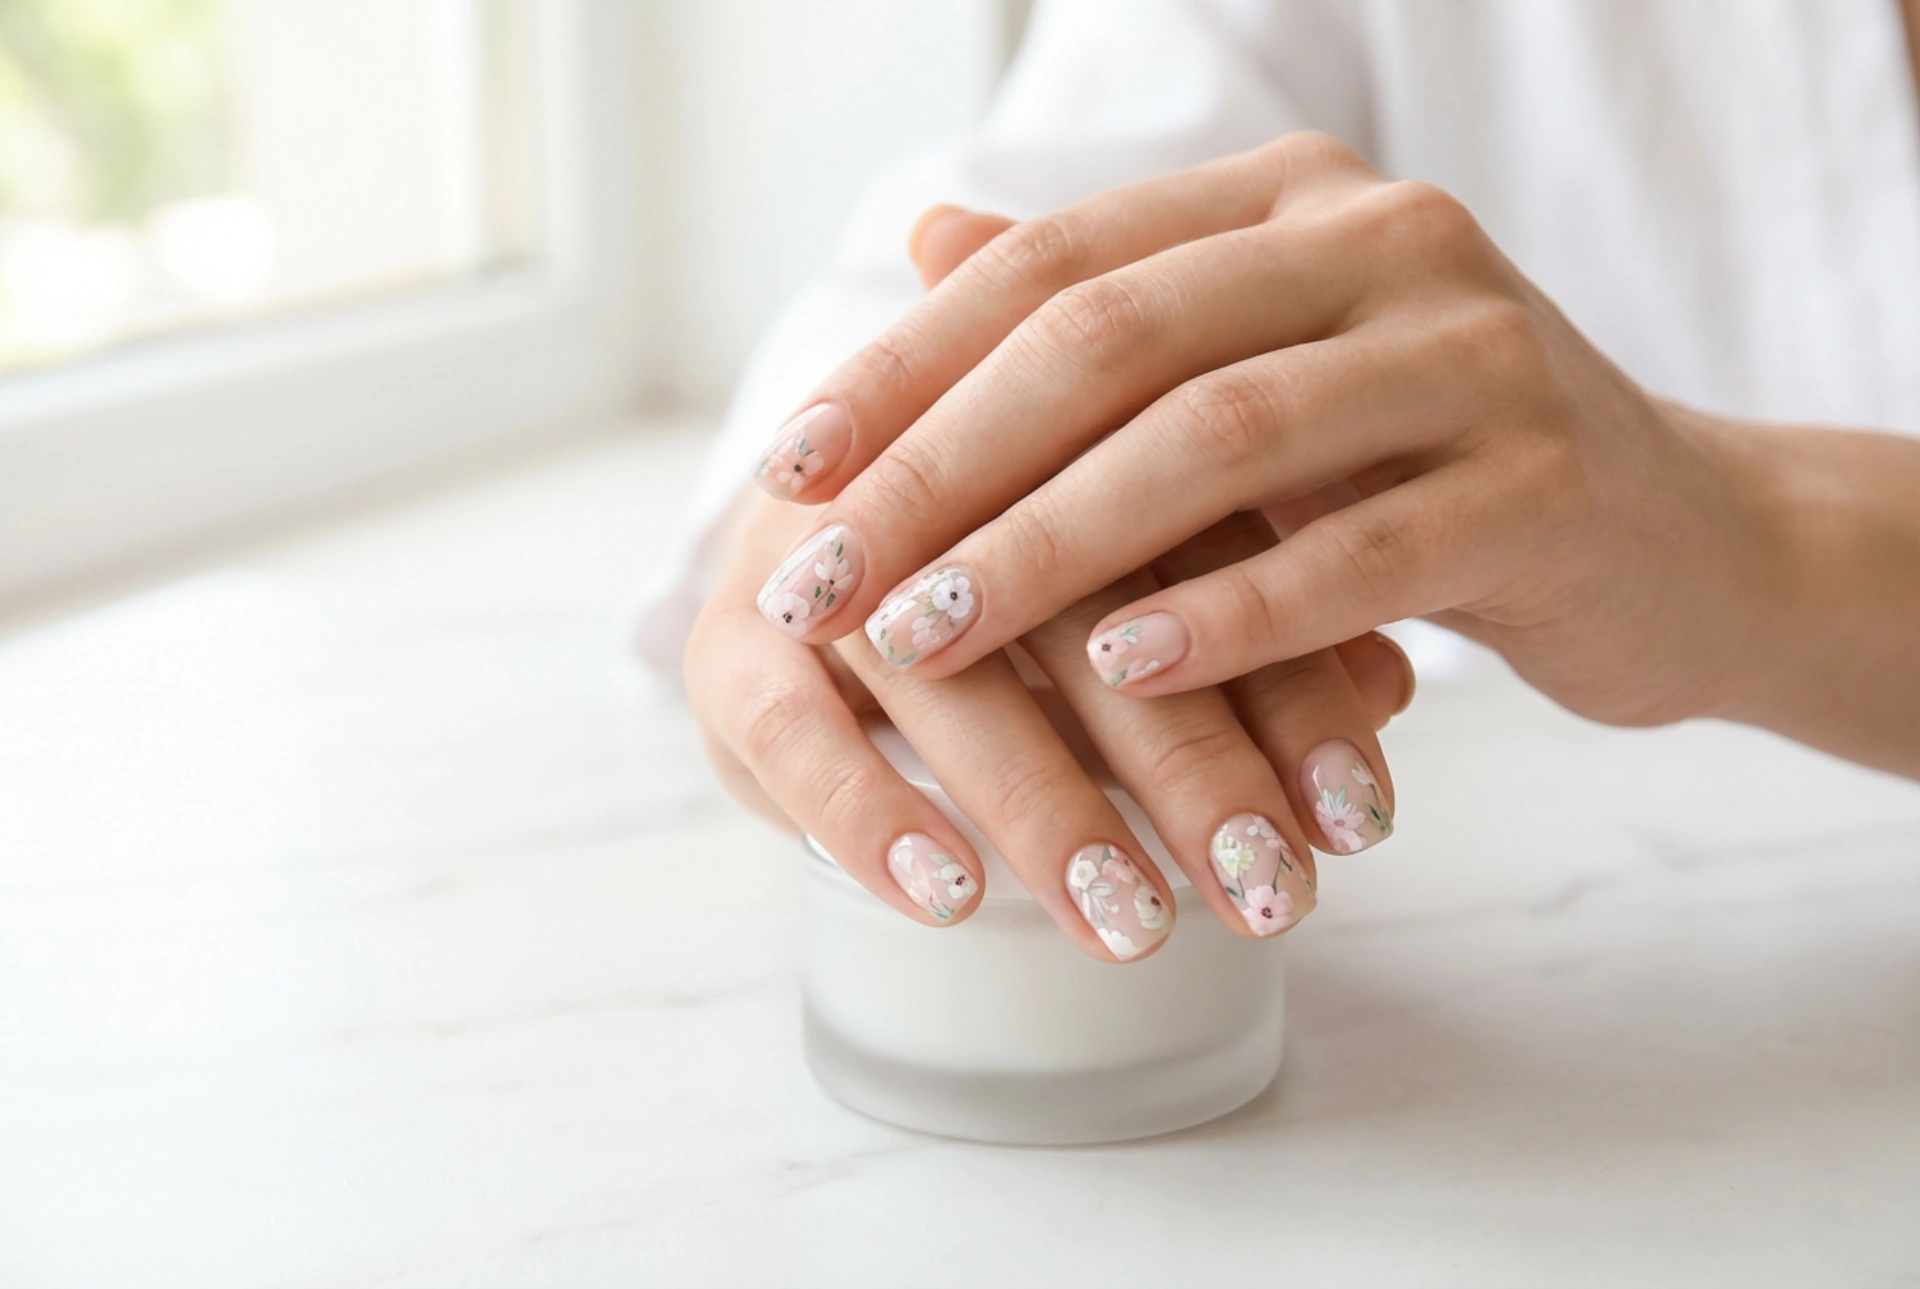
Nude and Pastel Shades: Light pinks, beiges, and soft pastels provide a classic and sophisticated canvas for almost any floral sticker. They allow the colours of the flowers to stand out without competing for attention. This combination is perfect for everyday wear or elegant occasions.
Dark and Bold Colours: A dark background, such as navy blue, deep burgundy, or even black, can create a dramatic and striking contrast, especially with light-coloured floral stickers like white or pale pink blossoms. This effect is modern and eye-catching.
Vibrant Hues: If you love a playful and energetic style, consider using a bright base colour like coral, turquoise, or yellow. This works best when the sticker's colours complement the vibrant base, creating a cheerful and summery manicure.
Step-by-Step Application Guide
Proper application is essential for a smooth finish and long-lasting wear. Rushing this step can lead to air bubbles, wrinkles, or premature peeling. Take your time to ensure each sticker is perfectly placed.
- Prepare Your Base: Apply your chosen base colour and let it dry completely. The polish must be fully cured to avoid smudging when you press the sticker on.
- Handle with Care: Use a pair of tweezers to gently lift the sticker from its backing sheet. This prevents oils from your fingers from affecting the adhesive and allows for more precise placement.
- Position and Press: Carefully place the sticker onto the nail. Start by pressing down in the centre and then smooth it outwards towards the edges. This helps to push out any trapped air bubbles. Use a soft silicone tool or your fingertip covered in a thin cloth to gently rub over the sticker and ensure it is fully adhered.
- Trim if Necessary: If the sticker extends beyond the edge of your nail, use a small, sharp pair of scissors or a fine nail file to gently remove the excess. When filing, always do so in a downward motion to avoid lifting the sticker.
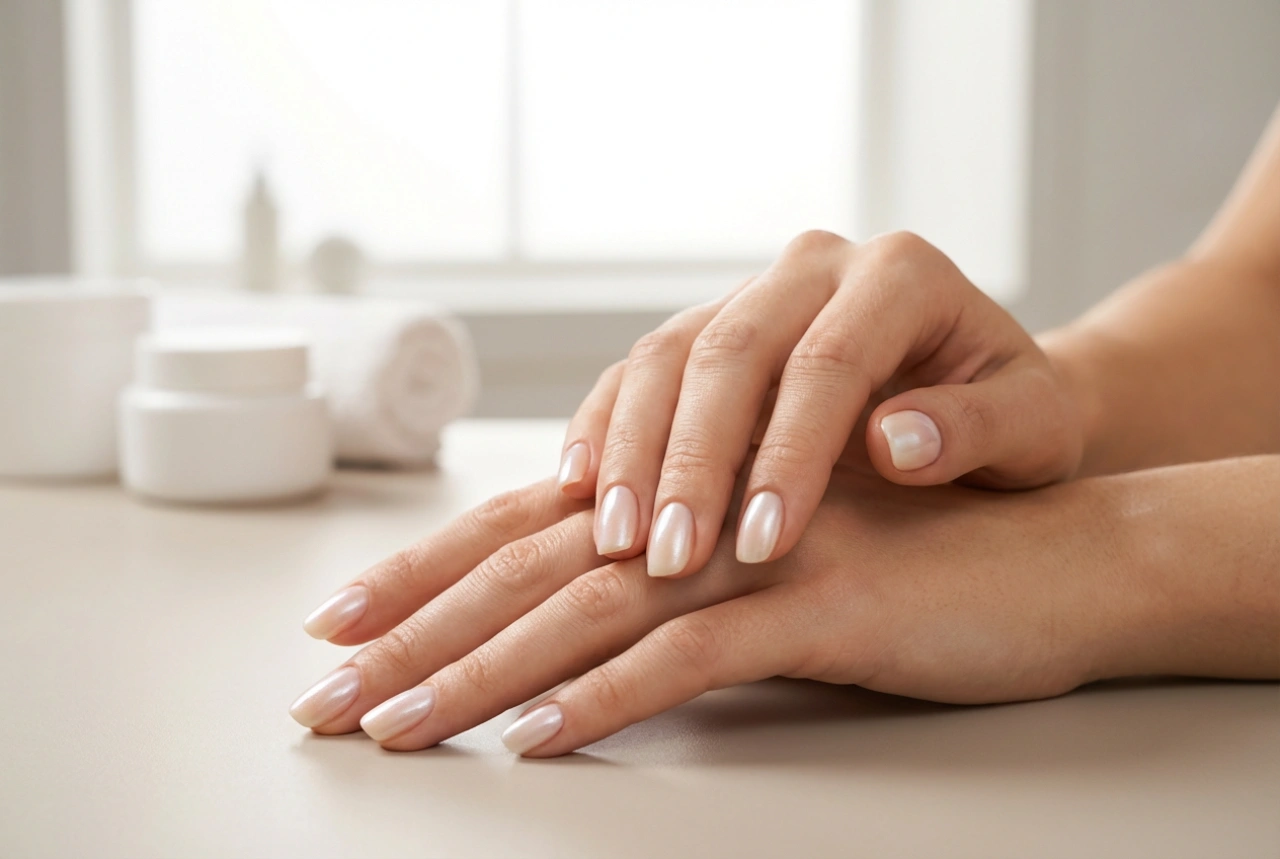
Sealing the Design with a Top Coat
This final step is non-negotiable if you want your floral manicure to last. A good quality top coat not only adds a beautiful, glossy shine but also creates a protective barrier over the sticker and the nail polish. Applying the top coat correctly is crucial. Use a generous amount on the brush and try to cover the entire nail, including the sticker, in as few strokes as possible to avoid dragging or smudging the design. Pay special attention to 'capping' the free edge of your nail by running the brush along the tip. This seals the layers together and significantly reduces the risk of chipping or peeling. Allow the top coat to dry thoroughly for a durable, salon-quality finish that will keep your floral nails looking beautiful for days.