


The elegance of a fresh manicure is undeniable, offering a polished and put-together feel. Among the myriad of nail art trends, the pearl ombre effect stands out for its subtle sophistication and timeless appeal. This design combines the gentle transition of a classic ombre with a luminous, pearlescent sheen, resulting in a look that is both delicate and eye-catching. It evokes the soft glow of a natural pearl, making it a perfect choice for any occasion, from everyday wear to special events. Achieving this ethereal gradient is simpler than it looks, and with the right techniques, you can create a flawless finish at home.
What Defines Pearl Ombre Nails?
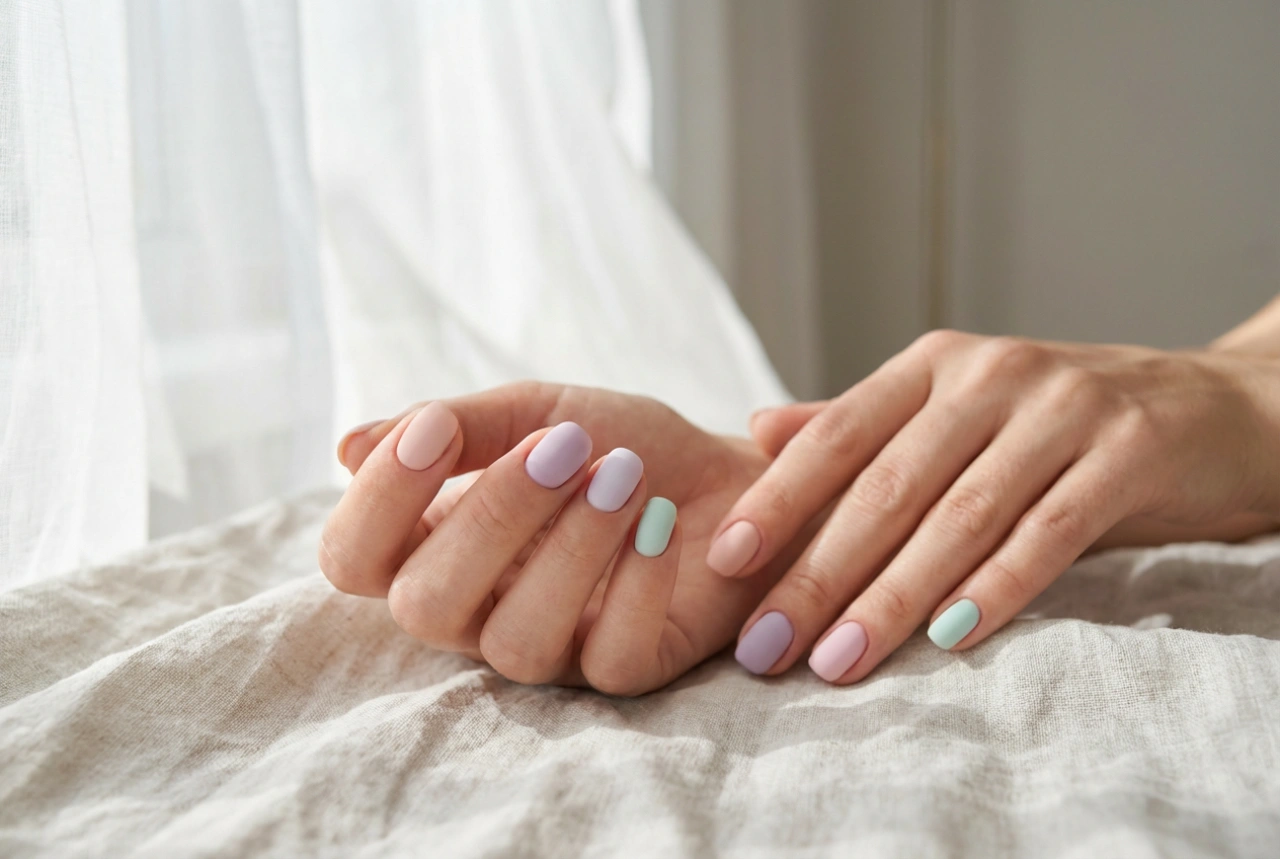
Pearl ombre nails are a variation of the traditional gradient manicure. The core of the style is the smooth transition between two or more colours, typically moving from a more opaque shade at the base of the nail to a lighter, more translucent colour at the tip. What sets the 'pearl' version apart is the finish. After creating the colour gradient, a fine, iridescent powder is applied to the nail surface. This powder imparts a shimmery, multi-dimensional glow that mimics the lustre of a real pearl. The effect is less glittery and more of a soft, uniform sheen, giving the nails a sophisticated and almost ethereal quality.
Preparing Your Nails for a Flawless Manicure
A beautiful nail design starts with a healthy and well-prepared canvas. Proper preparation not only helps the manicure look better but also ensures it lasts longer. Before you begin applying any colour, follow these essential steps to get your nails ready.
- Clean and Shape: Start by removing any old polish. Gently file your nails to your desired shape, whether it's square, oval, or almond. Ensure all nails are of a uniform length and shape for a cohesive look.
- Cuticle Care: Push back your cuticles gently using a cuticle pusher. Avoid cutting them, as they protect your nail bed from irritants. Applying a cuticle remover beforehand can make this process easier.
- Buff the Surface: Lightly buff the surface of your nails with a fine-grit buffer. This smooths out any ridges and creates a slightly textured surface that helps the polish adhere better.
- Dehydrate and Prime: Wipe each nail with a lint-free cloth soaked in rubbing alcohol or a specialised nail dehydrator. This removes any natural oils and residue. Follow this by applying a thin layer of a quality base coat to protect your natural nails and create an ideal foundation for the colour.
Creating the Pearl Ombre Effect: A Step-by-Step Guide
With your nails prepped and primed, you're ready to create the beautiful gradient. This process involves layering colours and finishing with the signature pearl powder. For this guide, we'll focus on a technique using a makeup sponge, which is excellent for achieving a soft blend.
Step 1: Apply the Base Colour
Begin by applying one or two thin coats of your chosen base colour. For a classic pearl look, light and neutral shades work best. Think milky white, soft beige, pale pink, or a sheer nude. Let this layer dry completely before moving to the next step. If you're using gel polish, cure each coat under a UV/LED lamp as per the product's instructions.
Step 2: Create the Gradient
Take a small, disposable makeup sponge. On a flat edge of the sponge, paint two horizontal stripes of polish: your base colour and a second, slightly lighter or more sheer white/translucent colour next to it. Gently dab the sponge directly onto your nail, moving it slightly up and down to blend the colours together. Repeat this for each nail. You may need to apply two layers of the sponged gradient to achieve the desired opacity, allowing it to dry in between. Don't worry about polish getting on your skin; you can clean it up later.
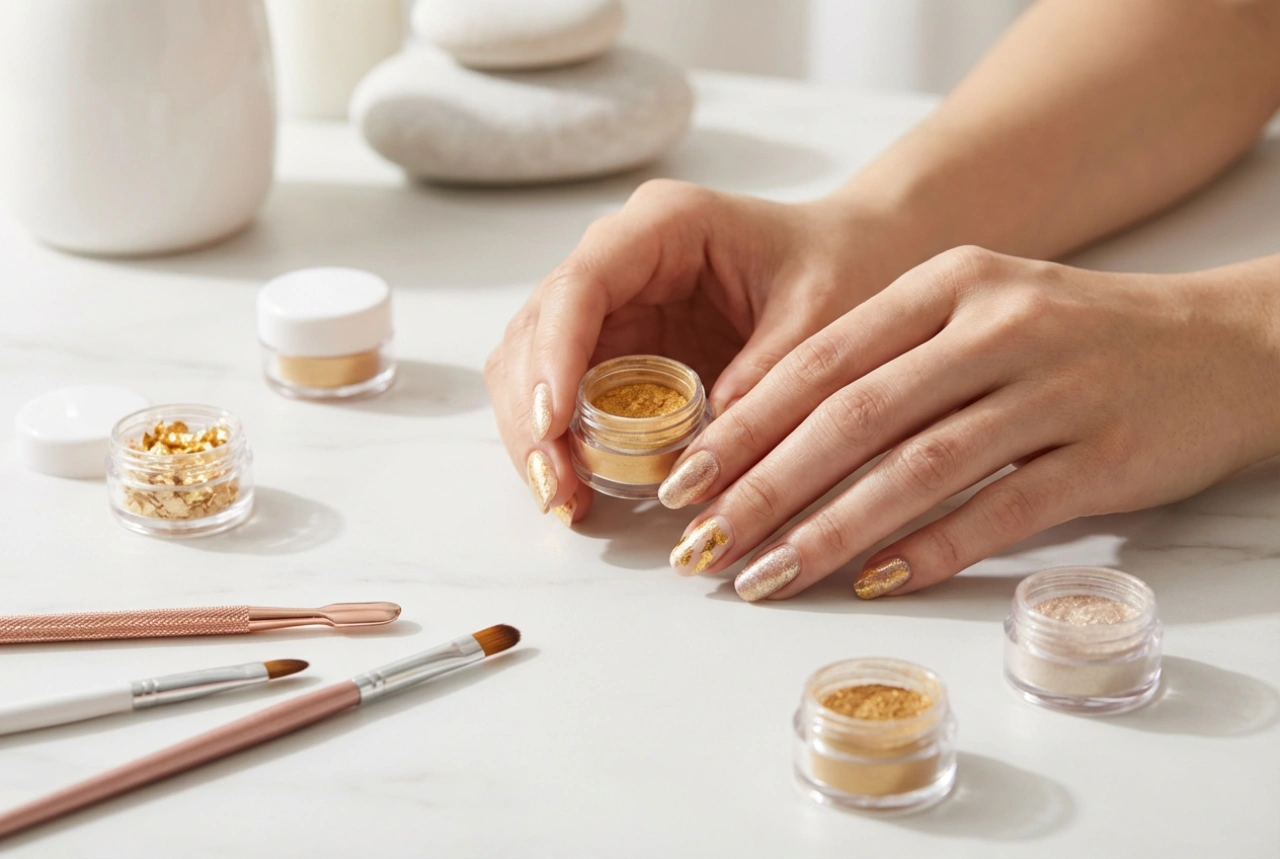
Step 3: Add the Pearlescent Finish
This is the magical step that transforms your ombre into a pearl masterpiece. You will need a pearlescent or white chrome nail powder and a no-wipe gel top coat. Apply a thin layer of the no-wipe top coat and cure it. Immediately after curing, while the nail is still warm, use a small eyeshadow applicator or a silicone tool to pick up a small amount of the pearl powder. Gently rub the powder onto the entire surface of the nail until you see the luminous, chrome-like finish appear. Brush away any excess powder with a soft, clean brush.
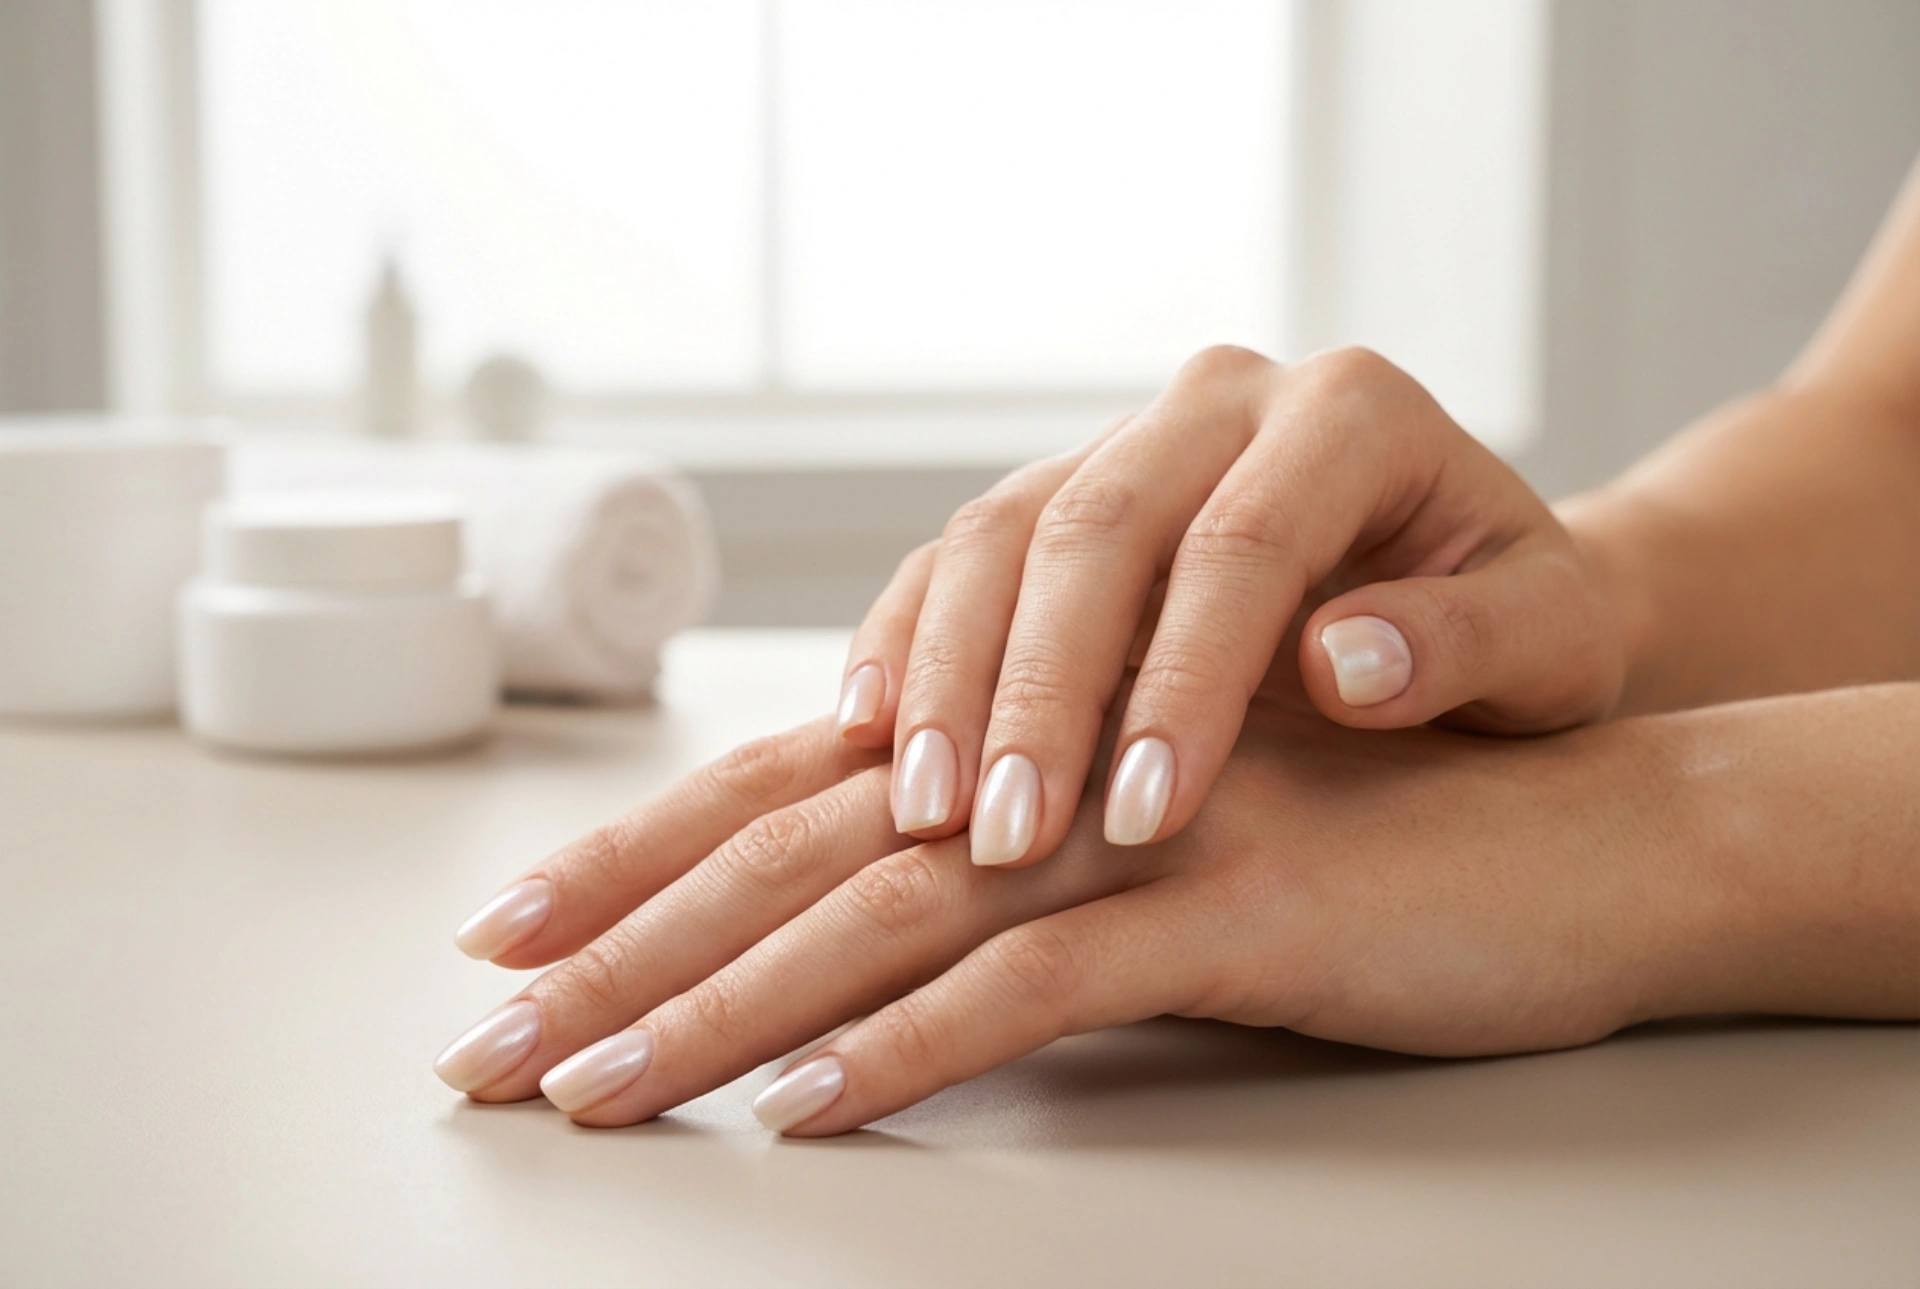
Step 4: Seal Your Design
To protect the delicate powder finish and add extra shine, apply a final layer of a high-quality, glossy top coat over the entire nail, making sure to cap the free edge. This will seal in the design, prevent chipping, and ensure your beautiful pearl ombre manicure lasts as long as possible. If using gel products, cure this final top coat thoroughly.
Tips for a Long-Lasting Luminous Manicure
To keep your pearl ombre nails looking perfect, a little care goes a long way. Always clean up any polish from the skin around your nails using a small brush dipped in acetone before applying the final top coat. Be patient between layers, ensuring each one is fully dry or cured to prevent smudging. Finally, reapply your top coat every few days to maintain the shine and add an extra layer of protection. Don't forget to moisturise your hands and apply cuticle oil daily to keep your skin and nails hydrated and healthy.