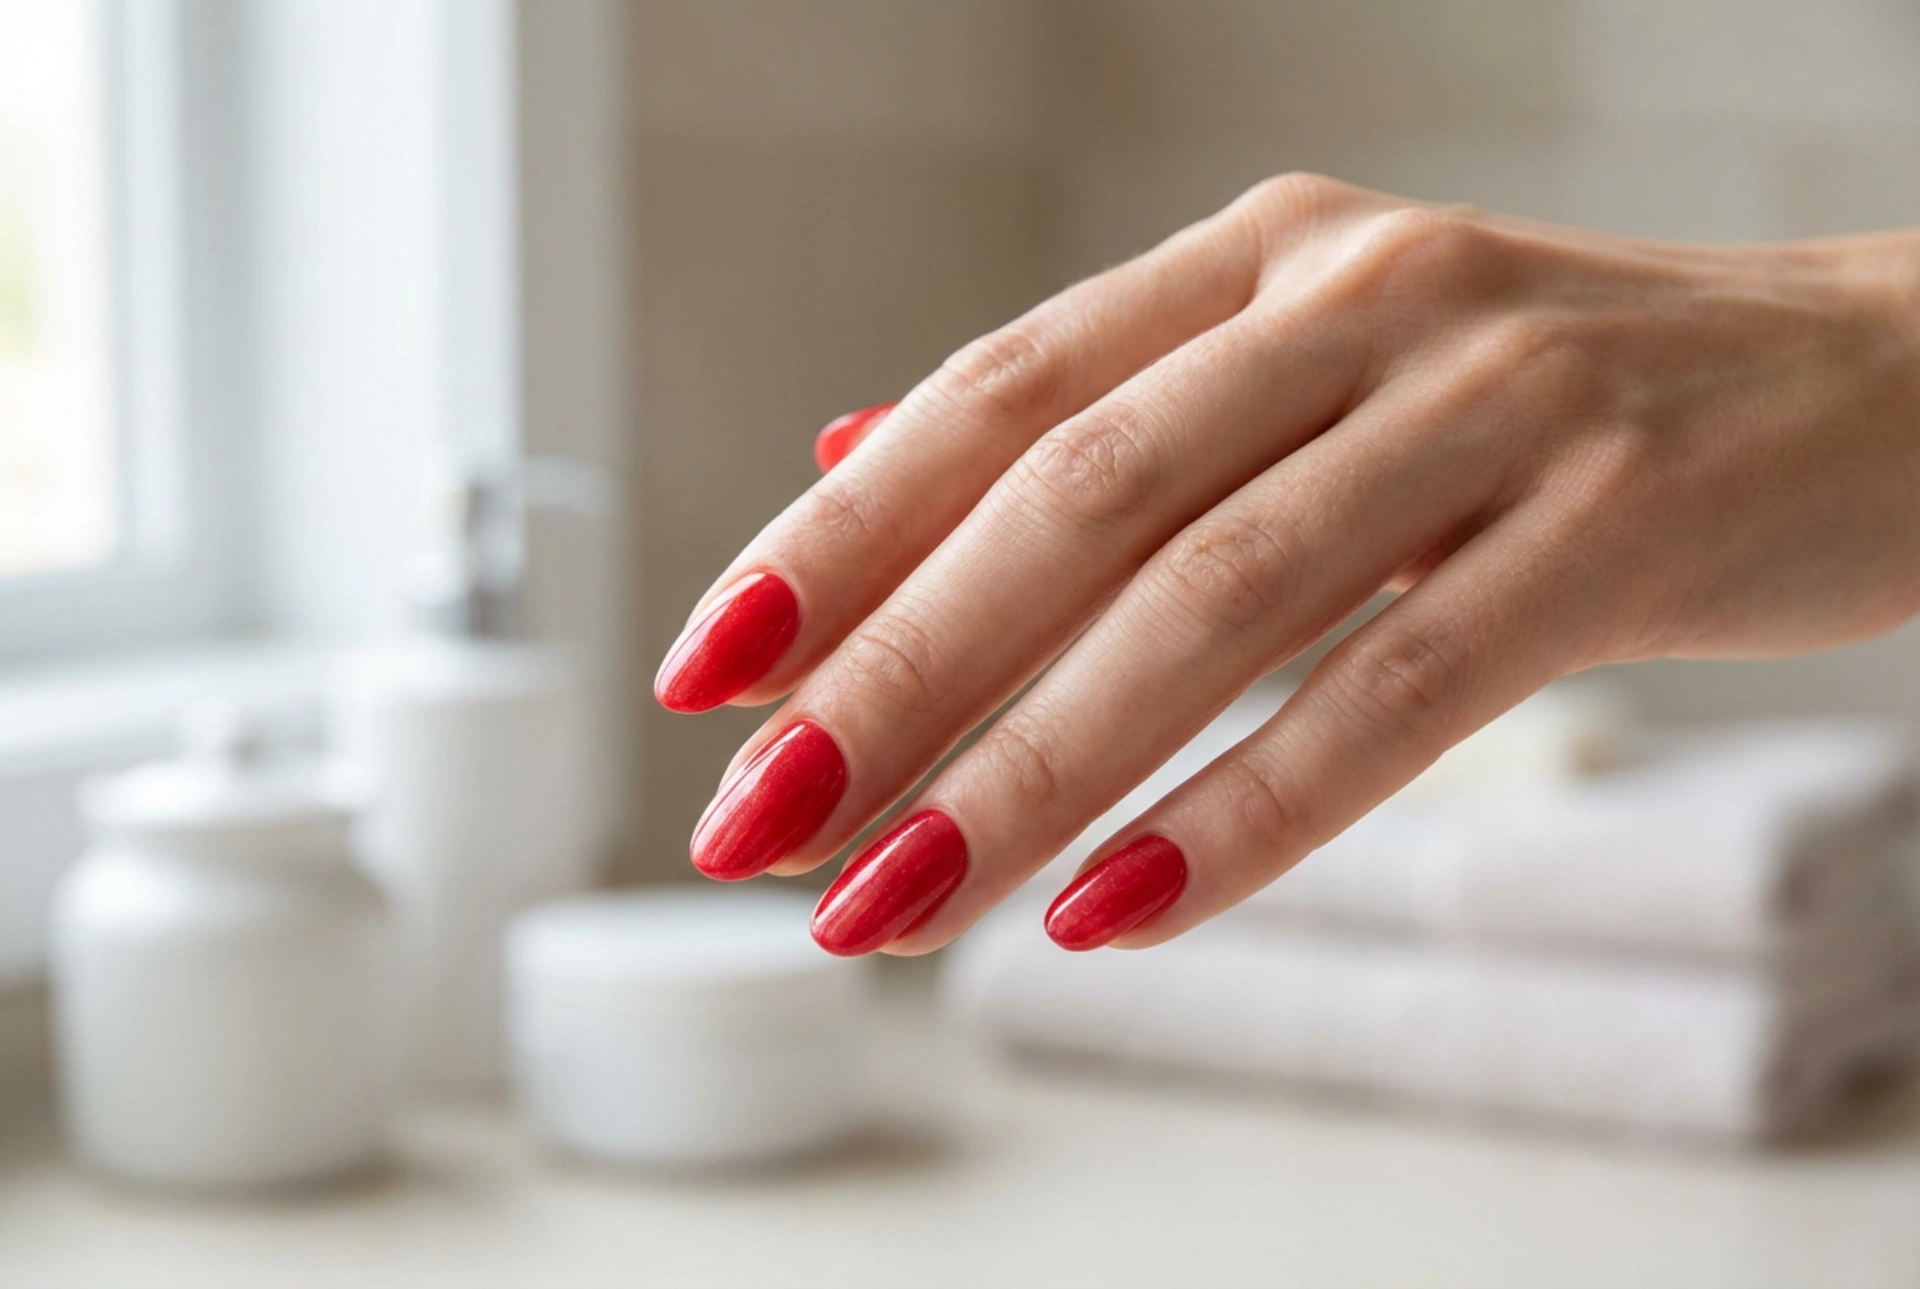


A classic red manicure is a timeless statement of elegance and confidence. It’s a versatile look that suits any occasion, but it can be elevated even further with a subtle, sophisticated twist. By incorporating a fine shimmer dust, you can transform a simple red polish into a captivating, light-catching surface that appears almost liquid-like. This guide will walk you through the process of creating that stunning, glossy shimmer effect at home, ensuring your nails look professionally done.
Preparing Your Nails for the Manicure
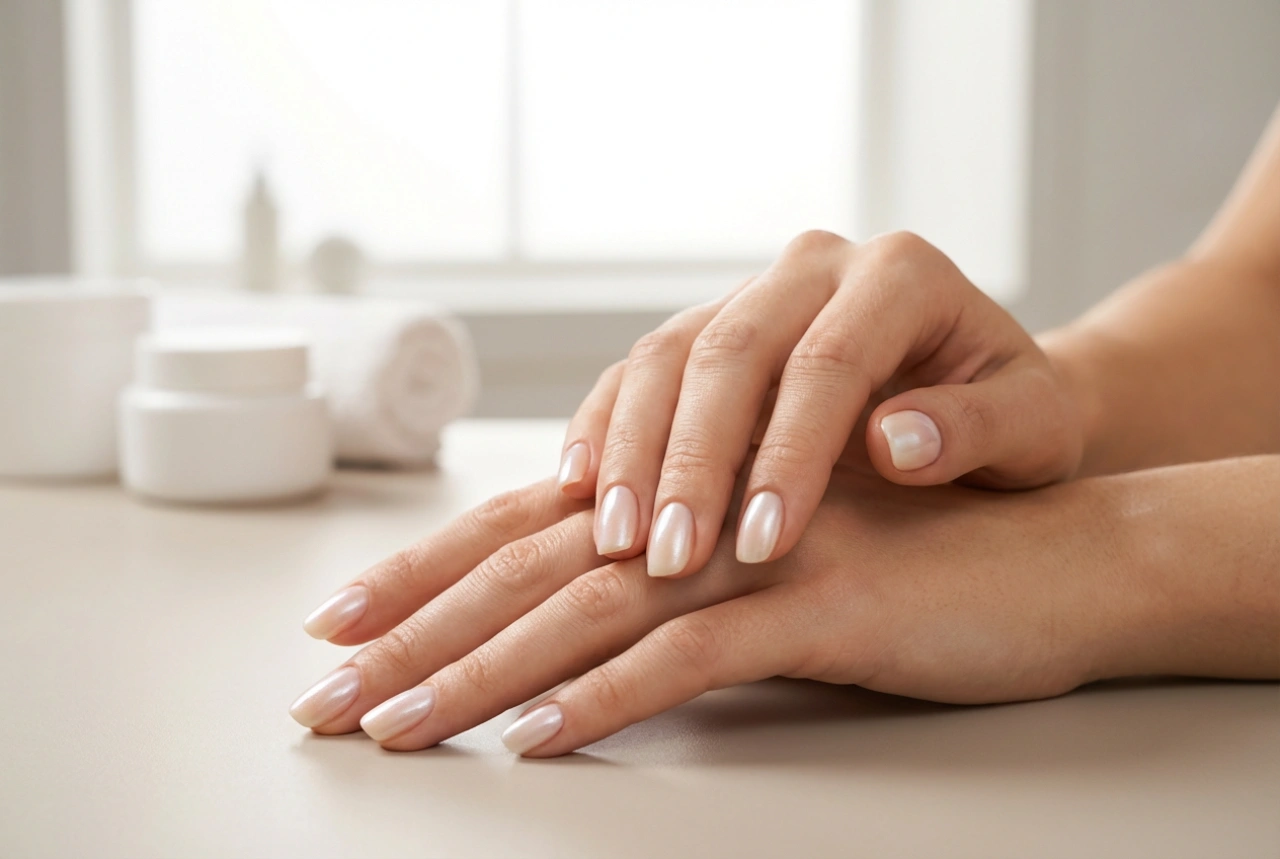
The secret to any flawless manicure is meticulous preparation. A clean and smooth canvas ensures that your polish applies evenly and lasts longer. Before you even think about opening a bottle of polish, dedicate some time to nail care.
Steps for Nail Preparation:
- Clean and Shape: Start by removing any old polish completely. Wash your hands and gently scrub your nails. File your nails into your desired shape, whether it's square, oval, or almond. Always file in one direction to prevent splitting.
- Cuticle Care: Gently push back your cuticles using a wooden or rubber-tipped cuticle pusher. Avoid cutting them, as this can lead to irritation. Applying a cuticle remover beforehand can soften them and make this step easier.
- Buff the Surface: Lightly buff the surface of your nails with a fine-grit buffer. This removes natural oils and creates a slightly textured surface that helps the polish adhere better. Don't overdo it; a gentle buff is all that is needed.
- Dehydrate the Nail Plate: Finally, wipe each nail with a lint-free pad soaked in rubbing alcohol or a specialised nail dehydrator. This step is crucial as it removes any remaining oils and moisture, which are the main culprits for chipping and peeling.
Applying the Base and Colour
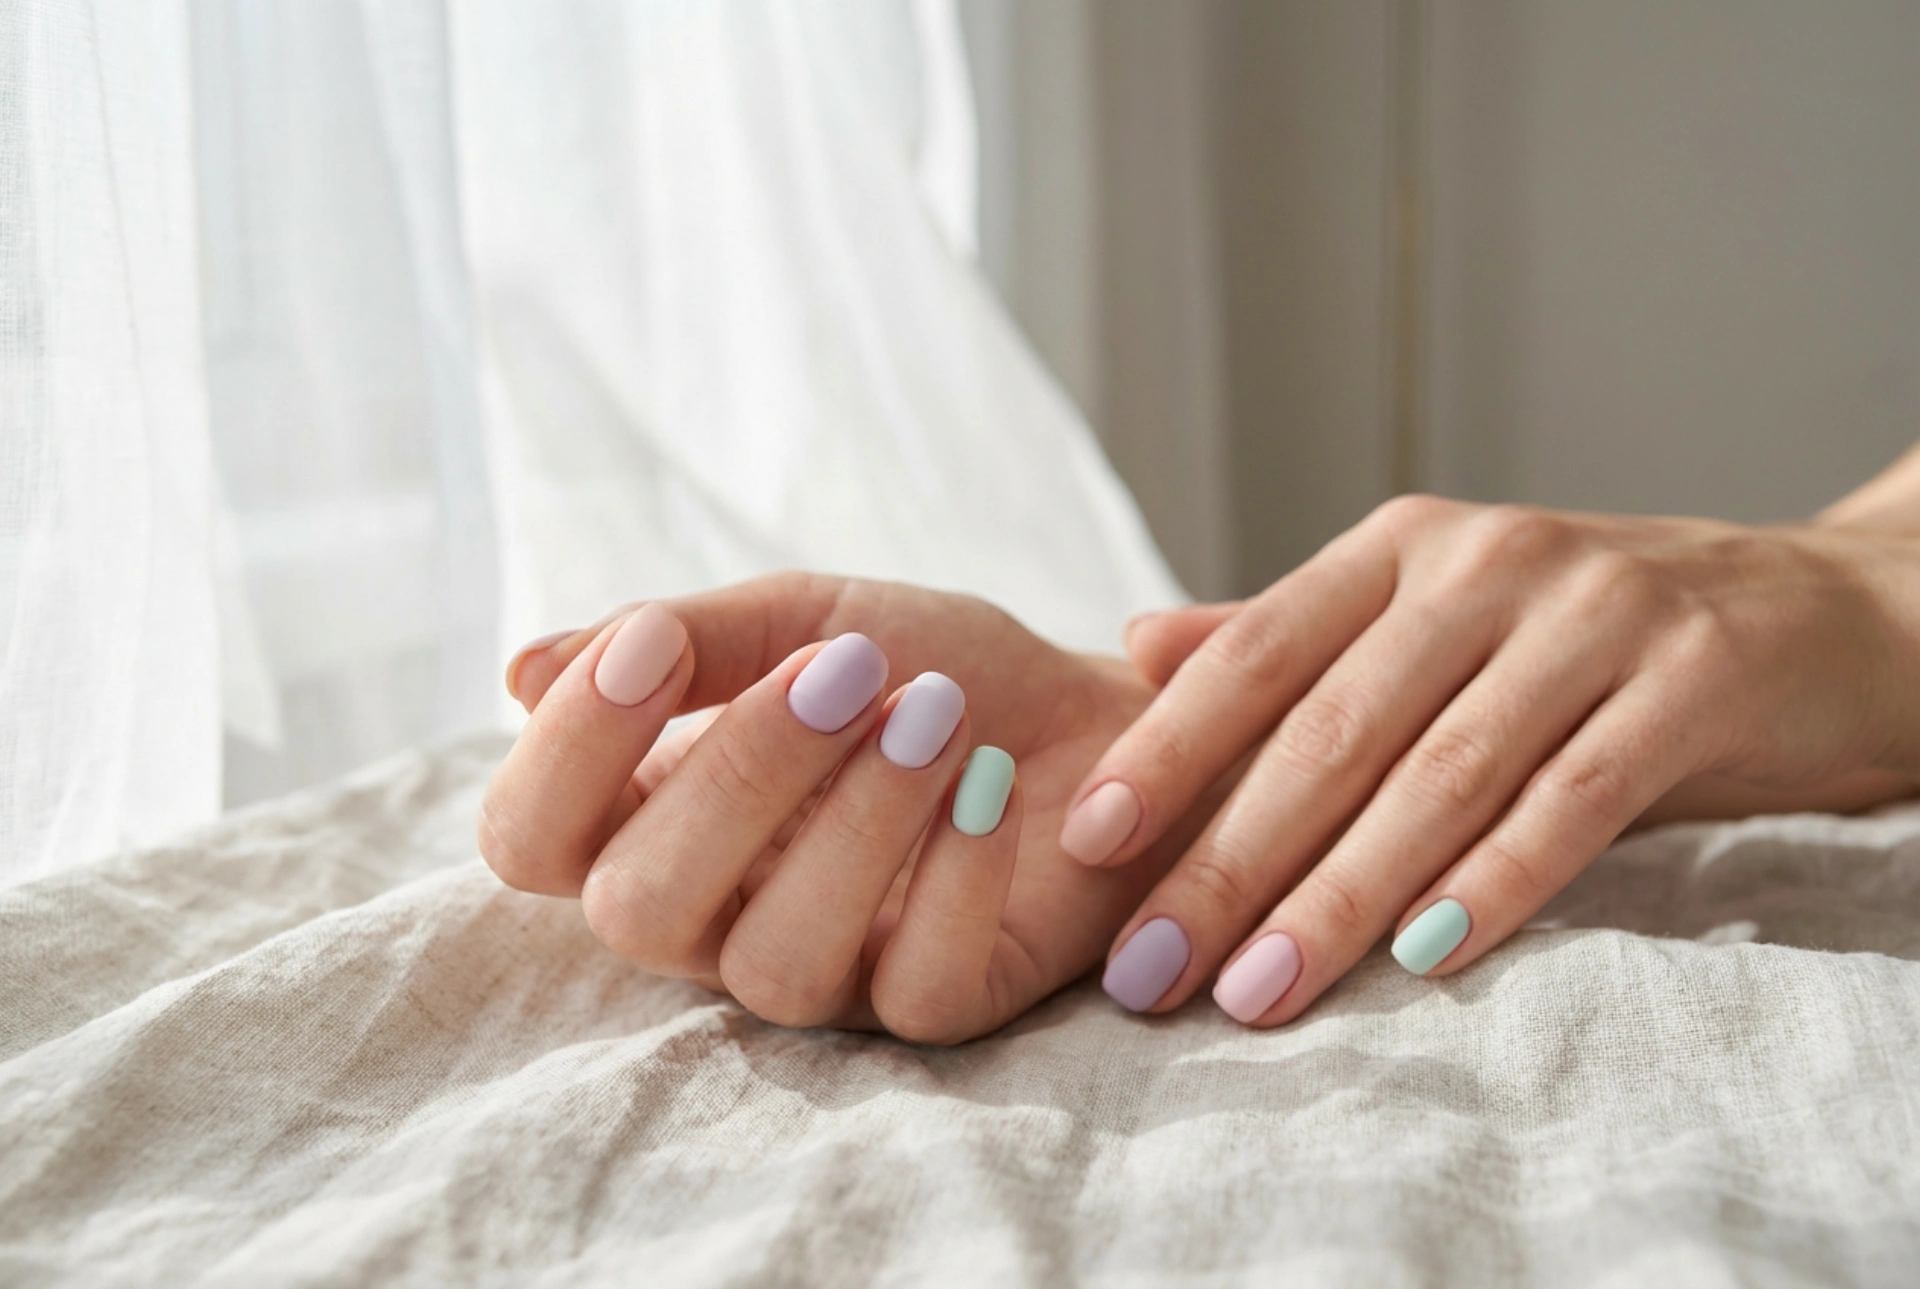
With your nails perfectly prepped, it's time to build the foundation for your shimmer masterpiece. Each layer plays an important role in the final look and durability of your manicure.
The Foundation Layers:
First, apply a thin layer of a quality base coat. A base coat protects your natural nails from staining (especially important with vibrant reds) and provides a sticky surface for the colour polish to grip onto. Allow it to dry completely according to the product's instructions.
Next, apply your chosen red nail polish. The key to a smooth, professional finish is to use thin, even coats. Apply the first coat, starting from the base of the nail and sweeping up to the tip. Let it dry for a few minutes before applying a second coat. Two coats usually provide full, opaque coverage. It's essential that the second coat is still slightly tacky, but not wet, for the next step.
Creating the Shimmer Effect with Dust
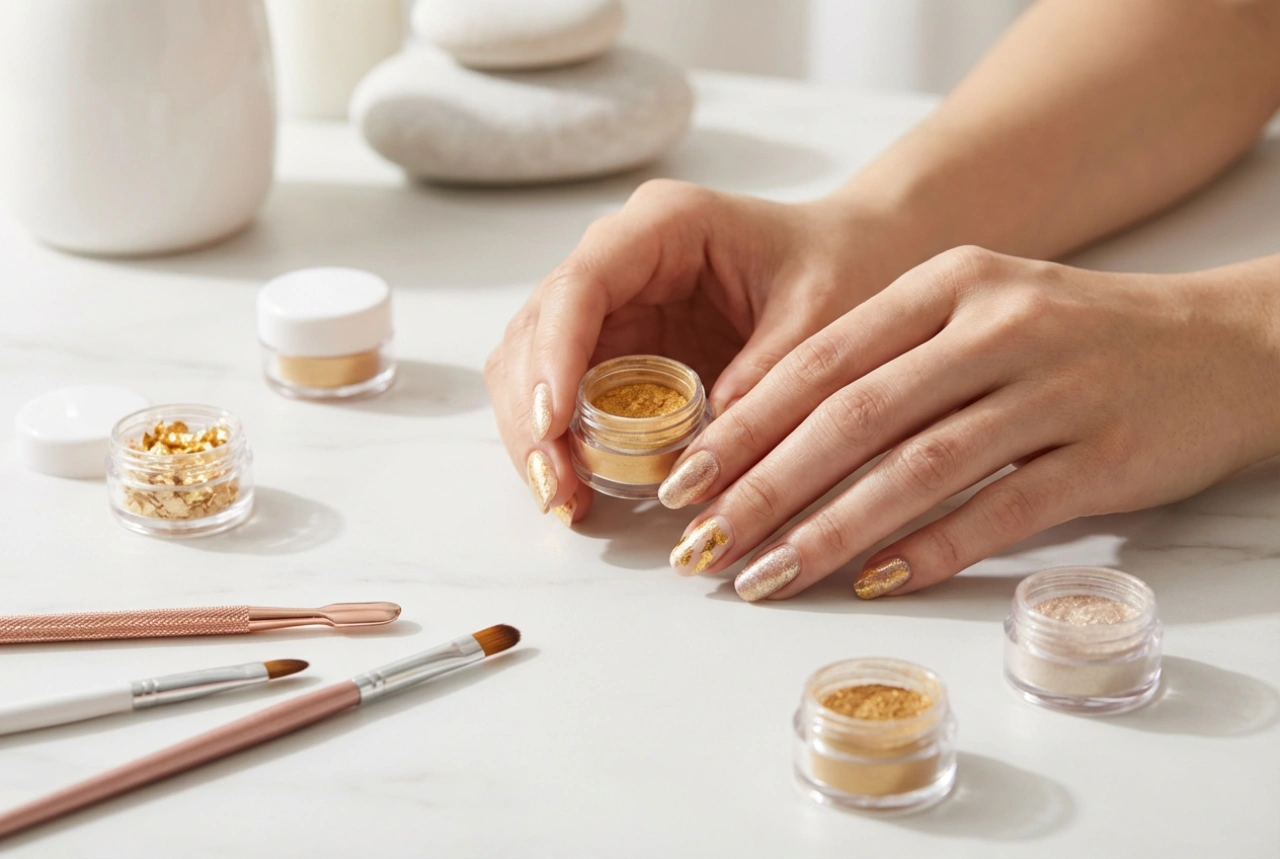
This is where the magic happens. Using a fine cosmetic shimmer dust—often referred to as chrome, mirror, or glitter dust—will create that beautiful, reflective finish. Choose a dust that complements your red polish; a pearlescent or fine silver-gold dust often works best.
Application Technique:
- Timing is Everything: Wait until your second coat of red polish is about 80% dry. It should be tacky to the touch but not wet enough to smudge easily. This tacky layer will act as an adhesive for the dust.
- Applying the Dust: There are a couple of ways to apply the dust. You can use a small, soft makeup brush (like an eyeshadow brush) or a dedicated silicone applicator. Dip the applicator into the pot of shimmer dust, tapping off any excess.
- Burnishing the Surface: Gently pat and then rub the dust onto the surface of your nail. Use light pressure and circular or back-and-forth motions. This technique, known as burnishing, works the fine particles into the polish, creating a smooth, metallic sheen rather than a gritty glitter texture. Continue until the entire nail is covered and has a uniform, high-shine finish.
- Clean Up: Use a fluffy brush to gently dust away any excess particles from around your nail and skin before moving to the final step.
Sealing Your Work with a Top Coat
The final step is arguably the most important for both protecting your design and achieving that ultra-glossy look. A good top coat will seal in the shimmer dust, prevent it from chipping, and provide a durable, shiny finish.
Apply a generous layer of a high-shine, quick-drying top coat over the entire nail. Be sure to 'cap' the free edge of your nail by running the brush along the tip. This creates a seal that helps prevent chips and extends the life of your manicure. Allow the top coat to dry completely. For extra durability and shine, you can apply a second layer of top coat after the first one has fully dried. This will give you that deep, liquid-like gloss that makes the shimmer truly pop.