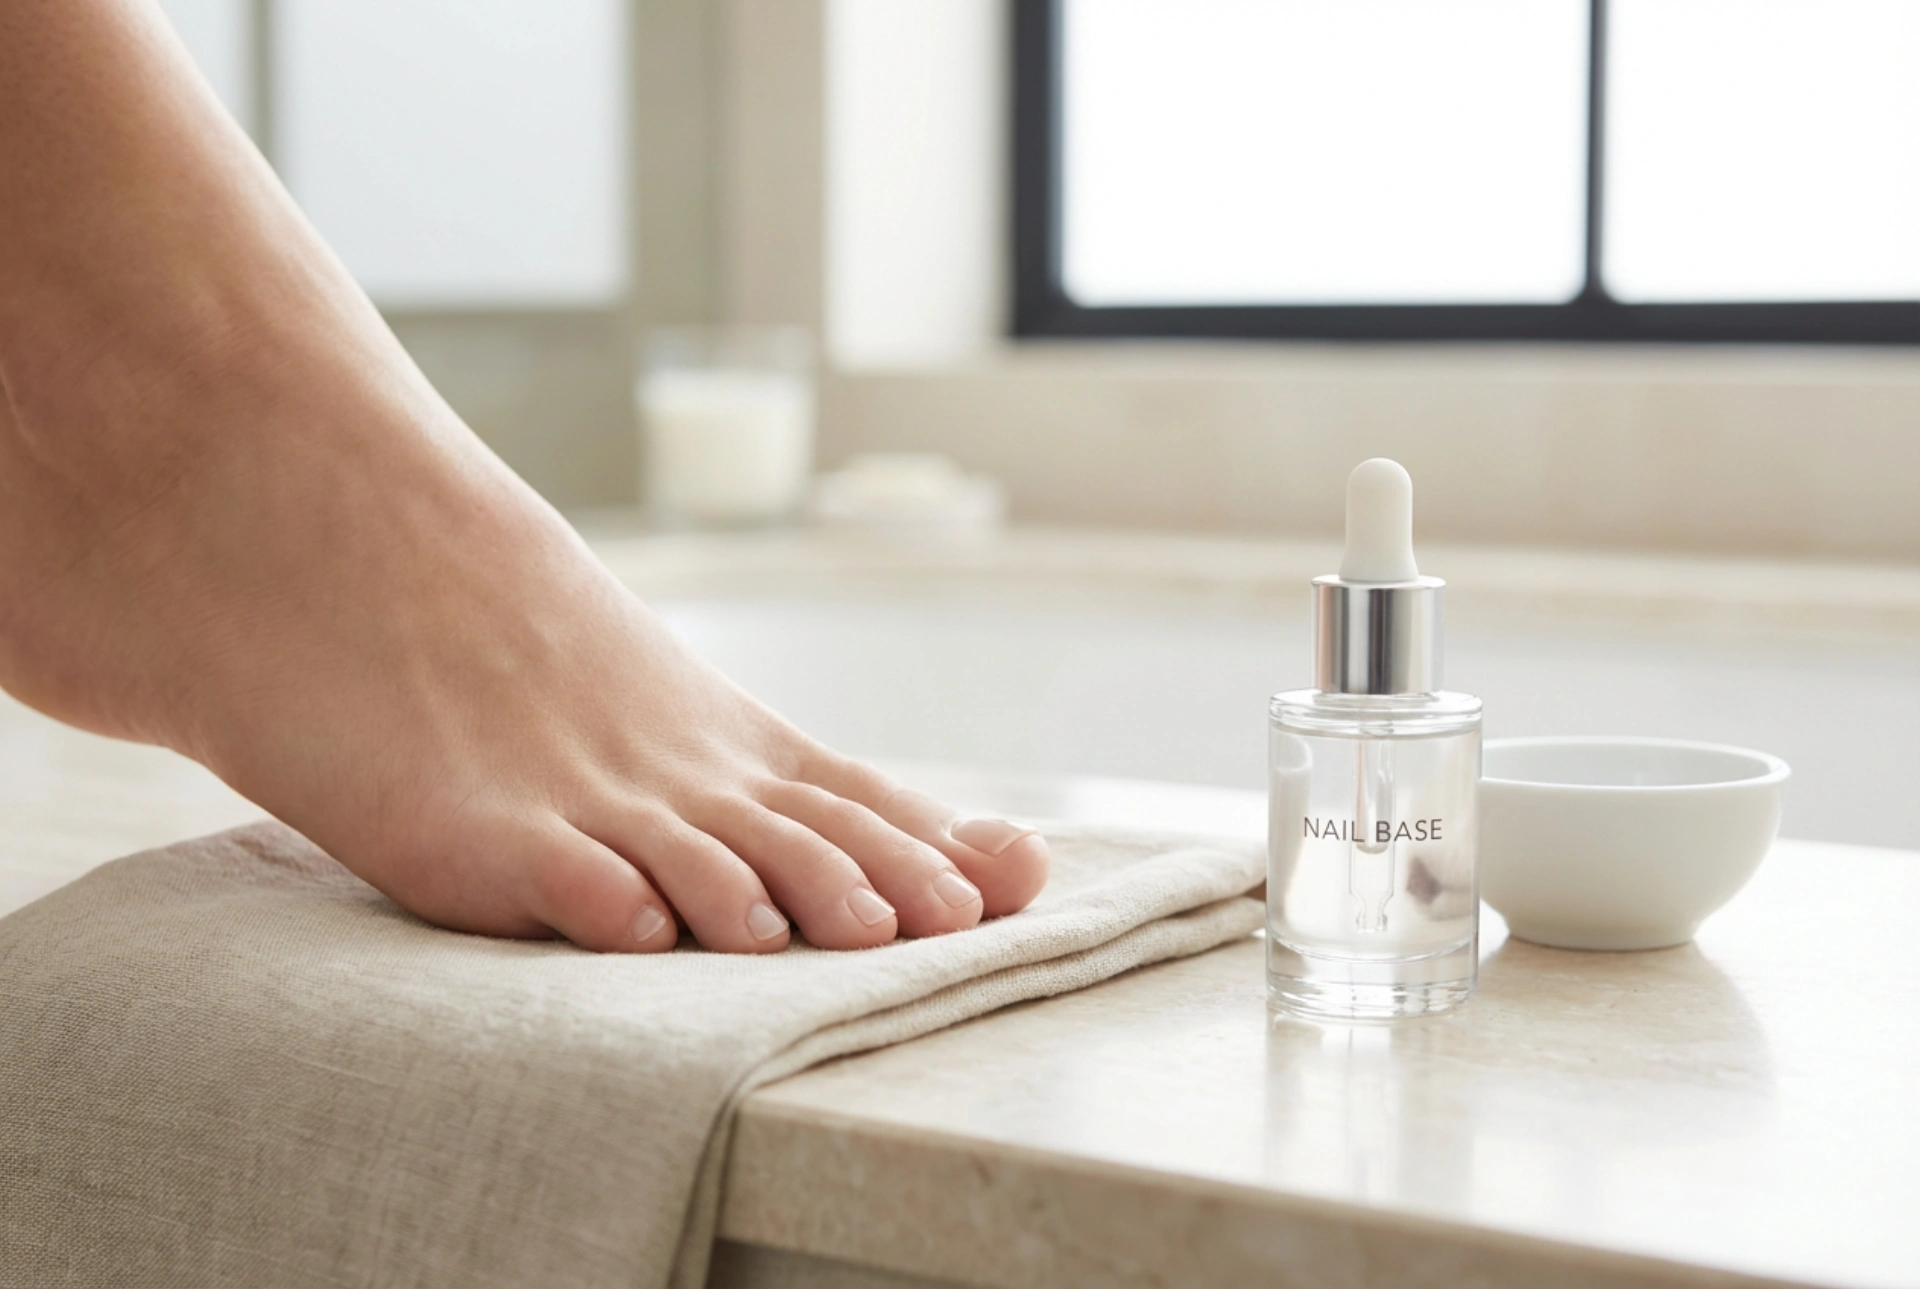


A beautiful and long-lasting pedicure begins not with the colour, but with the foundation. A high-quality base coat is the unsung hero of toenail care, creating the perfect canvas for your chosen polish while protecting your natural nails. Just as you would prime a wall before painting, preparing your toenails with the right base is a crucial step for achieving a professional-looking finish at home. Understanding the role of a base coat and how to select and apply it correctly can transform your pedicure routine.
Why is a Pedicure Base Coat So Important?
Many people are tempted to skip the base coat to save time, but this step offers significant benefits that are well worth the extra minute or two. Its primary functions are essential for both the appearance of your pedicure and the health of your toenails.
- Protection against staining: Dark or brightly pigmented nail polishes can leave yellowish stains on the nail plate. A base coat creates a protective barrier, preventing the pigments from coming into direct contact with the nail.
- Improved adhesion: Base coats are formulated to grip both the natural nail and the polish applied on top. This creates a stronger bond, which significantly extends the life of your pedicure and helps prevent chipping.
- Creating a smooth surface: Toenails can often have natural ridges, bumps, or imperfections. A base coat helps to fill in these irregularities, resulting in a smoother, more even surface for a flawless colour application.
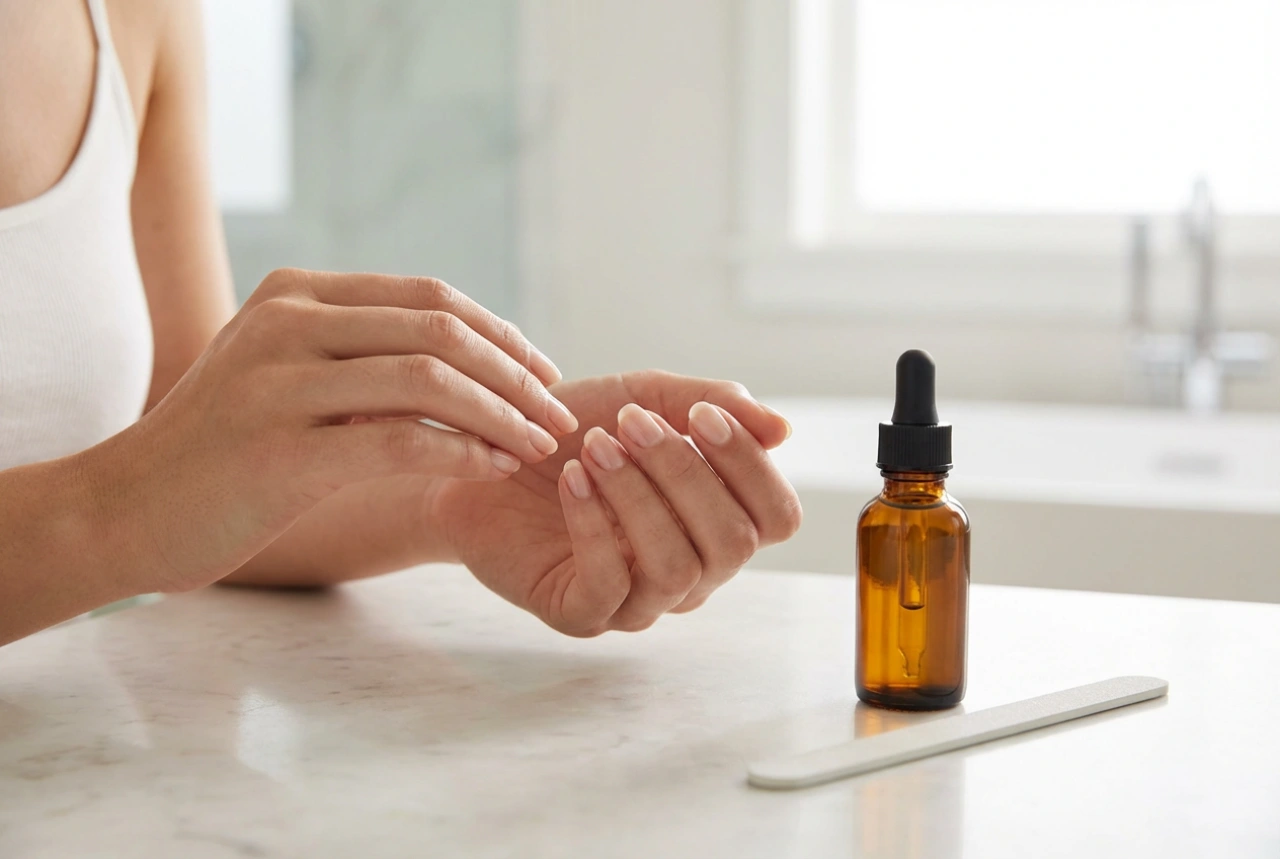
- Nail nourishment: Some base coats are enriched with ingredients like proteins, vitamins, or calcium that help to strengthen and nourish weak or brittle nails.
Types of Pedicure Base Coats
Not all base coats are created equal. They are designed to address different nail needs and work with various types of polish. Choosing the right one is key to achieving your desired results.
Standard Base Coats
This is the most common type, suitable for those with healthy, strong toenails. Its main purpose is to provide a protective barrier against staining and improve the longevity of classic nail polish. It dries clear and provides a good foundation for any colour.
Strengthening Base Coats
If your toenails are prone to breaking, splitting, or peeling, a strengthening base coat is an excellent choice. These formulas are often fortified with ingredients designed to reinforce the nail structure, making them more resilient over time. They are ideal for helping to recover nail condition after long-term wear of polish.
Ridge-Filling Base Coats
For those with uneven or ridged nail surfaces, a ridge-filling base coat is a game-changer. It has a thicker consistency than a standard base and contains substances that settle into the grooves of the nail, creating a perfectly smooth and uniform surface. This ensures that your colour polish glides on evenly without sinking into the imperfections.
Hybrid/Gel Base Coats
These bases are specifically designed for use with hybrid or gel polish systems. They require curing under an LED or UV lamp to harden. A hybrid base creates an exceptionally strong bond with the nail plate, providing a durable foundation for a pedicure that can last for several weeks without chipping.
How to Choose the Right Base Coat for Your Nail Plate
Selecting the ideal base coat starts with a simple assessment of your toenails' condition and the type of pedicure you're planning.
- Assess your nails: Look closely at your toenails. Are they smooth and strong? Or are they weak, brittle, ridged, or uneven? Your answer will guide your choice.
- Match the base to your needs:
- For normal, healthy nails, a standard base coat will suffice.
- For weak or peeling nails, opt for a strengthening base coat.
- For nails with visible lines or bumps, a ridge-filling base coat is the best option.
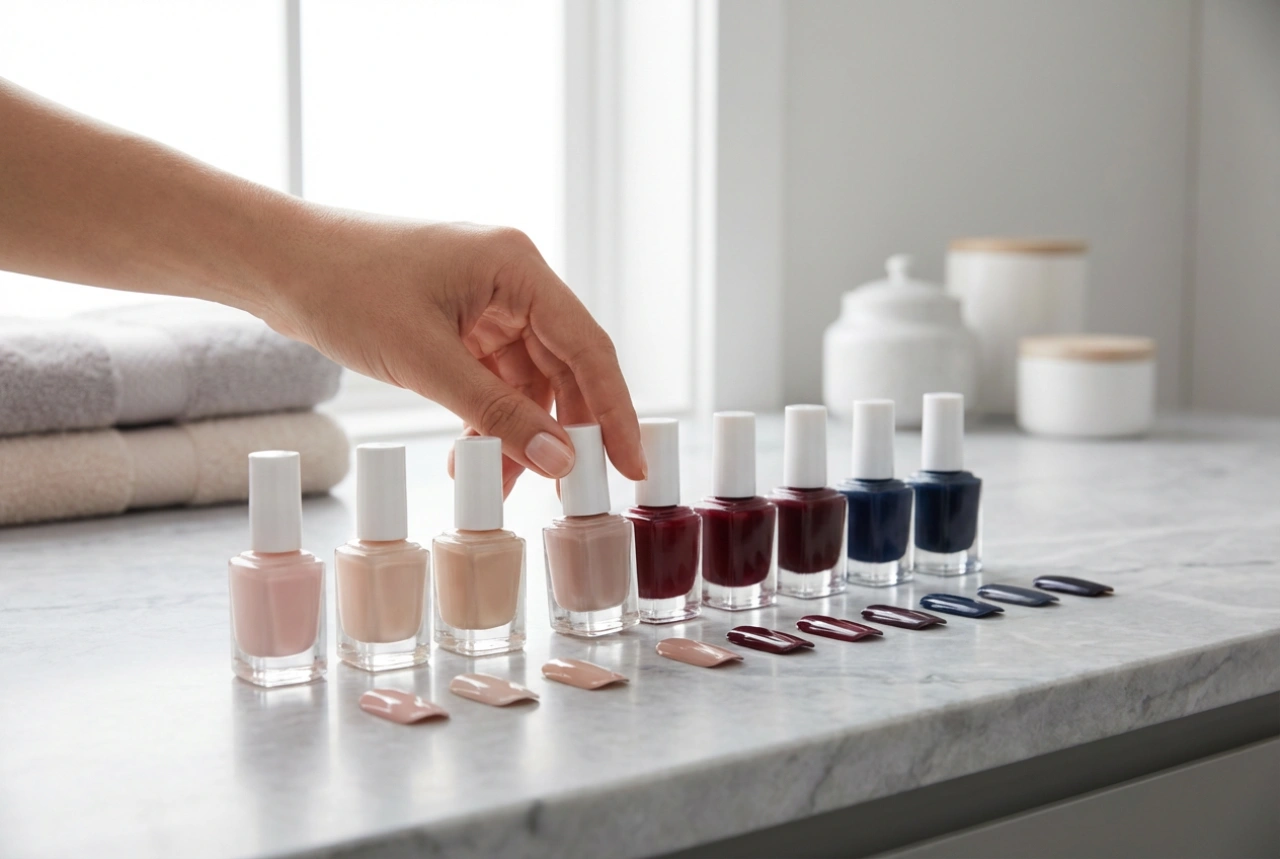
- Consider your polish type: Always pair your base with your polish. Use a classic base for traditional nail polish and a dedicated hybrid base for any hybrid or gel systems to ensure compatibility and performance.
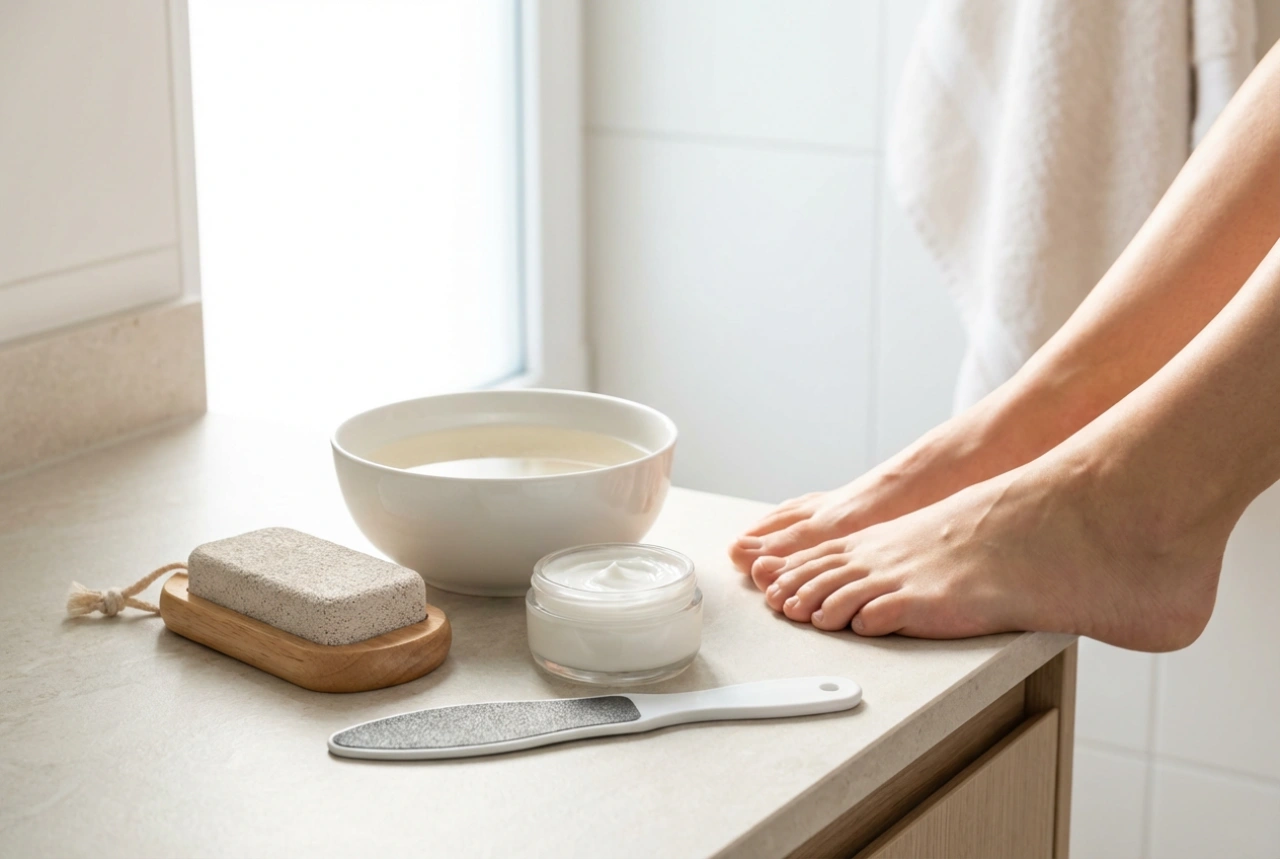
Step-by-Step Application of a Pedicure Base Coat
Proper application is just as important as choosing the right product. Follow these steps for a flawless foundation.
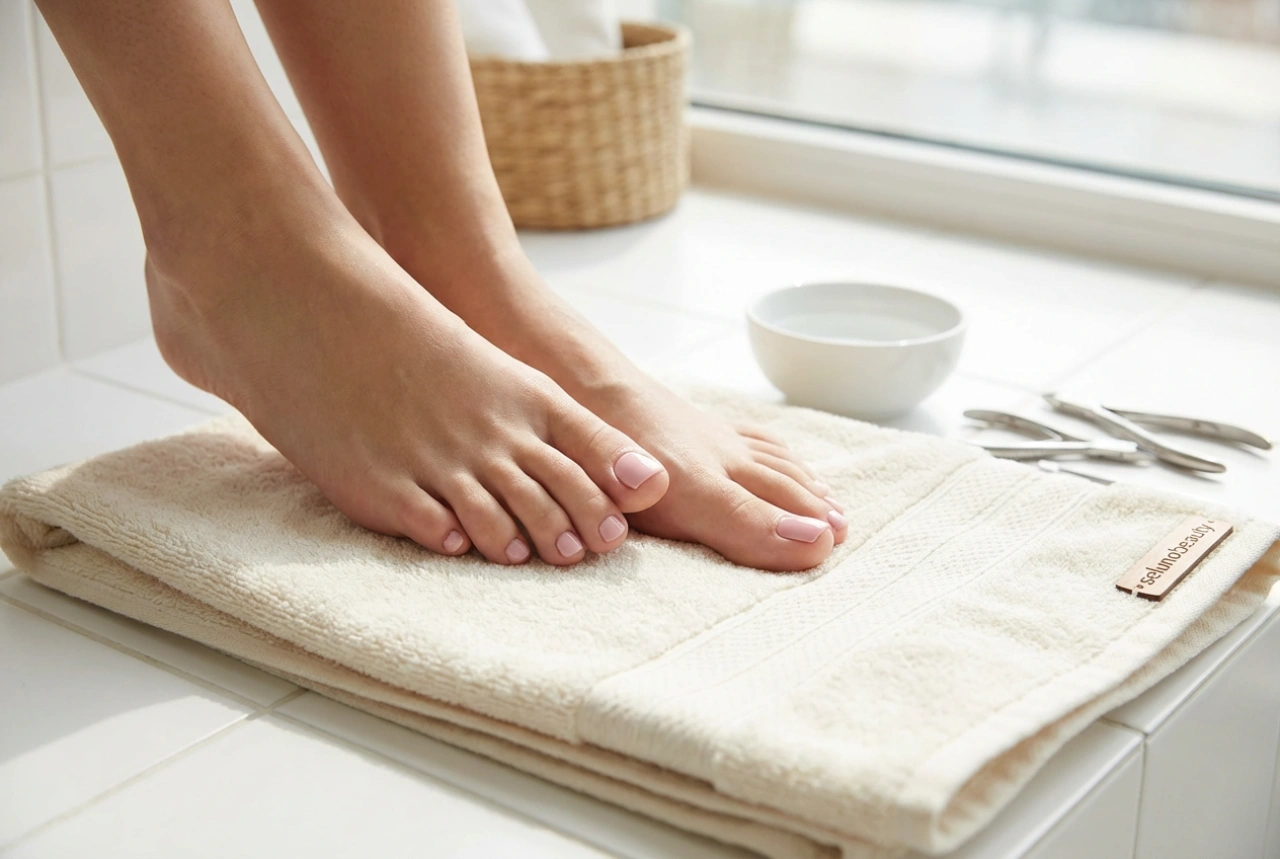
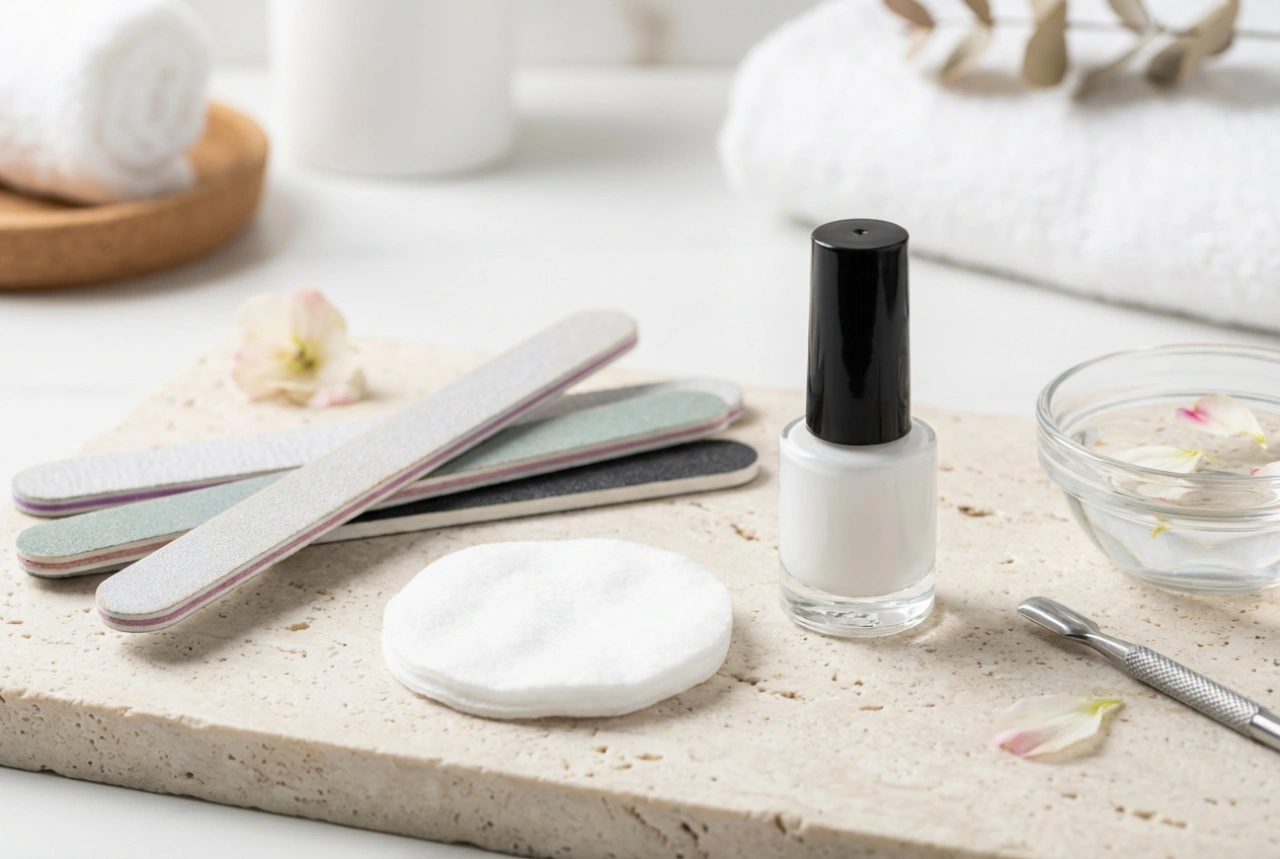
- Step 1: Prepare the Nails: Begin with clean, dry feet. File and shape your toenails as desired. Gently push back your cuticles, but avoid cutting them to prevent potential issues.
- Step 2: Clean the Nail Plate: Soak a lint-free wipe in a nail cleaner or isopropyl alcohol and thoroughly wipe each toenail. This step removes any natural oils, lotions, or residue that could interfere with adhesion.
- Step 3: Apply a Thin Layer: Dip the brush into the base coat bottle and remove any excess on the rim. You only need a small amount. Apply a thin, even layer to the entire nail, starting from the cuticle area and brushing towards the tip. Be careful not to let the product touch the surrounding skin.
- Step 4: Allow to Dry or Cure: Let a classic base coat air-dry completely. This usually takes one to two minutes. It should feel dry to the touch before you proceed with colour. If you are using a hybrid/gel base, cure it under an LED/UV lamp for the duration specified in the product's instructions.
- Step 5: Proceed with Colour: Once the base is fully dry or cured, you are ready to apply your chosen nail polish.