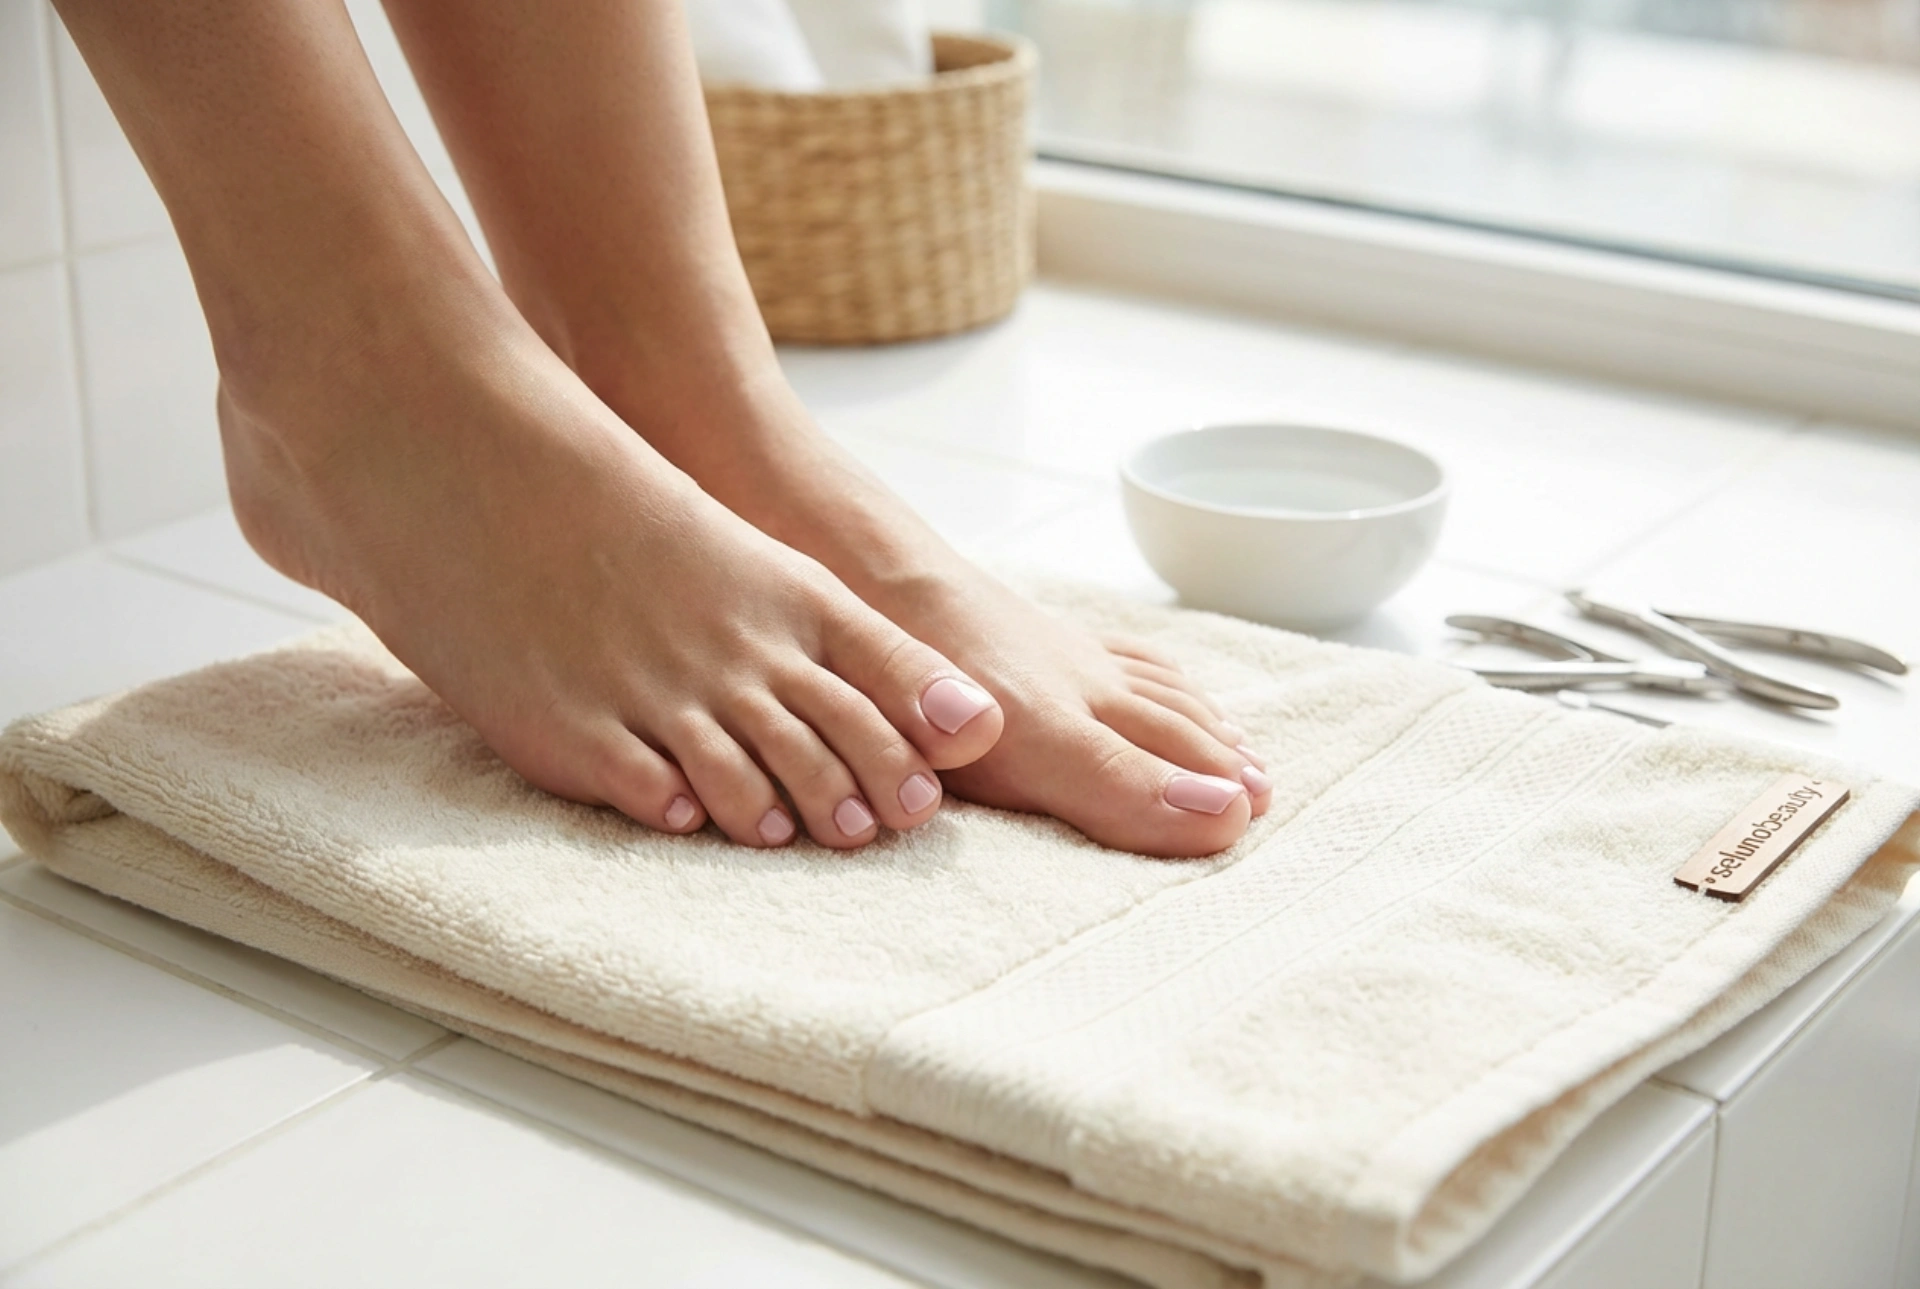


Enjoying perfectly polished, glossy toenails for weeks on end is a wonderful feeling. Achieving a salon-quality gel pedicure at home is more accessible than you might think. With the right tools and a bit of patience, you can create a durable and beautiful finish that withstands daily life. This guide will walk you through the essential steps, from preparing your nails and cuticles to applying and curing the polish for a flawless result.
Essential Tools and Workspace Preparation
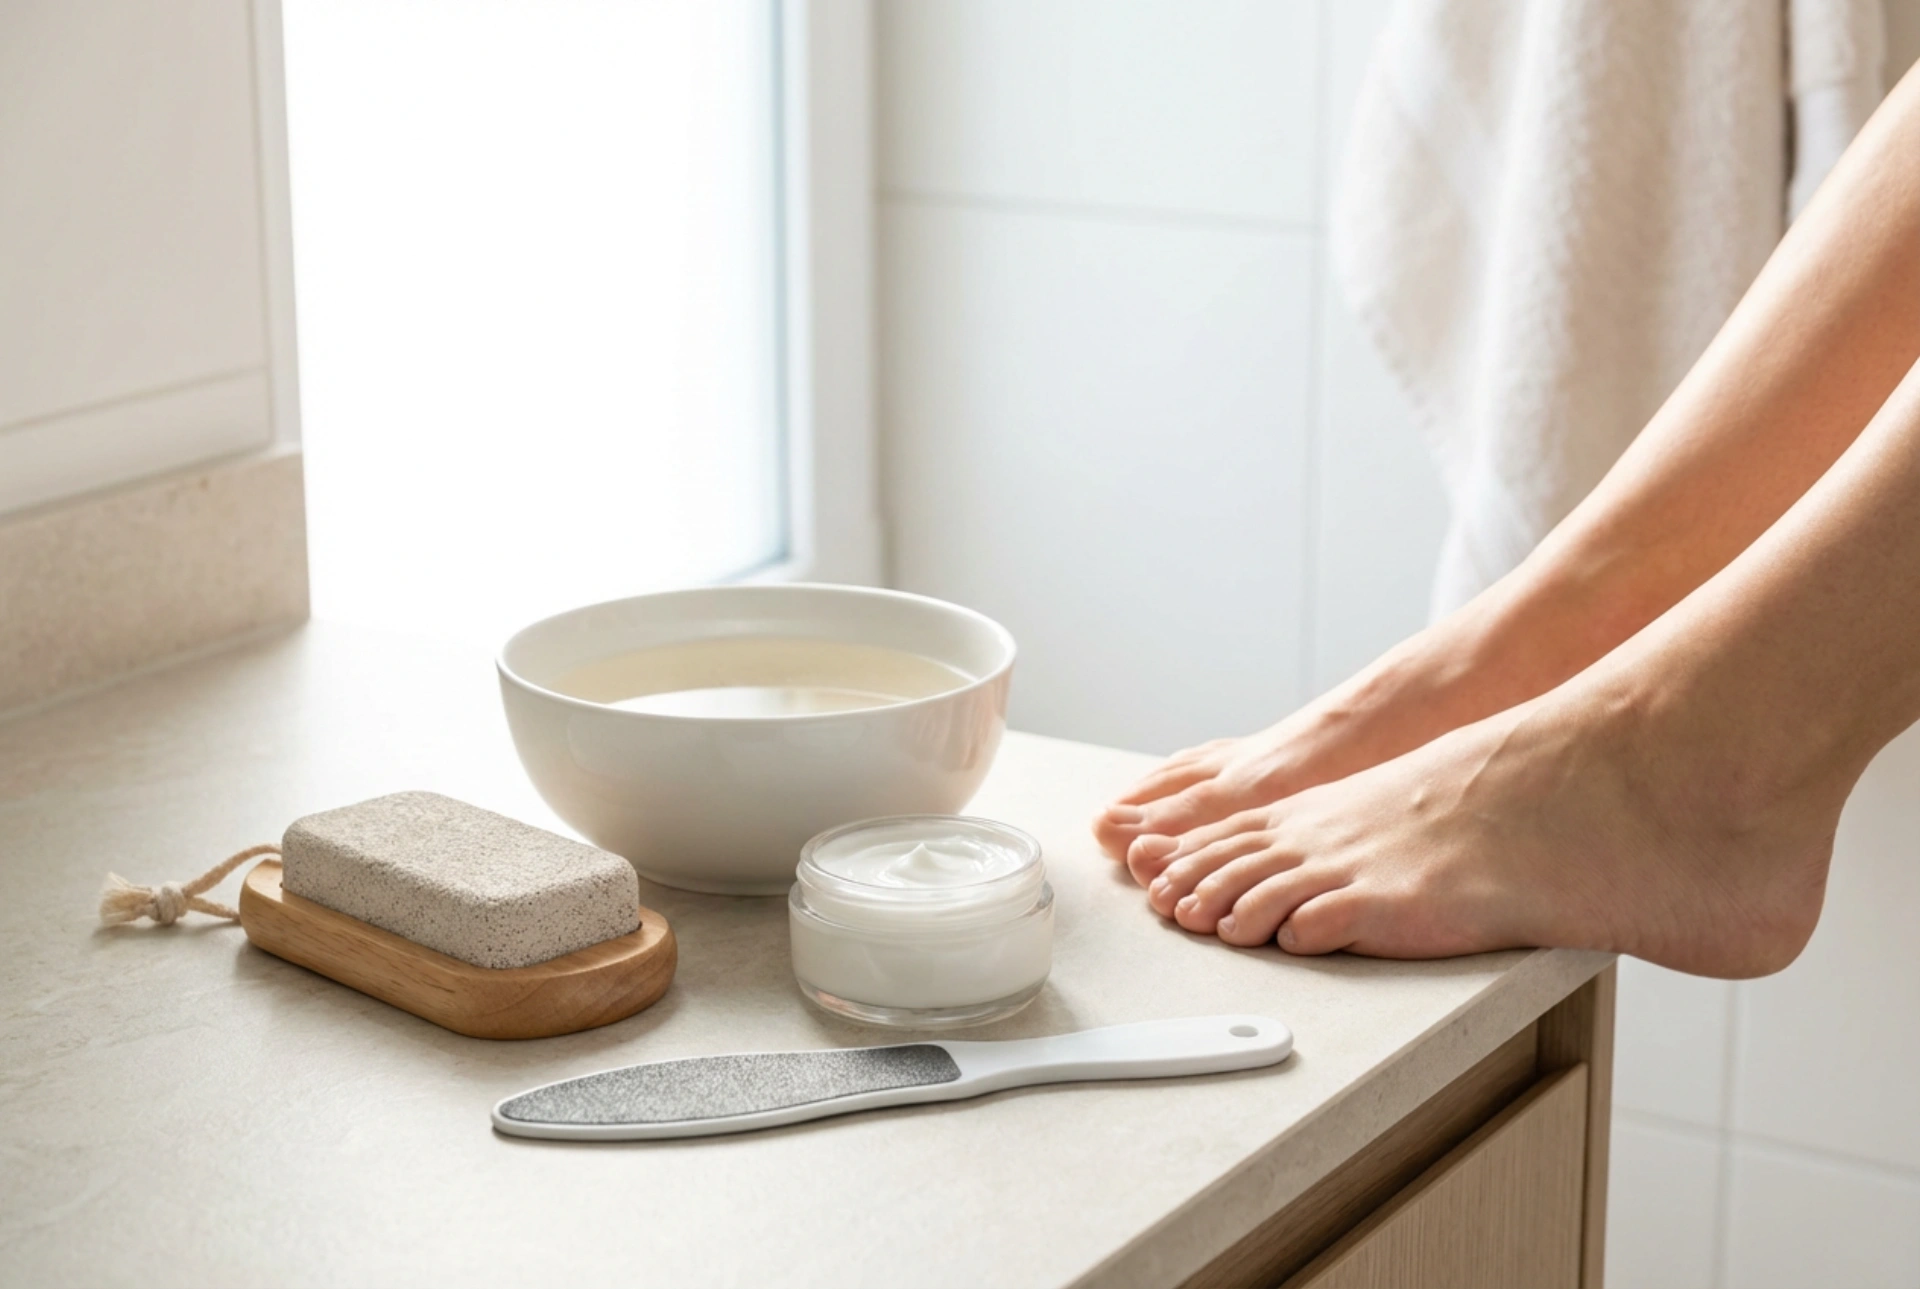
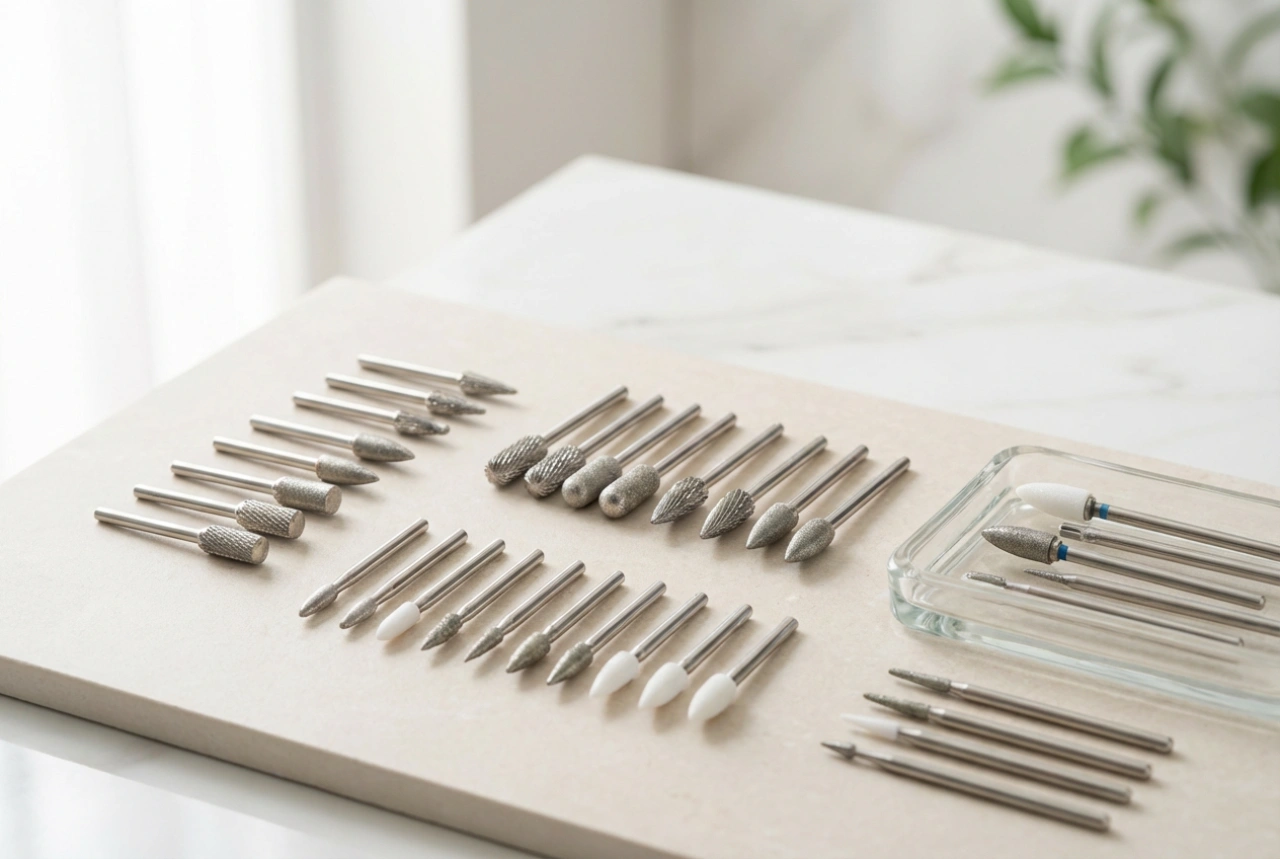
Before you begin, gather all the necessary supplies to ensure a smooth process. A clean, well-lit, and organised workspace is key to achieving a professional-looking finish. You will need:
- An LED or UV lamp designed for curing gel polish
- A nail file and a buffer block
- A cuticle pusher or orangewood stick
- Cuticle nippers (use with caution)
- Lint-free wipes
- A nail cleanser or dehydrator (isopropyl alcohol can also work)
- A gel polish system: base coat, colour polish, and top coat
- Cuticle oil for the final touch
Step-by-Step Nail and Cuticle Preparation
Proper preparation is the most critical step for a long-lasting gel pedicure. Skipping this stage can lead to lifting and chipping. Start by removing any old polish completely.
1. Shape and File Your Toenails
Trim your toenails to your desired length. It's generally best to file them straight across, slightly rounding the corners to prevent sharp edges that could snag on socks. This shape can also help to discourage ingrown toenails. Use a gentle file to smooth the free edge, ensuring there are no rough spots.
2. Focus on Cuticle Care
To soften your cuticles, you can soak your feet in warm water for a few minutes or apply a cuticle remover solution. Once softened, use a metal or wooden cuticle pusher to gently push back the skin from the nail plate. Be very gentle to avoid damaging the nail matrix. If you have any obvious hangnails, you can carefully trim them with cuticle nippers, but avoid cutting the living cuticle tissue, as this can lead to irritation and damage.
3. Buff and Cleanse the Nail Plate
Using a fine-grit buffer block, lightly buff the entire surface of each toenail. The goal is not to thin the nail but to remove its natural shine. This creates a slightly textured surface that the gel base coat can adhere to more effectively. Once you have buffed all the nails, take a lint-free wipe saturated with a nail cleanser or dehydrator and thoroughly wipe each nail. This step removes all dust, oils, and moisture, which are the main culprits for polish lifting.
The Gel Application Process
With your nails perfectly prepped, you are ready to start the application. The key to a smooth, even finish is to apply very thin coats of each product.
1. Apply the Base Coat
Apply a very thin, even layer of the gel base coat to one foot. Be careful to avoid getting any polish on your skin or cuticles, as this can cause lifting. If you do get any on your skin, clean it up with a small brush dipped in cleanser before curing. 'Cap' the free edge of the nail by running the brush along the tip. Cure the foot under your LED or UV lamp according to the manufacturer's instructions (typically 30-60 seconds for LED).
2. Apply the Gel Colour
Apply your first thin coat of gel colour polish. Again, thin layers are crucial for proper curing and to prevent the polish from wrinkling. Cure this layer under the lamp. Apply a second coat of colour for full opacity, ensuring it is also thin and even. Cure the second layer completely. Working on one foot at a time allows you to perfect the application without rushing.
3. Seal with a Top Coat
To finish, apply a thin layer of gel top coat. This will protect the colour and provide that signature high-gloss shine. Make sure to cap the free edge again to seal the colour in completely. Perform the final cure under the lamp, sometimes for a slightly longer duration as per the top coat's instructions. After curing, some top coats leave a sticky or 'inhibition' layer. If so, use a lint-free wipe with your nail cleanser to wipe it away, revealing a hard, glossy finish.
Aftercare and Safe Removal
Once both feet are done and the tacky layer is removed, complete your home pedicure by applying a few drops of cuticle oil to the skin around each nail and massaging it in. This will rehydrate the area and give your feet a pampered look. When it comes time for removal, always opt for a safe soak-off method using a dedicated remover and foils, rather than peeling or picking off the polish, which can cause significant damage to your natural nails.