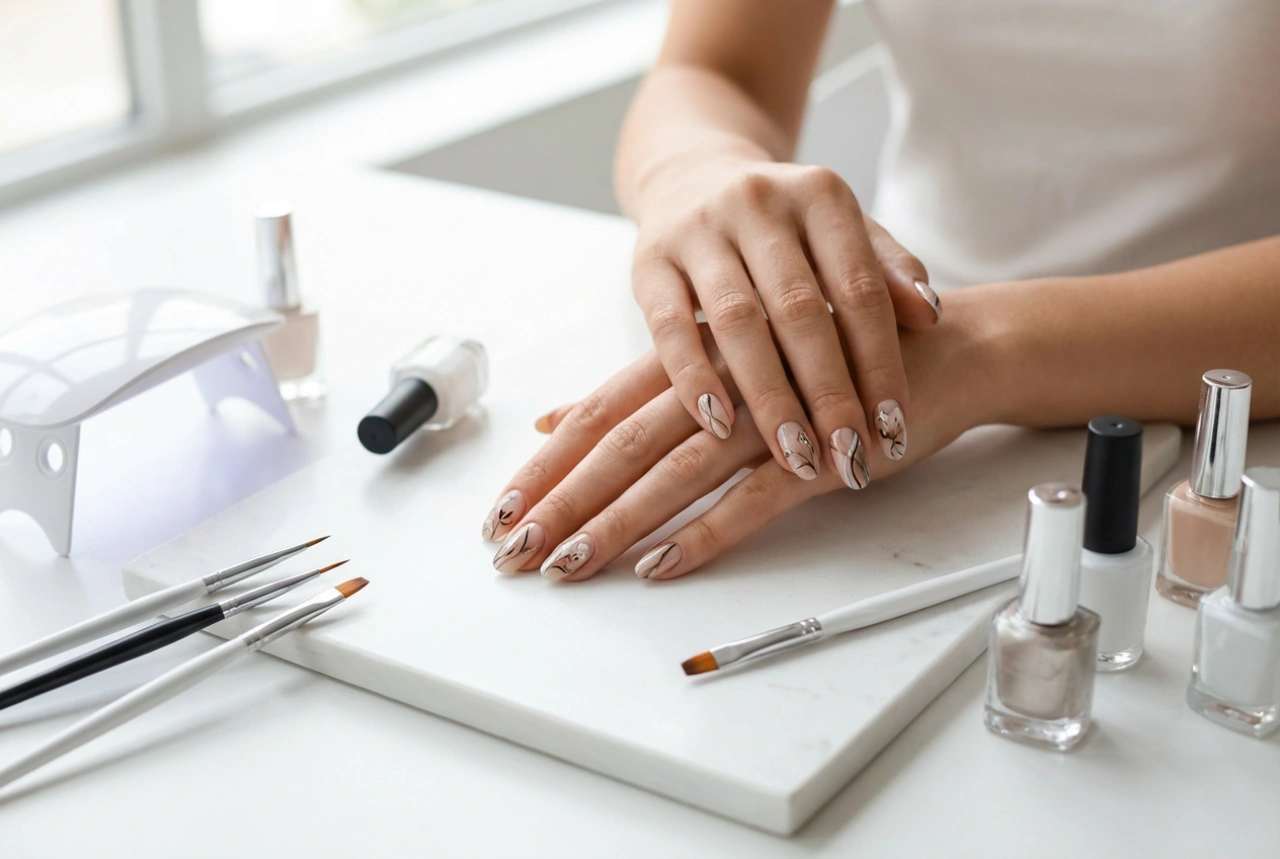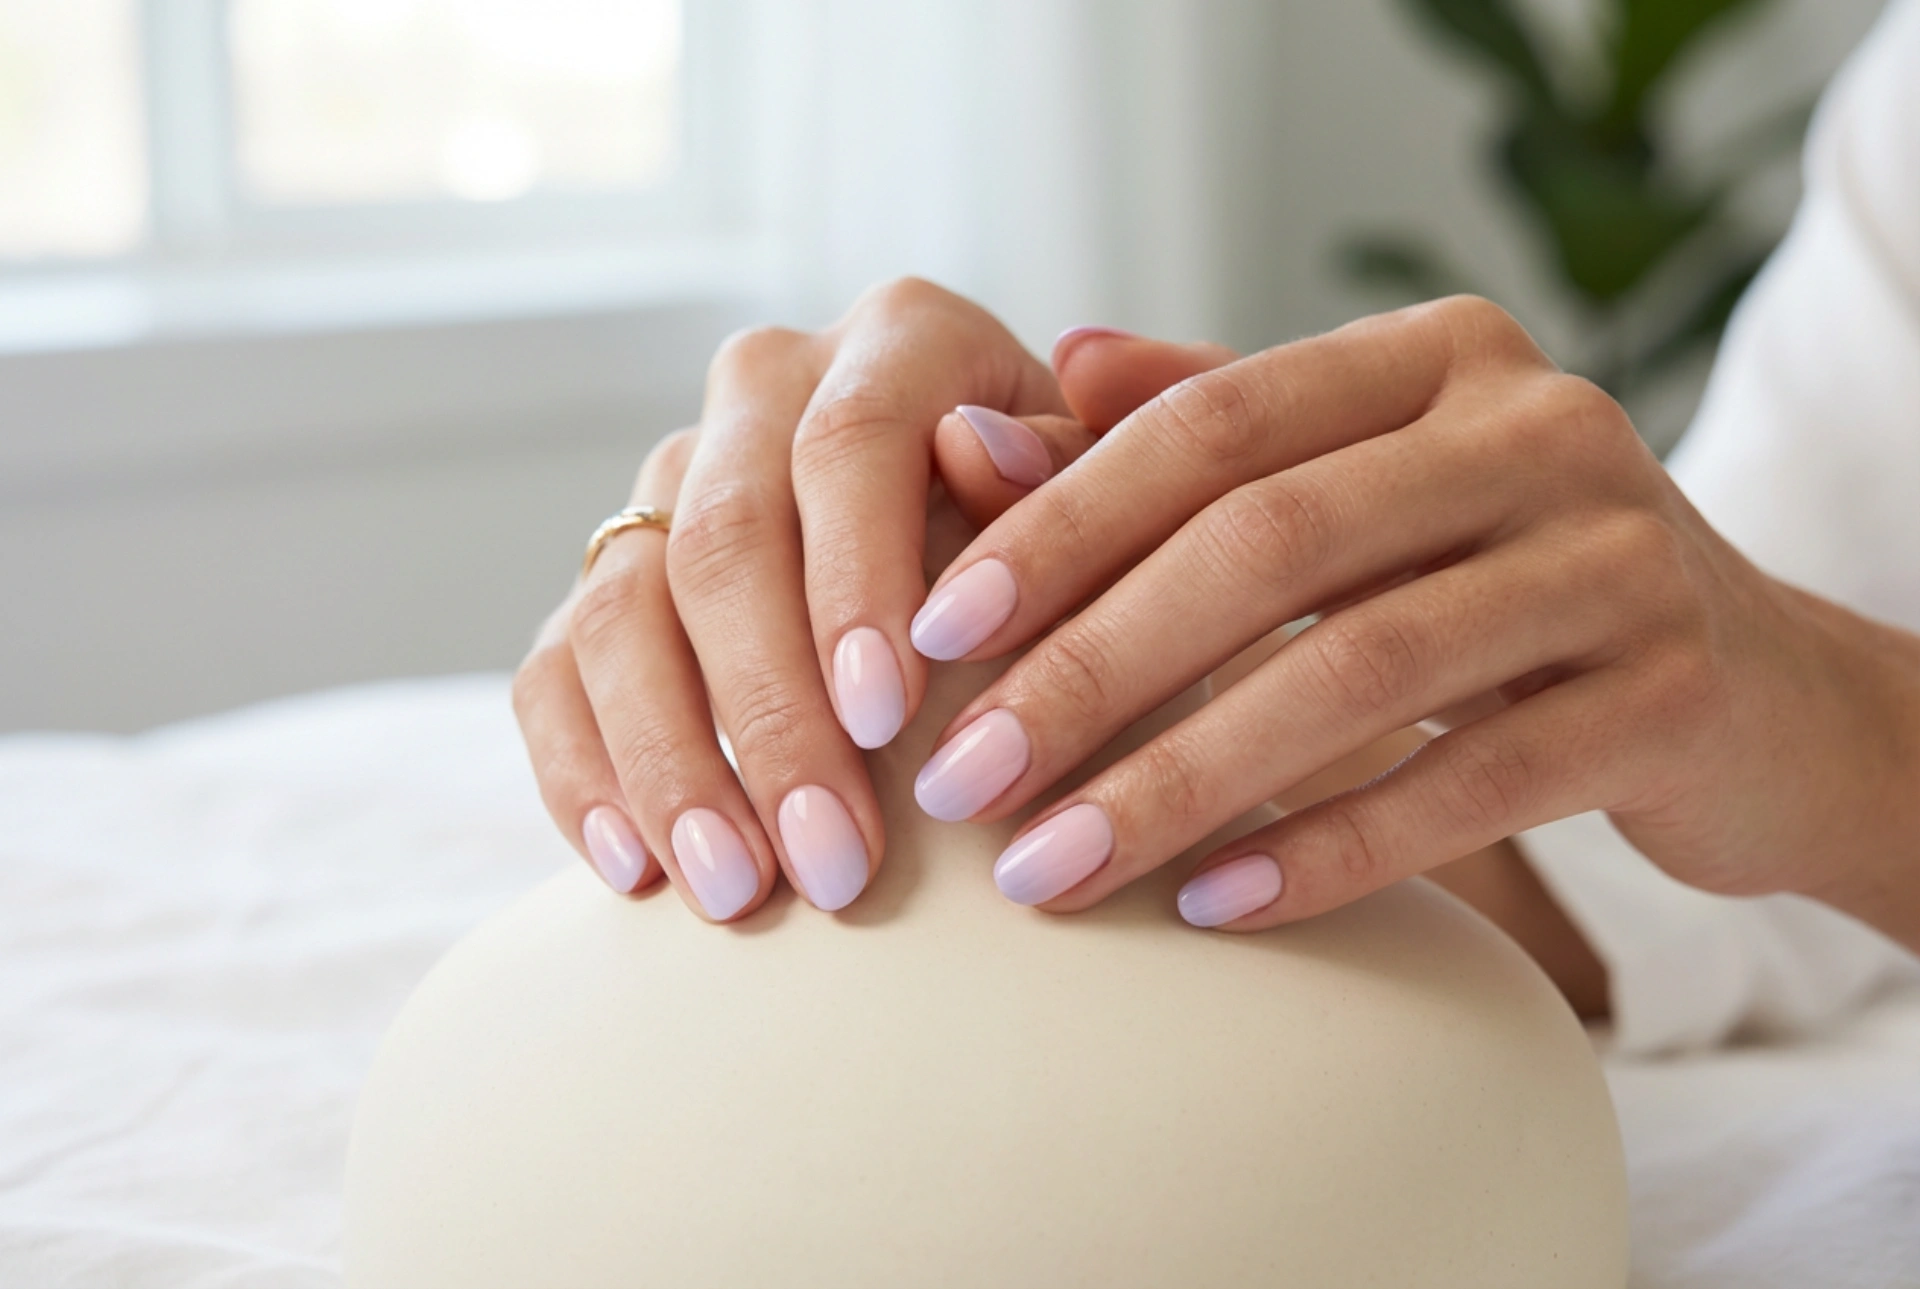


Pastel ombre nails are a beautiful and sophisticated way to add a touch of subtle colour to your look. The gentle transition between soft, dreamy shades creates an elegant effect that is perfect for any season. This style mimics the delicate gradients seen in a spring sunrise or a soft lavender field, offering a polished and modern manicure. Achieving this look at home is easier than you might think, and with the right techniques, you can create a flawless, salon-quality finish.
Understanding the Pastel Ombre Trend
The ombre effect, meaning 'shaded' in French, involves a seamless blend of one colour into another. In the context of nails, this means creating a gradient that flows from light to dark or between two different colours. The pastel version uses soft, muted tones like baby pink, sky blue, mint green, and light lavender. The charm of pastel ombre lies in its subtlety and versatility. It can be a simple two-colour gradient on each nail or even a different pastel shade on each finger, creating a cohesive yet playful manicure.
Preparing Your Nails for the Perfect Manicure
Proper preparation is the foundation of any long-lasting and beautiful nail art. Before you start with the colours, it's crucial to get your nails ready. A well-prepared canvas will not only make the application process smoother but also help your manicure last longer and look more professional.
Essential Preparation Steps:
- Clean and Shape: Start by removing any old nail polish. Wash your hands and gently clean under your nails. File your nails into your desired shape, whether it's square, oval, or almond. Gently push back your cuticles, but avoid cutting them to prevent irritation.
- Buff the Surface: Lightly buff the surface of your nails. This creates a slightly rough texture that helps the polish adhere better. Be gentle to avoid thinning your nails.
- Apply a Base Coat: Never skip the base coat. It protects your natural nails from staining, especially with pigmented polishes, and provides a smooth base for the colour application. Allow it to dry completely before moving on.
Creating the Pastel Ombre Effect: A Step-by-Step Guide
The most popular and effective method for creating an ombre effect at home is using a simple makeup sponge. This technique allows for a soft, diffused blend that is difficult to achieve with a brush alone.
What You Will Need:
- A white or very light pastel base polish.
- Two or more pastel nail polishes of your choice.
- A disposable makeup sponge (a small, dense one works best).
- A top coat for sealing and blending.
- Nail polish remover and a small brush or cotton bud for cleanup.
- Optional: Liquid latex or tape to protect the skin around your nails.
The Application Process:
- Apply a Base Colour: After your base coat has dried, apply one or two thin coats of a white or the lightest of your chosen pastel colours. This will make your pastel shades pop. Let it dry completely.
- Prepare the Sponge: Apply your chosen pastel polishes in horizontal stripes directly onto the makeup sponge. The colours should be right next to each other, slightly overlapping. Be generous with the polish as the sponge will absorb some of it.
- Dab the Colour: Gently press and dab the sponge onto your nail. You can roll it slightly from side to side to help blend the colours. Don't worry if it looks a bit textured at first; the top coat will smooth it out. Repeat this step to build up the colour intensity, letting it dry slightly between layers.
- Clean Up: This process can be messy. Use a small brush or a cotton bud dipped in nail polish remover to carefully clean up any polish on the skin around your nail. If you used liquid latex, simply peel it off.
- Seal with a Top Coat: Once you are happy with the gradient, apply a generous layer of a good quality top coat. This is a crucial step as it smooths out the texture from the sponge, blends the colours even more seamlessly, and adds a beautiful shine.
Tips for a Flawless and Long-Lasting Manicure
To keep your pastel ombre nails looking perfect for as long as possible, a little extra care goes a long way. Reapply a thin layer of top coat every two to three days to maintain the shine and prevent chipping. Keep your cuticles and the surrounding skin hydrated by applying cuticle oil daily. This not only promotes healthy nail growth but also keeps your manicure looking fresh and neat. When doing household chores, especially those involving water or cleaning products, wear gloves to protect your nails from damage.