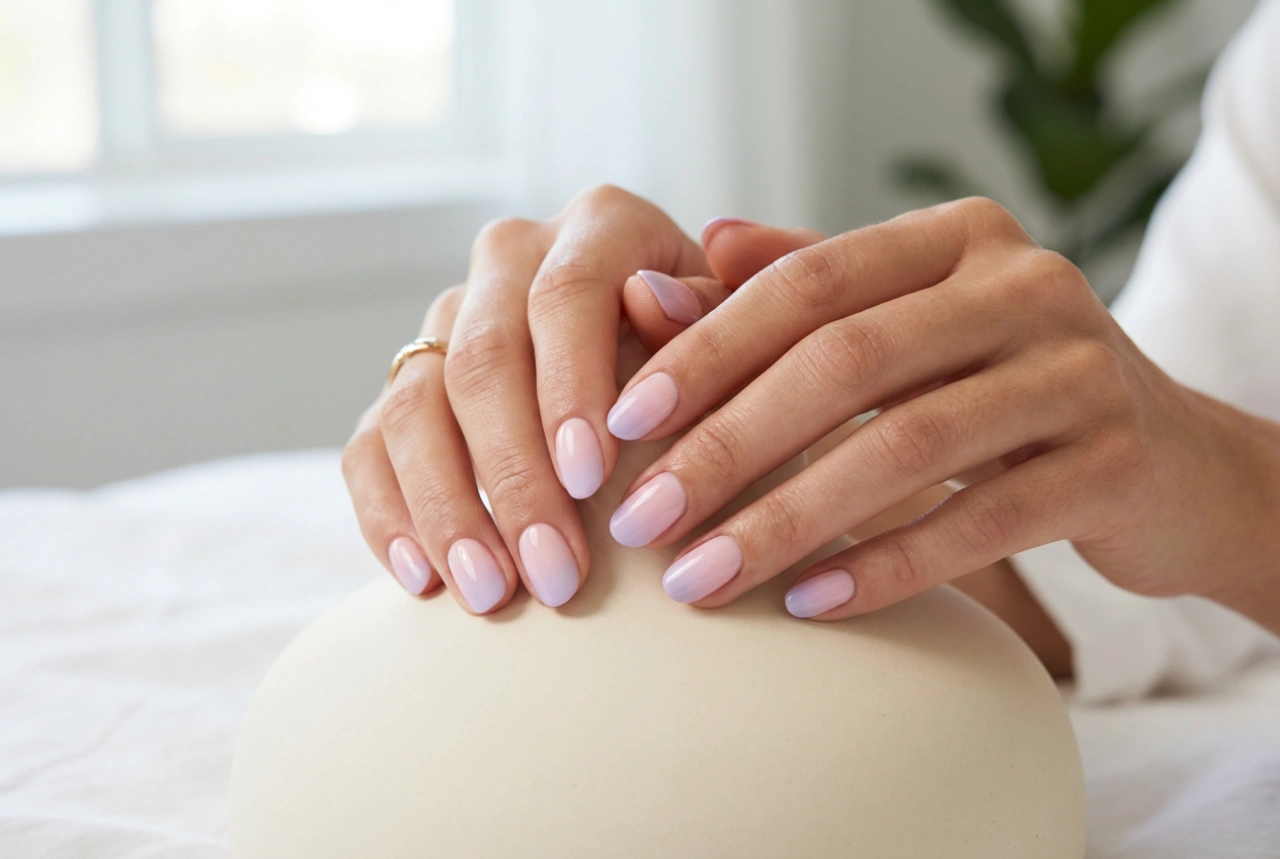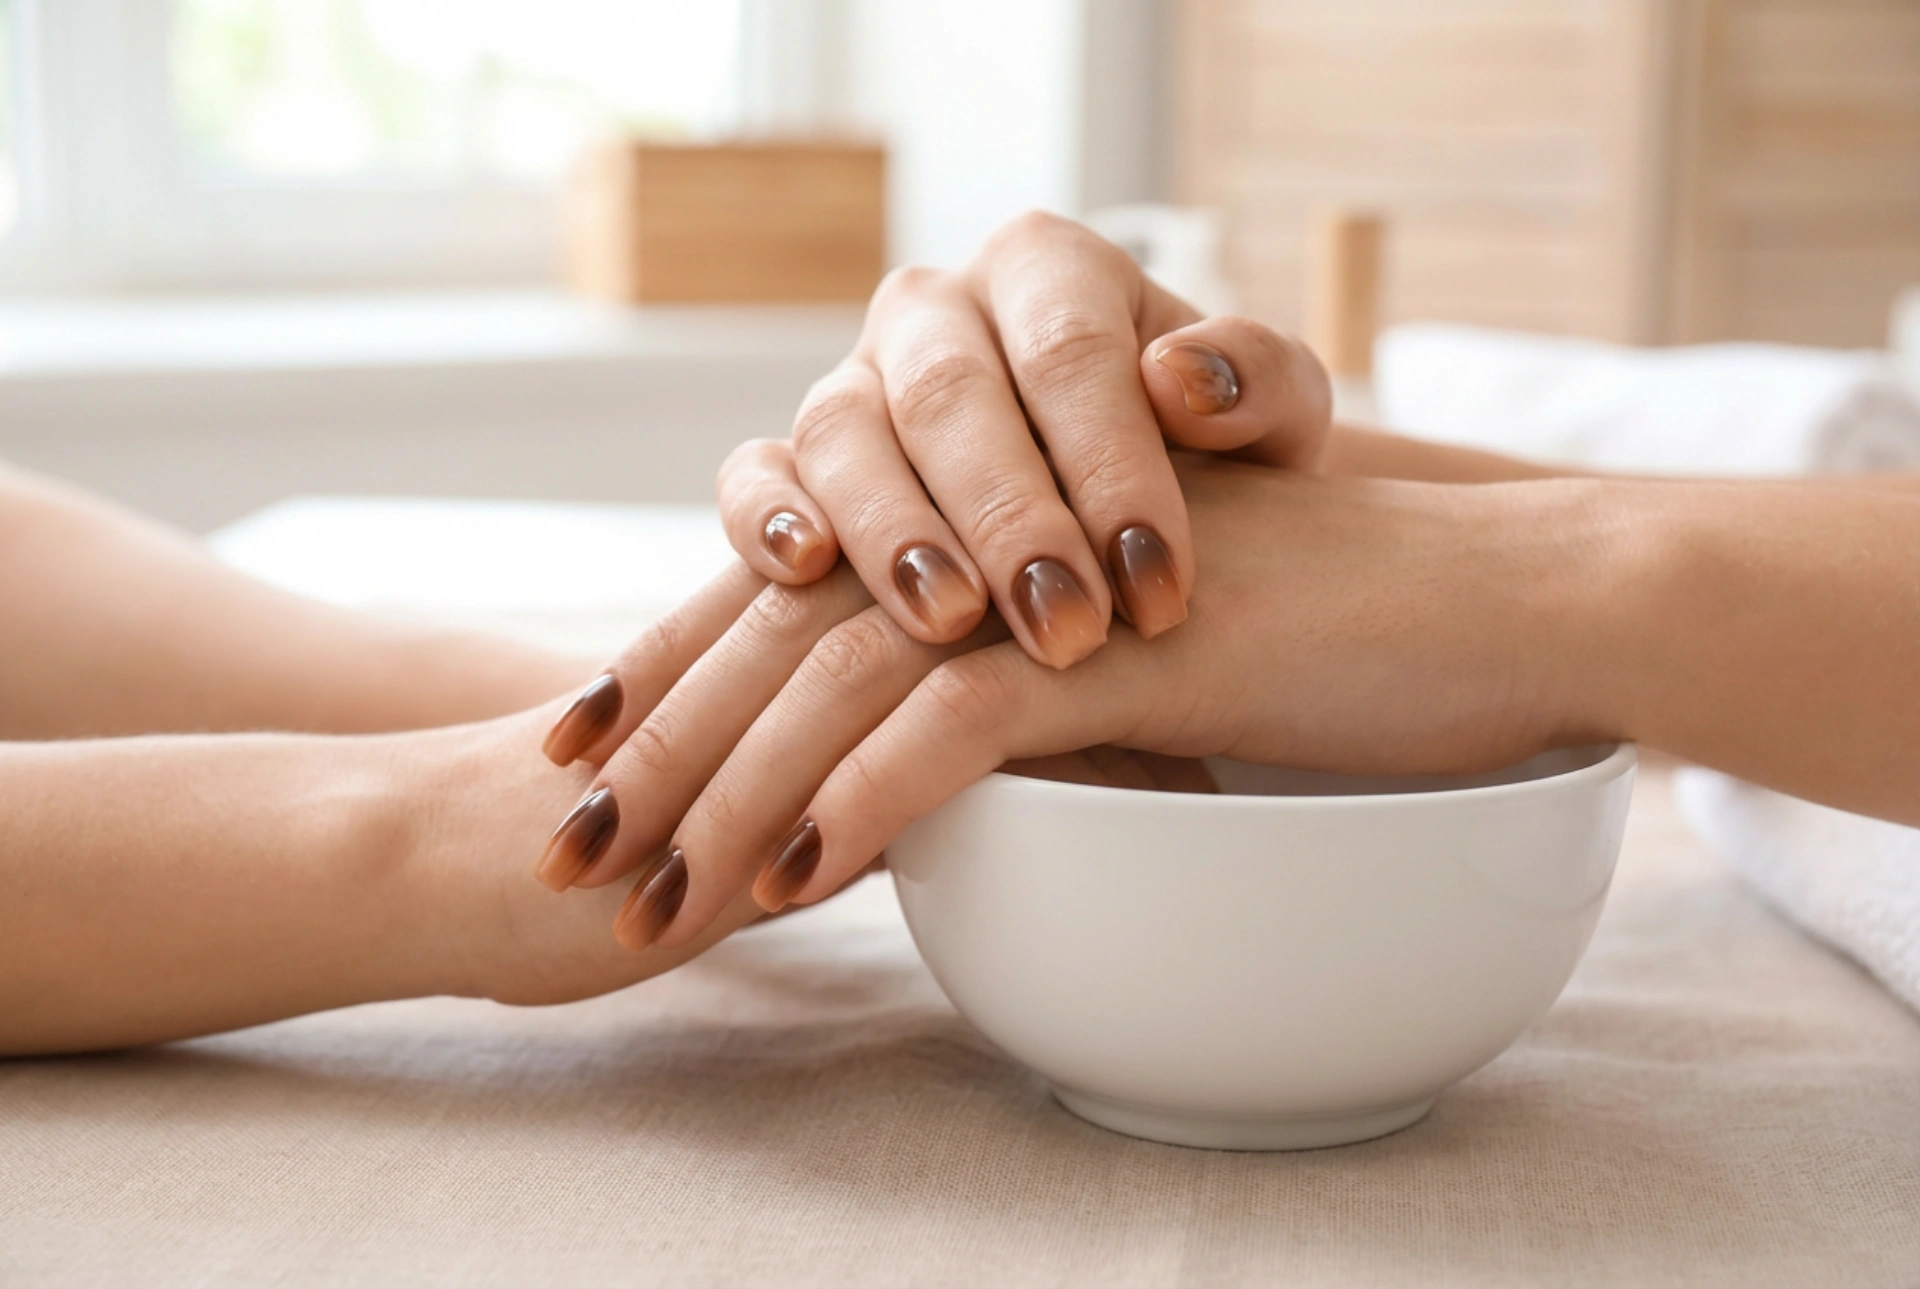


As the air turns crisp and leaves adopt their warm, earthy tones, our beauty routines often follow suit. A brown ombre manicure is the epitome of autumnal elegance, capturing the cosy sophistication of the season on your fingertips. This style, with its seamless gradient from a deep, rich chocolate to a soft, creamy caramel, is both versatile and chic, making it the perfect accessory for your favourite warm jumpers and coats. It's a subtle yet impactful statement that embodies the natural beauty of autumn.
The Allure of Brown Tones for Autumn
Brown is a surprisingly diverse and flattering colour for nails. It moves far beyond a single shade, encompassing a wide spectrum of hues that can complement any skin tone. Think of the warmth of cinnamon, the richness of espresso, the softness of beige, or the muted glow of taupe. An ombre effect allows you to combine these beautiful shades into a single, cohesive design. This style is not only trendy but also incredibly sophisticated, offering a more subdued and classic alternative to brighter nail art. It pairs beautifully with the typical autumn colour palette in fashion, including mustard yellow, deep greens, burgundy, and cream.
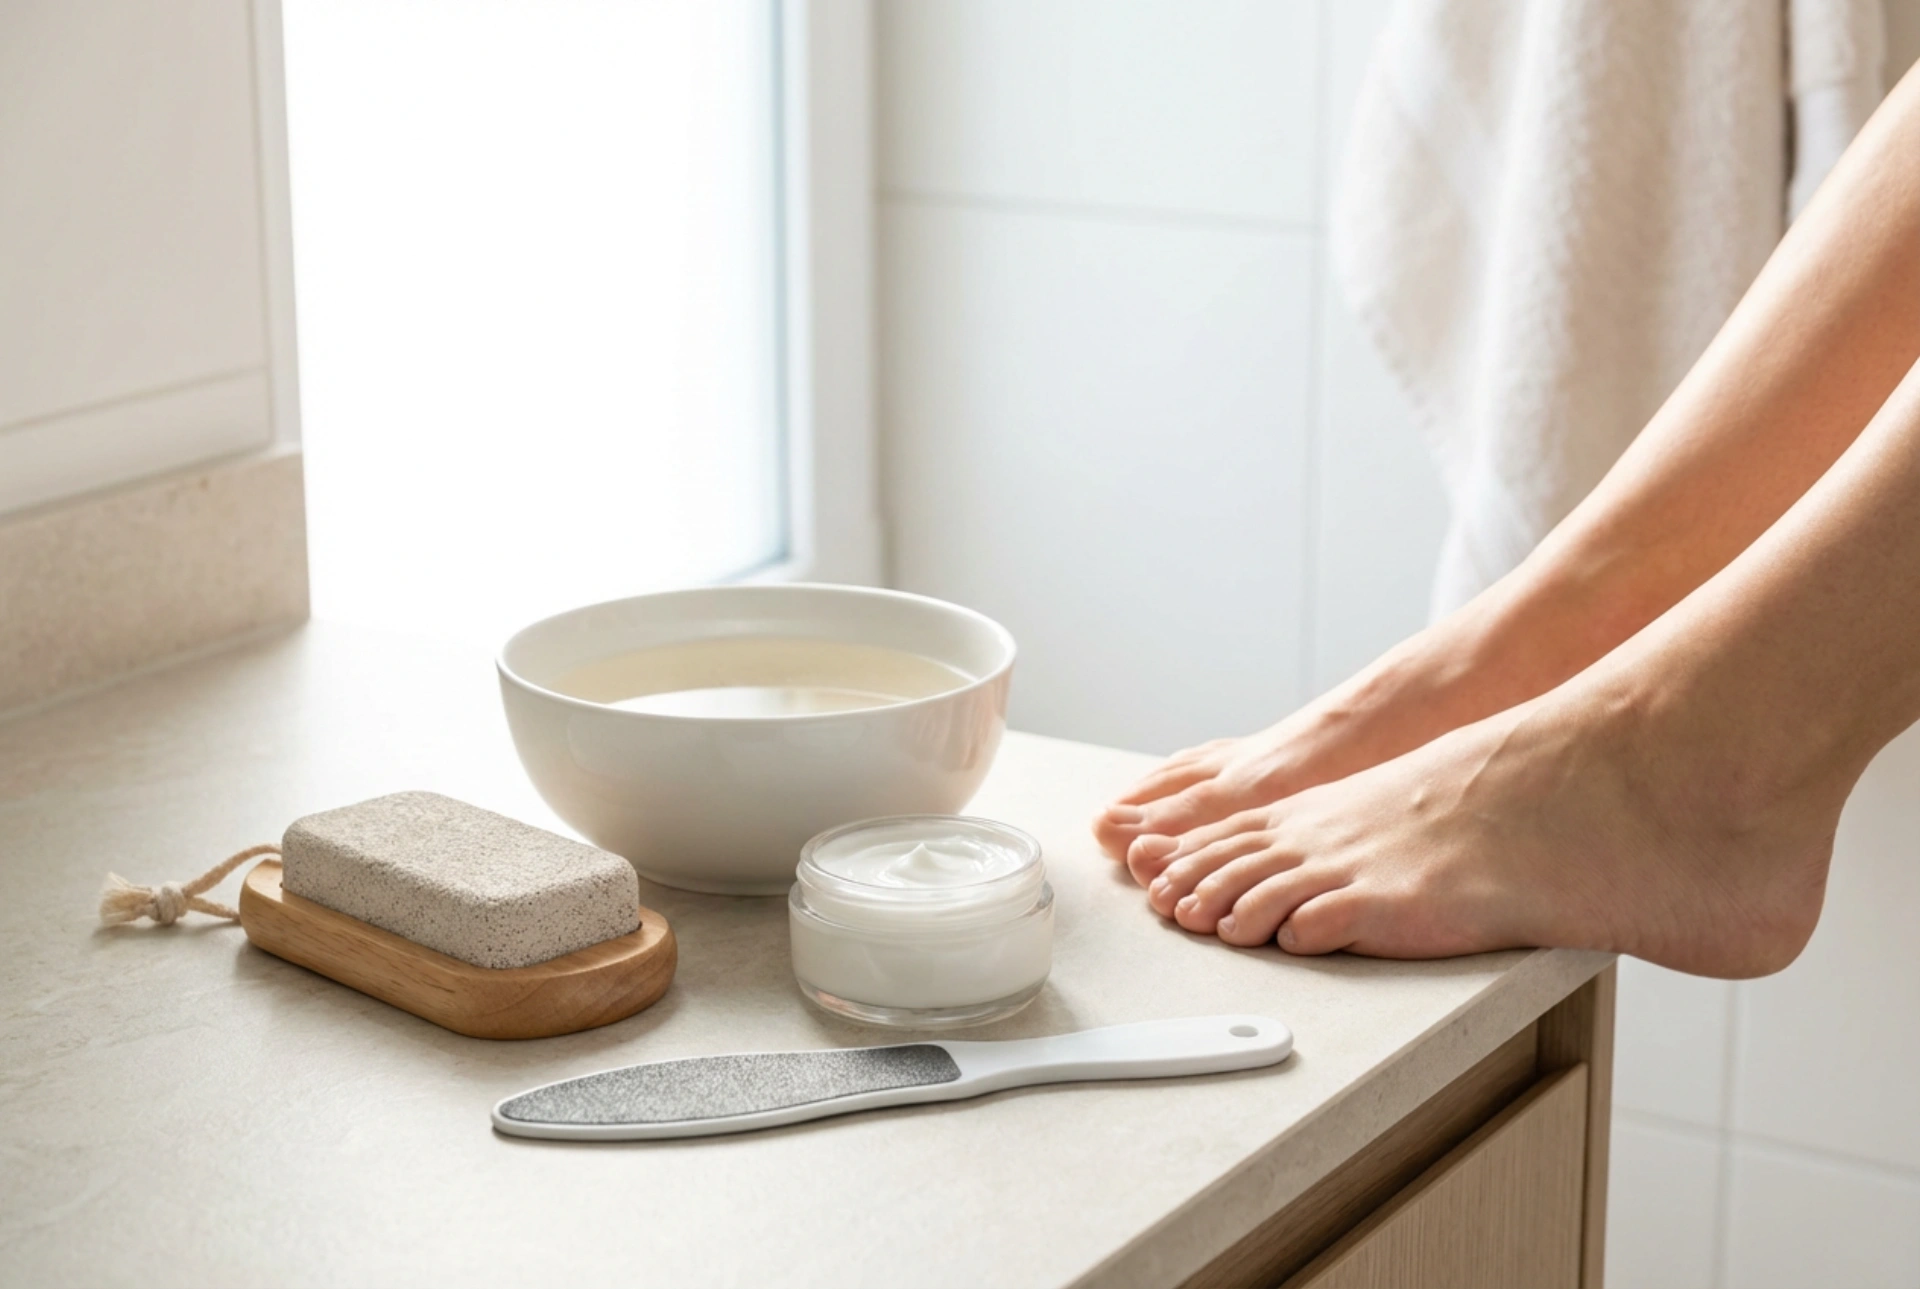
Essential Preparation for a Flawless Manicure
Before you begin creating your gradient, proper nail preparation is key to achieving a smooth, professional-looking result and ensuring your manicure lasts. A clean canvas makes all the difference.
- Shape and Smooth: Start by filing your nails to your desired shape. A classic oval or 'squoval' shape works wonderfully with the softness of an ombre design. Gently buff the surface of your nails to create a smooth base for the polish to adhere to.
- Cuticle Care: Gently push back your cuticles using a wooden or rubber cuticle pusher. Avoid cutting them, as this can lead to irritation. Moisturising your cuticles with a nourishing oil will keep the skin around your nails looking healthy and neat.
- Apply a Base Coat: Never skip the base coat. This crucial step protects your natural nails from staining, especially when using darker polishes. It also provides a slightly tacky surface that helps the coloured polish adhere better, extending the life of your manicure.
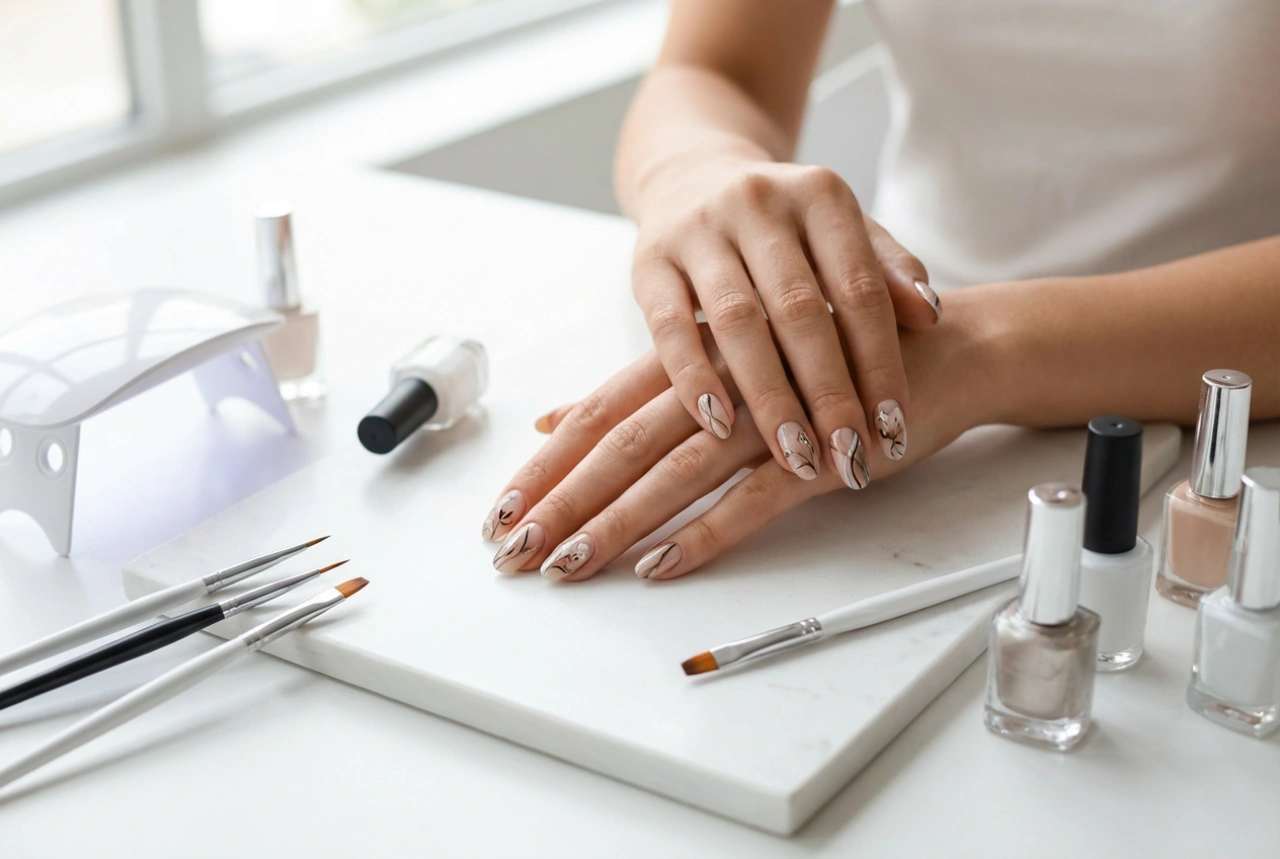
How to Create the Brown Ombre Look at Home
Creating a gradient effect might seem complex, but with a few simple tools and a little patience, it's easily achievable at home. The most popular method uses a simple makeup sponge to blend the colours seamlessly.
Gathering Your Tools
To create your brown ombre nails, you will need a few basic items. Ensure you have everything ready before you start to make the process smooth and enjoyable.
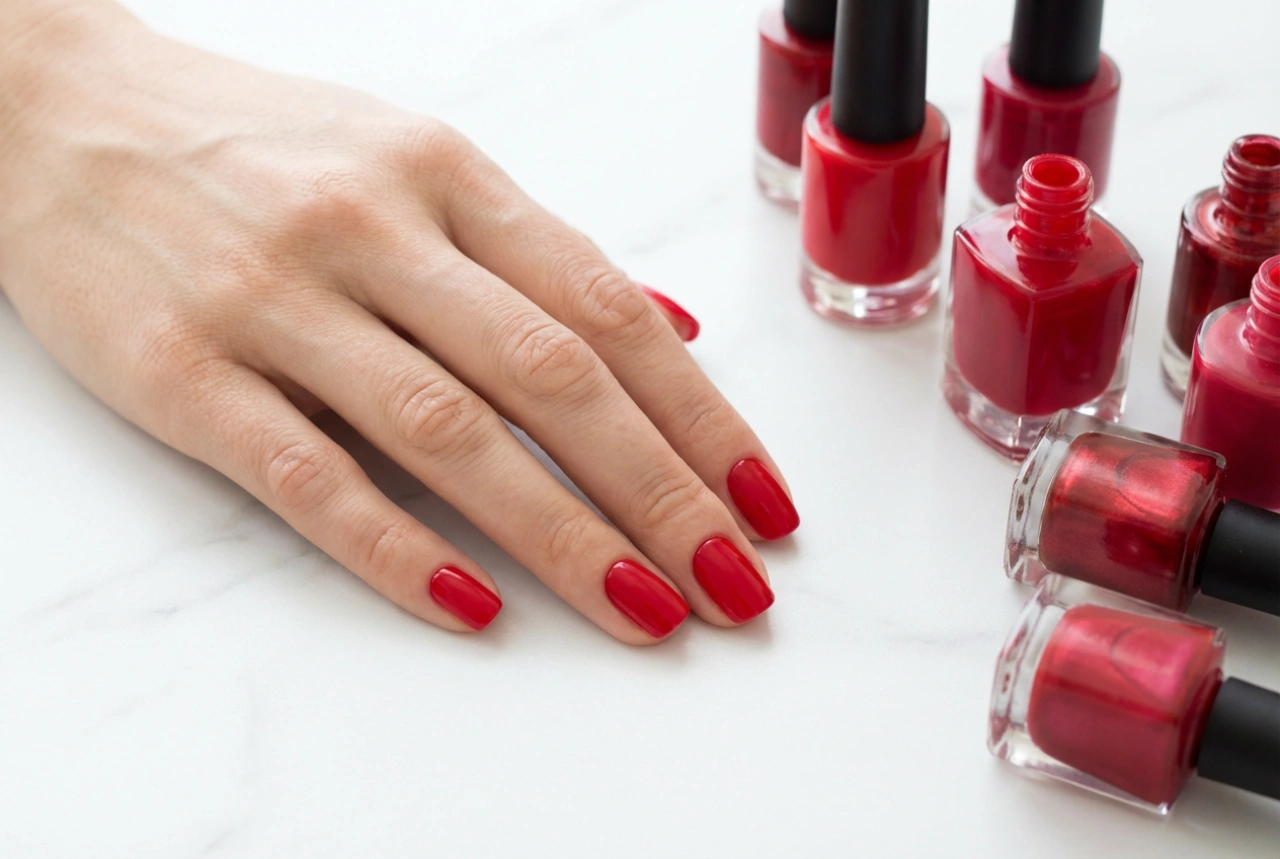
- Two or three brown nail polishes in complementary shades (e.g., a dark chocolate, a mid-tone caramel, and a light beige).
- A clear base coat and a high-shine top coat.
- A small piece of a disposable makeup sponge.
- A flat, non-porous surface for mixing, such as a piece of tin foil or a plastic lid.
- A small brush and some nail polish remover for cleaning up any mess around the nail.
A Step-by-Step Method
Follow these steps to create your beautiful gradient manicure:
- Begin by applying a thin layer of your base coat to all nails and allow it to dry completely.
- Apply one or two coats of the lightest brown shade you have chosen. This will act as the base colour for your ombre. Let it dry fully before moving to the next step.
- On your flat surface, paint stripes of your chosen brown polishes right next to each other. The order should be from lightest to darkest, and the stripes should slightly overlap to encourage blending.
- Take your makeup sponge and dab it directly onto the polish stripes a few times to pick up the colours and start the blending process on the sponge itself.
- Gently press and dab the sponge onto your nail. You can roll it slightly from side to side to ensure the entire nail is covered. The dabbing motion is what creates the soft, stippled gradient effect. Don't worry if it looks a little textured at this stage.
- Repeat the dabbing process to build up the intensity of the colour until you are happy with the gradient. You may need to reapply polish to your sponge for each nail.
- Once the ombre is complete, use a small brush dipped in nail polish remover to carefully clean up any polish that has transferred onto the skin around your nails.
- Finish by applying a generous layer of a glossy top coat. This is the magic step that will smooth out the slightly rough texture from the sponge and blend the colours into a seamless, high-shine finish.
Tips for a Professional Finish and Lasting Wear
To keep your autumn ombre nails looking perfect for as long as possible, a few final touches can make all the difference. Regular application of a nourishing cuticle oil will keep the skin around your nails hydrated, framing your manicure beautifully. Reapplying your top coat every two to three days will help prevent chips and maintain that glossy, fresh-from-the-salon shine. Don't be afraid to experiment with different brown combinations, such as a deep espresso fading into a soft taupe or a warm rust blending into a creamy nude, to find the perfect autumn look for you.