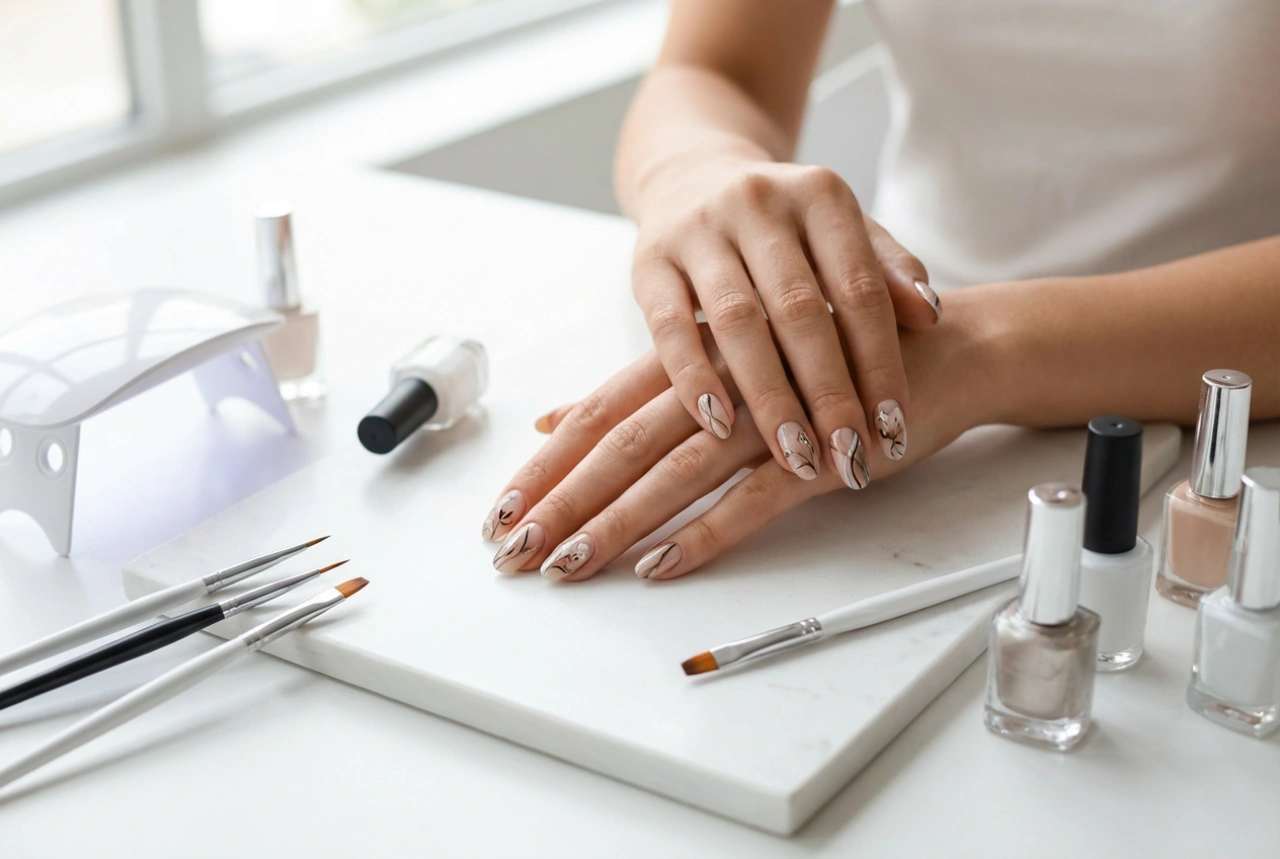
A nail drill, or e-file, is a versatile tool that can elevate your home manicure and pedicure routine, allowing for precision and efficiency. The key to unlocking its full potential lies in understanding and selecting the correct drill bit for each specific task. With an array of shapes, sizes, and materials available, knowing which bit to use can transform a standard nail care session into a professional-quality experience. This guide will walk you through the different types of nail drill bits and their primary applications.
Understanding Drill Bit Materials
Drill bits are commonly made from a few key materials, each with unique properties suited for different purposes. The material affects the bit's durability, heat distribution, and overall performance.
Carbide Bits
Made from a durable metal, carbide bits are known for their strength and longevity. They have flute-like cuts that shave off product rather than scratching it away. This makes them highly effective for removing acrylics, hard gels, and other thick enhancements. Due to their sharpness and efficiency, they are generally recommended for more experienced users. They are not typically used on the natural nail.
Ceramic Bits
Ceramic bits are an excellent choice for beginners and those with sensitive nails. They are known for dispersing heat well, which reduces the risk of uncomfortable friction during use. Their cutting pattern is often more shallow than carbide, making them ideal for gentler tasks like removing gel polish, refining the nail surface, and light shaping. They are also corrosion-resistant and easy to clean.
Diamond Bits
Diamond bits are made by bonding fine diamond particles to a metal base. Instead of shaving product, they work by scratching it off. They are perfect for delicate and precise work. Diamond bits are the go-to choice for cuticle care, cleaning the sidewalls of the nail, removing dead skin, and gently preparing the natural nail plate for product application. They come in various grits, from coarse for product removal to very fine for buffing.
A Guide to Drill Bit Shapes and Their Functions
The shape of a drill bit determines its specific function. Using the right shape for the job is crucial for achieving clean results and ensuring safety.
- Barrel/Cylinder Bits: These are flat-topped bits used for surface work, shaping the top of the nail, and shortening the length of acrylic or gel extensions. They can quickly and evenly reduce bulk.
- Cone/Tapered Bits: These versatile bits are tapered towards the tip. They are excellent for cleaning under the nail, shaping the sidewalls, and working in the cuticle area. Their pointed shape allows for precision in tight spaces.
- Ball-Tipped Bits: As the name suggests, these have a small, round head. They are specifically designed for cuticle work, gently removing non-living tissue from the nail plate or cleaning the eponychium area with great care.
- Flame/Needle Bits: These are thin and often pointed, resembling a flame or needle. They are used for highly detailed work, such as lifting the eponychium, cleaning around the cuticle, or creating a clean line along the sidewalls.
Choosing the Right Grit
The coarseness, or grit, of a drill bit is often indicated by a coloured band around its shank. Understanding this system helps you select the appropriate level of abrasiveness.
- Coarse (e.g., Green, Black): Used for heavy-duty tasks like removing thick acrylic or dip powder. Should be used with caution and only on artificial enhancements.
- Medium (e.g., Blue): A versatile, all-purpose grit suitable for general shaping, refining, and removing gel polish from enhancements.
- Fine (e.g., Red): Ideal for more delicate work. It can be used for refining the surface of enhancements, preparing the natural nail, and gentle cuticle work.
- Extra Fine (e.g., Yellow): The gentlest grit, used for polishing the nail surface, buffing, and extremely delicate work on the natural nail.
Safety and Maintenance Essentials
Proper use and care of your drill bits are essential for safety and longevity. Always start on the lowest speed and increase it gradually as you become more comfortable. Never apply firm pressure; let the bit do the work. Keep the bit in constant motion across the nail to prevent heat build-up and avoid damaging the nail plate. After each use, clean your bits with a brush to remove debris and then sanitise them according to the manufacturer's instructions to maintain hygiene. With practice and knowledge, using a nail drill and the right bits can help you achieve flawless, long-lasting manicures at home.