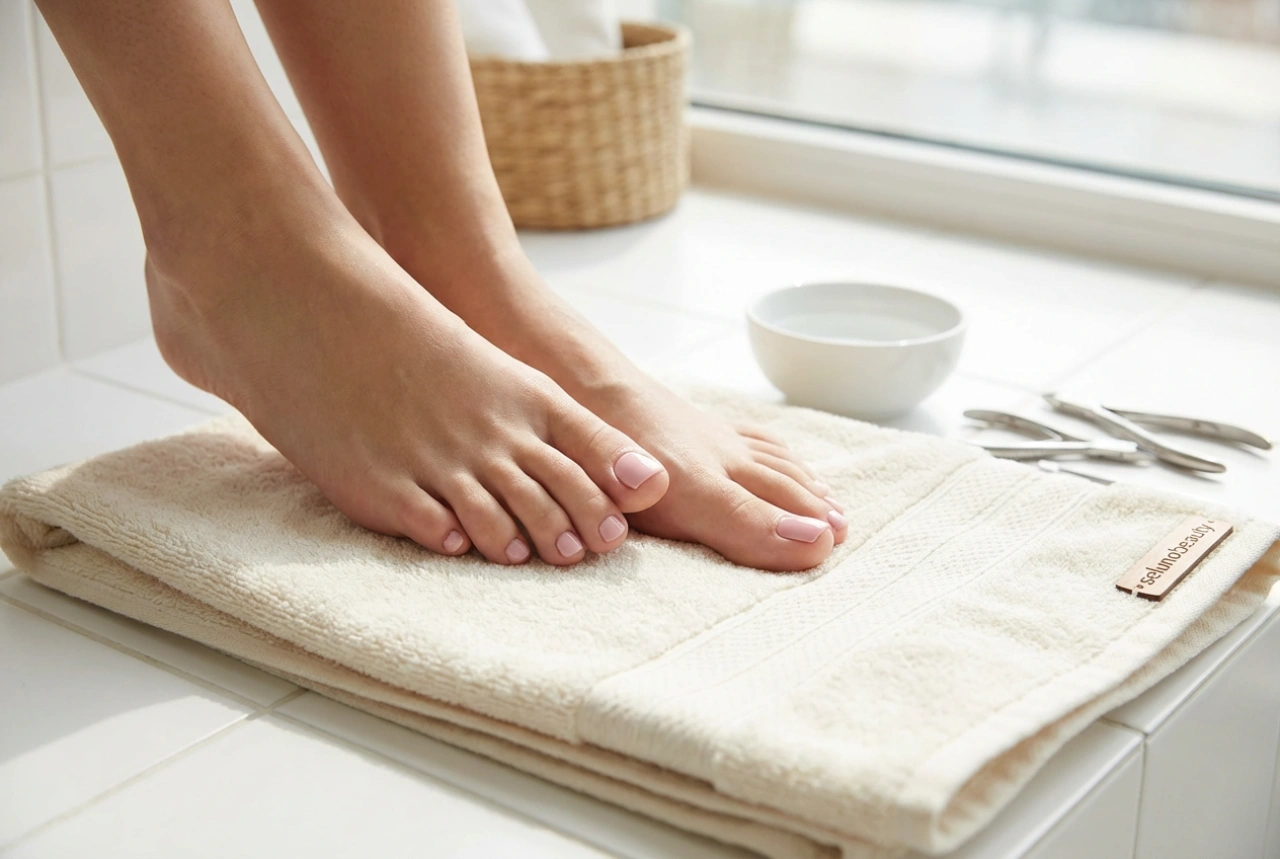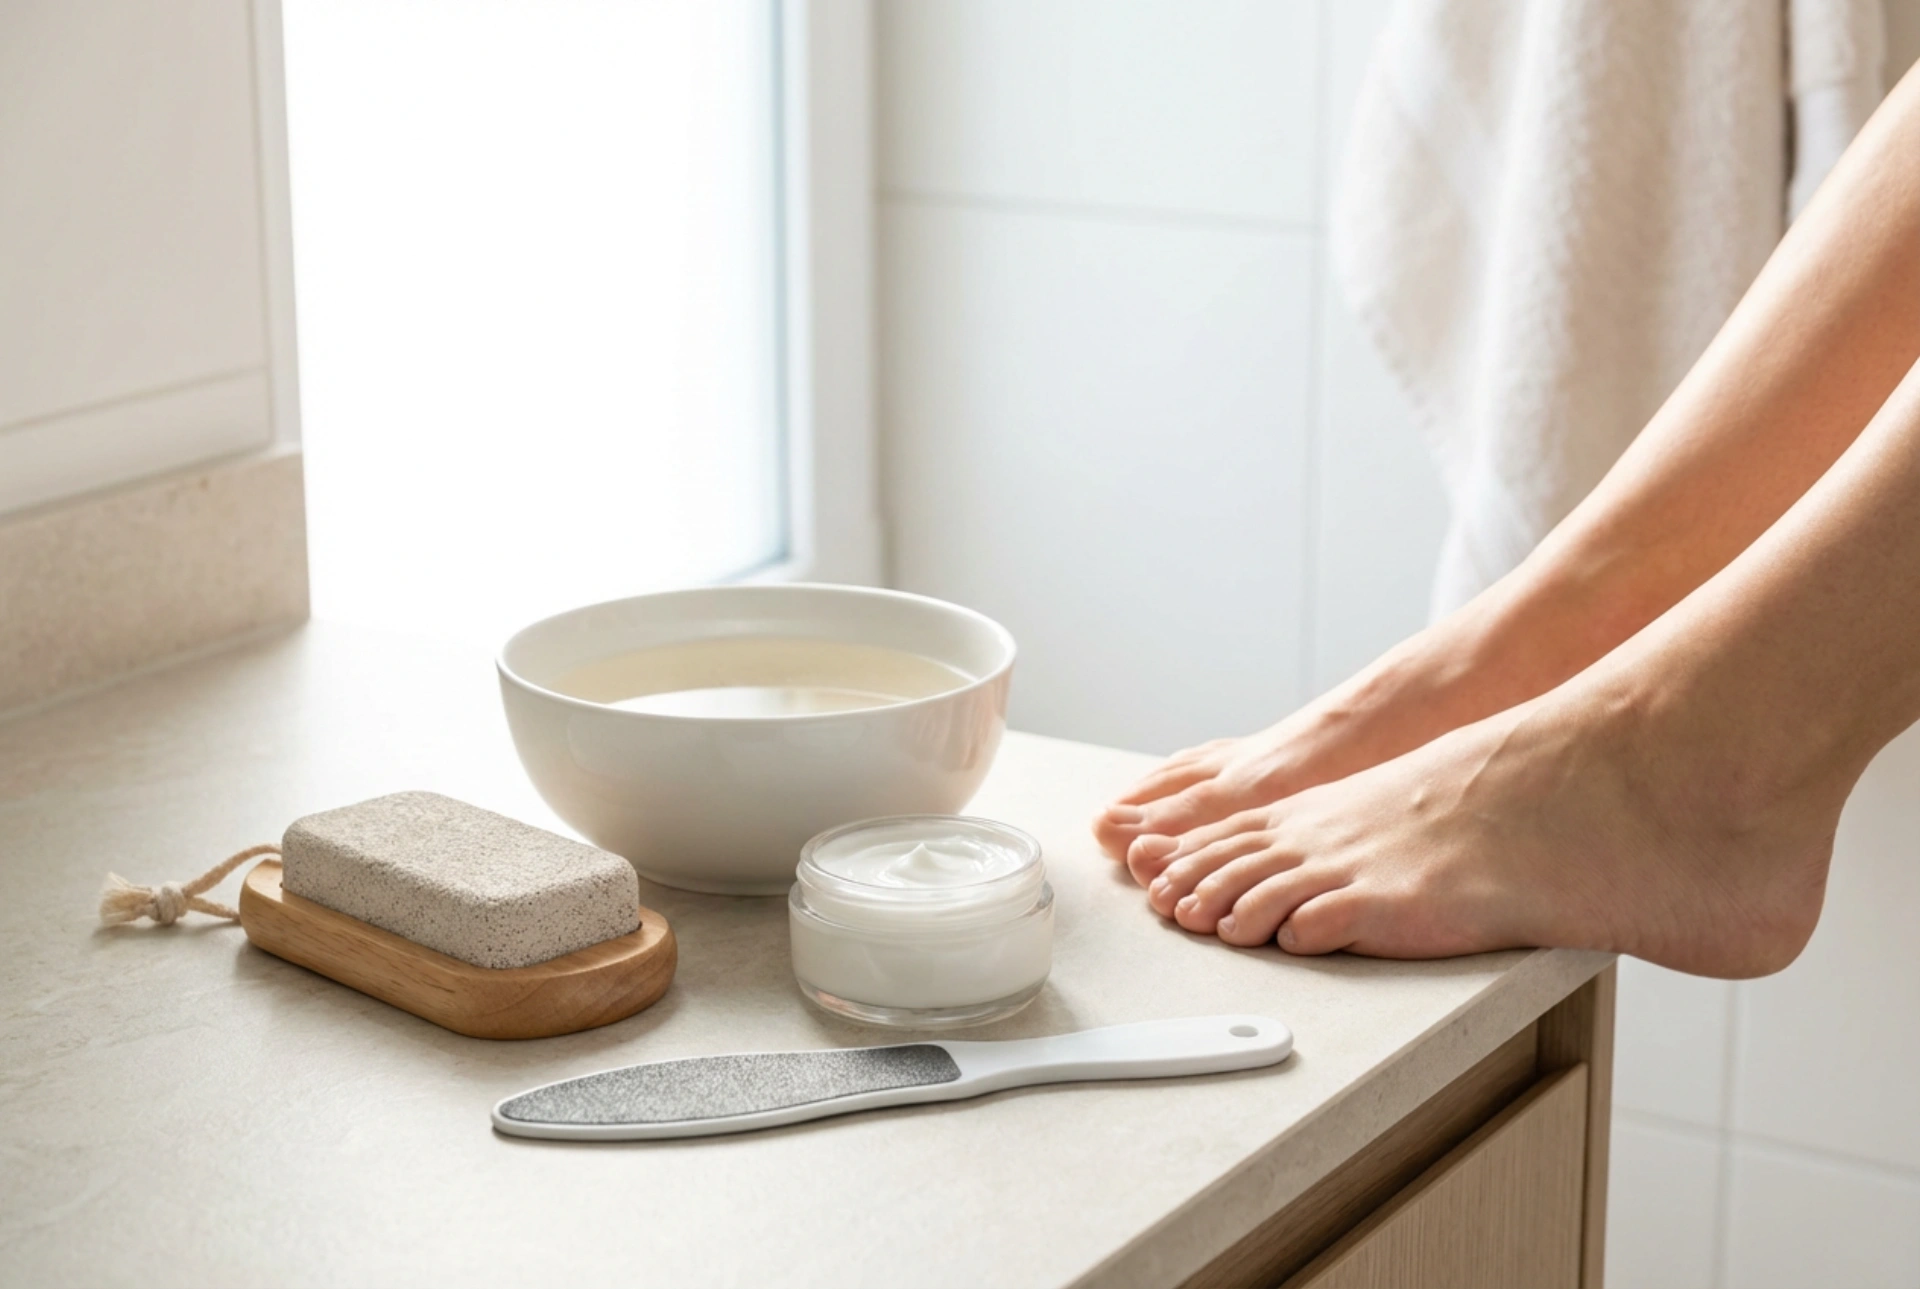


Beautifully cared-for feet are an important aspect of personal grooming, and achieving salon-worthy results at home is easier than you might think. A key tool in any home pedicure routine is the foot file, designed to gently remove dry, hardened skin and leave your feet feeling soft and smooth. Understanding how to choose the right file and use it correctly is essential for safe and effective foot care.
Choosing the Right Foot File for Your Needs
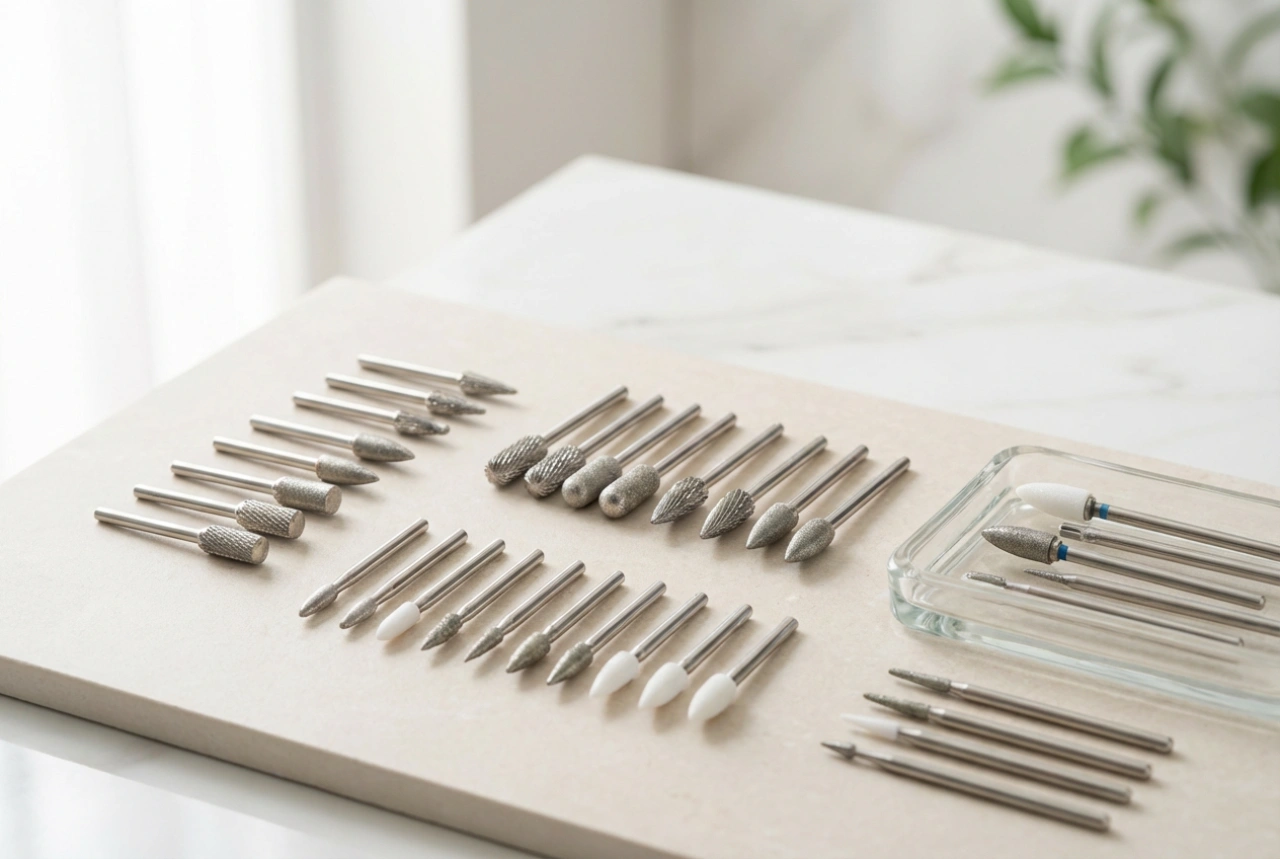
Not all foot files are created equal. The market offers a variety of types, each suited to different skin conditions and preferences. Selecting the appropriate one will help you achieve the best results without irritating your skin.
Pumice Stones
A classic and natural option, a pumice stone is made from porous volcanic rock. It is excellent for gentle, daily maintenance and is best used on damp skin after a bath or foot soak. Its mild abrasive quality helps to slough away dead skin cells without being overly aggressive, making it a great choice for sensitive feet.
Manual and Ceramic Files
These are perhaps the most common types of foot files. They often feature a handle for better grip and have two sides with different levels of coarseness. The coarser side is designed for tackling thicker calluses, while the finer side is used for smoothing the skin afterwards. When using these, it's crucial to be gentle and avoid applying too much pressure to prevent removing too much skin.
Glass Foot Files
Glass, or crystal, foot files are a more modern option known for their durability and hygienic properties. The abrasive surface is created through a chemical etching process, resulting in a very fine and uniform grit. This makes them exceptionally gentle on the skin, ideal for finishing touches or for those with delicate skin. They can often be used on both wet and dry feet and are very easy to clean.
The Correct Technique for Using a Foot File
Proper technique is vital for avoiding skin damage and achieving a smooth finish. Hasty or improper filing can lead to rough patches or even soreness.
- Preparation is Key: Begin by soaking your feet in warm water for 5-10 minutes. This softens the hardened skin, making it easier to remove. Afterwards, pat your feet thoroughly dry, as most files work best on dry or slightly damp, but not wet, skin.
- Gentle, One-Directional Strokes: Instead of a vigorous back-and-forth sawing motion, which can tear the skin, use gentle strokes in a single direction. Move the file from the top of the callused area downwards.
- Focus on Problem Areas: Concentrate on areas where the skin is thickest, such as the heels, the balls of your feet, and the sides of your big toes. Pay attention to how your skin feels and stop if you experience any discomfort.
- Less is More: The goal is to remove only the top layers of dead, hard skin. It is far better to file a small amount regularly (e.g., once a week) than to try and remove everything in one session. Over-filing can trigger the skin to grow back even thicker as a protective response.
Essential Hygiene and Aftercare
Maintaining the cleanliness of your tools and caring for your feet after filing are non-negotiable steps for healthy feet.
Tool Hygiene
After every use, you must clean your foot file. Rinse it under warm running water to wash away all skin particles. Use a small brush, like a nail brush, with a bit of soap to scrub the surface clean. Once clean, allow the file to air dry completely before storing it. This prevents the growth of bacteria and ensures your tool is safe for the next use. Some files can also be sanitised with a spray of rubbing alcohol for extra peace of mind.
Foot Aftercare
Once you have finished filing, rinse your feet to remove any residual skin dust. Pat them dry with a clean towel and immediately apply a generous layer of a rich, hydrating foot cream. Massaging the moisturiser into your skin will not only feel wonderful but will also nourish the newly exposed skin, keeping it soft and supple. For an intensive treatment, apply the cream before bed and wear a pair of cotton socks overnight to lock in the moisture.