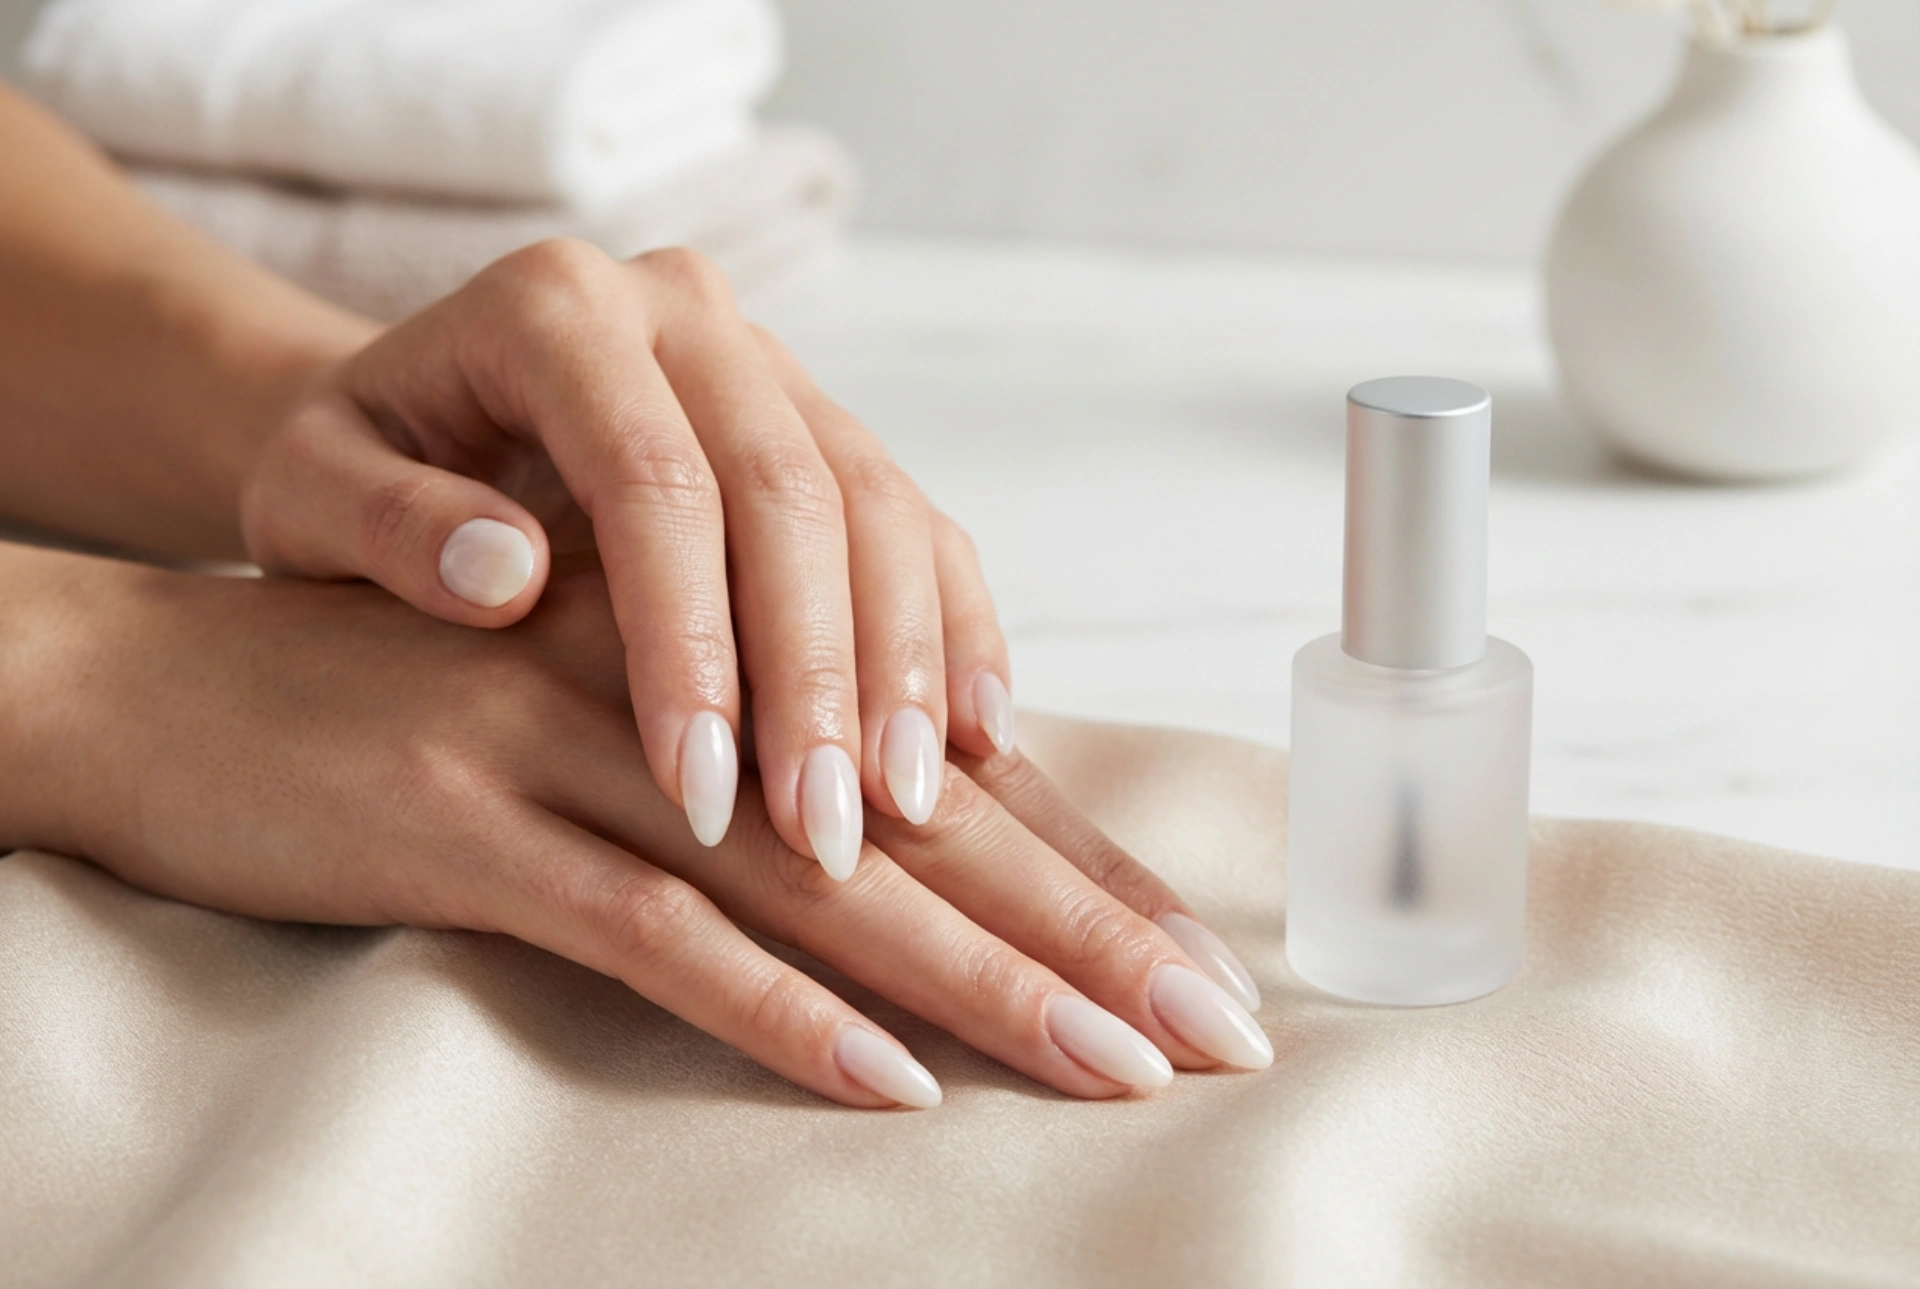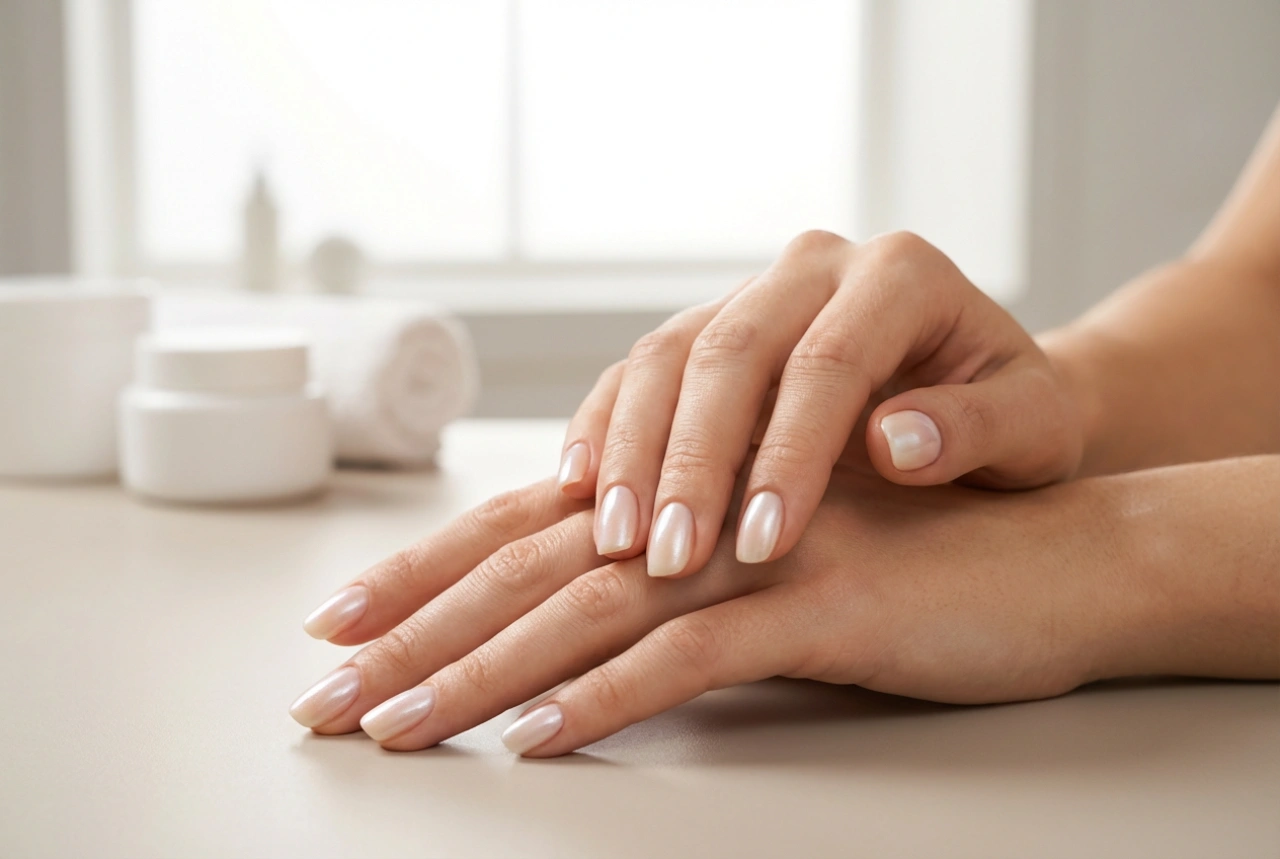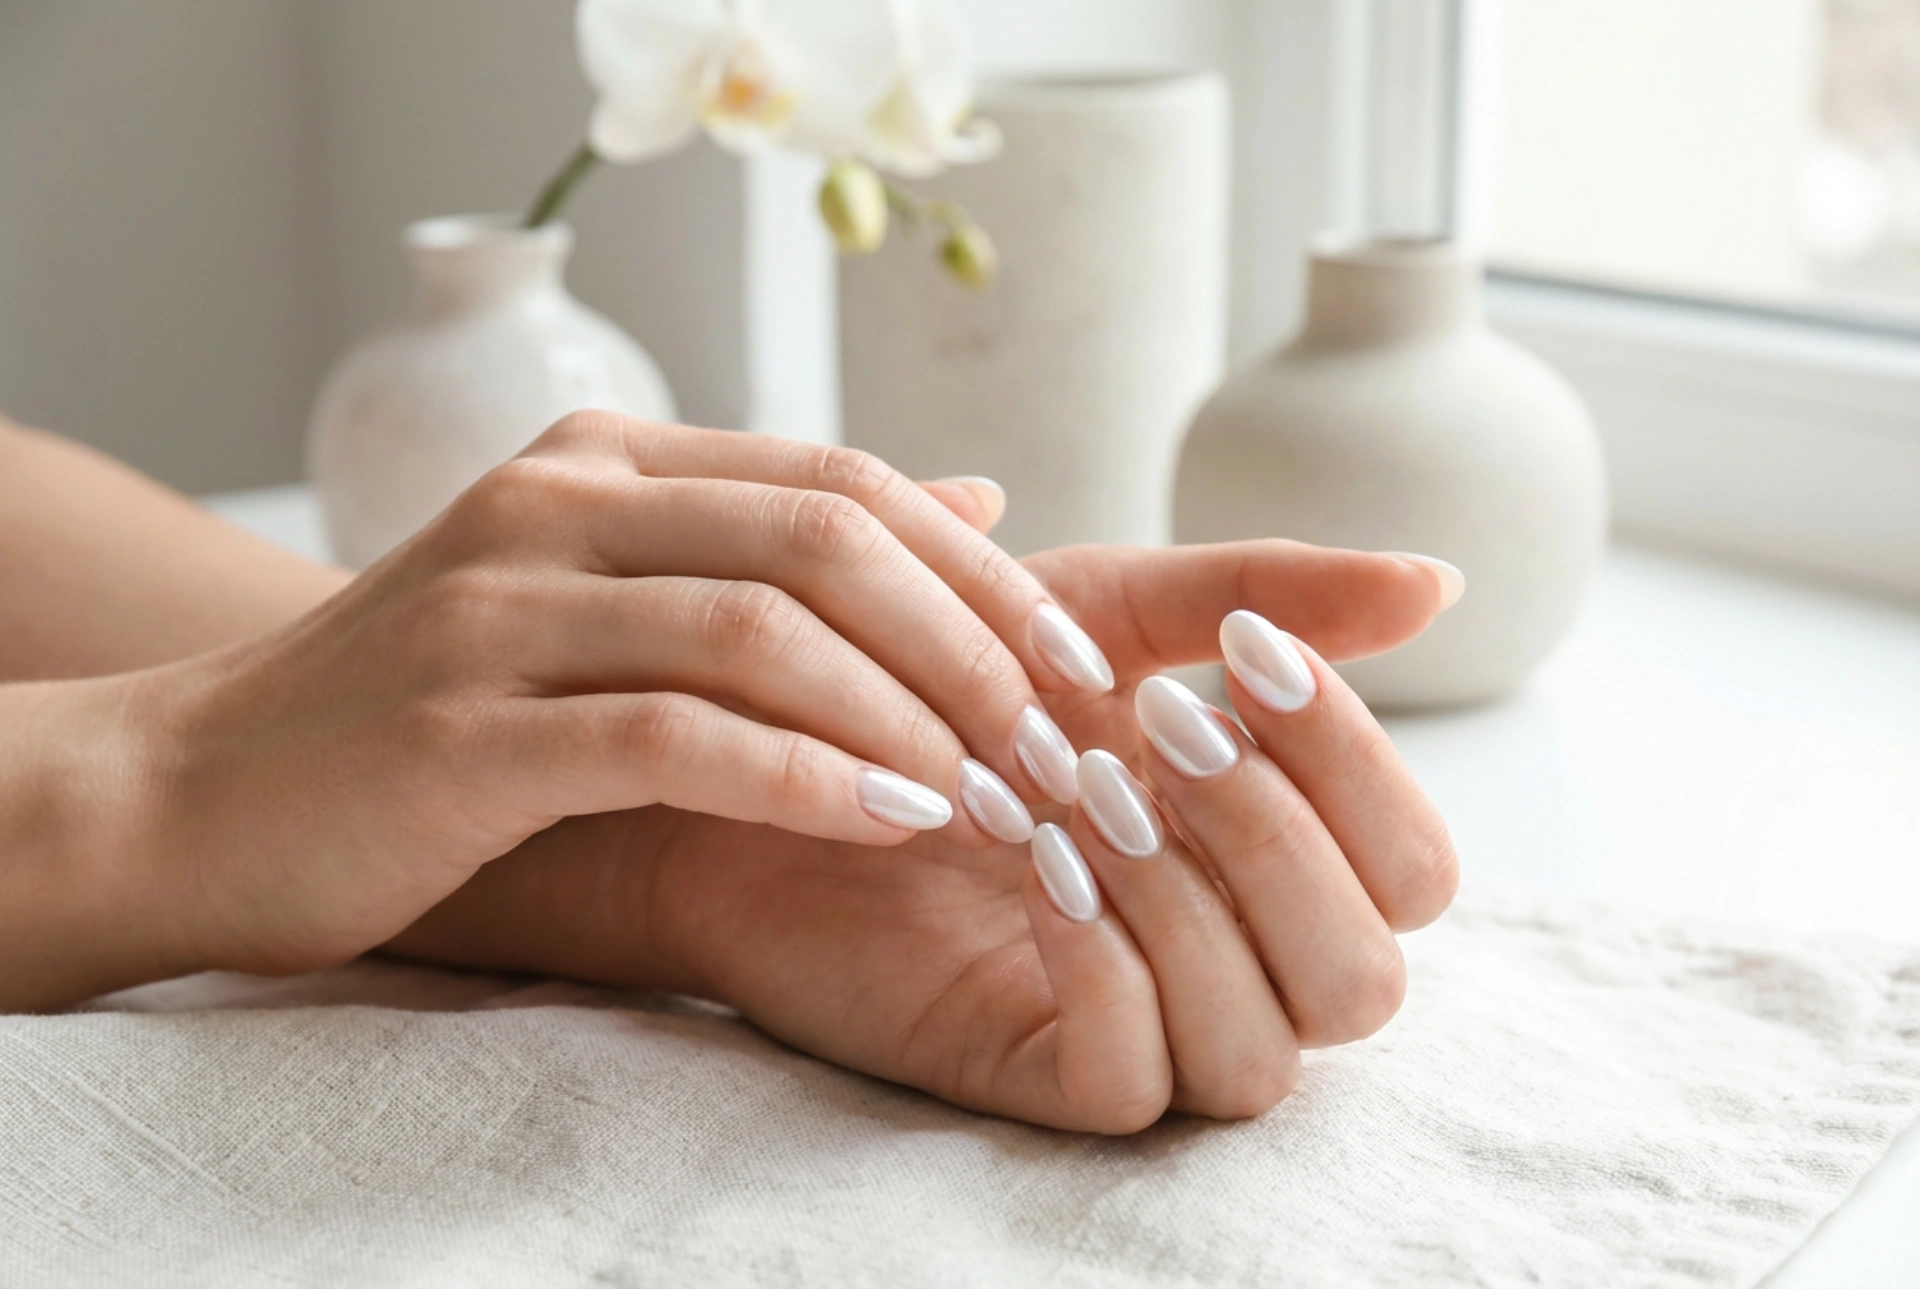


The trend for subtly shimmering, pearlescent nails, often dubbed 'glazed donut nails', has captured the attention of beauty enthusiasts everywhere. This look is celebrated for its clean, sophisticated glow that enhances the natural beauty of the hands. It is a departure from bold, opaque colours, favouring a luminous, almost ethereal finish that catches the light beautifully. Achieving this elegant effect at home is entirely possible with the right techniques and a little patience. This guide will walk you through the process, ensuring a flawless, salon-quality result.
The Allure of the Pearlescent Finish
What makes the 'glazed donut' effect so appealing? Its versatility is key. The subtle sheen complements any skin tone, nail length, and nail shape, from short and square to long and almond. It is professional enough for the office yet chic enough for an evening out. Unlike glitter, the shimmer is created by a very fine powder, resulting in a smooth, uniform surface that looks polished and refined. This manicure is about elevating your natural nails, giving them a healthy, radiant appearance.
Preparing Your Nails for a Flawless Base
Proper preparation is the foundation of any long-lasting manicure. Rushing this stage will compromise the final look, so dedicate enough time to create the perfect canvas.
Step 1: Nail and Cuticle Care
Begin by removing any old polish. Gently push back your cuticles using a wooden or rubber-tipped cuticle pusher. Avoid cutting them, as they protect your nail bed from irritants. Next, file your nails into your desired shape. Use a fine-grit file and move it in one direction to prevent splitting. Ensure all nails are of a uniform length and shape for a cohesive look.
Step 2: Creating a Smooth Surface
For the pearlescent powder to apply evenly, the nail plate must be perfectly smooth. Use a gentle buffing block to lightly buff the surface of each nail. This removes any natural oils and ridges, creating a matte, even texture for the polish to adhere to. Afterwards, wipe your nails with a lint-free pad soaked in nail polish remover or isopropyl alcohol to ensure they are completely clean and dry.
Step 3: Applying the Base Coat
Never skip the base coat. This crucial layer protects your natural nails from staining, provides a sticky surface for the colour to grip, and ultimately extends the life of your manicure. Apply one thin, even layer of a quality base coat and let it dry completely.
How to Achieve the 'Glazed Donut' Effect
With your nails perfectly prepped, you are ready to create the signature shimmer. The magic lies in layering a sheer colour with a special iridescent powder.
Step 1: The Sheer Colour Base
The key to the 'glazed donut' look is a translucent base. Choose a sheer, milky white, pale pink, or nude nail polish. Apply one or two thin coats, depending on how transparent you want the finish to be. The goal is to create a soft veil of colour, not an opaque block. Allow each coat to dry thoroughly before proceeding.
Step 2: Applying a No-Wipe Top Coat
This step is vital for getting the powder to stick correctly. Apply a thin layer of a 'no-wipe' gel top coat and cure it under a UV or LED lamp as per the manufacturer's instructions. If you are using traditional polish, apply a regular quick-dry top coat and wait until it is about 80-90% dry—it should be firm to the touch but still have a very slight tackiness. This provides the ideal surface for the powder to adhere to.
Step 3: Burnishing the Pearlescent Powder
Now for the main event. Using a small silicone tool or a disposable eyeshadow applicator, pick up a tiny amount of a fine, white chrome or pearlescent nail powder. Gently rub the powder onto the surface of each nail using circular or back-and-forth motions. A little goes a long way. As you 'burnish' it, the powder will melt into the top coat, creating a seamless, iridescent sheen. Continue until the entire nail is covered in a uniform, mirror-like glow.
Step 4: Sealing the Manicure
Once you are happy with the shimmer, use a soft, fluffy brush to gently sweep away any excess powder from the nail and surrounding skin. To protect your work and maximise the shine, apply one final, generous layer of a high-gloss top coat. Be sure to 'cap' the free edge of each nail by running the brush along the tip. This seals the manicure and helps prevent chipping. Cure if using a gel system, or let it air dry completely.
Tips for a Long-Lasting Luminous Manicure
To keep your glazed nails looking perfect for as long as possible, follow a few simple aftercare rules.
- Protect your hands by wearing gloves when doing household chores or washing dishes.
- Apply a nourishing cuticle oil daily to keep your cuticles and the surrounding skin hydrated.
- To refresh the shine and add an extra layer of protection, consider applying a fresh layer of top coat every two to three days.