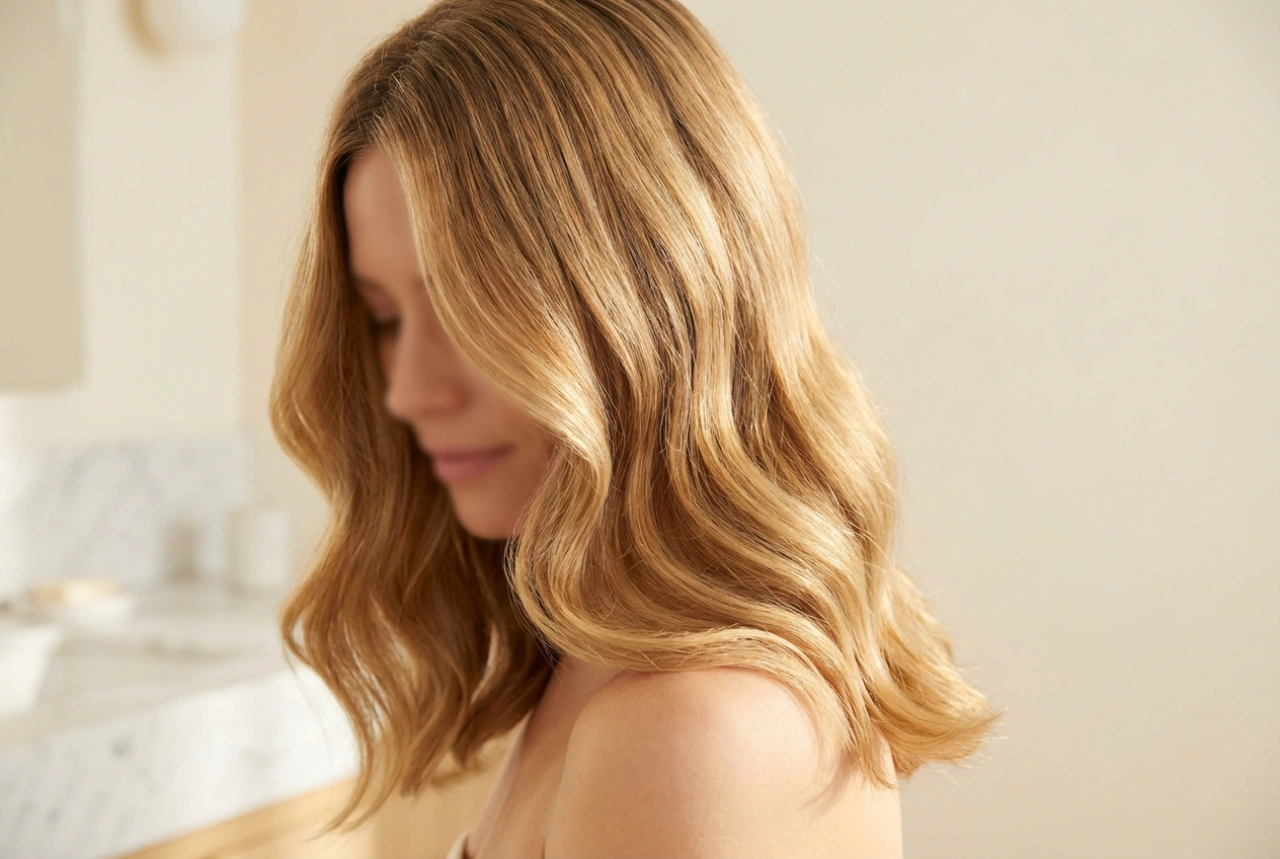


Achieving a salon-quality finish on short hair at home can seem challenging, but with the right tool, it becomes effortlessly simple. A hot air styler, which combines the functions of a hairdryer and a round brush, is a fantastic device for adding volume, lift, and shape to shorter cuts. It allows for precise control, helping to smooth strands while simultaneously creating body right from the roots. This guide will walk you through the techniques to master the use of a hot air styler for a beautifully styled, voluminous look every time.
Preparing Your Hair for Styling
Proper preparation is the foundation of any great hairstyle. Before you even pick up your hot air styler, it's essential to get your hair ready. Start by washing and conditioning your hair with products suited to your hair type. Afterwards, gently towel-dry your hair to remove excess water. Avoid vigorous rubbing, as this can cause frizz and damage. Your hair should be about 70-80% dry – damp, but not dripping wet. Using a hot air styler on soaking wet hair can take a long time and may cause unnecessary heat damage. Finally, and most importantly, apply a heat protectant spray or serum evenly throughout your hair. This creates a barrier between your strands and the heat, minimising potential damage and keeping your hair healthy.
Choosing the Right Tool and Settings
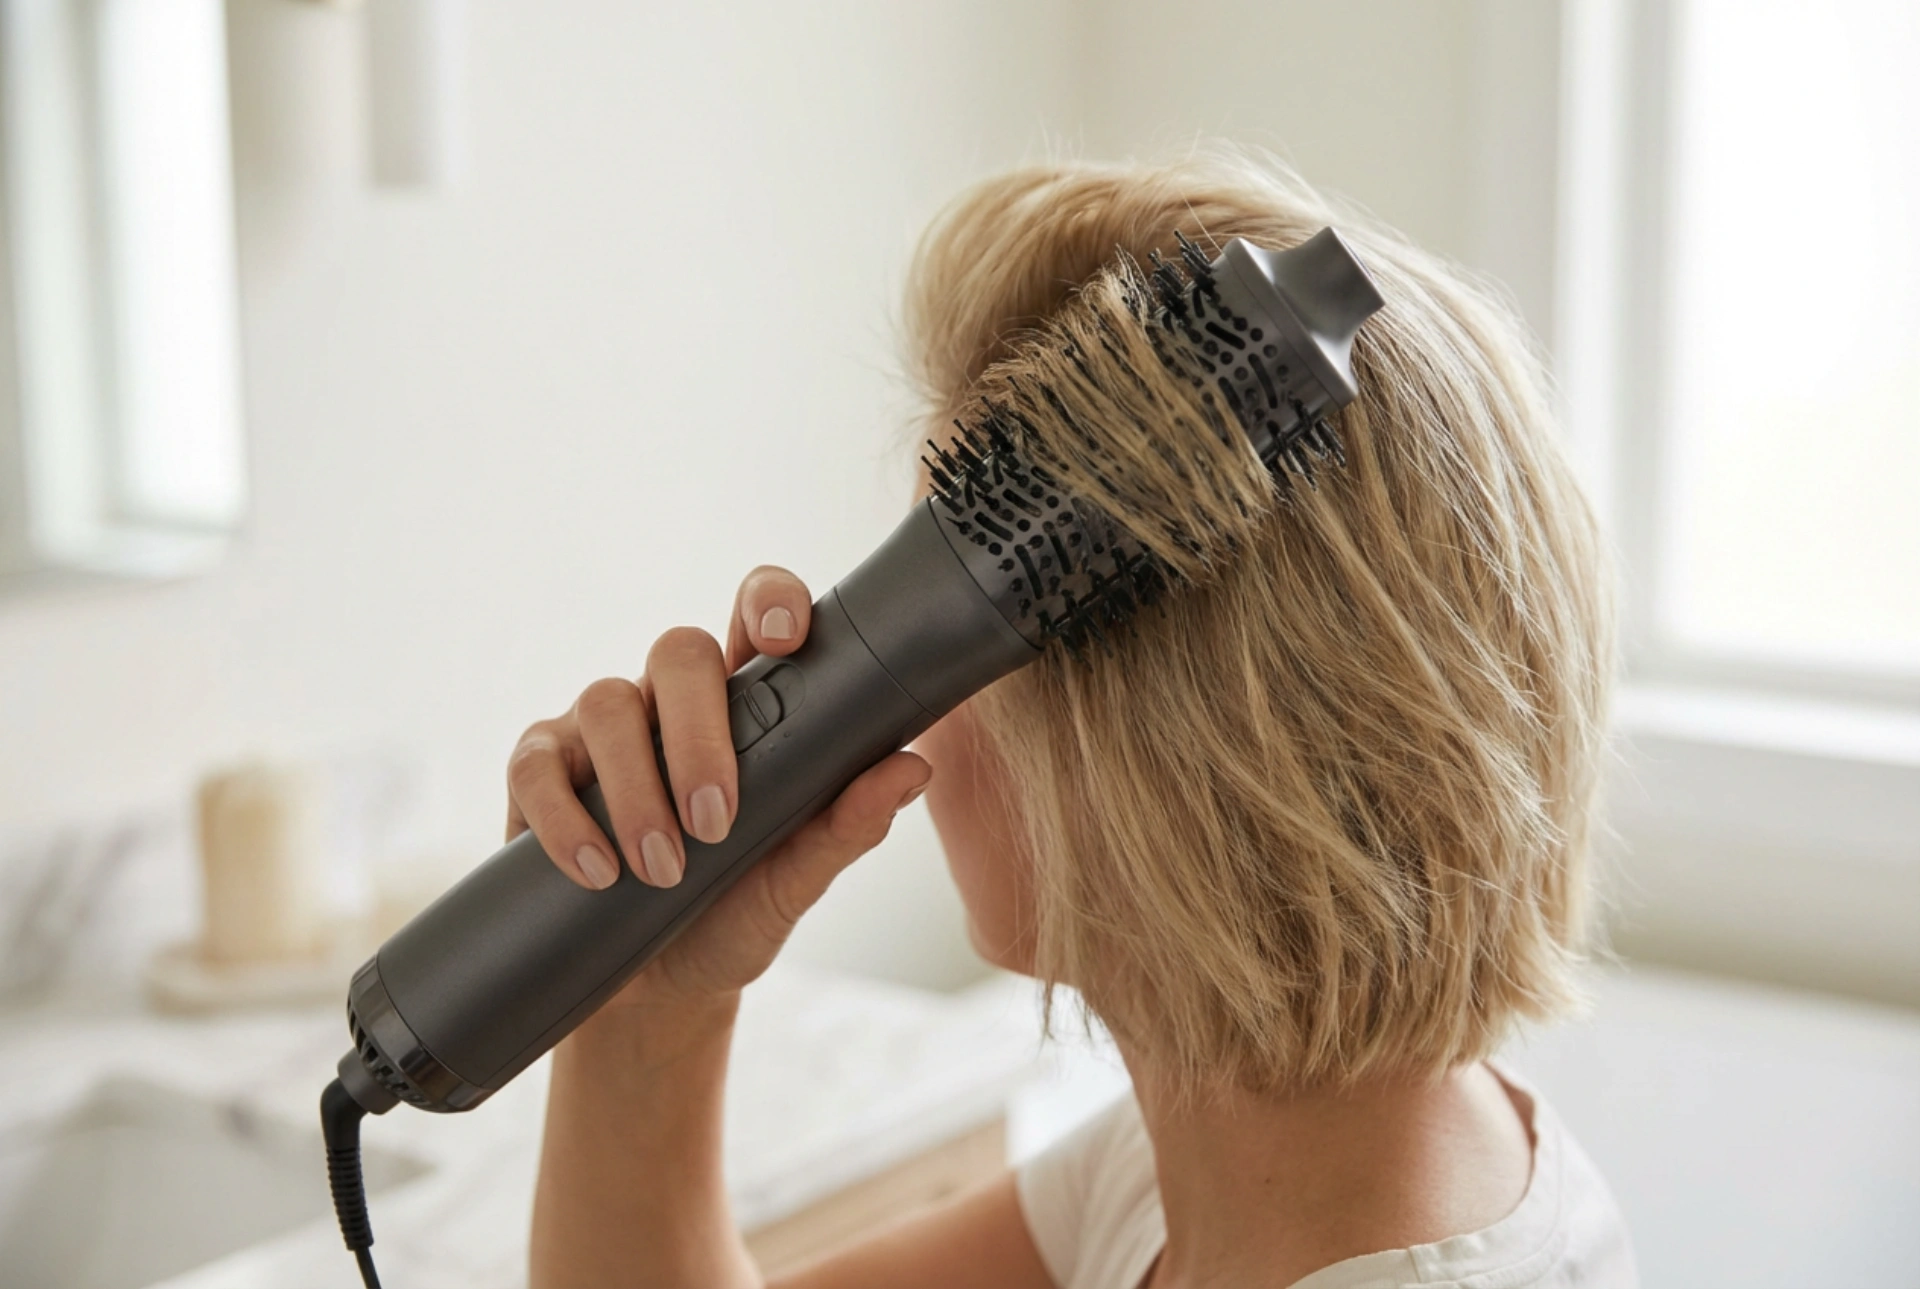
Not all hot air stylers are created equal, especially when it comes to short hair. The key is the barrel size. For short haircuts like bobs, pixies, or lobs, a smaller barrel (typically 20-40mm in diameter) is ideal. It allows you to get close to the roots and provides better grip and control over shorter sections of hair. Many stylers come with different attachments; a small round brush head is your best friend for creating volume and soft curls. Pay attention to the heat and speed settings. It's best to start with a low to medium heat setting to protect fine or short hair. The 'cool shot' function is also incredibly useful for setting your style in place for a longer-lasting finish.
Step-by-Step Styling Techniques for Volume
Once your hair is prepped and you have the right tool, you can begin styling. For an organised approach, section your hair using clips. This allows you to work on one small area at a time, ensuring every part of your hair gets styled evenly.
Mastering the Root Lift
Volume starts at the roots. Take a small section of hair, place the hot air brush underneath it, as close to the scalp as you can get. Hold the styler there for a few seconds, gently lifting the hair upwards and away from your head. Slowly glide the brush through the section to the ends. By directing the airflow upwards at the root, you create an instant lift that forms the base of your voluminous style. Repeat this process for all sections, particularly focusing on the crown area for maximum height.
Creating Shape and Movement
A hot air styler is also perfect for shaping the ends of your hair. To create a gentle inward curve for a classic bob, wrap the ends of the hair section around the barrel and hold for a few seconds before releasing. For a more flicked-out, modern look, wrap the ends in the opposite direction. You can alternate directions for a more textured, less uniform finish. This simple technique adds polish and movement, preventing your short hair from looking flat.
Finishing and Maintaining Your Style
The final steps are just as important for ensuring your hard work lasts. After styling each section, go over it one last time with the cool shot setting. This blast of cold air helps to close the hair cuticle, locking the style in place and adding shine. Once your whole head is styled and cooled, you can use your fingers to gently tousle your hair and arrange it. If you need extra hold, a light mist of a flexible-hold hairspray or a dab of texturising pomade can provide texture and longevity without weighing your hair down. Avoid heavy, sticky products that will counteract the volume you've just created.