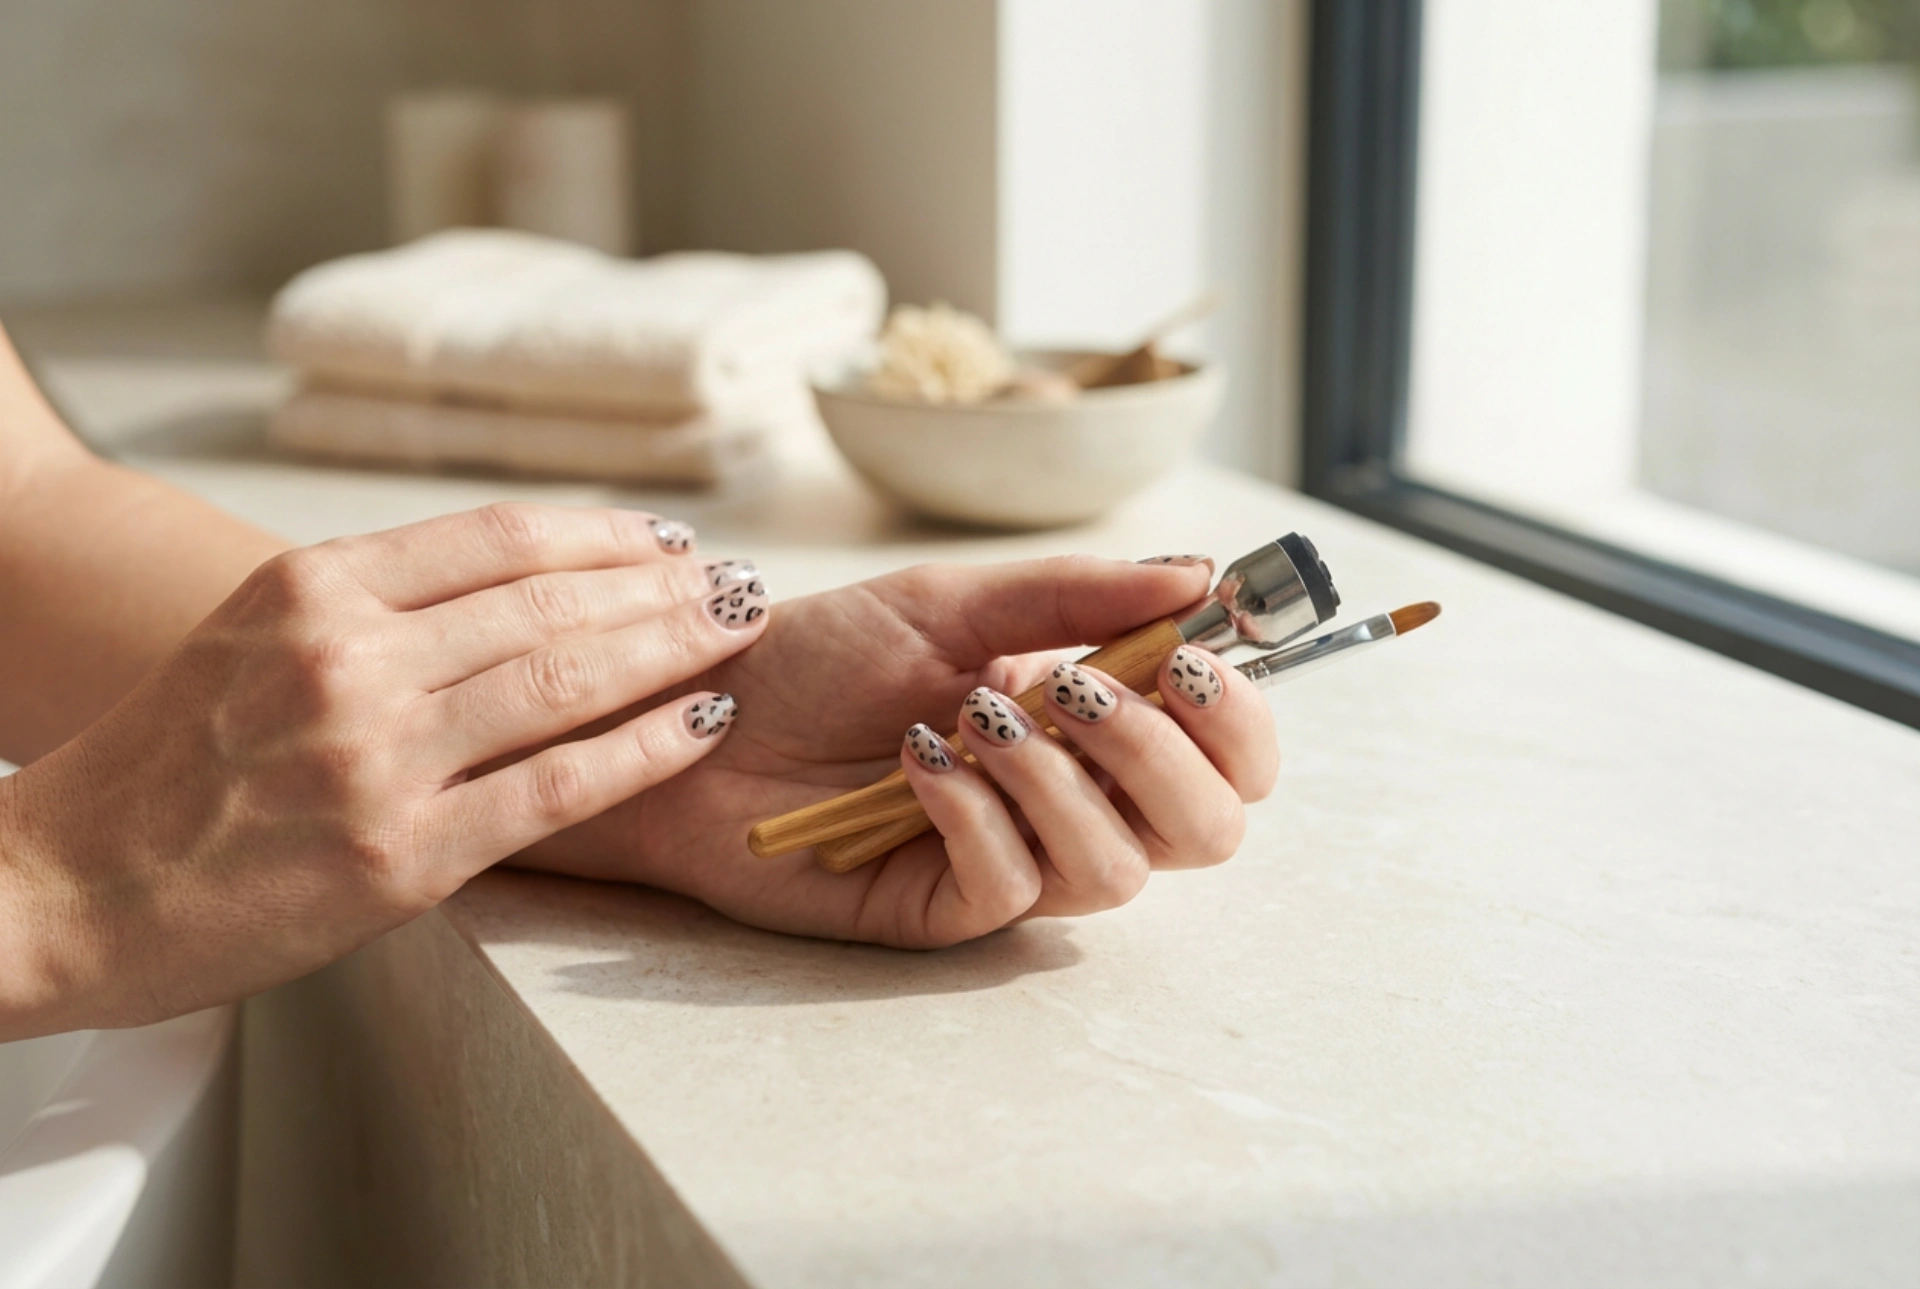


Animal prints, especially the classic leopard spot, are a timeless choice in the world of fashion and beauty. This sophisticated pattern can transform a simple manicure into a statement of style and elegance. While it may look complex, creating a leopard print design on your hybrid nails is surprisingly achievable at home. Whether you prefer a freehand, artistic approach with a brush or the precision and speed of a stamper, this guide will walk you through the process step by step, helping you achieve a flawless and durable manicure.
Preparing Your Nails for the Art
A beautiful design starts with a well-prepared canvas. Proper preparation not only ensures a smoother application but also significantly extends the life of your manicure. Before you even think about the spots and rosettes, follow these essential steps.
- Shape and Clean: Gently file your nails to your desired shape. Push back your cuticles using a wooden stick or a cuticle pusher. It is important not to cut them at home to avoid issues.
- Buff the Surface: Lightly buff the surface of the nail plate with a gentle buffer block. This removes any natural shine and creates a slightly rough surface for the polish to adhere to better.
- Dehydrate and Prime: Wipe each nail with a lint-free pad soaked in a nail cleaner or dehydrator. This removes any oils and debris. For better adhesion, you can apply a thin layer of a non-acidic primer.
- Apply the Base Coat: Brush on a thin, even layer of a hybrid base coat, making sure to cap the free edge of the nail. Cure it under an LED/UV lamp according to the product's instructions.
- Add the Background Colour: Apply two thin coats of your chosen background colour. Classic choices include nude, beige, or light brown, but you can also opt for bold colours like red or yellow for a more dramatic effect. Cure each coat separately under the lamp.
Method 1: Creating Leopard Print with a Fine Brush
This method offers creative freedom and results in a unique, organic pattern. Each nail will be slightly different, which adds to the charm of the design. It requires a bit of patience and a steady hand, but the results are well worth the effort.
Tools and Colours You'll Need
For this technique, you will need a few specific items: a very fine, thin nail art brush; a dotting tool (or the blunt end of a pin); a small palette (a piece of aluminium foil works perfectly); and at least two contrasting hybrid polish colours for the spots. Typically, this would be a medium brown/gold for the inner spots and a dark brown or black for the outlines.
Step-by-Step Painting Guide
- Create the Inner Spots: Place a drop of your lighter spot colour (e.g., medium brown or gold) onto your palette. Using your dotting tool, create several irregular, blob-like shapes on the nail. Vary their size and placement for a natural look. Do not make them perfectly round. Cure these spots under the lamp.
- Outline the Spots: Place a drop of your darker colour (e.g., black) on the palette. Using your fine nail art brush, paint partial outlines around the cured spots. Think of creating 'C' and 'S' shapes or broken circles. The outlines should not be perfect or complete. The key to a realistic leopard print is imperfection.
- Add Filler Dots: Dip the very tip of your brush or a small dotting tool into the darker polish and add a few small, simple dots in the larger empty spaces between your main spots. This fills out the design and makes it look more cohesive.
- Cure the Design: Once you are happy with the pattern, cure the entire nail under the lamp to set the design permanently.
- Apply the Top Coat: To finish, apply a layer of a no-wipe hybrid top coat. This will protect your artwork, add a beautiful gloss, and ensure your manicure lasts for weeks. Cure for the final time.
Method 2: The Stamping Technique for a Quick, Perfect Pattern
If you're short on time or less confident in your freehand painting skills, nail stamping is an excellent alternative. It allows you to create a crisp, detailed, and uniform leopard print in just a few simple moves.
What You'll Need for Stamping
To use this method, you'll require a specific set of tools: a metal stamping plate with a leopard print pattern, a clear jelly stamper, a scraper card, and a highly pigmented stamping polish (usually black or dark brown).
Step-by-Step Stamping Guide
- Prepare Your Plate: Apply a generous amount of stamping polish over the leopard pattern on your stamping plate.
- Scrape the Excess: Holding your scraper at a 45-degree angle, firmly scrape off the excess polish from the plate. The polish should only remain within the engraved design.
- Pick Up the Design: Immediately press your clear stamper onto the plate with a firm, gentle rolling motion. The design should transfer cleanly onto the stamper's surface. Check through the clear head to ensure you have a complete transfer.
- Transfer to the Nail: Align the pattern over your nail and press the stamper down with another gentle rolling or pressing motion to transfer the design onto your cured background colour.
- Clean and Seal: Use a small brush dipped in acetone or a special clean-up liquid to remove any polish that transferred onto the skin around your nail. Allow the stamped design to air-dry for about 30-60 seconds to prevent smudging. Then, apply your hybrid top coat to seal the design and cure it under the lamp.
Tips for a Flawless and Long-Lasting Manicure
To elevate your leopard print nails, keep a few final tips in mind. Don't be afraid to experiment with colour combinations—a grey base with black and white spots can look incredibly chic. Remember that the beauty of leopard print lies in its natural irregularity, so don't strive for perfect symmetry when painting by hand. Always work in thin layers to avoid bulky nails and ensure proper curing. Finally, nourish your cuticles with cuticle oil after your manicure is complete to keep them healthy and hydrated, framing your beautiful new nail art perfectly.