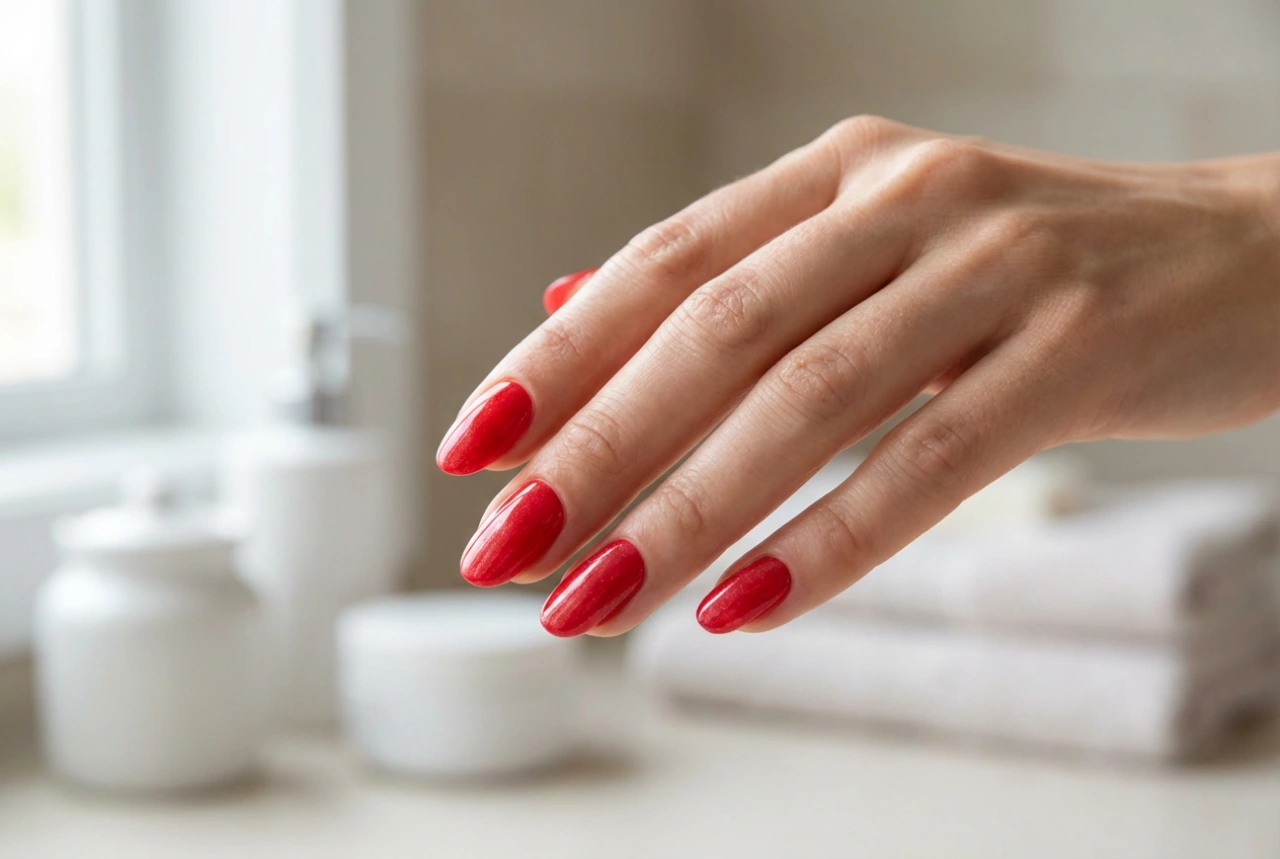


Achieving a durable, glossy, and elegant manicure at home is entirely possible with the rise of titanium nail systems. Often referred to as dip powder nails, this method provides a long-lasting finish that is resistant to chipping and wear, making it an excellent alternative to traditional polishes or gel systems. Unlike other methods that require UV or LED lamps for curing, titanium nails harden with a chemical activator, simplifying the process. This guide will walk you through the contents of a typical kit, how to prepare your nails, and the step-by-step process for a flawless application.
What to Expect in Your Titanium Nail Kit
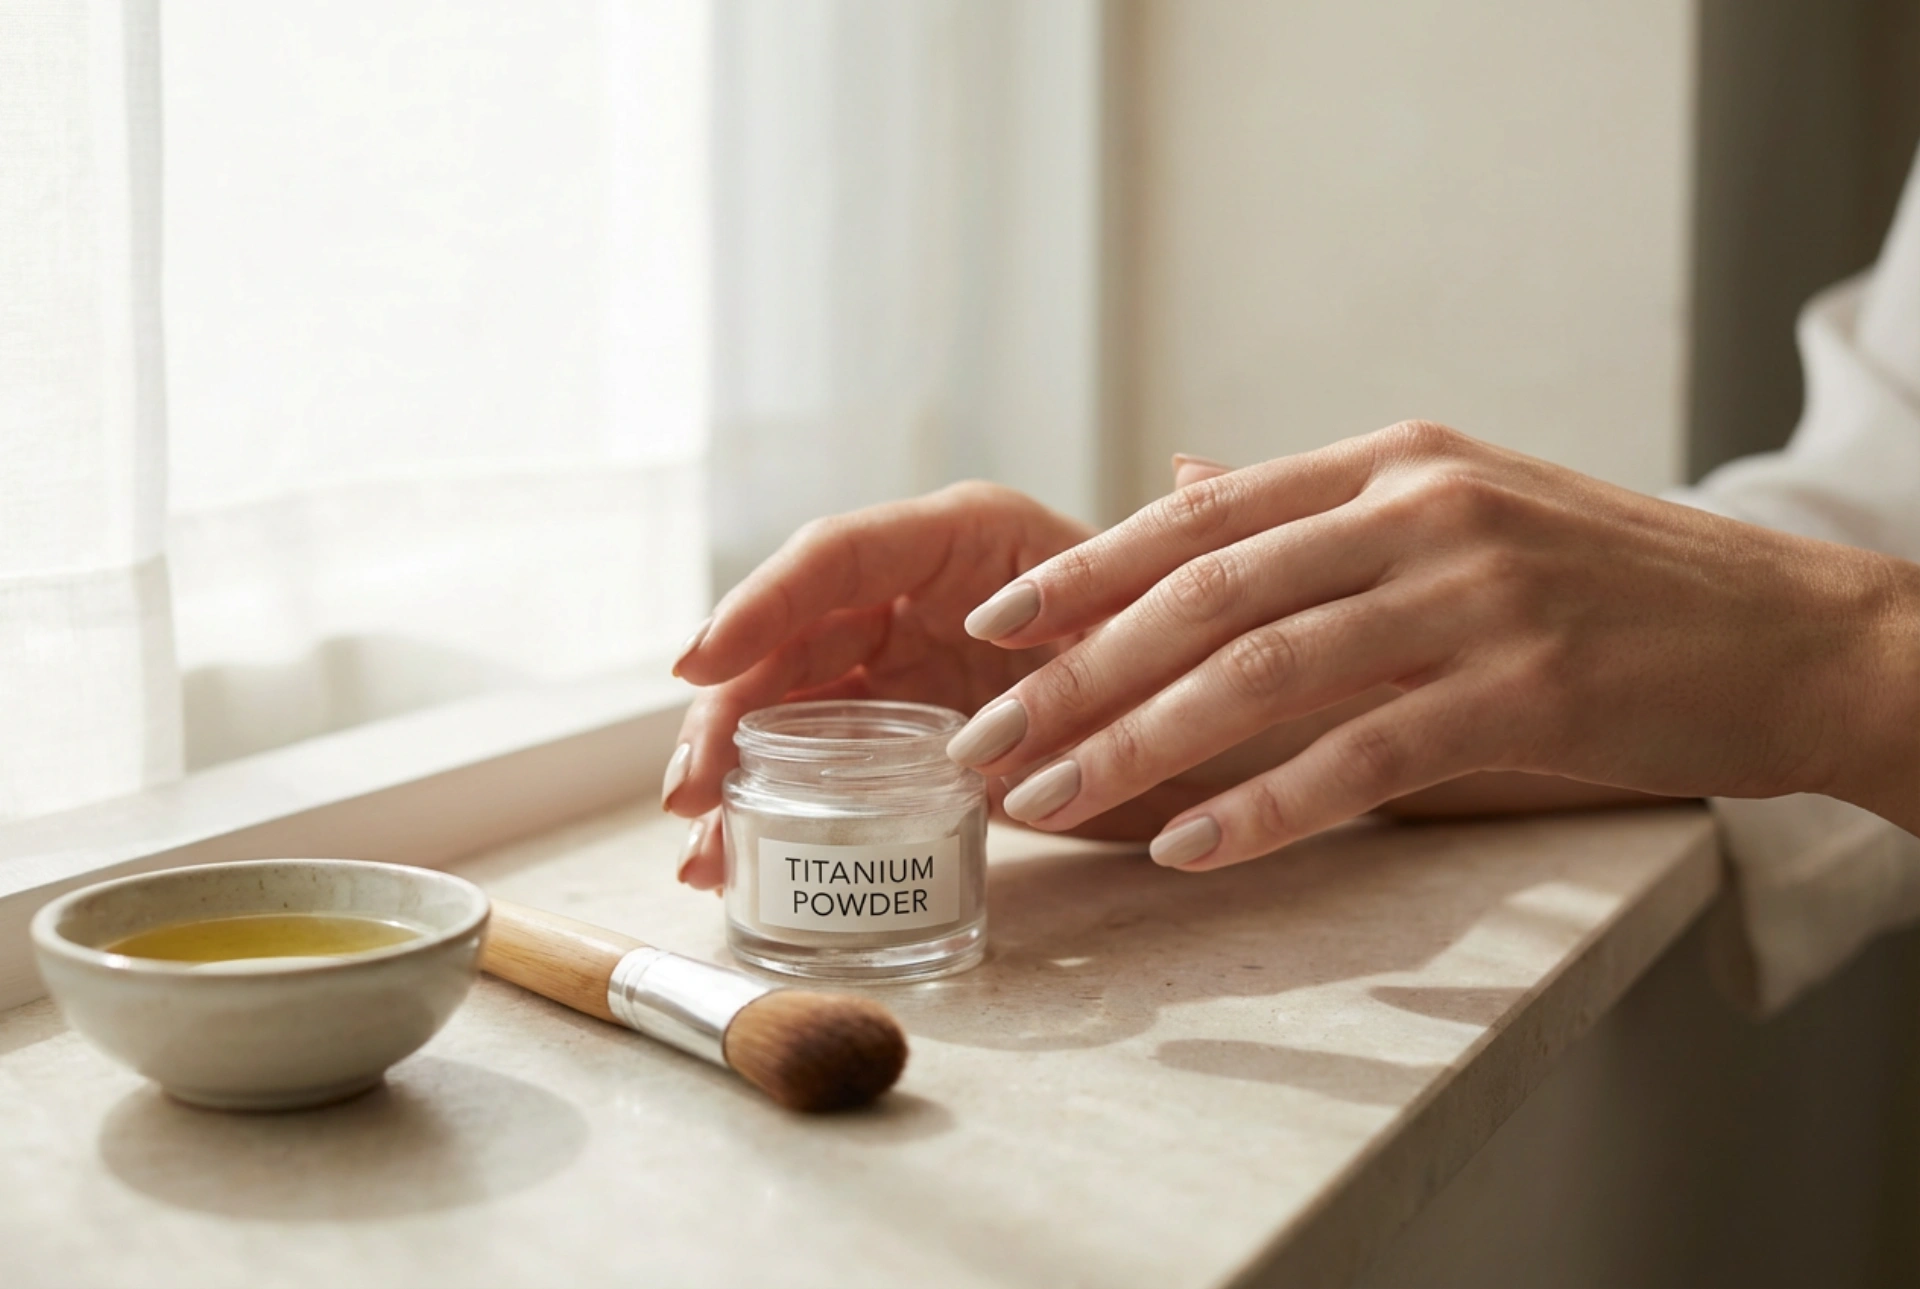
A starter kit for titanium nails contains all the essential liquids and powders needed to create a full manicure. Understanding the role of each component is the first step towards mastering the technique. While contents can vary slightly, most kits include:
- Base Coat: This is a resin-based liquid that acts as an adhesive for the powder. It is applied just before dipping the nail into the powder.
- Coloured Powder: A fine, pigmented powder that provides the colour and strength of the manicure. Kits usually come with one or more shades.
- Activator: A liquid monomer that reacts with the powder and base coat, causing it to harden almost instantly. This is the crucial step that cures the nail without a lamp.
- Top Coat: The final sealing layer that provides a high-gloss, protective finish. It protects the colour from fading and adds an extra layer of durability.
- Brush Saver: A special solution used to clean the brushes of the base and top coats, preventing them from hardening due to contact with the activator or powder.
- Nail File and Buffer: Essential tools for preparing the natural nail and for shaping and smoothing the finished titanium nail before the top coat is applied.
Nail Preparation: The Foundation for a Perfect Manicure
Proper preparation is non-negotiable for a long-lasting manicure. Skipping these steps can lead to lifting and a shorter lifespan for your nails. Before you open any of the liquids, dedicate time to prepping your natural nails.
Step-by-Step Preparation
Start by ensuring your nails are clean and free of any oils or old polish. Gently push back your cuticles, but avoid cutting them to prevent irritation. Next, use a fine-grit file to shape your nails to your desired length and form. Once shaped, take a buffer and lightly buff the entire surface of the nail plate. This removes the natural shine and creates a slightly rough texture, which helps the base coat adhere more effectively. Finally, wipe your nails with a lint-free cloth and a nail cleanser or rubbing alcohol to remove any dust and oils.
The Step-by-Step Application Process
With your nails prepped, you can begin the application. Work on one nail at a time to ensure precision and prevent the base coat from drying prematurely.
Step 1: Base Coat and First Dip
Apply a thin, even layer of the base coat to about three-quarters of the nail, avoiding the cuticle area. Immediately dip the nail into the coloured powder at a 45-degree angle. Hold it for a moment, then gently tap the finger to remove excess powder. Use a soft, fluffy brush to sweep away any remaining loose particles from the nail and surrounding skin.
Step 2: Building Layers and Applying the Activator
For the second layer, apply the base coat slightly closer to the cuticle, but still not touching it. Dip the nail in the powder again. Most manicures require two to three layers of colour for full opacity and strength. After your final dip and brushing off the excess powder, apply a generous coat of the activator to the entire nail surface. Ensure the nail is fully saturated. The activator will begin to harden the layers of powder and resin. Wait about two to three minutes for it to fully cure.
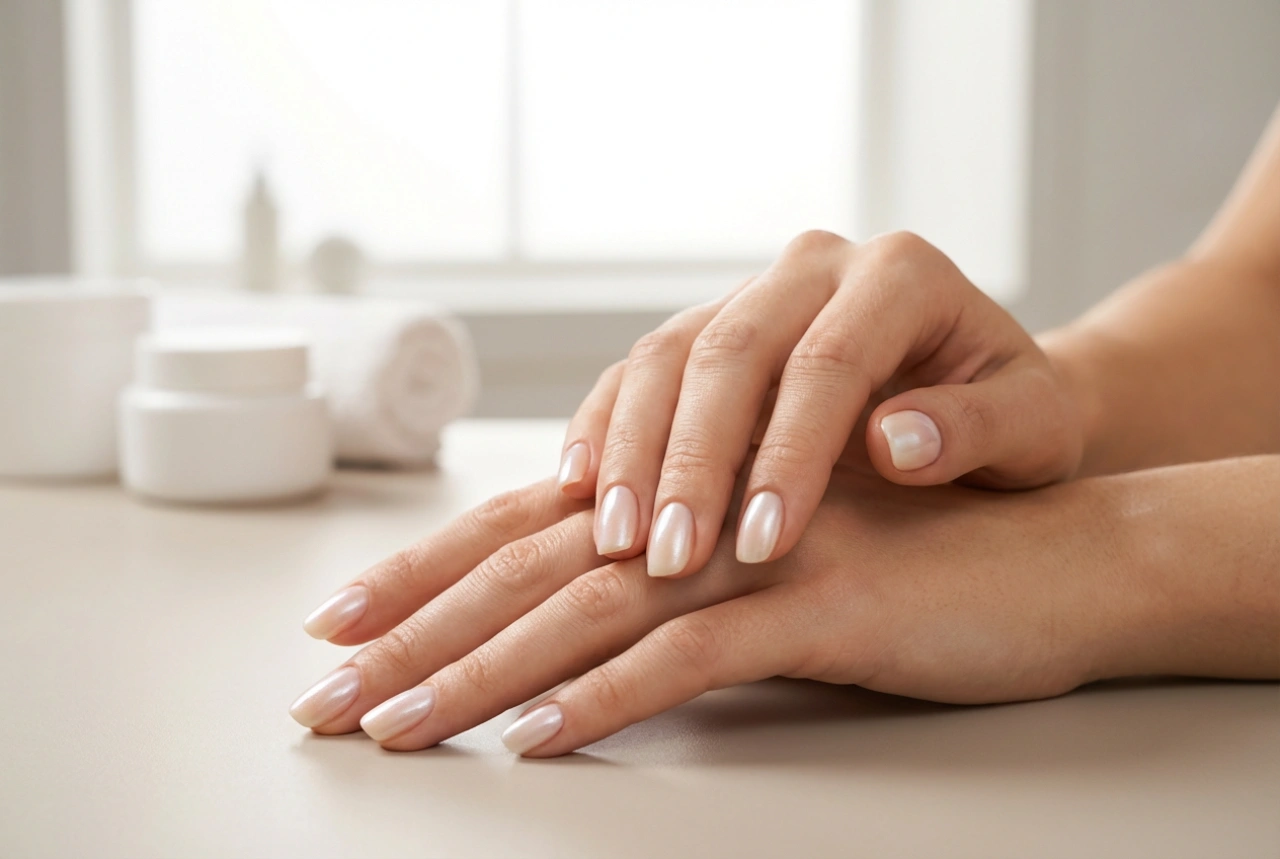
Finishing and Sealing for a Flawless Look
Once the nail feels hard to the touch, the finishing process can begin. This stage is what transforms the slightly rough surface into a smooth, shiny, and professional-looking nail.
Shaping and Buffing
Use a nail file to refine the shape of the nail and smooth the edges. Then, take a buffer to smooth the entire surface of the nail. Pay close attention to the area near the cuticle to ensure a seamless blend. The goal is a perfectly smooth and even surface, which is essential for a glossy top coat application. After buffing, wash your hands with water only (no soap) and dry them thoroughly to remove all dust.
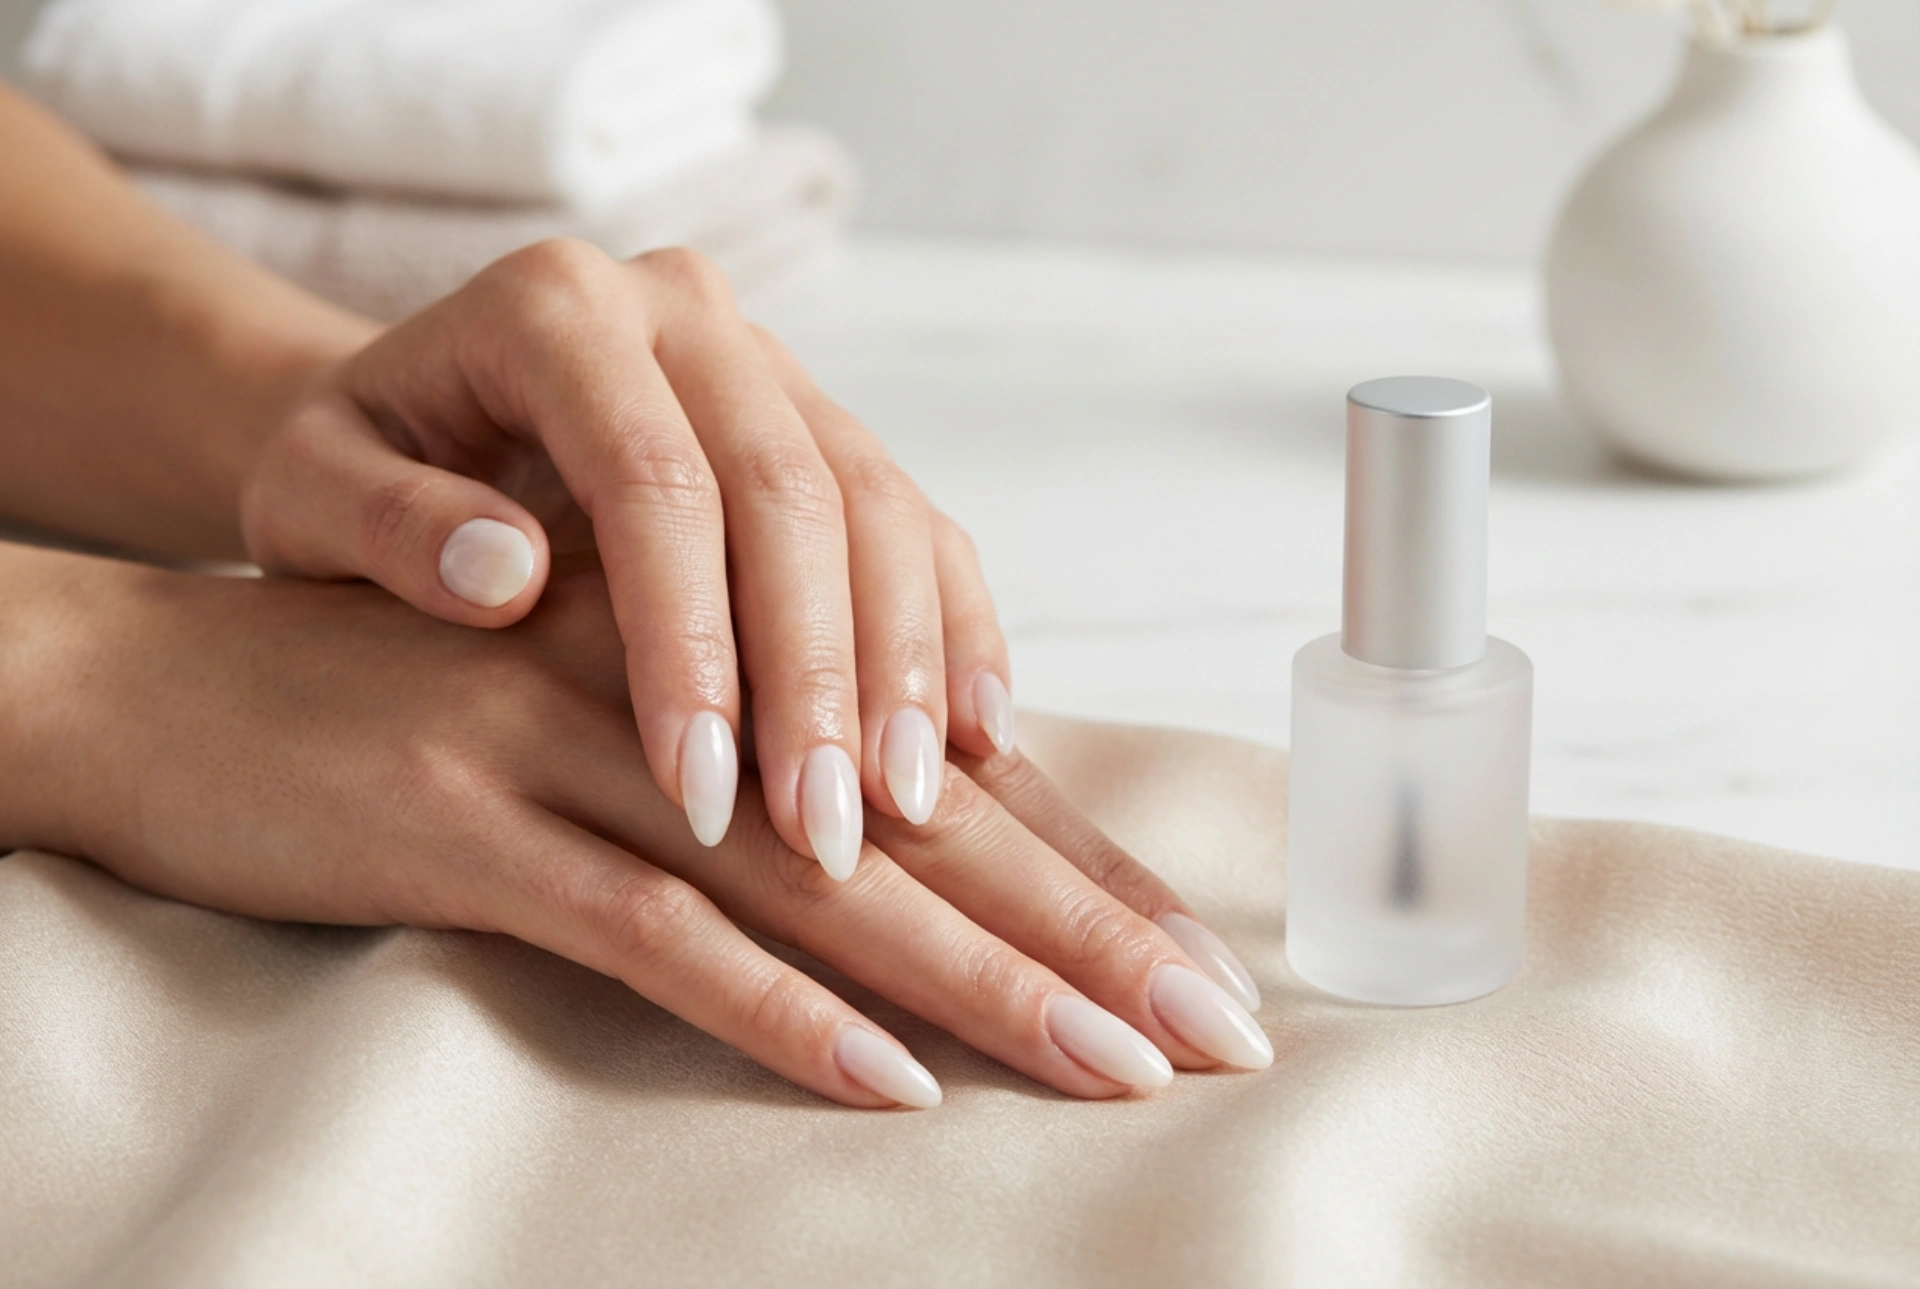
Applying the Top Coat
Apply another coat of activator to the buffed nails and wait a minute. Then, apply the top coat. The first layer of top coat should be applied quickly in a few thin strokes. Wait about 30 seconds, then apply a second, more detailed layer of top coat, capping the free edge of the nail. Allow the top coat to air dry completely for at least five minutes. It will cure to a hard, glass-like shine, completing your durable and beautiful titanium manicure.