


Eyelash clusters offer a wonderful way to customise your look, adding volume and length exactly where you want it. Unlike strip lashes, they provide a more natural and adaptable enhancement, allowing you to go from a subtle daytime lift to a more dramatic evening effect. Mastering their application is a skill that elevates your makeup routine, giving you professional-looking results at home. With just a few tools, including clusters, adhesive, and your favourite mascara, you can beautifully define your eyes.
Choosing the Right Eyelash Clusters
The first step to a flawless result is selecting the appropriate clusters for your desired outcome and eye shape. The variety available can seem daunting, but understanding the key differences will make the choice simple.
Consider Length and Density
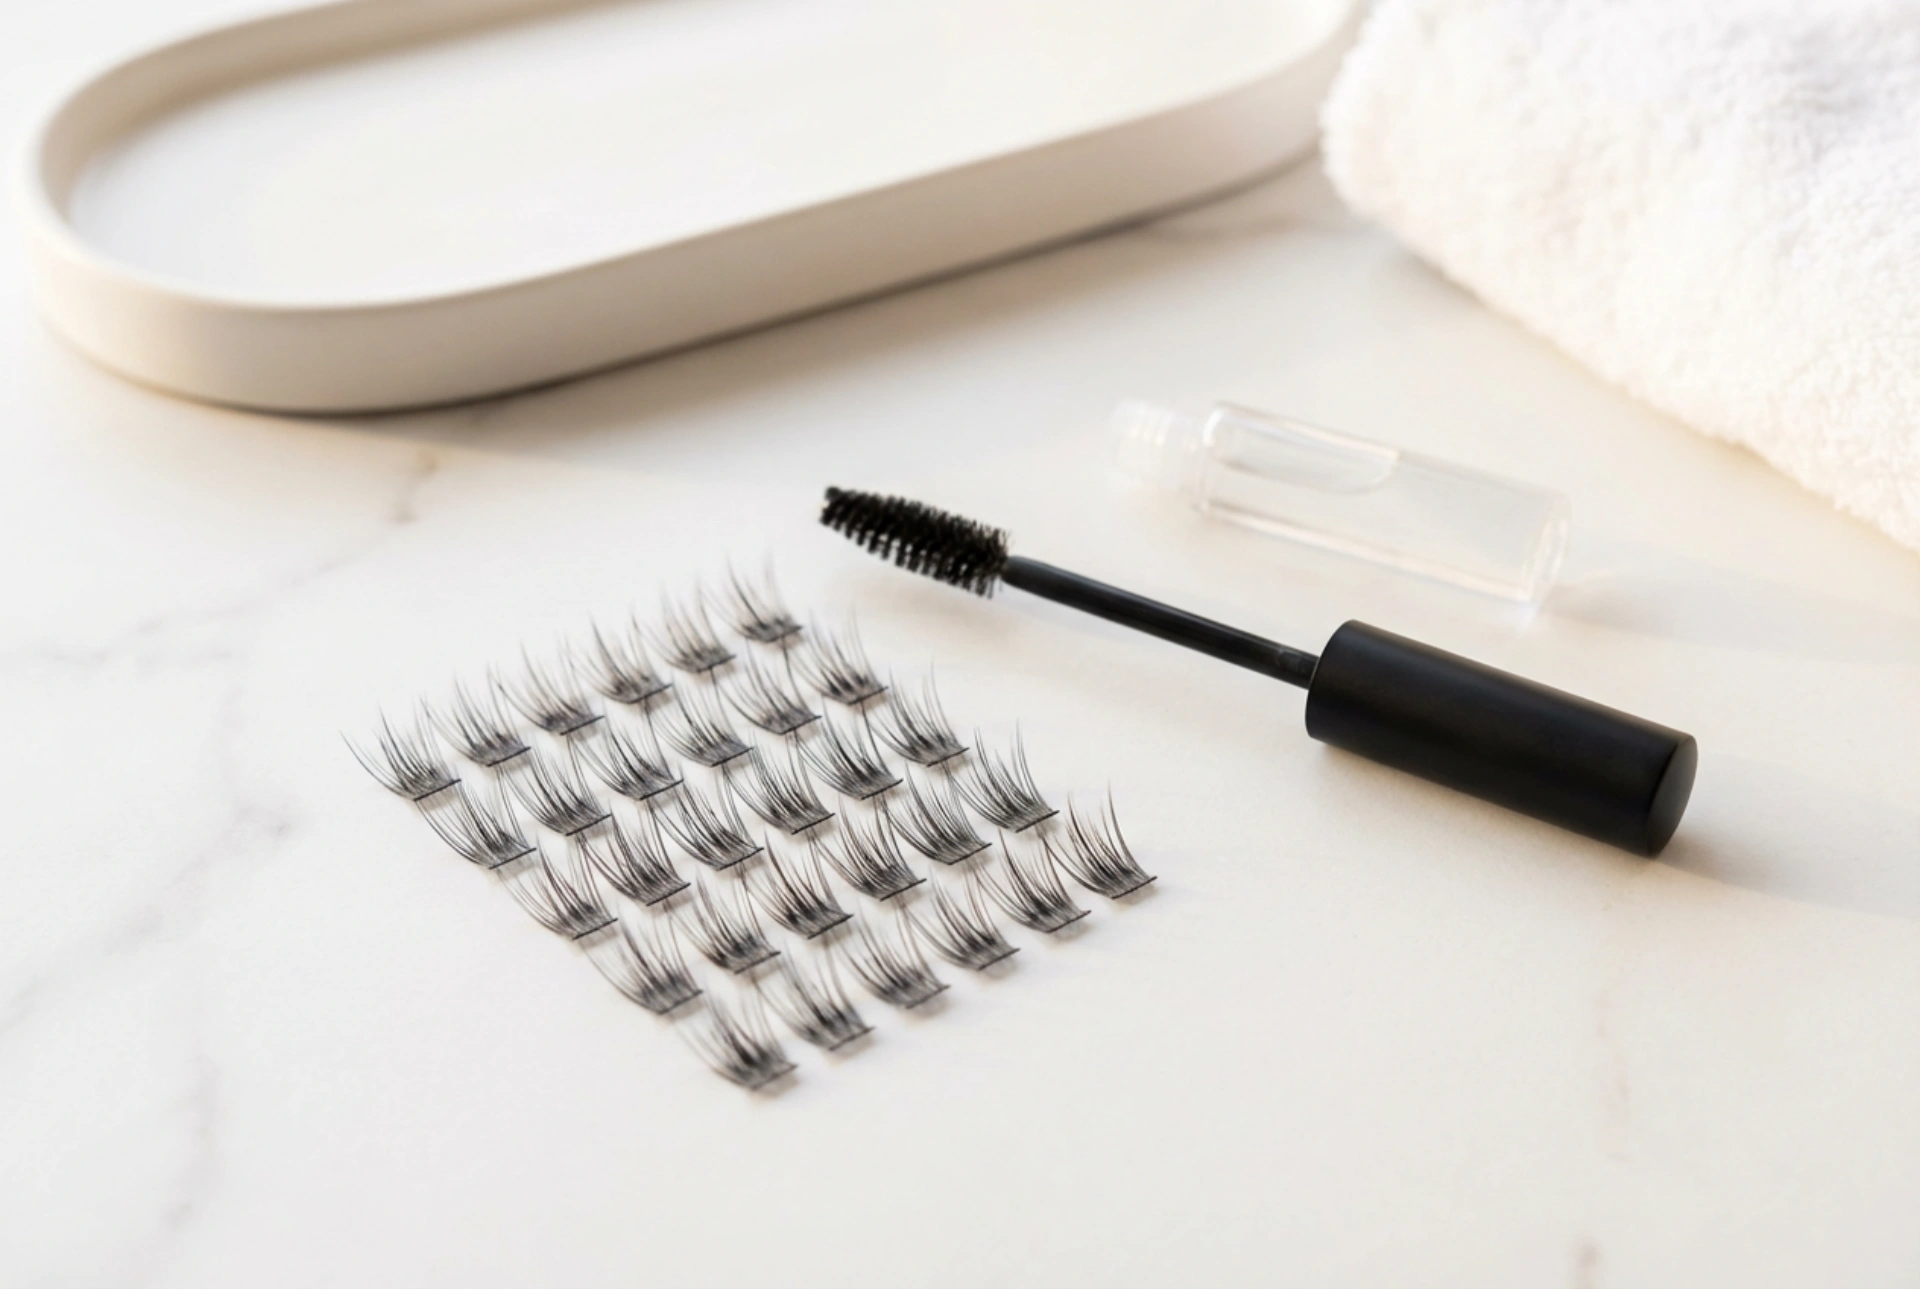
Eyelash clusters typically come in various lengths, often labelled as short, medium, and long. A mixed-length pack is an excellent starting point for beginners. This allows you to create a tapered effect that mimics the natural growth of lashes – shorter clusters on the inner corner and longer ones towards the outer corner. The density, or number of individual lashes in each cluster, also varies. For a subtle, everyday enhancement, opt for single or duo clusters. For more volume and drama, choose multi-lash clusters.
Match the Style to Your Eye Shape
The style of the cluster can also influence the final look. Some are arranged in a criss-cross pattern for a fluttery, textured effect, while others are uniform for a sleek, defined appearance. Consider your eye shape when planning placement. For round eyes, adding longer clusters to the outer corners can create an elongating, 'cat-eye' shape. For almond eyes, placing medium-length clusters along the centre of the lash line can open up the eyes, making them appear larger and brighter.
Preparing for Application
Proper preparation ensures that the clusters adhere correctly and blend seamlessly with your natural lashes. Taking a few moments to set up your space and prep your lashes will make the application process much smoother.
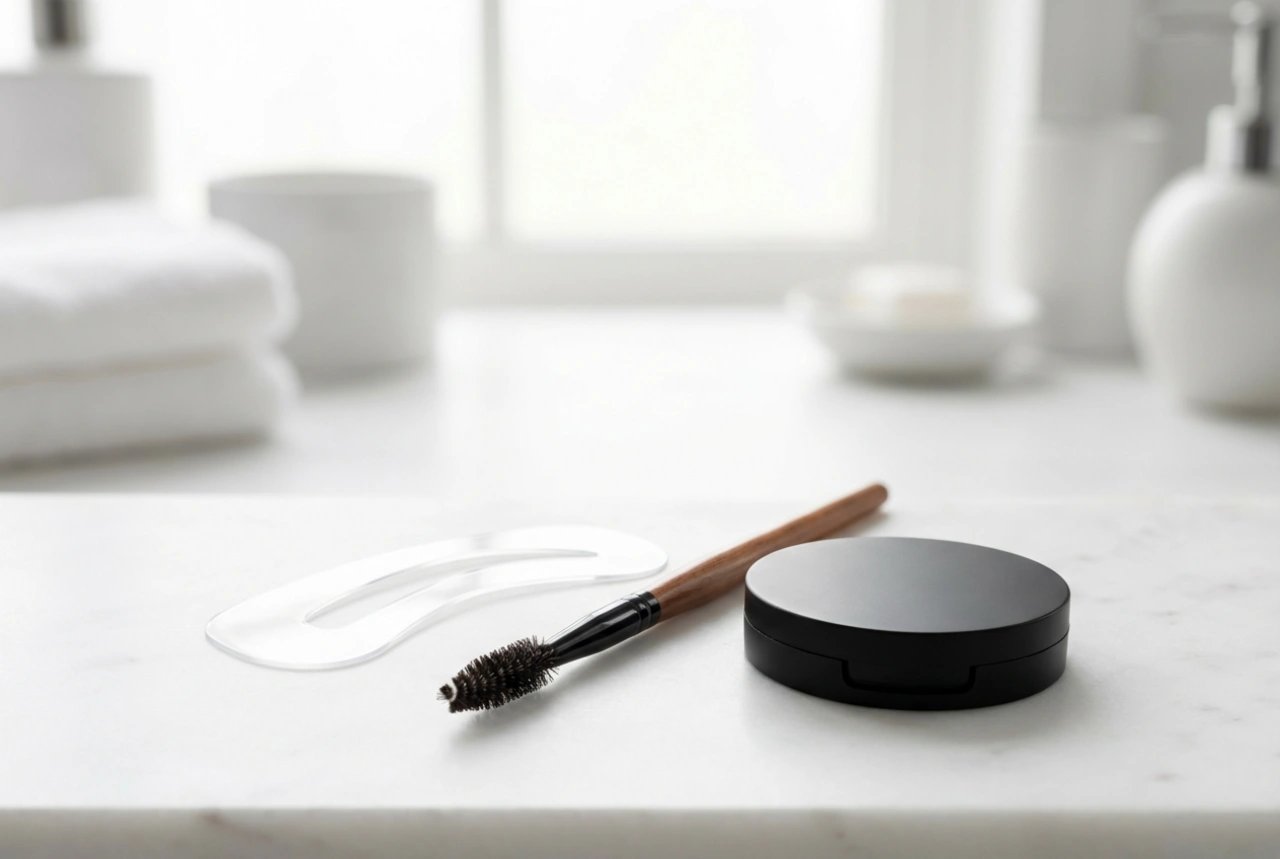
Gather Your Tools
Before you begin, have everything you need within reach. You will require:
- Your chosen eyelash clusters.
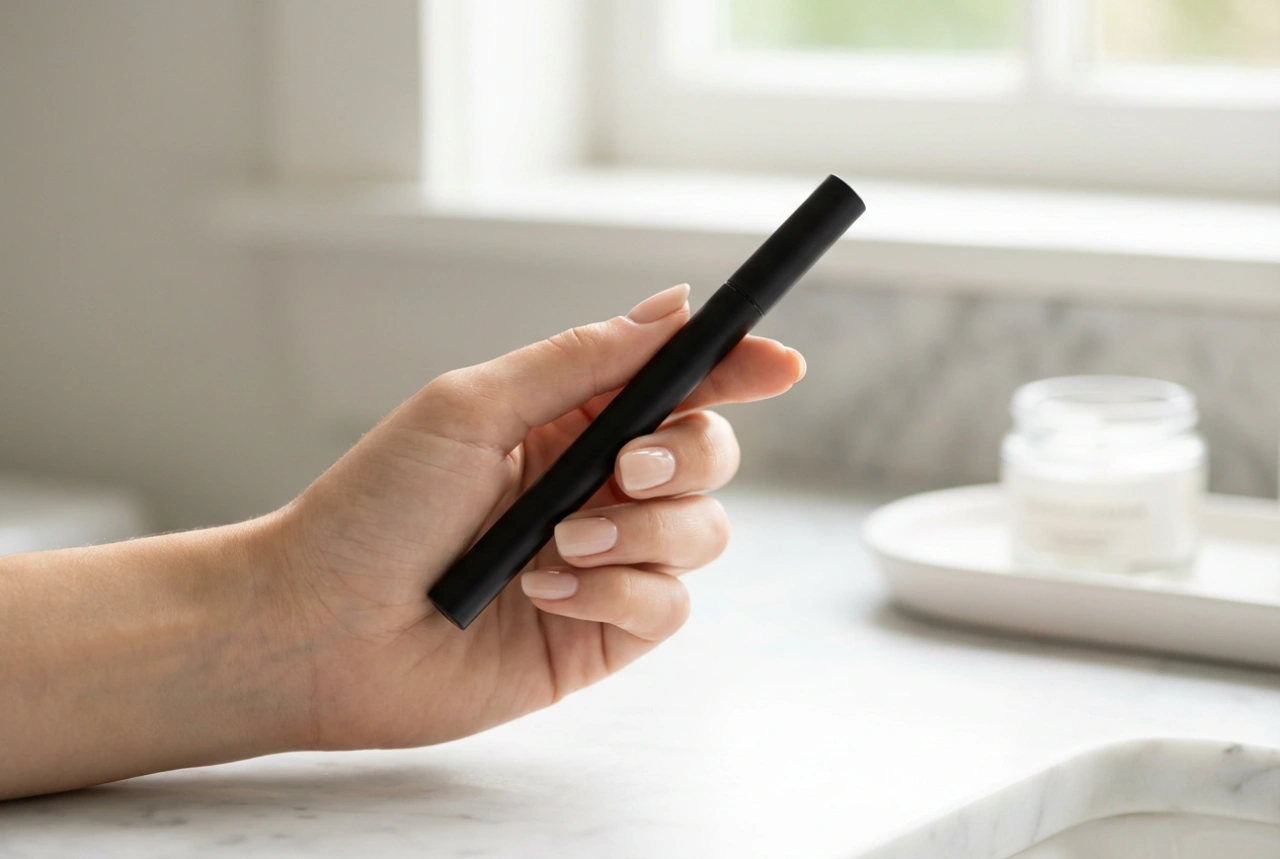
- A good quality lash adhesive specifically for individual or cluster lashes.
- A pair of tweezers or a dedicated lash applicator tool.
- A small, clean surface (like the back of the lash tray) to dispense a drop of glue.
- A mirror, preferably a magnifying one.
Prep Your Natural Lashes
Start with clean, dry eyelashes, free from any makeup or oily residue. Use an eyelash curler to gently curl your natural lashes. This creates a supportive 'shelf' for the clusters to sit on, helping them blend and point upwards rather than downwards. You can apply a very thin coat of mascara before application. This can give the clusters more to grip onto and helps to blend the colour of your natural lashes with the false ones.
Step-by-Step Application Guide
Patience and a steady hand are your best friends during application. Work in a well-lit area and take your time, especially when you are first learning.
- Step 1: Dispense Adhesive. Place a small bead of lash adhesive onto your clean surface. Allow it to sit for about 30-60 seconds to become slightly tacky. Applying the glue when it's too wet can cause the cluster to slide around.
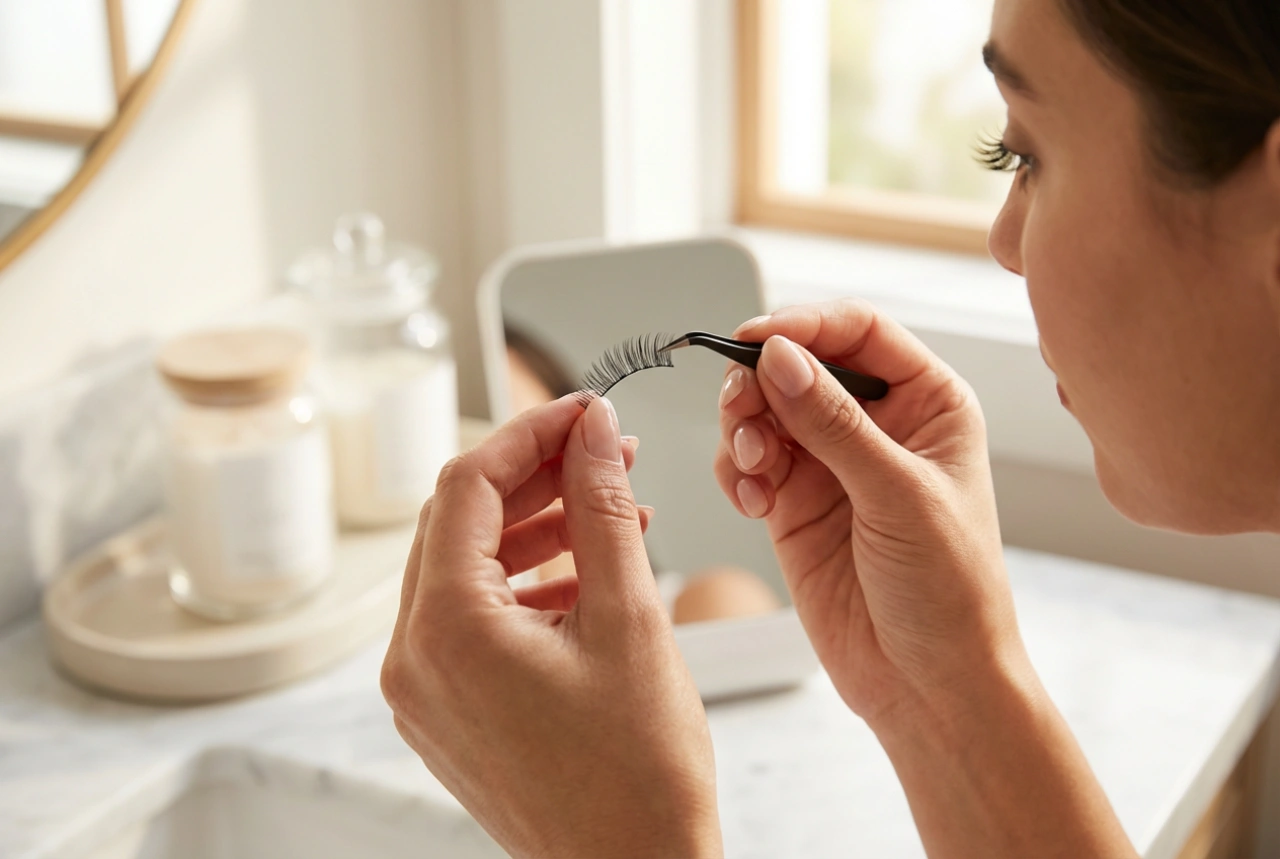
- Step 2: Pick Up a Cluster. Using your tweezers, gently grip a single cluster by its middle or tip, and carefully lift it from the tray. Avoid pulling on the individual hairs; instead, aim for the knotted base.
- Step 3: Apply Glue to the Cluster. Lightly dip the knotted base of the cluster into the tacky adhesive. You only need a tiny amount – too much glue can look clumpy and will take longer to dry.
- Step 4: Place the Cluster. Looking down into your mirror, place the cluster onto your skin at the base of your natural lashes, getting as close to the root as possible without touching your waterline. Do not attach it to your natural lashes themselves, as this can cause strain. Most people find it easiest to start from the outer corner and work their way inwards.
- Step 5: Secure and Repeat. Gently press the cluster base with the back of your tweezers to secure it in place. Hold for a few seconds. Continue this process, placing clusters next to each other until you achieve your desired fullness. Remember to use shorter lengths as you move towards the inner corner of your eye.
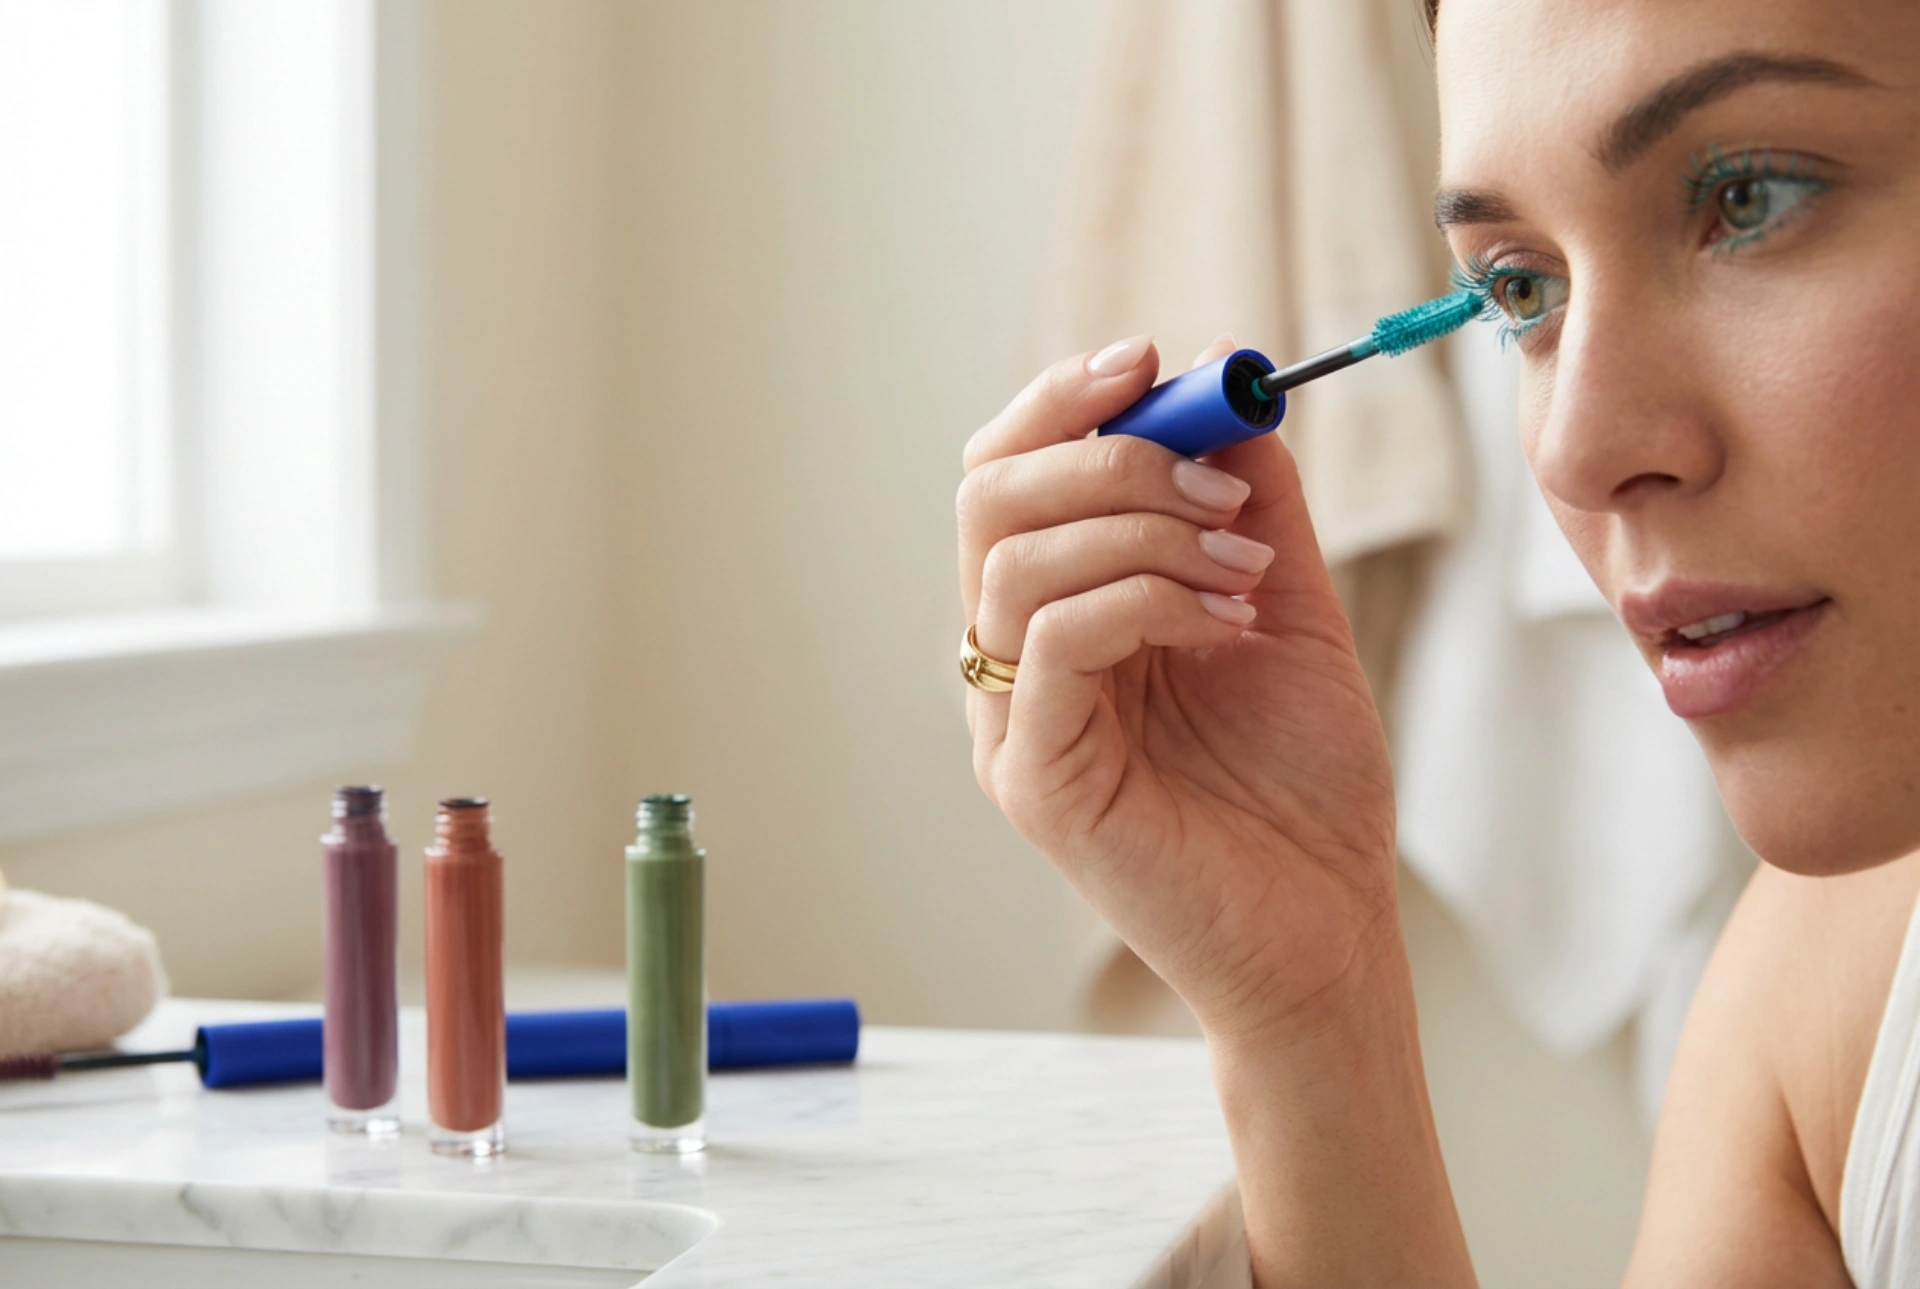
Blending Clusters with Mascara
The final step is to merge the clusters with your natural lashes for a completely seamless look. After the adhesive has fully dried (wait at least five minutes), you can apply mascara. Use a mascara wand to gently brush through your lashes, starting from the root and wiggling upwards. This technique physically binds the clusters to your natural lashes and ensures a uniform colour and texture. Be gentle to avoid dislodging the clusters. For added definition and to hide any visible glue or gaps along the lash line, you can apply a thin line of black or brown eyeliner.
Tips for Longevity and Safe Removal
To keep your clusters looking great, avoid oil-based makeup removers and cleansers around the eye area, as oil can dissolve the adhesive. Be gentle when washing your face and try not to rub your eyes. To remove them safely, saturate a cotton pad with an oil-free eye makeup remover. Press the pad gently against your closed eye for 30-60 seconds to soften the glue. The clusters should then slide off easily as you wipe downwards. Never pull or tug at the clusters, as this can damage your natural lashes.