


Achieving perfectly symmetrical and beautifully shaped eyebrows can feel like a daily challenge. For many, getting both brows to look like sisters, not distant cousins, requires a steady hand and a good eye. This is where eyebrow stencils come in as a practical tool for home makeup. They provide a simple, guided way to outline your desired shape and fill in any sparse areas, making the process quicker and more consistent. Whether you are a makeup novice or simply looking to streamline your routine, a stencil can be the key to unlocking flawless brows.
What Are Eyebrow Stencils?
An eyebrow stencil is a template, usually made of flexible plastic, with a pre-cut brow shape. These tools are designed to be placed over your natural brow, acting as a guide for applying makeup. They come in a wide variety of shapes and sizes to suit different face shapes and personal preferences, from thin and natural to thick and bold arches. The primary goal of a stencil is to help you create two symmetrical, evenly-filled brows with minimal effort, eliminating the guesswork involved in freehand drawing.
Preparation: Choosing Your Tools and Prepping Your Brows
Before you begin, gathering the right tools and preparing the canvas is crucial for a smooth application and a polished result. Taking a few moments to prepare will make the entire process easier and more effective.
Selecting the Right Stencil Shape
The most critical step is choosing a stencil that complements your natural brow line and face shape. Hold different stencils up to your brow to see which one aligns best with your natural start, arch, and tail. A good stencil should follow the general flow of your existing brow hair. If you have a round face, a higher arch can add definition, while a flatter brow shape can suit a longer face. Experiment with a few options before committing to one for application.
Gathering Your Makeup Tools
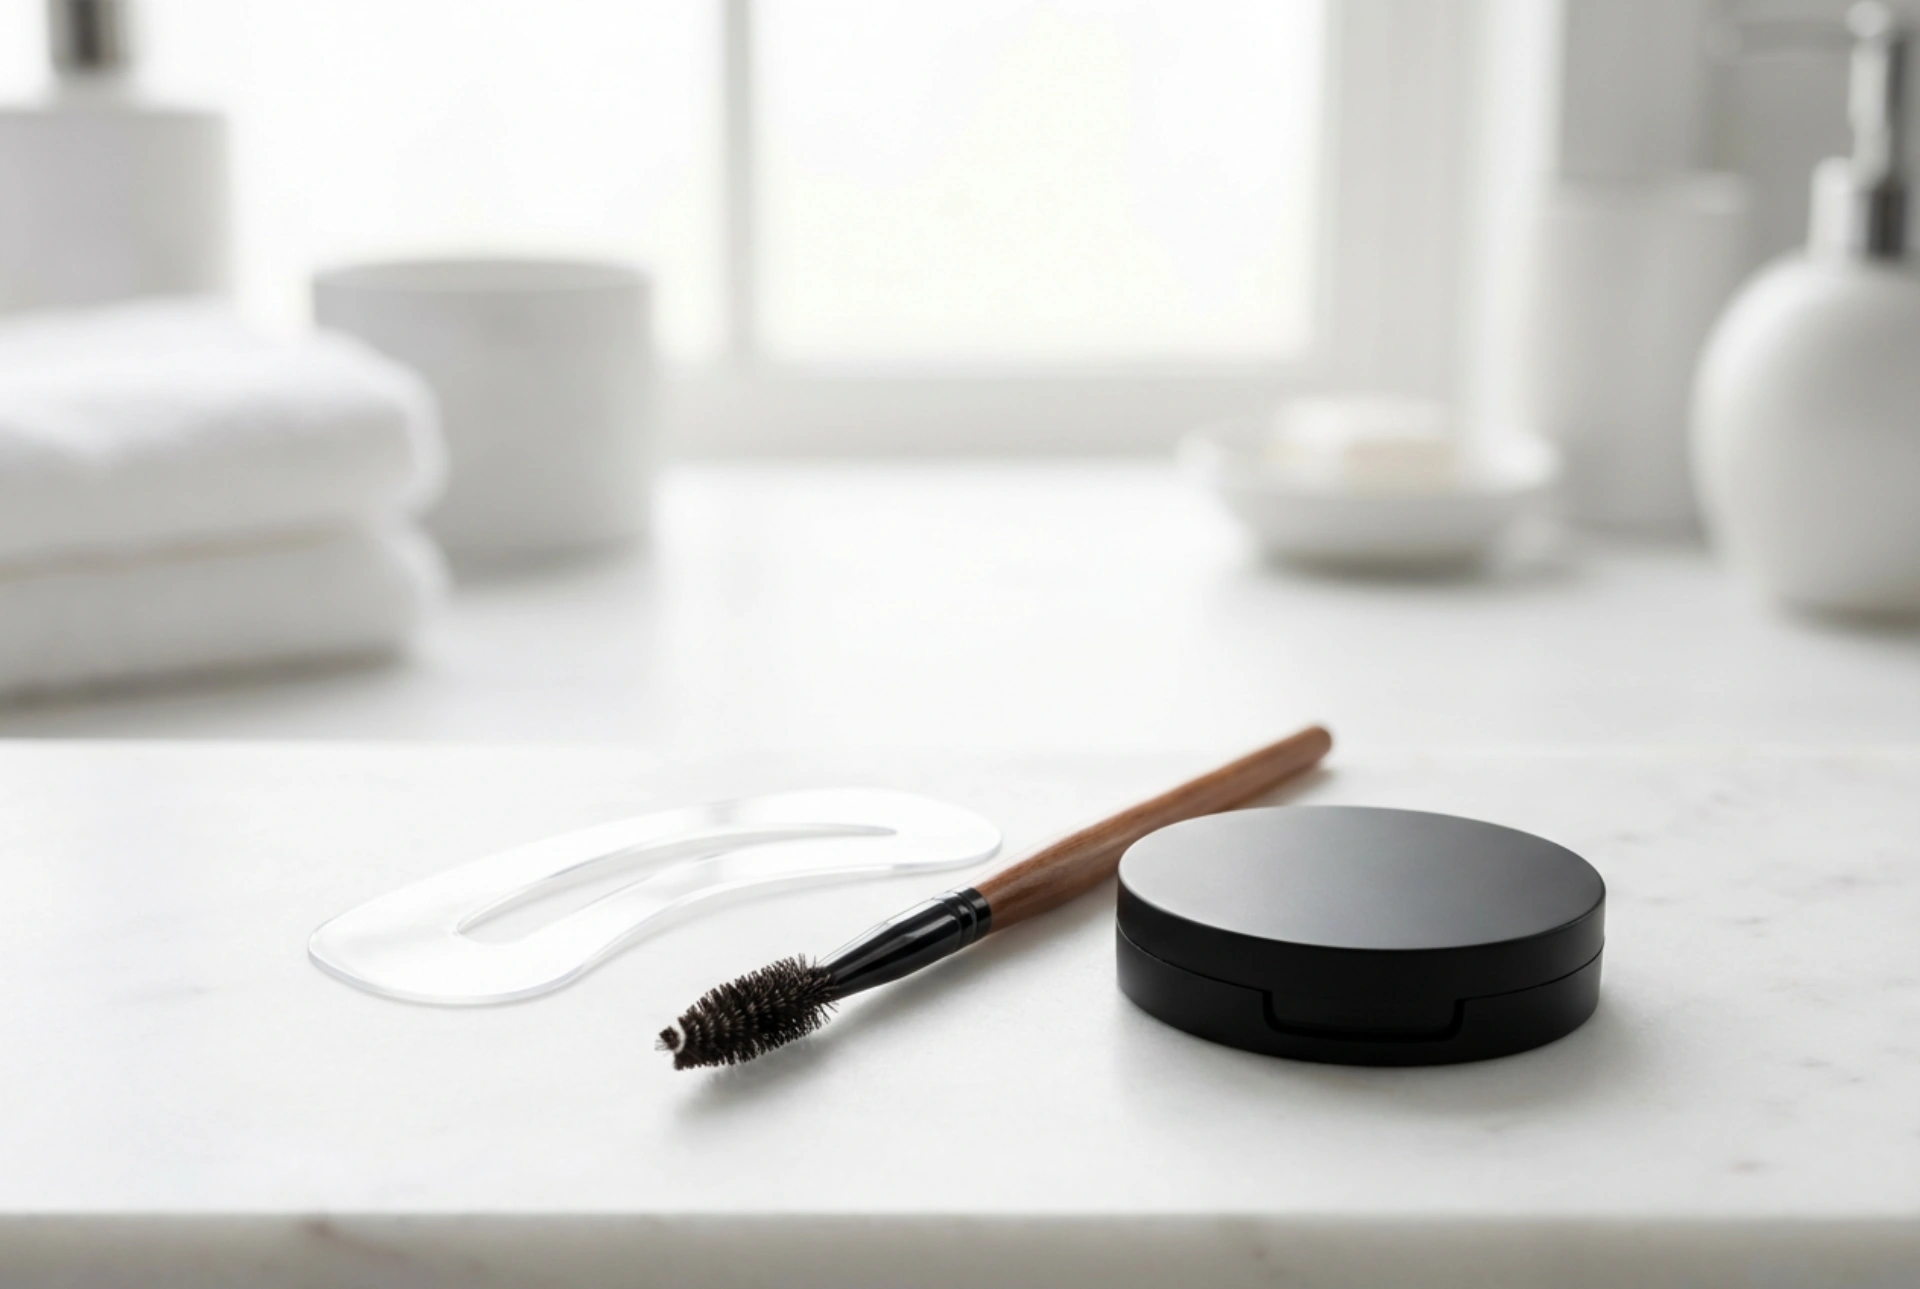
To use a stencil effectively, you will need a few key items. Ensure you have:
- A set of eyebrow stencils with various shapes.
- Your preferred brow filler, such as a powder, pencil, or pomade. Powders are often easiest for beginners as they provide a soft, buildable finish.
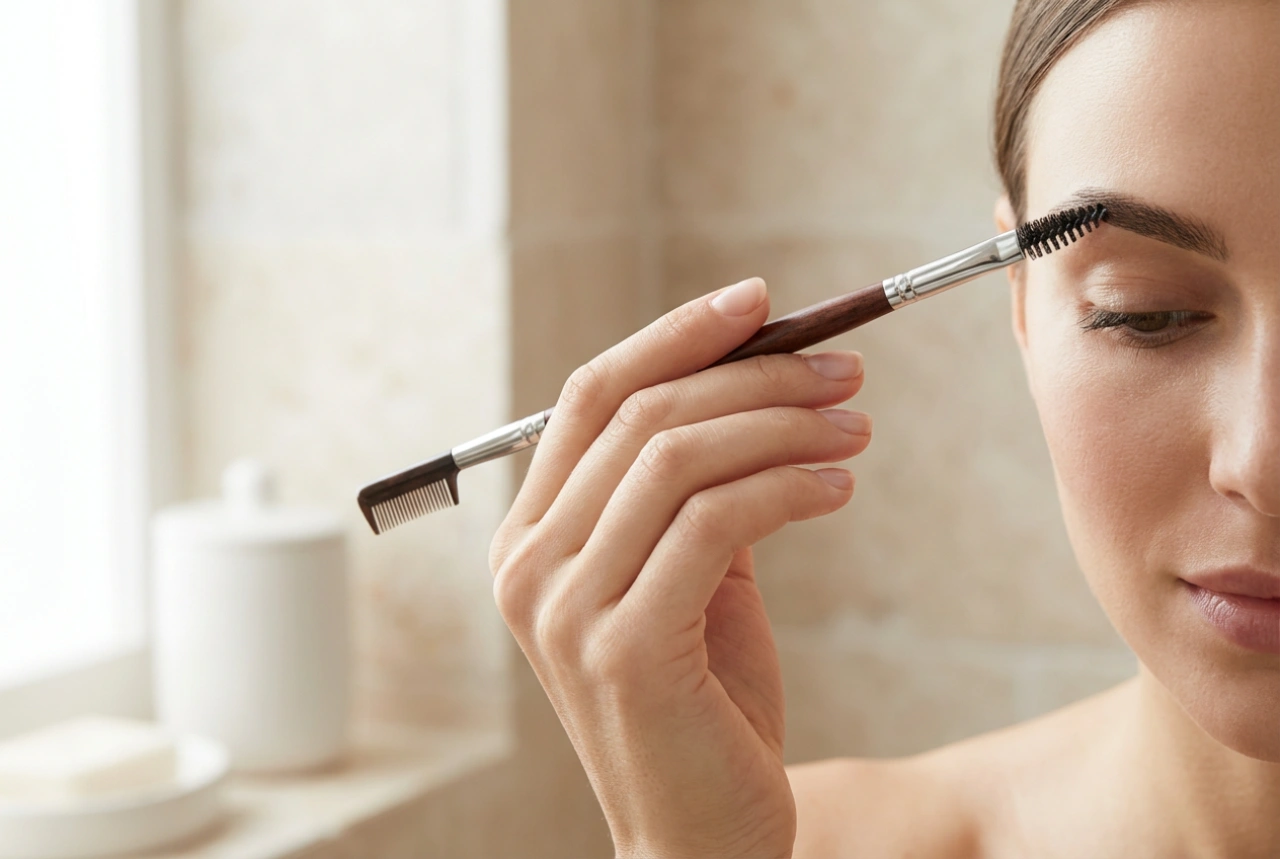
- A spoolie brush for combing brow hairs and blending the product.
- An angled brow brush if you are using a powder or pomade.
Preparing the Skin and Brows
Start with a clean, dry face to ensure your brow product adheres properly and lasts longer. Brush your natural brow hairs upwards and outwards with a spoolie. This helps you see your natural shape more clearly and ensures the hairs lie flat under the stencil, preventing a patchy application.
A Step-by-Step Guide to Using an Eyebrow Stencil
With your tools ready and brows prepped, you are ready to start shaping. Follow these steps for a clean and natural-looking result.
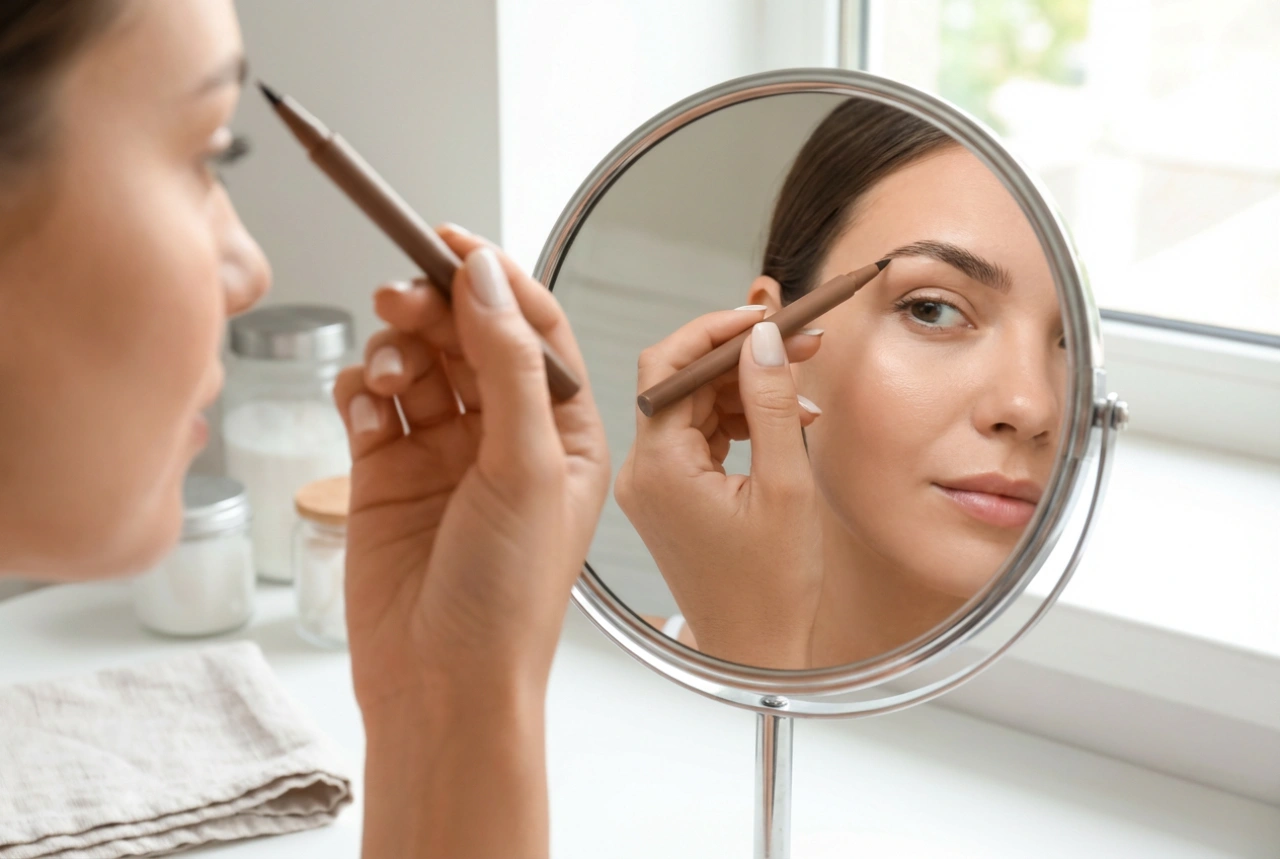
- Step 1: Position the Stencil. Align the stencil with your brow. Use your facial features as a guide: the start of the brow should align with the side of your nose, the arch should be just above the outer edge of your iris, and the tail should end at an angle from the outer corner of your eye.
- Step 2: Hold It Firmly. Hold the stencil securely against your skin with two fingers to prevent it from shifting. This is essential for creating a crisp and clean outline.
- Step 3: Fill in the Shape. Using your chosen brow product, lightly fill in the cutout area of the stencil. Start with a small amount of product and build up the intensity gradually. Use light, feathery strokes to mimic the appearance of natural hair, concentrating more colour on the arch and tail for definition.
- Step 4: Remove and Reveal. Carefully lift the stencil away from your face. You should see a clearly defined brow shape.
- Step 5: Blend for a Natural Finish. The initial result can look a bit harsh or 'stamped on'. Take your clean spoolie brush and gently comb through the brow. This softens the lines, blends the product into your natural hairs, and creates a more integrated, seamless look.
- Step 6: Repeat on the Other Side. Flip the stencil over and repeat the process on your other eyebrow, taking care to align it symmetrically with the first one.
Common Mistakes to Avoid
While stencils simplify the process, a few common errors can lead to unnatural-looking results. Here is how to avoid them:
- Using a Shape That's Too Unnatural: Forcing a shape that doesn't match your bone structure will look out of place. Always choose a stencil that enhances your natural brow line.
- Applying Too Much Product: A heavy hand leads to dark, blocky brows. It's always easier to add more product than to take it away. Start light and build the colour slowly.
- Incorrect Placement: Misaligning the stencil can throw off your facial symmetry. Use the nose and eye alignment tips to ensure proper placement every time.
- Skipping the Blending Step: This is a crucial final touch. Blending with a spoolie is what transforms a stencilled shape into a believable, beautiful brow.