The quest for perfectly shaped eyebrows is a constant in the world of beauty, and the latest trend to capture everyone's attention is the 'straight brow'. This look, characterised by a minimal arch and a lifted tail, creates a fresh, youthful appearance that beautifully frames the face. While professional treatments like lamination are one way to achieve it, you can easily replicate this polished aesthetic at home with just a few tools and techniques. This guide will walk you through how to master the straight brow look without any permanent procedures.
What Defines the Straight Brow Trend?
Unlike the high, dramatic arches that have been popular in the past, the straight brow focuses on creating a more linear and horizontal shape. The goal is to soften the natural curve of the eyebrow, making the bottom line as straight as possible from the inner corner to the tail. The tail of the brow is often brushed upwards and outwards, which provides a subtle lifting effect to the eyes. This style is celebrated for its ability to lend the face a softer and more modern expression.
Preparing for Your Brow Transformation
Before you start shaping, a little preparation is key. The success of this look depends on having enough brow hair to work with and the right tools on hand. A bit of patience and planning will make the styling process much smoother.
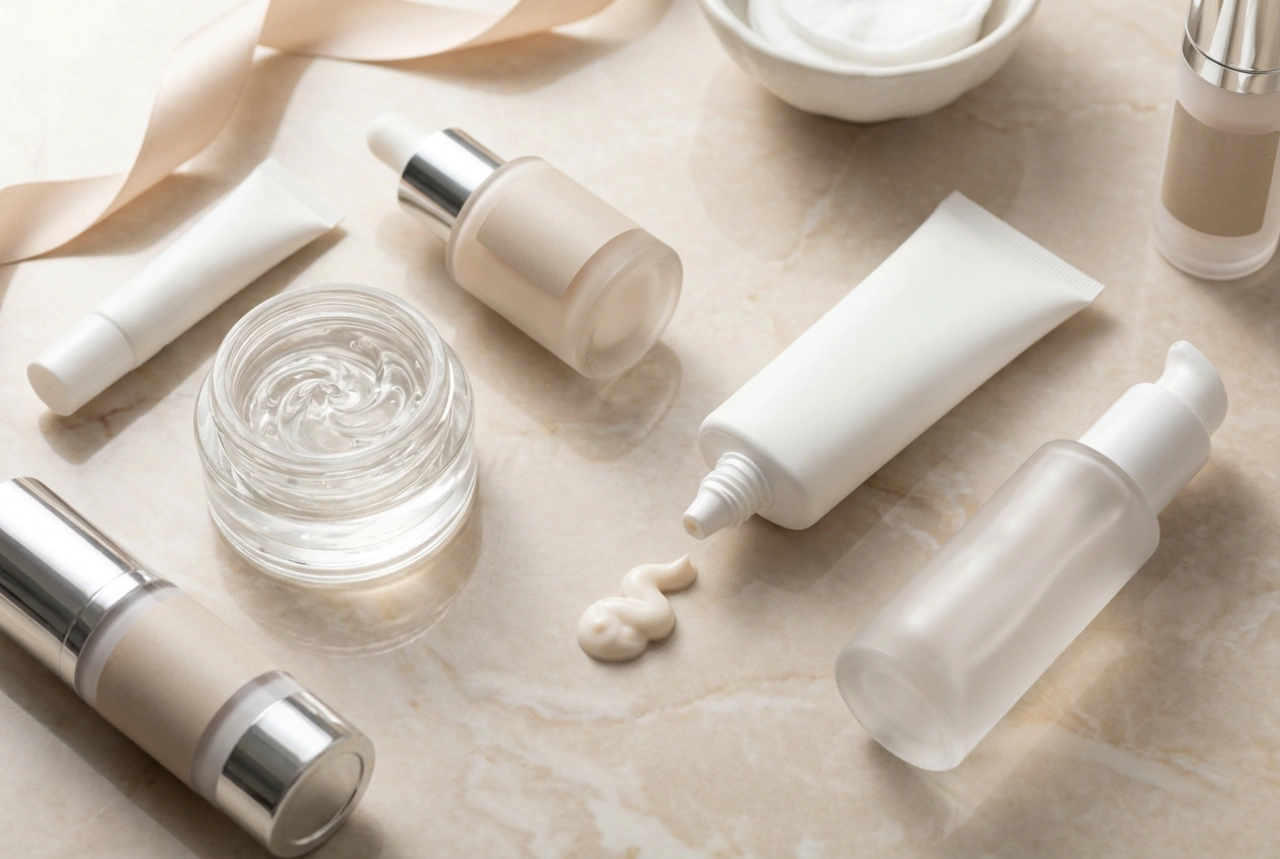
Essential Tools for the Job
Gathering your equipment beforehand ensures a seamless application. You don't need a professional kit, just a few key items that are likely already in your makeup bag. Make sure you have:
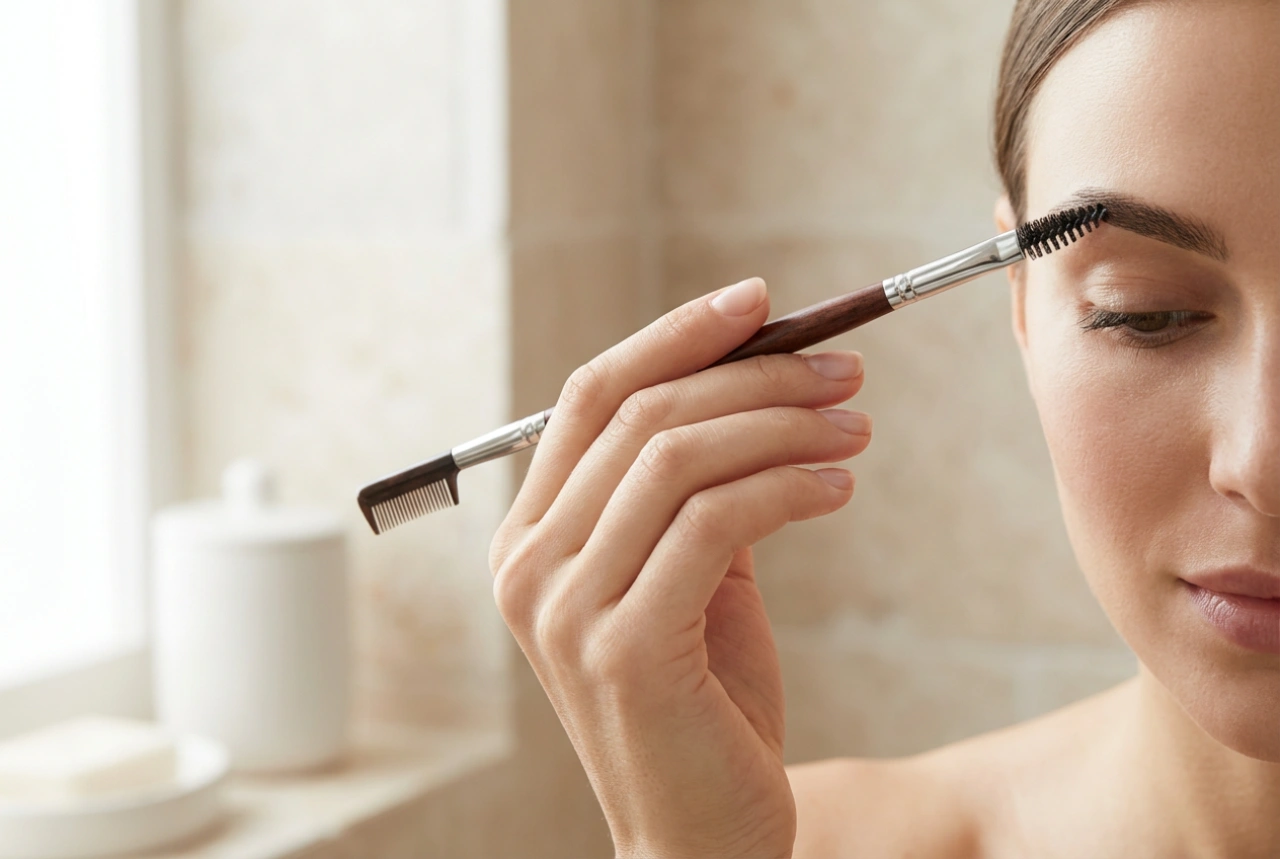
- A spoolie brush: For combing hairs into place.
- Small, sharp brow scissors: For trimming any excess length.
- A good pair of tweezers: For removing stray hairs with precision.
- Brow soap or a strong-hold styling wax: This is the hero product for creating the straight, laminated effect.
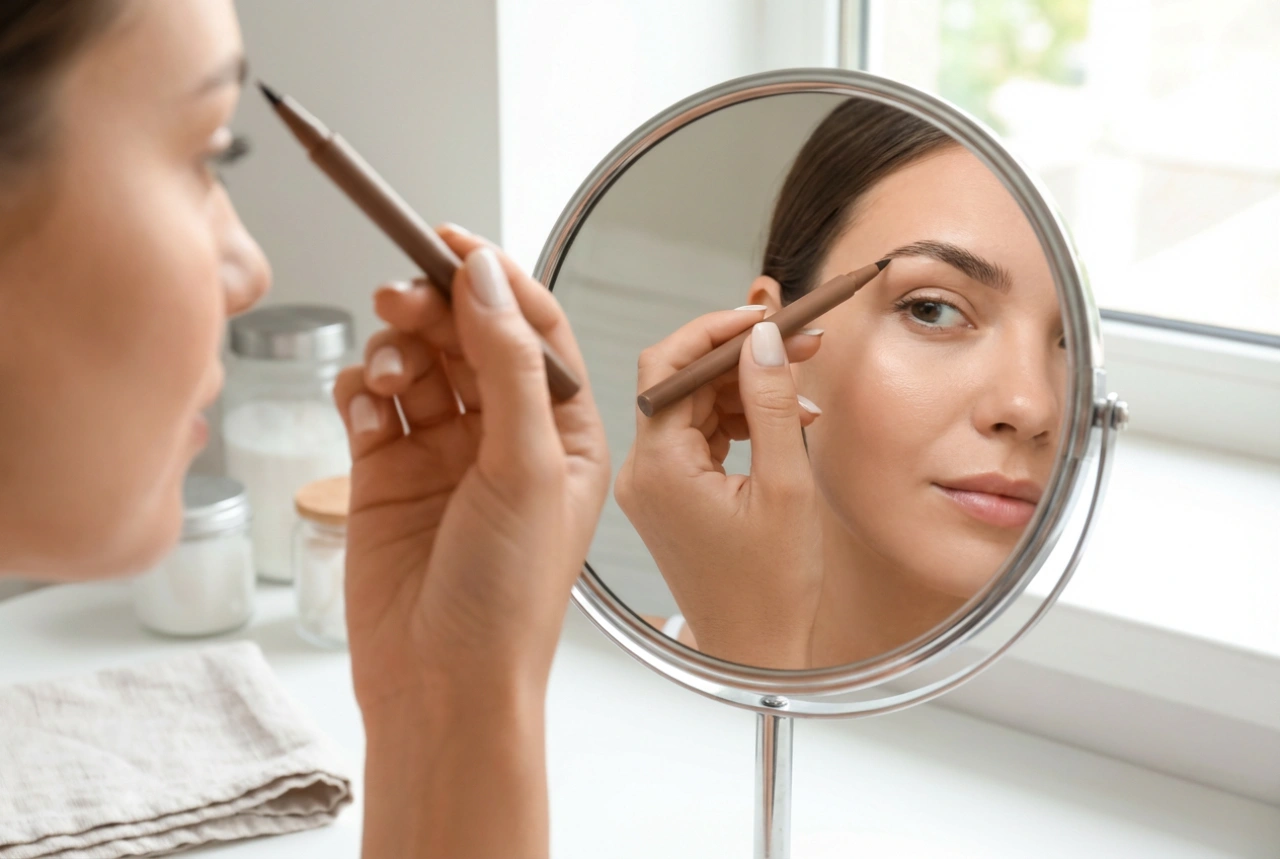
- A fine-tipped brow pencil or powder: To fill in sparse areas and define the shape.
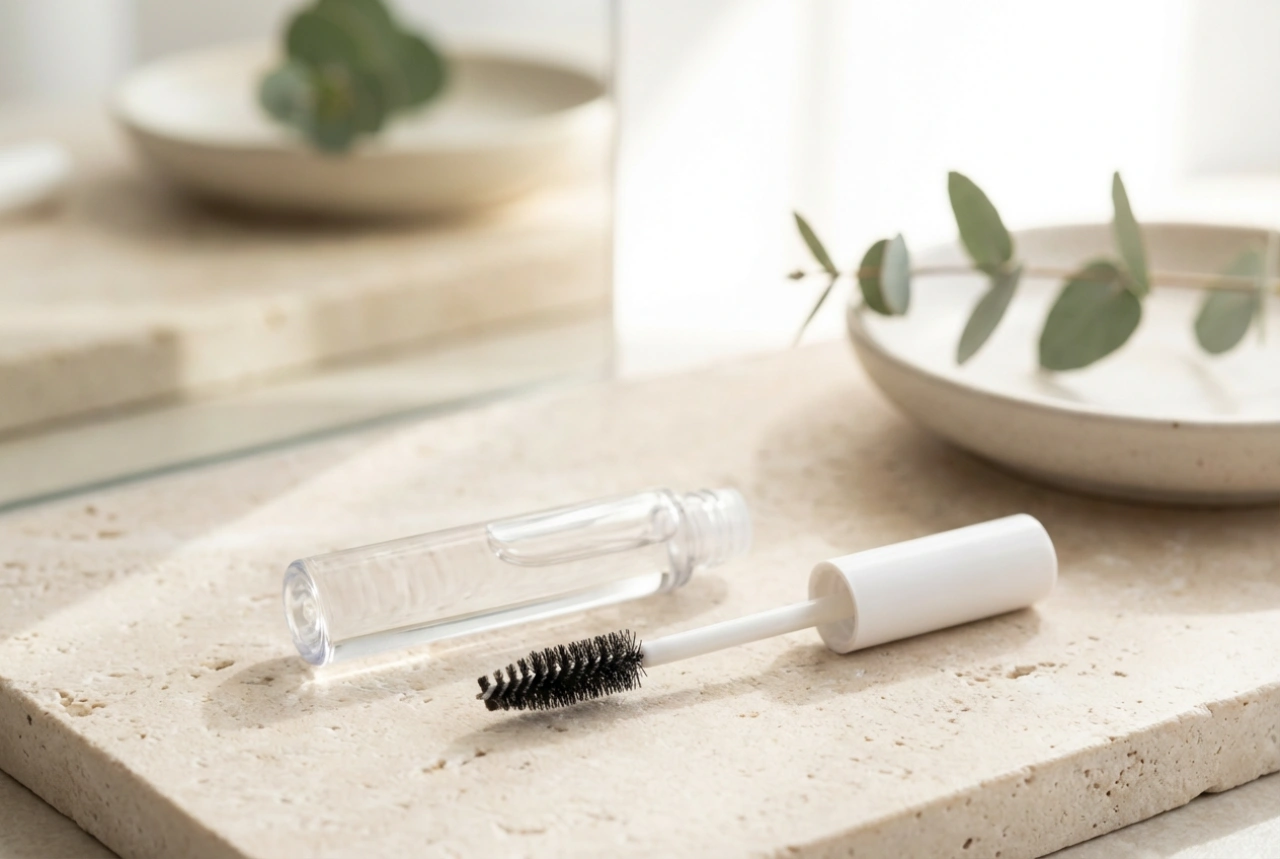
- A clear or tinted brow gel: To set everything and ensure it lasts all day.
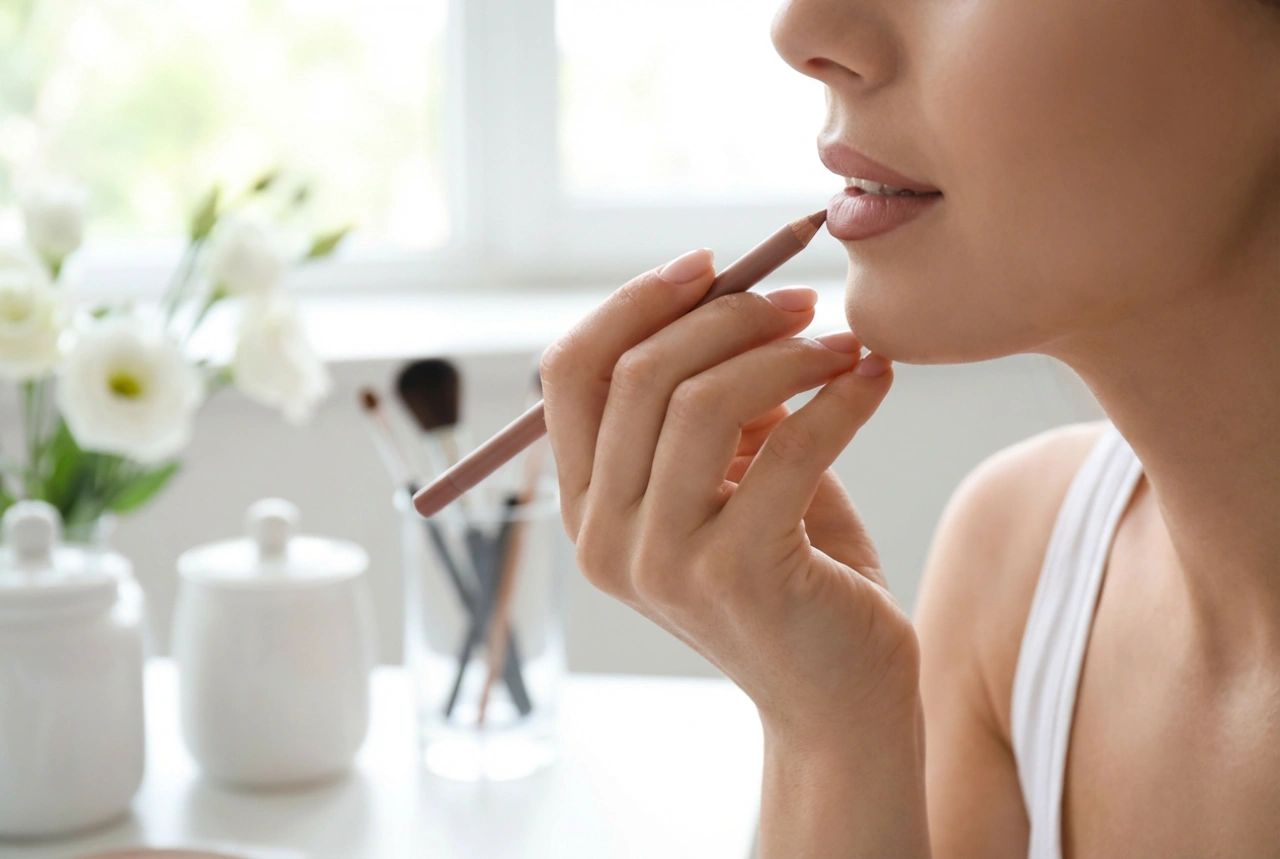
A Step-by-Step Guide to DIY Straight Brows
With your tools ready, you can now begin the shaping process. Work in a well-lit area and take your time with each step to ensure a clean, symmetrical result. Remember, the goal is to enhance, not completely change, your natural brows.
Step 1: Brush and Assess
Start by using your spoolie to brush all your brow hairs straight up. This helps you see the natural shape and identify which hairs are contributing to the arch and which ones are simply too long. Brushing them upwards also begins the process of training them into their new, lifted position.
Step 2: Trim Carefully
With the hairs brushed up, use your brow scissors to carefully snip the tips of any hairs that extend too far above the top line of your brow. Trim at a slight angle, following the natural shape. The key is to be conservative; you can always trim more later, but you can't put hair back.
Step 3: Shape with Tweezers
This step is crucial for straightening the brow line. Look for hairs underneath the highest point of your arch that are pulling the shape downwards. Carefully tweeze these stray hairs one by one. Avoid over-plucking and focus only on the hairs that disrupt the straight line you want to create along the bottom edge of your brow. This small adjustment can make a huge difference.
Step 4: Style with Soap or Wax
Activate your brow soap with a small spritz of setting spray or water. Rub your spoolie into the product to get an even coating. Now, press the spoolie into your brows and brush the hairs upwards and diagonally towards your temples. Use the flat side of the spoolie or your finger to press the hairs down flat against the skin. This technique 'laminates' the hairs in place, creating that signature flat, straight, and lifted look.
Step 5: Fill and Define
Once the soap or wax has set, use a fine-tipped brow pencil or an angled brush with powder to fill in any sparse areas. Concentrate on defining the bottom line of the brow, drawing a straight line from the front to the tail. Use light, hair-like strokes to keep the look natural. You can also extend the tail slightly outwards rather than downwards to enhance the lifting effect.
Step 6: Set for the Day
To lock in your hard work, finish with a light coat of clear or tinted brow gel. Brush it through in the same upward and outward direction. This final step adds an extra layer of hold and ensures your straight brows stay perfectly in place all day long.