


The quest for perfectly defined yet natural-looking eyebrows has led to the innovation of various cosmetic tools. Among them, the brow marker stands out for its unique ability to create incredibly fine, hair-like strokes, offering precision that mimics real brow hairs. Unlike pencils or pomades, which can sometimes appear heavy, a brow marker provides a subtle, buildable enhancement. Mastering this tool allows you to fill in sparse areas, define your arch, and craft a polished look that remains effortlessly natural, focusing on subtle beauty and refinement.
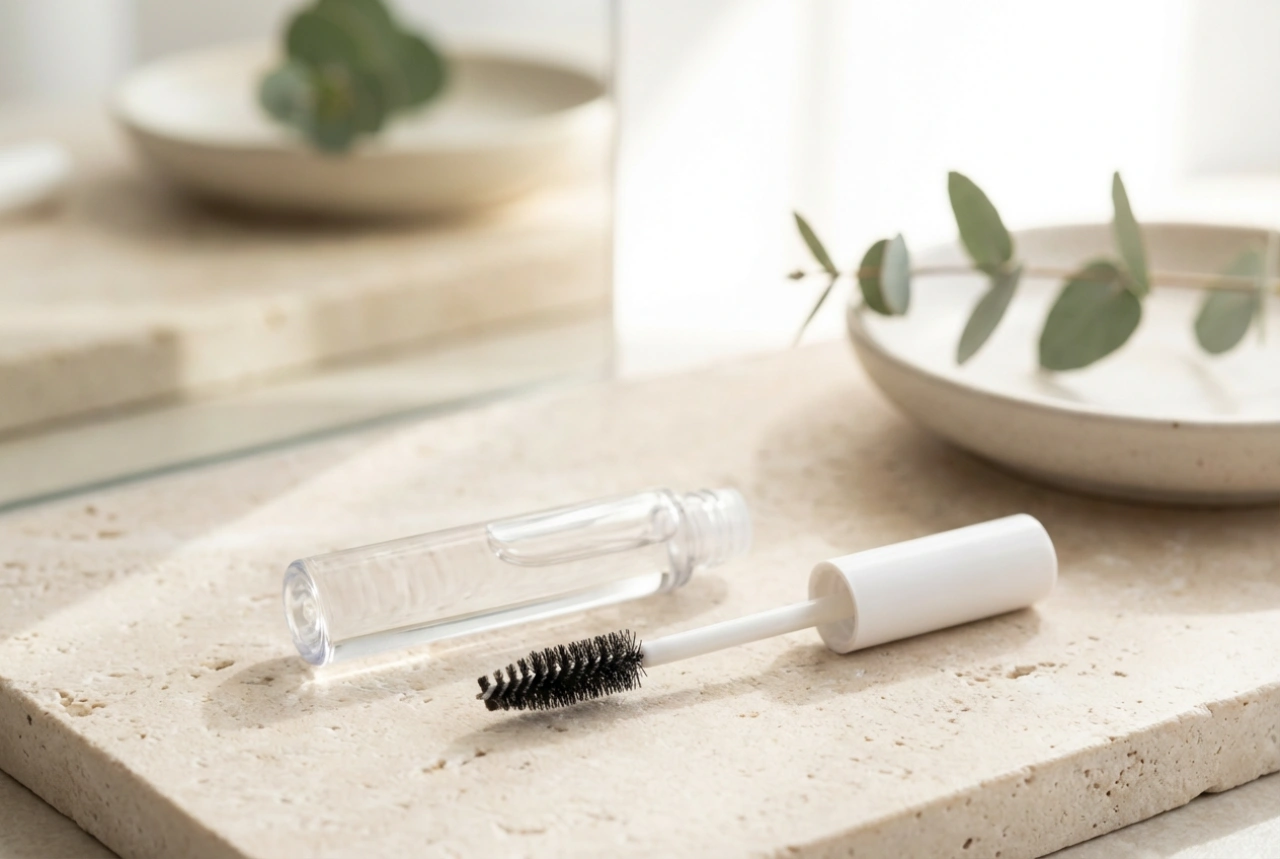
What is a Brow Marker and Why Choose It?
A brow marker is a cosmetic pen designed specifically for eyebrow definition. It typically features a very fine, flexible tip—sometimes forked with multiple prongs—that dispenses a sheer, water-based tint. This design is what makes it ideal for drawing individual hairs. The key advantage of a marker over other brow products is its precision and the subtlety of its finish. The lightweight formula stains the skin lightly, creating the illusion of density and fullness without a heavy, 'drawn-on' appearance. It's the perfect choice for those who want to enhance their natural brow shape, fill in gaps caused by over-plucking, or simply add a touch of definition for a more groomed look.
Choosing the Right Shade
Selecting the correct colour is crucial for a natural result. A common mistake is choosing a shade that is too dark, which can look harsh. As a general rule, opt for a colour that is one to two shades lighter than your natural hair colour. If you have very dark hair, a soft dark brown or charcoal will look more natural than a stark black. For blondes, taupe or light ash-brown shades work well. Always swatch the marker on your hand or jawline to see how the tint interacts with your skin tone before applying it to your brows.
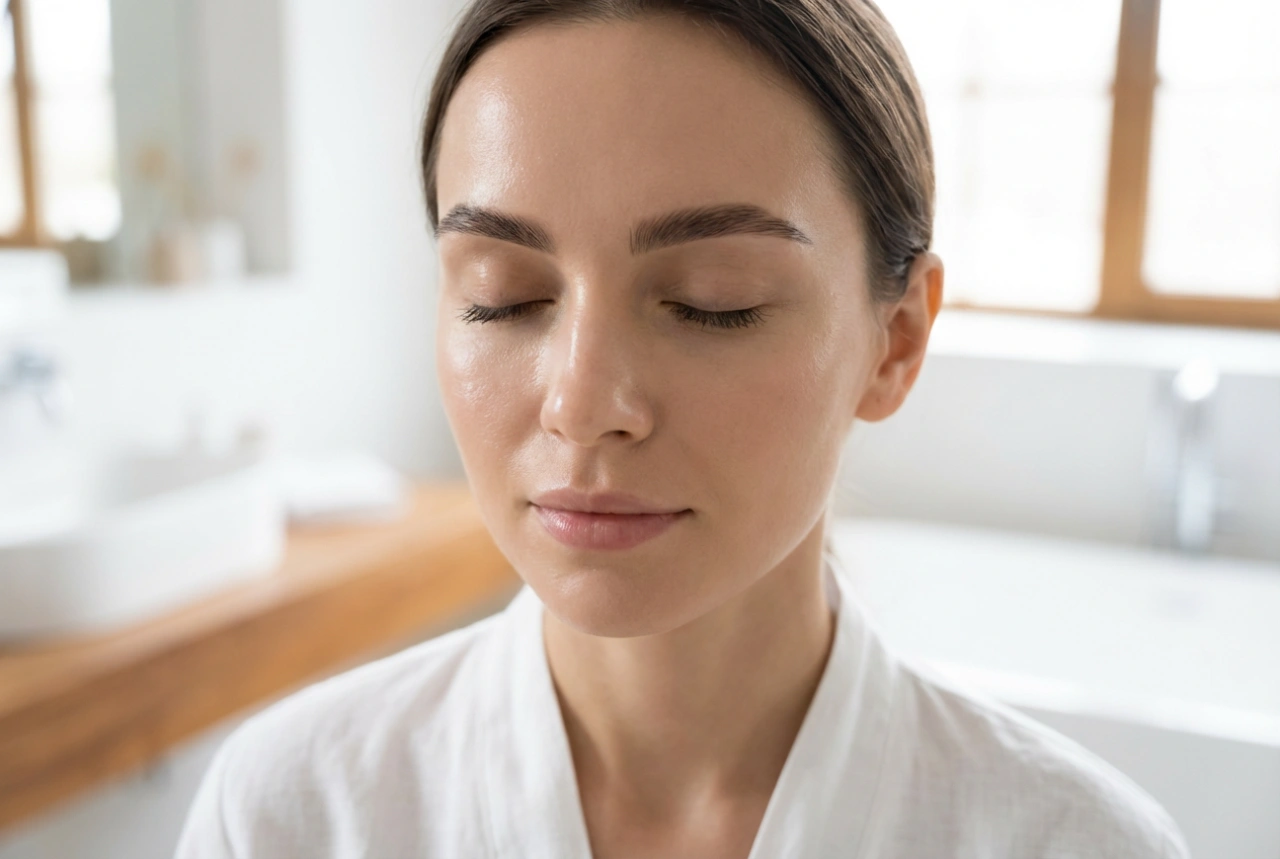
Preparing Your Brows for Application
Proper preparation is key to ensuring the brow marker applies smoothly and lasts all day. A clean, dry canvas prevents the marker's ink from smudging, bleeding, or fading prematurely. Follow these simple steps before you begin:
- Cleanse the Area: Start with a clean face. Ensure any skincare products like moisturisers or serums have been fully absorbed and that the brow area is completely dry. Any oiliness on the skin can interfere with the marker's application and longevity.
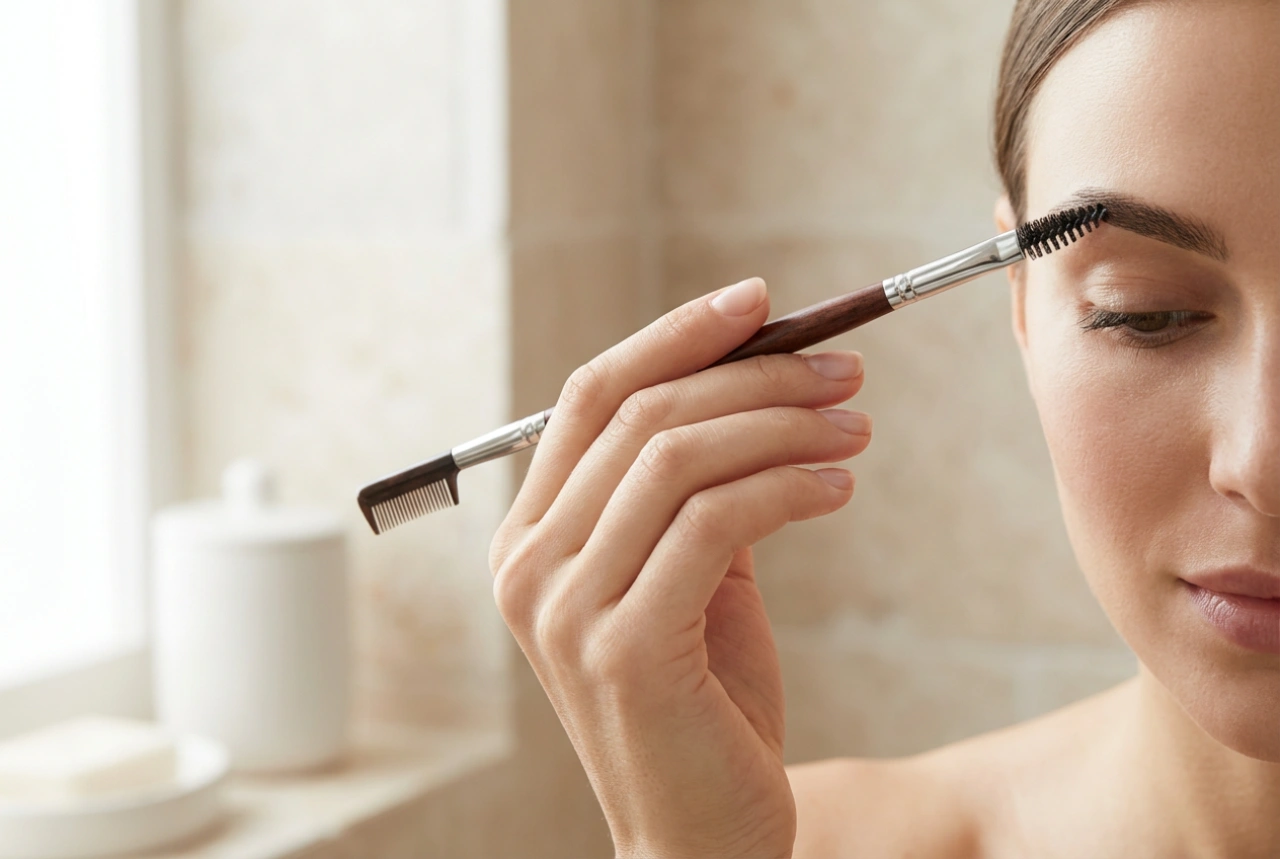
- Groom Your Brows: Use a clean spoolie brush to comb your eyebrow hairs upwards and outwards. This helps you see the natural shape of your brow and identify any sparse areas that need filling in. Trimming any overly long hairs can also create a neater base to work on.
- Consider a Primer: If you have particularly oily skin, applying a small amount of a matte eye primer over the brow area can help create a barrier, ensuring the marker's pigment adheres better and stays put for longer.
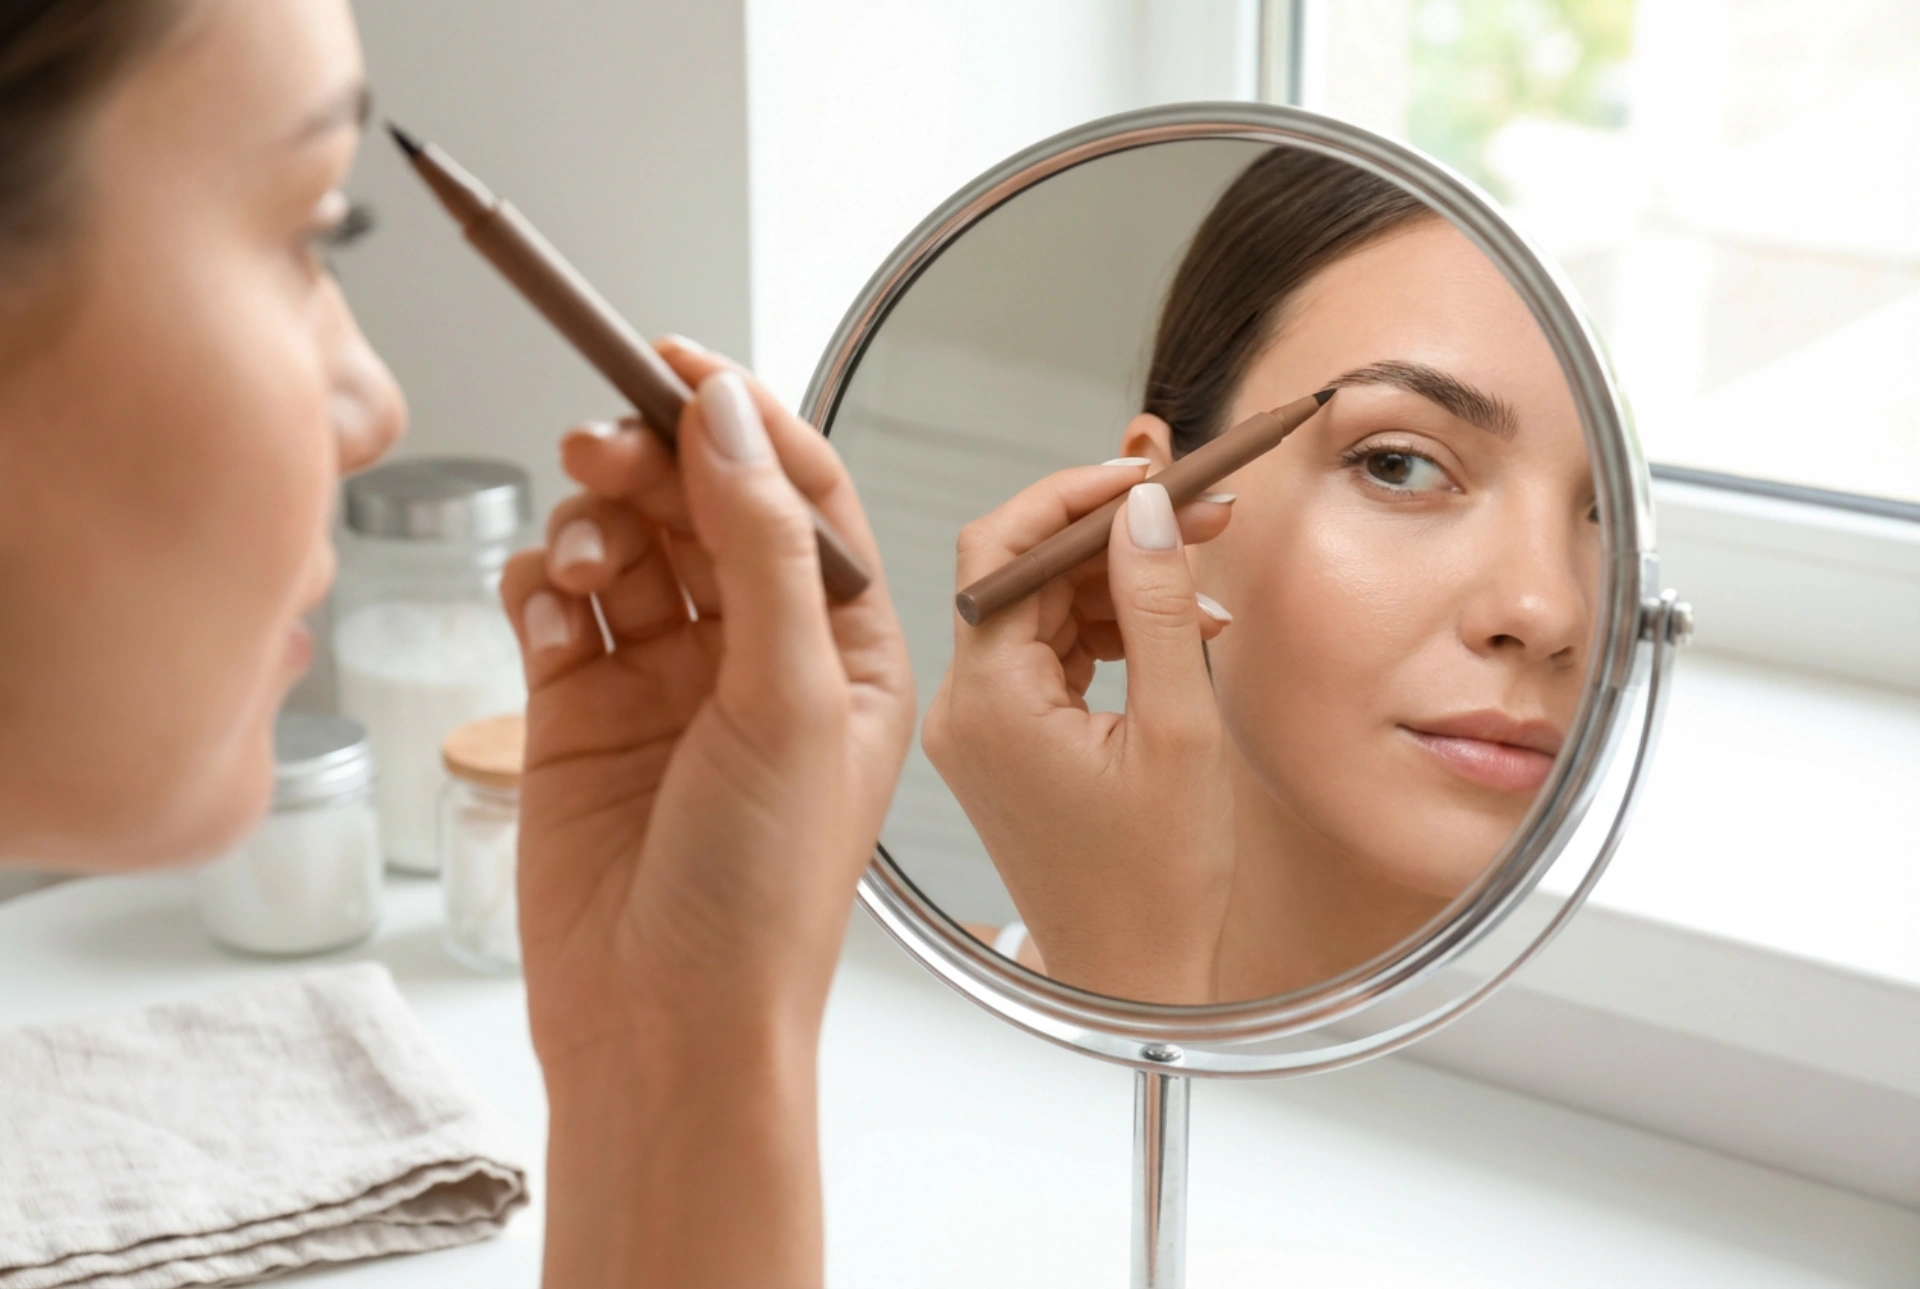
The Step-by-Step Technique for Hair-Like Strokes
The secret to using a brow marker effectively lies in the technique. It requires a light hand and a bit of practice, but the results are worth it. The goal is to mimic the direction and pattern of your natural hair growth.
- Start with a Light Hand: Hold the marker at a slight angle. The amount of pressure you apply will determine the thickness and intensity of the stroke. Always start with very light pressure; you can build up the colour gradually.
- Follow Hair Growth: Begin at the inner part of your brow. Draw short, upward, flicking motions that follow the natural direction of your hair. As you move towards the arch and tail of the brow, adjust the angle of your strokes to follow the hair growth, which typically becomes more horizontal.
- Focus on Sparse Areas: Concentrate on filling in gaps rather than drawing a solid line from start to finish. Place individual strokes where your brows are less dense to create the illusion of fullness.
- Build Intensity Slowly: Apply one layer of strokes, then step back and assess. If you need more definition, go back and add more strokes in the same areas. Building the product up in thin layers ensures a more realistic and less 'stamped-on' finish.
- Blend with a Spoolie: After applying the marker, gently brush through your brows with a clean spoolie. This helps to soften the strokes slightly and blend them seamlessly with your natural brow hairs, creating a cohesive and polished look.
Common Mistakes to Avoid
Achieving a flawless look with a brow marker involves avoiding a few common pitfalls. Being aware of these can make a significant difference in your final result.
- Applying Too Much Pressure: Pressing too hard creates thick, dark lines that look unnatural and harsh. Remember to use gentle, flicking motions.
- Drawing a Solid Outline: A brow marker is not for outlining. Its purpose is to create individual strokes. Avoid drawing a solid border around your brow, as this will result in a blocky, unnatural appearance.
- Using the Wrong Colour: As mentioned, a shade that is too dark or has the wrong undertone will stand out against your skin and hair. Always test colours and choose one that complements your features.
- Applying on a Wet or Oily Surface: Applying the marker over heavy moisturiser or on oily skin will cause the ink to bleed and look messy. Always ensure the application area is clean and dry.