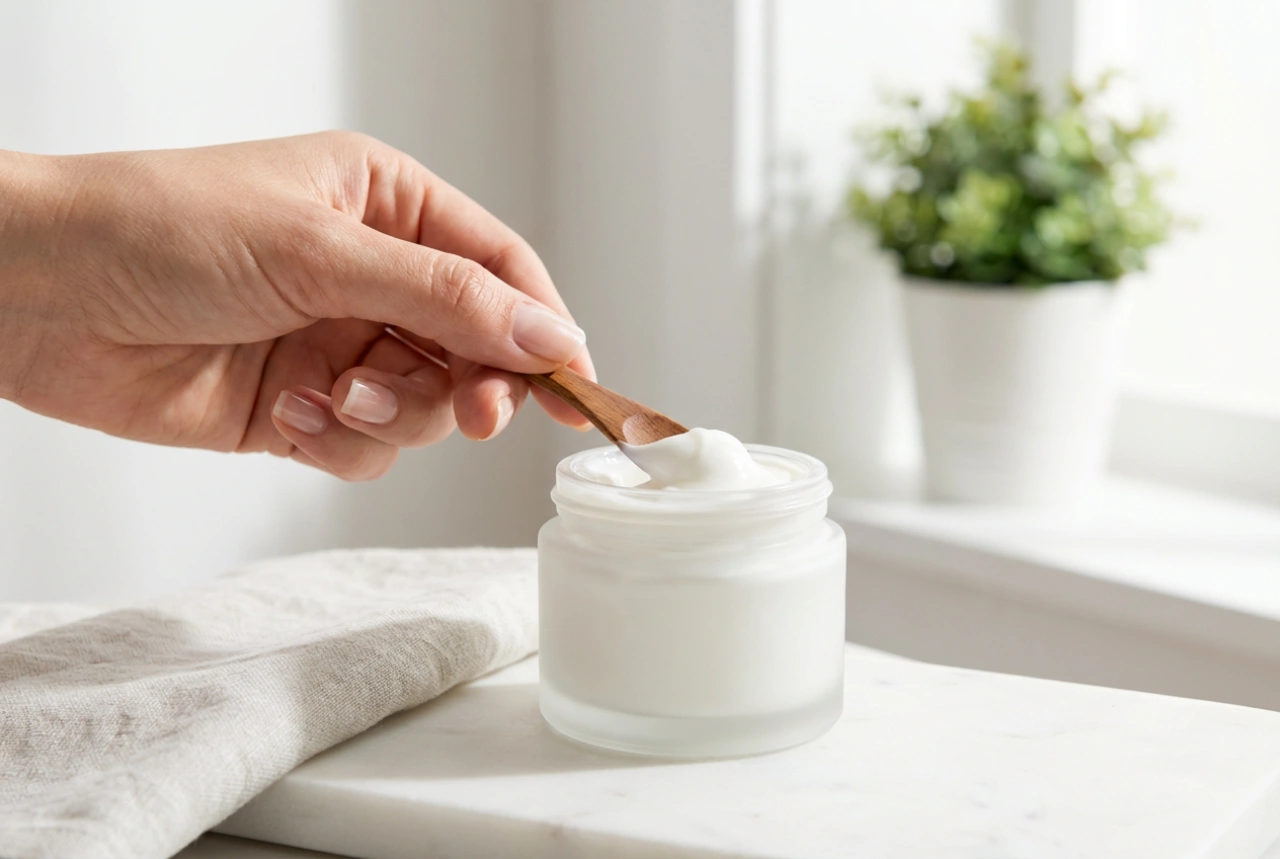


Transform your skincare routine into a tranquil, spa-like ritual with an algae mask. Known for their intensely hydrating and soothing properties, these masks offer a professional-level treatment in the comfort of your own home. The key to unlocking their full potential lies in the preparation and application. This guide will walk you through the process of mixing, applying, and flawlessly removing your algae mask in one smooth piece, leaving your skin feeling refreshed, supple, and revitalised.
Understanding the Algae Mask
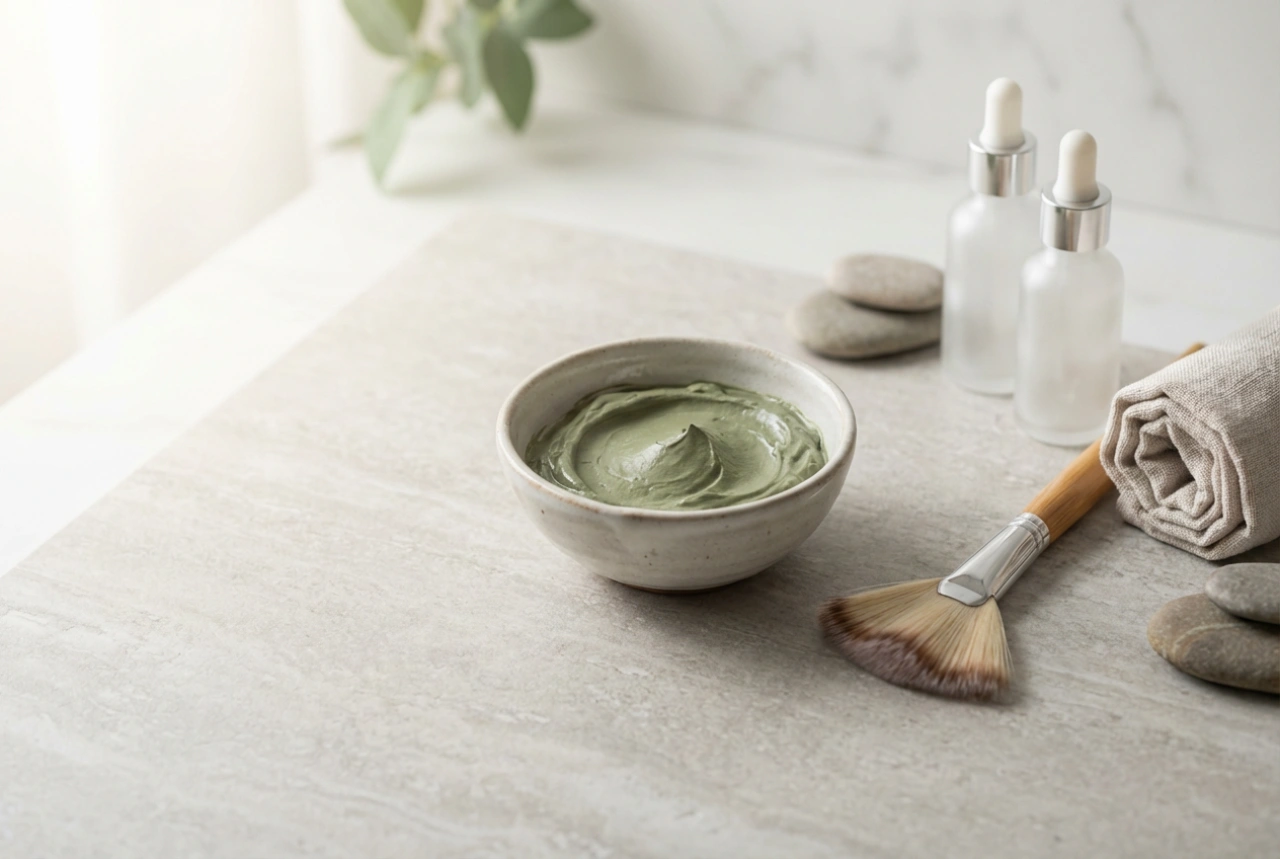
An algae mask, also known as a peel-off modelling mask, typically comes in a fine powder form. It is primarily composed of alginate, a natural substance derived from brown seaweed. When mixed with water, the powder transforms into a smooth, gel-like paste that is applied to the face. Unlike traditional clay or cream masks, an algae mask sets into a flexible, rubbery layer that conforms perfectly to the contours of your skin. This unique property creates an occlusive barrier, which helps to enhance the absorption of beneficial ingredients and provides an instant cooling and calming sensation.
Preparation: The Foundation for a Flawless Application
Proper preparation is crucial for a seamless and effective algae mask experience. Taking a few moments to set up your space and prepare your skin will prevent mess and ensure you get the best possible results.
Gather Your Tools
Before you begin, make sure you have everything you need within reach. The mask sets quickly, so you won't have time to search for items once you've started mixing.
- A non-metallic bowl (glass, ceramic, or silicone is ideal)
- A flexible spatula for mixing and application
- Measuring scoops or a scale for precise proportions of powder and water
- The algae mask powder and cool, purified water
- A headband to keep hair away from your face
- Optional: A light oil or balm to protect your eyebrows and hairline
Prepare Your Skin
Always apply an algae mask to a thoroughly cleansed face. Start by using your favourite gentle cleanser to remove all traces of makeup, dirt, and oil. Follow up with a toner to balance your skin's pH. If you have particularly thick eyebrows or a sensitive hairline, you can apply a thin layer of a light facial oil or a simple balm to these areas. This creates a protective barrier that makes mask removal even easier and prevents any pulling on delicate hairs.
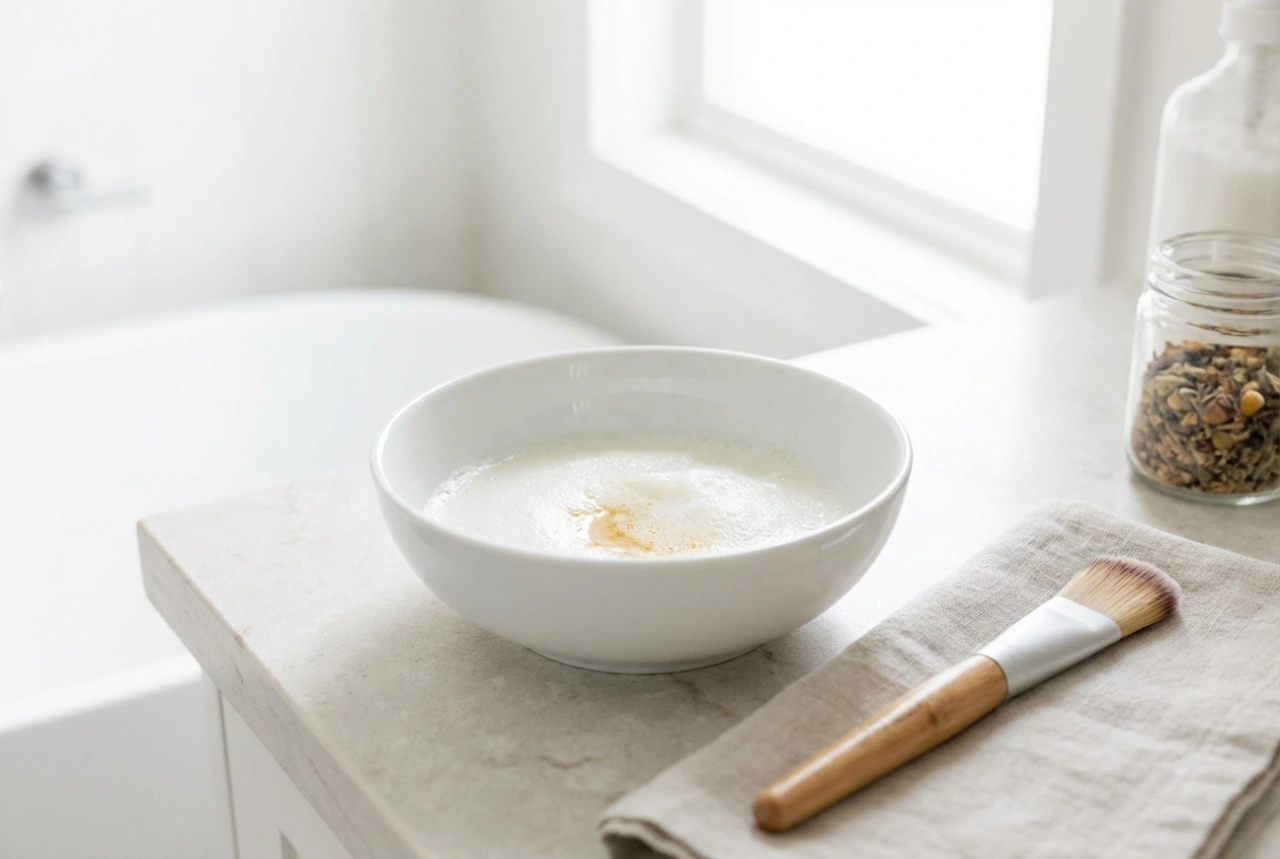
The Art of the Perfect Mix
Achieving the right consistency is the most important step in the process. A mixture that is too thin will be runny and difficult to apply, while one that is too thick will set before you can cover your entire face. Always refer to the instructions on your specific product, but the general technique remains the same.
Step-by-Step Mixing Guide
1. Measure the powder first and place it in your bowl. This prevents the powder from clumping at the bottom.
2. Measure the correct amount of cool water. Using cool water is important as warm water can cause the mask to set almost instantly.
3. Pour the water into the powder all at once. Do not add it gradually, as this encourages lumps to form.
4. Immediately begin mixing vigorously with your spatula. Use quick, circular and pressing motions against the side of the bowl to smooth out any lumps. You need to work fast – aim to have a smooth paste within 30-60 seconds.
The final consistency should be smooth, creamy, and similar to that of a thick pudding or cake batter. It should not drip from the spatula when held up.
Mastering Application and Removal
Once your mask is mixed, you must apply it without delay. The application should be swift but methodical for even coverage.
Applying the Mask
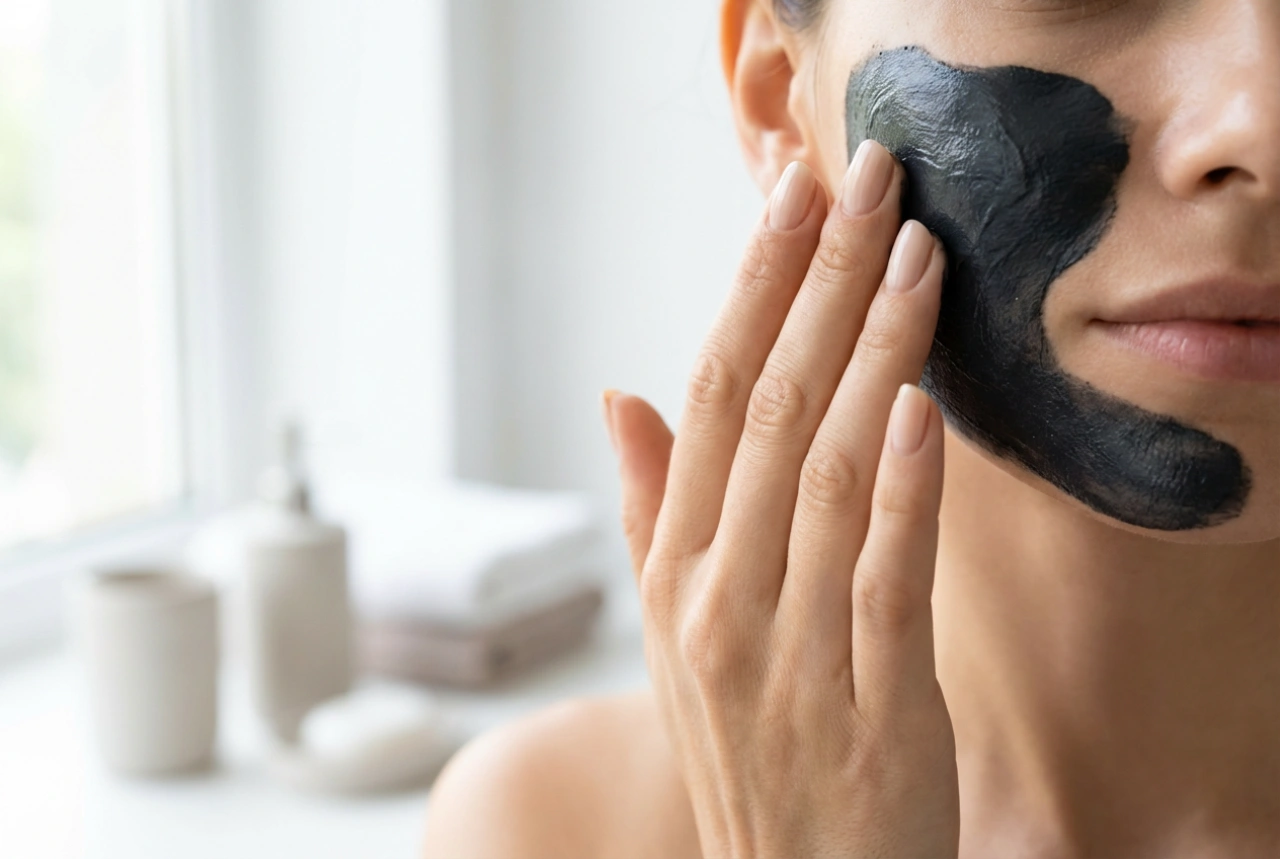
Using your spatula, scoop up a generous amount of the paste. Start applying the mask in a thick, even layer to the larger areas of your face, like your cheeks and forehead. Work from the centre outwards. Continue applying to the chin and nose. The layer should be at least a few millimetres thick; thicker edges in particular will make the removal process much easier. Avoid the immediate eye area and lips unless the mask is specifically formulated for these delicate zones.
The Setting Phase
Once applied, lie back and relax for about 15-20 minutes. You will feel a pleasant cooling sensation as the mask begins to set and solidify. It will transform from a paste into a firm, rubbery sheet. During this time, the mask works to hydrate, soothe, and deliver its active ingredients to your skin.
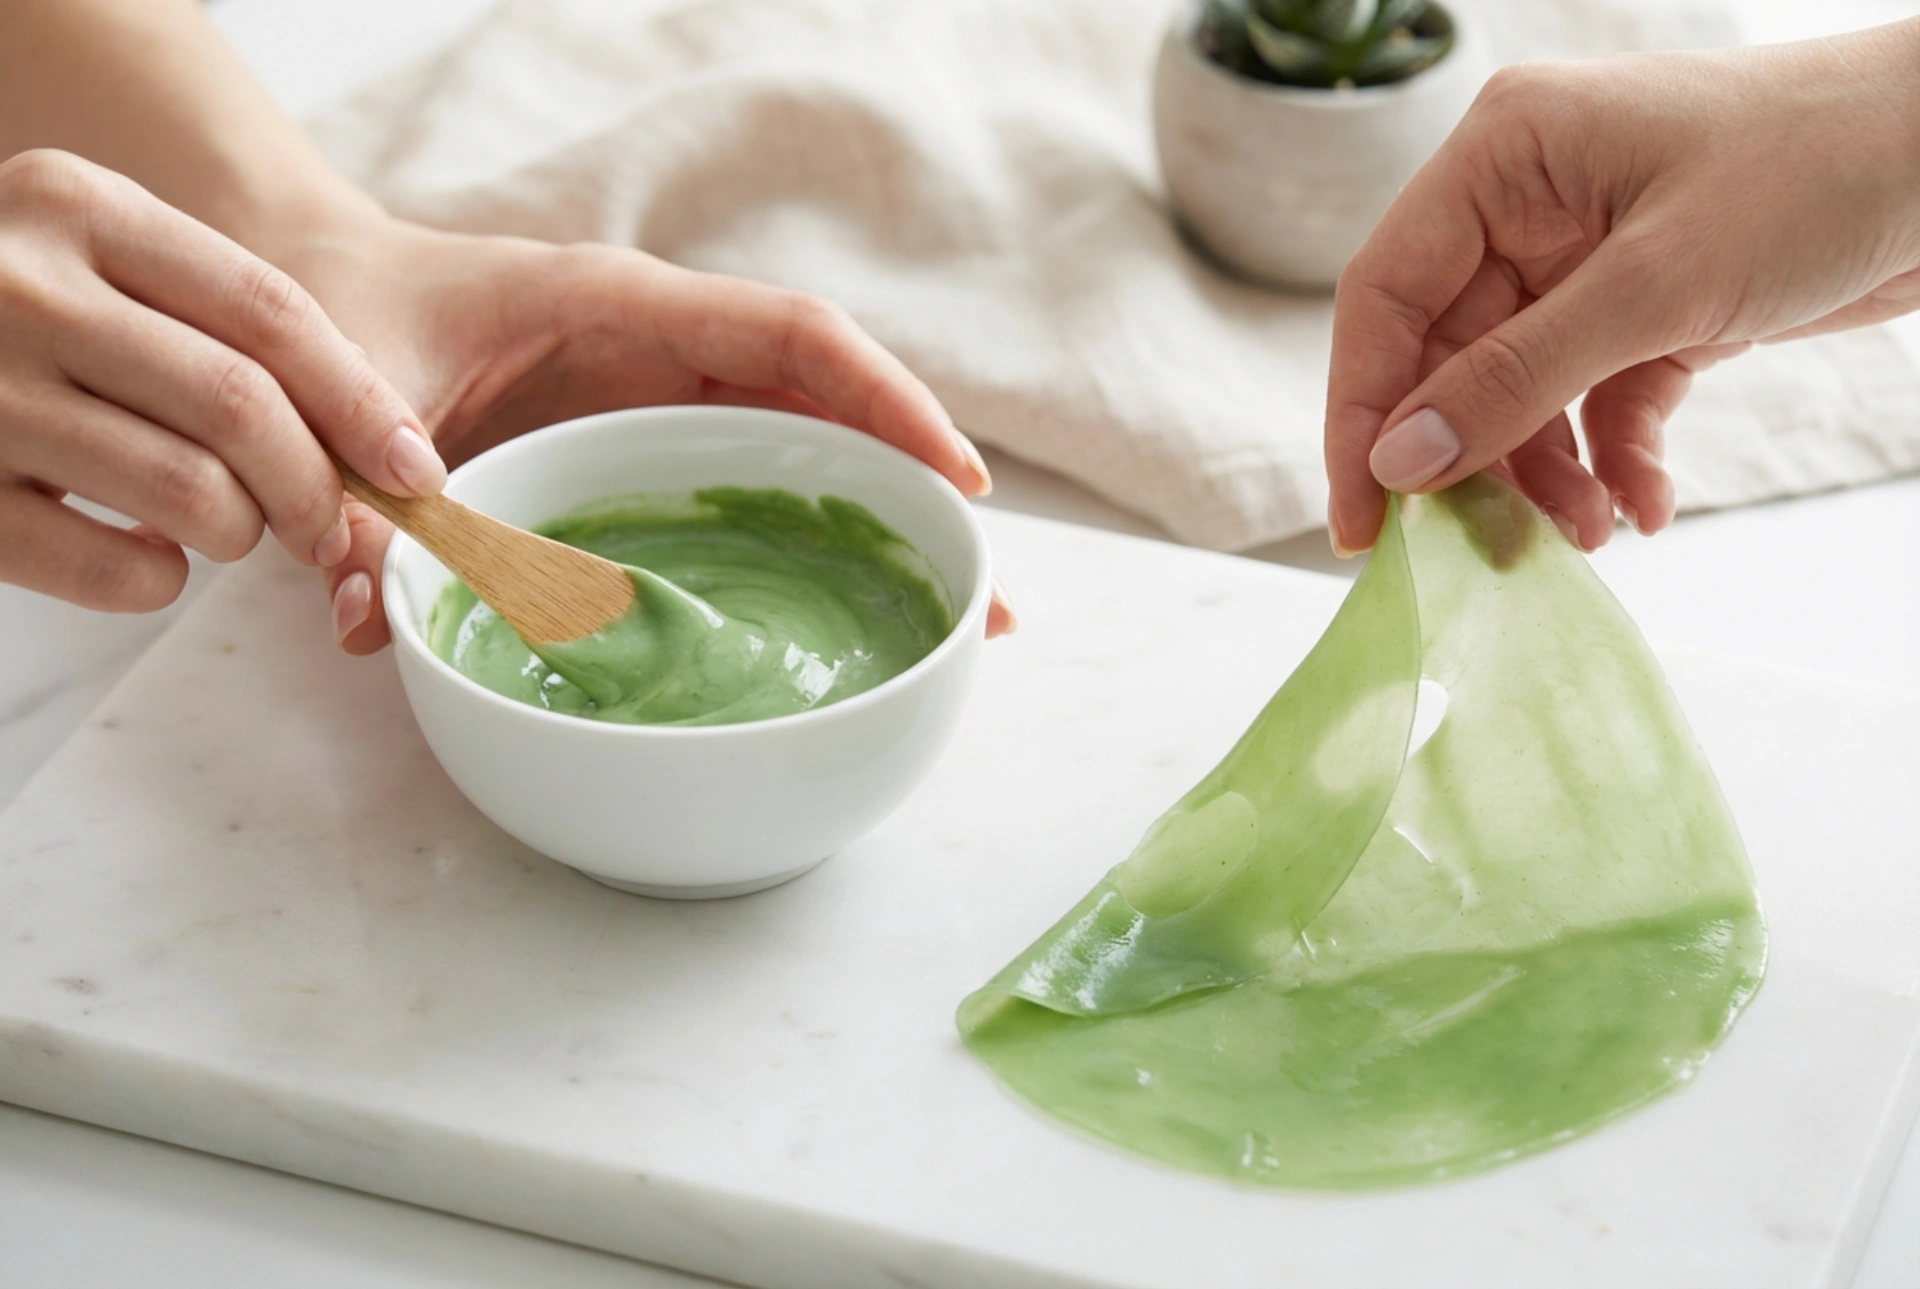
Effortless Peel-Off Removal
The most satisfying part is removing the mask. To remove it in one piece, start by gently wiggling your facial muscles to loosen the seal. Then, use your fingertips to carefully lift the edges of the mask, starting from your jawline or chin. Once you have a good grip, slowly and gently peel the mask upwards towards your forehead. A well-mixed and thickly applied mask should lift off cleanly in a single sheet, revealing calmer, plumper-looking skin underneath.
Post-Mask Aftercare
After removing the mask, your skin is perfectly prepped to absorb subsequent skincare products. There may be small bits of residue left along your hairline or eyebrows. Gently wipe these away with a cotton pad soaked in water or your favourite toner. Do not rinse your entire face with water, as this can wash away the beneficial ingredients left on the skin's surface. Complete your routine by applying a hydrating serum and a moisturiser to seal in all the goodness and prolong the mask's effects.