


Achieving a sleek, polished hairstyle at home often feels like trying to master a secret art. While we focus on techniques and styling products, one of the most effective tools is often built right into our hair dryers and frequently ignored: the cool shot button. This simple feature is a key player in transitioning your blow-dry from simply dry to professionally styled. Understanding when and how to use this blast of cold air can dramatically improve the longevity of your style and the health of your hair's appearance.
What Exactly Is the Cool Shot Button?
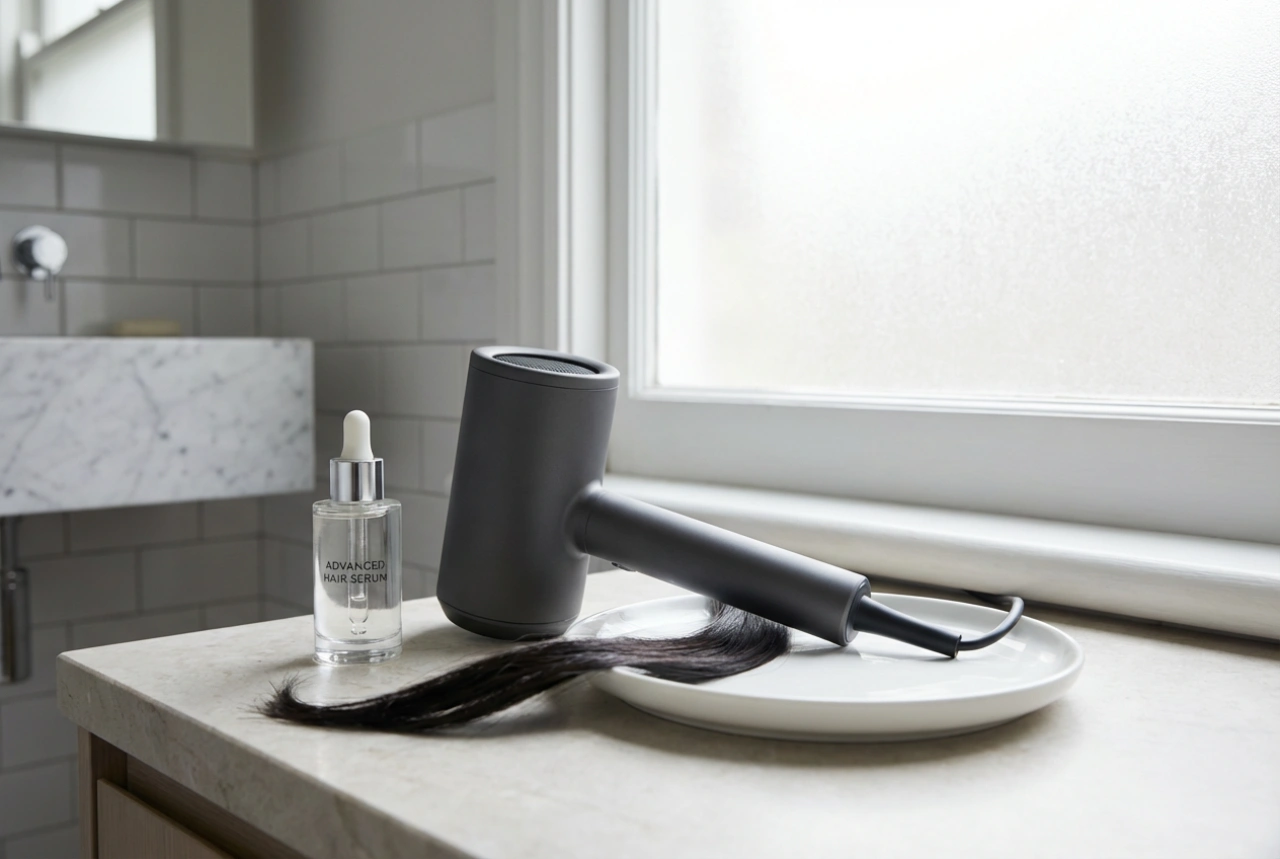
The cool shot, or cold shot, button is a standard feature on most modern hair dryers. When pressed, it instantly deactivates the heating element, allowing the dryer to blow room-temperature or cool air instead of hot air. Its primary function isn't to dry the hair—a common misconception—but rather to act as a finishing touch in the styling process. Think of it as the final, crucial step that locks all your hard work into place. While heat is necessary to mould and shape the hair strands, cold air is what sets that shape, ensuring it holds for hours.
The Key Benefits of Using Cold Air on Your Hair
Incorporating a blast of cool air into your drying routine offers several noticeable advantages that contribute to a more refined and durable hairstyle. It's a technique widely used by professional stylists for good reason.
Setting Your Style for Longevity
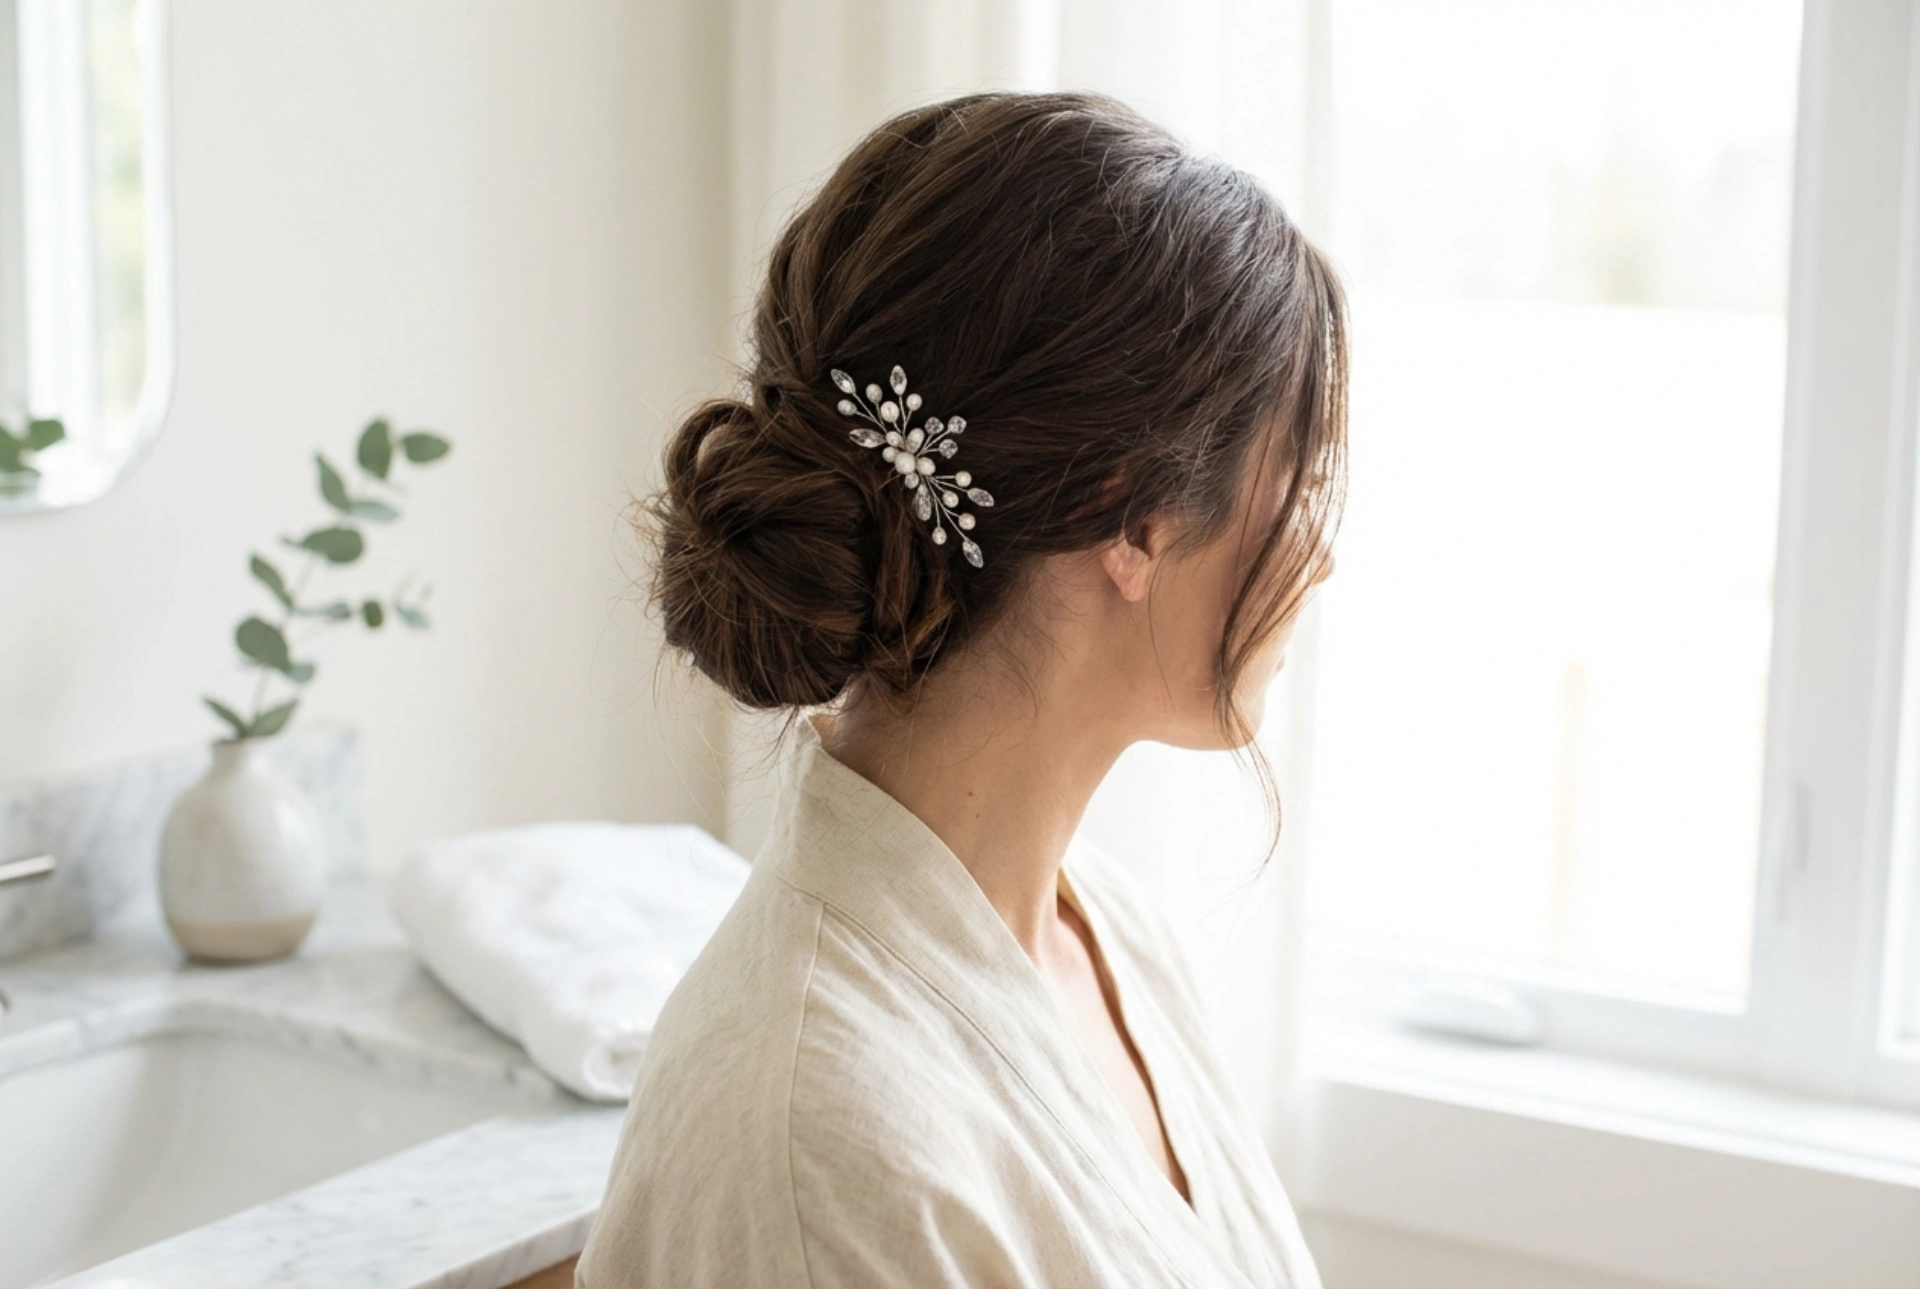
When you apply heat to your hair, you are making it pliable and easy to shape, whether you're creating curls, waves, or a straight, smooth finish. However, if the hair cools down on its own, it can gradually lose this shape. The cool shot rapidly cools the hair, 'freezing' the style in place. This process helps the hydrogen bonds within the hair shaft to reform in their new shape, making your hairstyle much more resistant to dropping or becoming frizzy throughout the day.
Boosting Shine and Smoothness
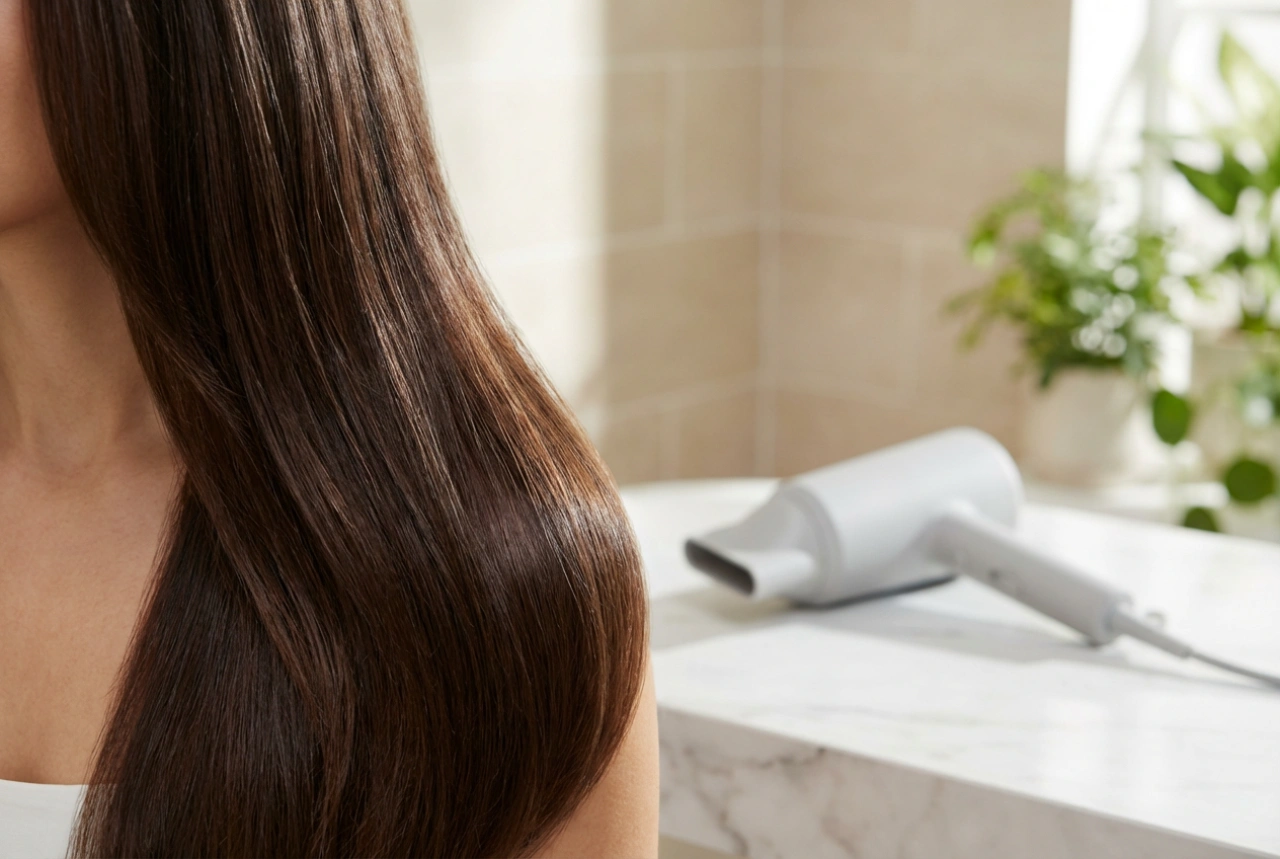
Heat styling causes the cuticles—the outermost protective layer of the hair shaft—to lift and open. While this is necessary for styling, open cuticles can give the hair a dull, rough appearance. A blast of cold air does the opposite: it encourages the cuticles to close and lie flat. A smooth, sealed cuticle surface reflects light more effectively, which is what gives hair that coveted glossy, healthy-looking shine. This also contributes to a smoother feel, as the individual strands are less likely to snag on each other.
Reducing Frizz and Flyaways
The same principle that boosts shine also helps to combat frizz. When hair cuticles are sealed and flat, there is less opportunity for moisture from the air to penetrate the hair shaft, which is a primary cause of frizz. The smooth surface also minimises static and flyaways, resulting in a sleeker, more controlled and polished final look.
A Step-by-Step Guide to Using the Cool Shot
Using the cool shot effectively is simple once you understand its purpose. It should be integrated as the final step for each section of hair you style.
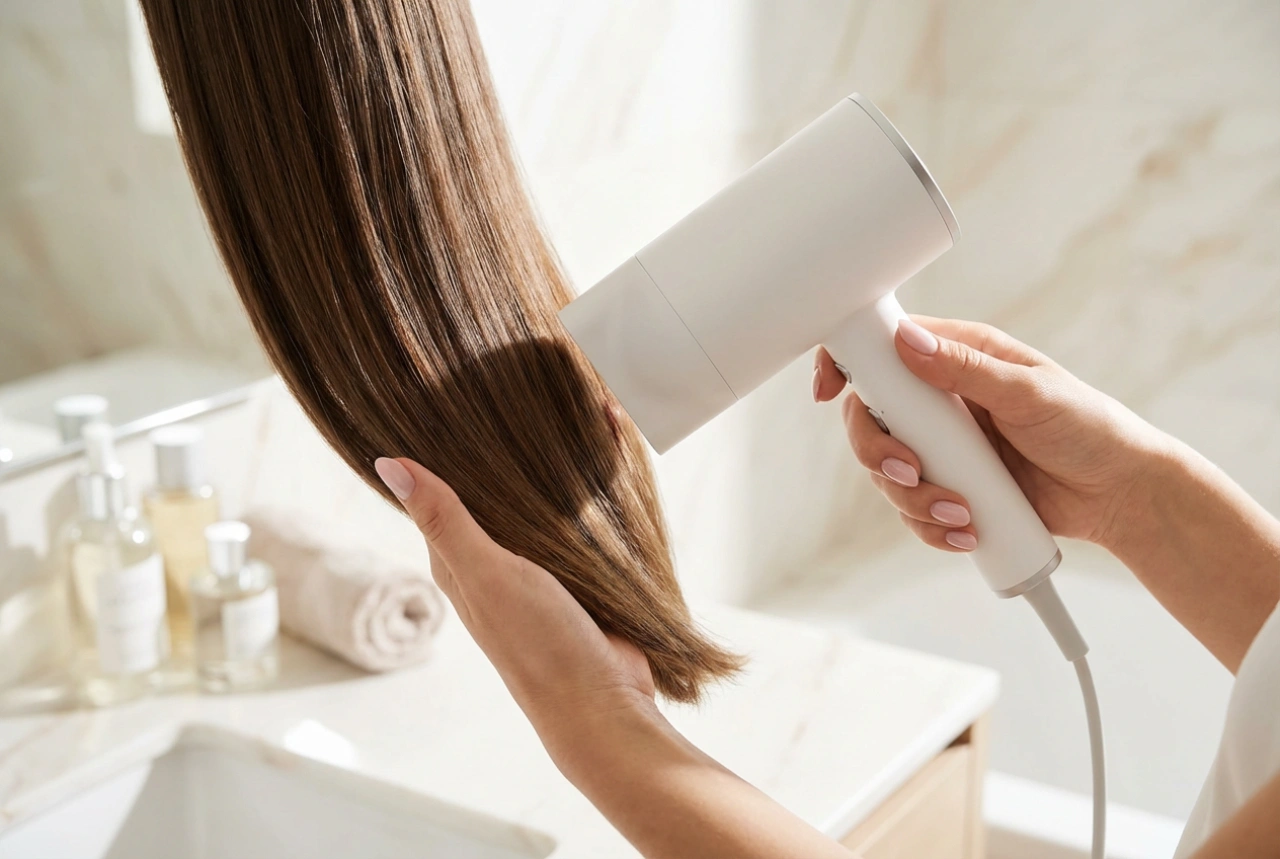
- Step 1: Dry Your Hair: Begin by blow-drying your hair with warm air until it is about 80-90% dry. The cool shot is a finishing tool, not a drying tool, so it's inefficient on wet hair.
- Step 2: Shape with Heat: Working section by section, use a brush (a round brush is great for volume and curves) to style your hair with the dryer's heat setting. For volume, direct heat at the roots; for smoothness, aim the airflow down the hair shaft.
- Step 3: Lock it in with Cold: Once a section is shaped and still warm from the dryer, hold the style in place with your brush and press the cool shot button. Direct the cold air onto that section for about 10-15 seconds. You should feel the hair cool down.
- Step 4: Release and Repeat: Gently release the cooled section from the brush. You will notice it holds its shape much better. Continue this process for all sections of your hair.
- Step 5: Final Finish: After all sections are styled, you can give your entire head a final, quick blast of cool air to seal everything in and add an extra layer of shine.
Common Mistakes to Avoid
To get the most out of your hair dryer's cool shot function, be mindful of these common errors:
- Using It Too Early: Applying cold air to wet or very damp hair will only prolong your drying time. It should only be used on hair that is already warm and shaped.
- Not Holding It Long Enough: A quick one-second press isn't enough to cool the hair shaft. Hold the button for at least 10 seconds per section to ensure the style is properly set.
- Skipping the Heat First: Cold air sets a style; it doesn't create it. You must use heat to make the hair malleable before you can lock in a shape with cold air.
- Forgetting About It Completely: The biggest mistake is not using it at all. By skipping this step, you're missing out on a longer-lasting style, enhanced shine, and reduced frizz.
That small, often-blue button on your hair dryer is more than just a gimmick. It is a powerful styling feature that plays a critical role in achieving and maintaining a beautiful, salon-quality finish. By integrating the cool shot into your blow-drying routine, you can lock in your look, boost your hair's natural shine, and keep frizz at bay with minimal extra effort.