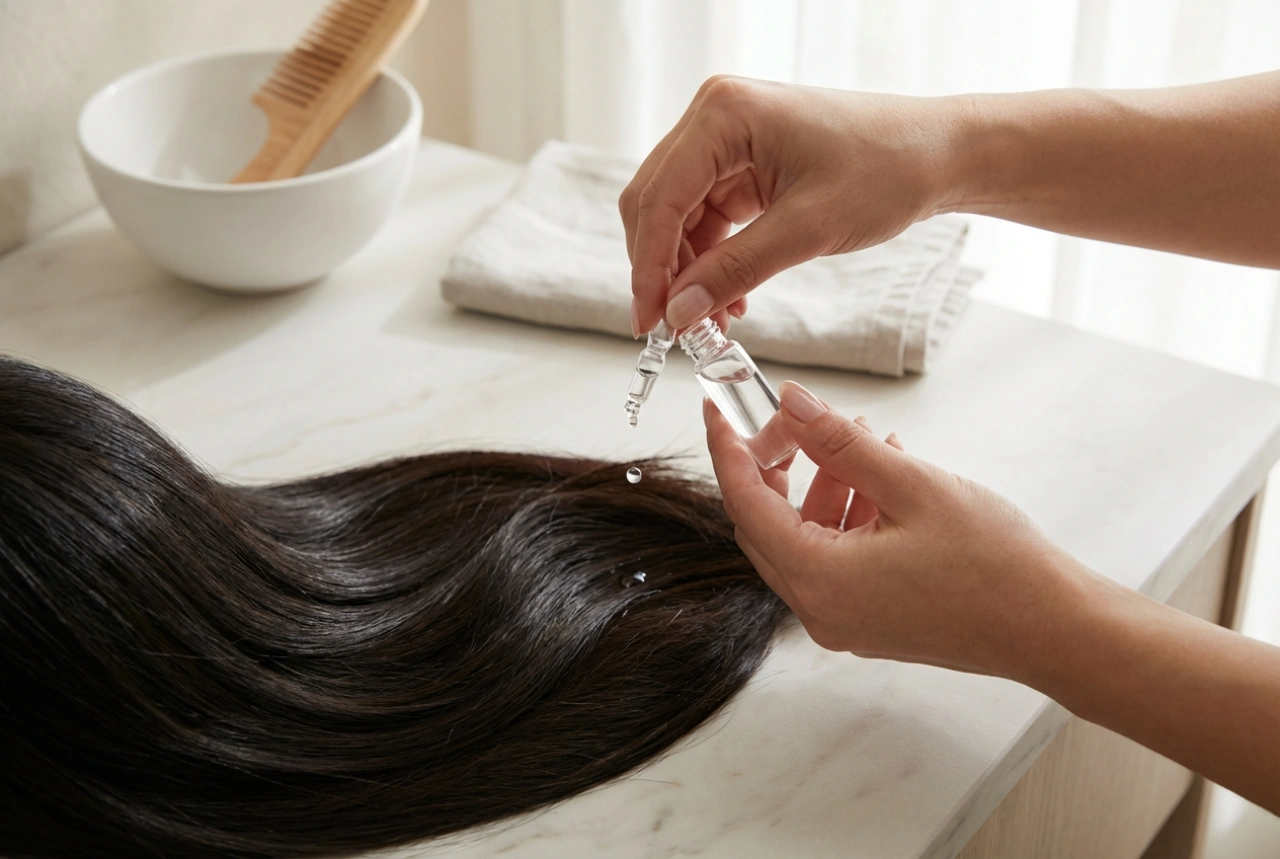


Incorporating a hair mask into your beauty routine is a wonderful way to provide deep nourishment and restore vitality to your strands. To get the most out of your homemade treatment, it's not just about the ingredients you choose, but also about the method of application. A proper technique ensures that every strand receives the full benefits of the mask, turning a simple at-home ritual into an effective beautifying treatment. Let's explore the step-by-step process for correctly applying a hair mask for optimal results.
Step 1: Preparing Your Hair
Proper preparation is the foundation for an effective hair mask treatment. Starting with a clean base allows the nourishing ingredients to penetrate the hair shaft more effectively. Follow these initial steps before you even think about applying the mask.
- Wash Your Hair: Begin by washing your hair with a gentle, clarifying shampoo. This will remove any product build-up, excess oil, and impurities from the scalp and strands. A clean surface ensures the mask can work its magic without any barriers.
- Towel-Dry Gently: After washing, gently squeeze out the excess water from your hair. Then, pat it dry with a soft towel or an old cotton t-shirt. The goal is to have damp, not soaking wet, hair. If hair is too wet, the mask can become diluted and slide off without being properly absorbed.
- Detangle with Care: Use a wide-tooth comb to gently detangle your hair. Start from the ends and work your way up to the roots to minimise breakage. This step ensures the mask can be distributed evenly without causing further tangles or knots.
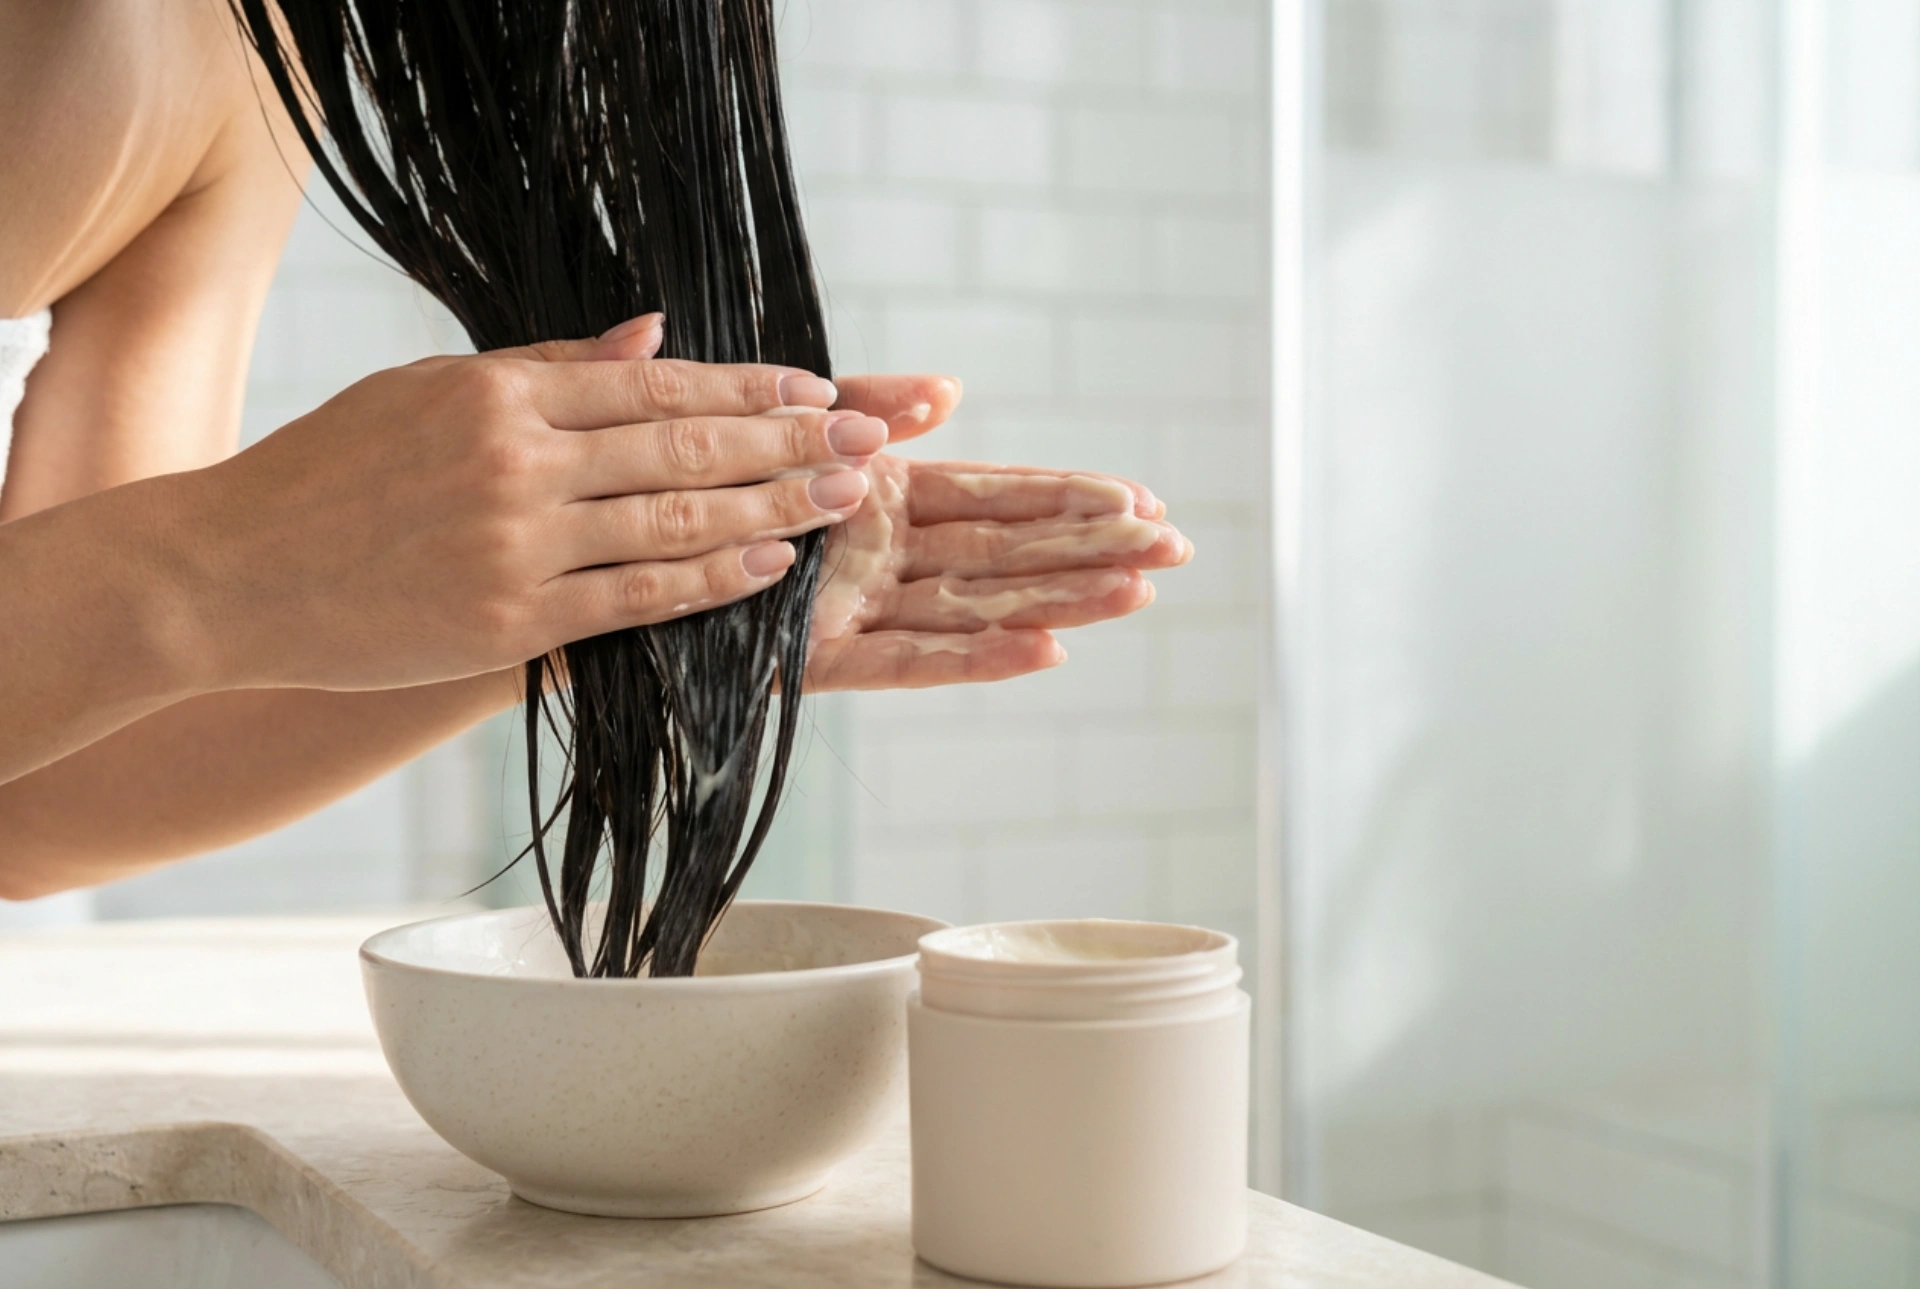
Step 2: The Art of Application
Once your hair is prepped, it's time to apply the mask. An even and thorough application is crucial for ensuring all parts of your hair receive the intended nourishment. Rushing this step can lead to patchy results, with some sections feeling soft and others remaining untouched.
- Section Your Hair: For more manageable application, especially if you have thick or long hair, divide it into four or more sections. Use clips to hold the sections apart. This will help you apply the mask evenly and ensure you don't miss any spots.
- Focus on Mids and Ends: Start applying the mask from the mid-lengths down to the ends. These areas are typically the oldest and most damaged parts of your hair and require the most attention. Use your fingertips to work the product into the strands.
- Apply to the Scalp (If Appropriate): Whether you apply the mask to your scalp depends on its ingredients and your hair's needs. If you have a dry scalp or the mask is designed for scalp health, gently massage a small amount onto your scalp. If you have an oily scalp, it's best to avoid this area to prevent weighing your hair down.
- Distribute Evenly: Once the mask is applied, use your wide-tooth comb again to gently comb it through your hair. This ensures every strand is coated, from root (if applicable) to tip.
Step 3: Let It Penetrate
After application, the key is to give the mask enough time to penetrate the hair cuticle and deliver its nutrients. This waiting period is when the restorative process happens.
- Cover Your Hair: To enhance the mask's effectiveness, gather your hair on top of your head and cover it with a shower cap or plastic wrap. This traps heat, which gently opens up the hair cuticles, allowing for deeper penetration of the ingredients. You can also wrap a warm, damp towel around the shower cap for an enhanced effect.
- Wait Patiently: Most homemade hair masks require between 20 to 30 minutes to work effectively. Refer to the specific recipe you are using, but this timeframe is a good general guideline. Use this time to relax and enjoy your pampering session.
Step 4: Rinsing and Final Touches
Rinsing the mask out correctly is just as important as applying it. Leaving residue behind can weigh your hair down and make it look greasy or dull.
- Rinse Thoroughly with Lukewarm Water: Step back into the shower and rinse the mask out completely using lukewarm water. Keep rinsing until your hair feels clean and there is no slippery residue left.
- Finish with a Cool Rinse: For an extra boost of shine, finish with a quick rinse of cool water. This helps to seal the hair cuticles, locking in the moisture and nutrients from the mask, which results in smoother, shinier hair.
- Conditioner is Optional: After a deep-conditioning mask, you typically do not need to use a regular conditioner. However, if your hair still feels a bit tangled, you can apply a small amount of conditioner to the ends to help with detangling before the final rinse.
- Dry Gently: After rinsing, gently squeeze out excess water and pat your hair dry with a soft towel. Avoid vigorous rubbing, which can cause friction and damage. Let your hair air-dry if possible to minimise heat exposure.