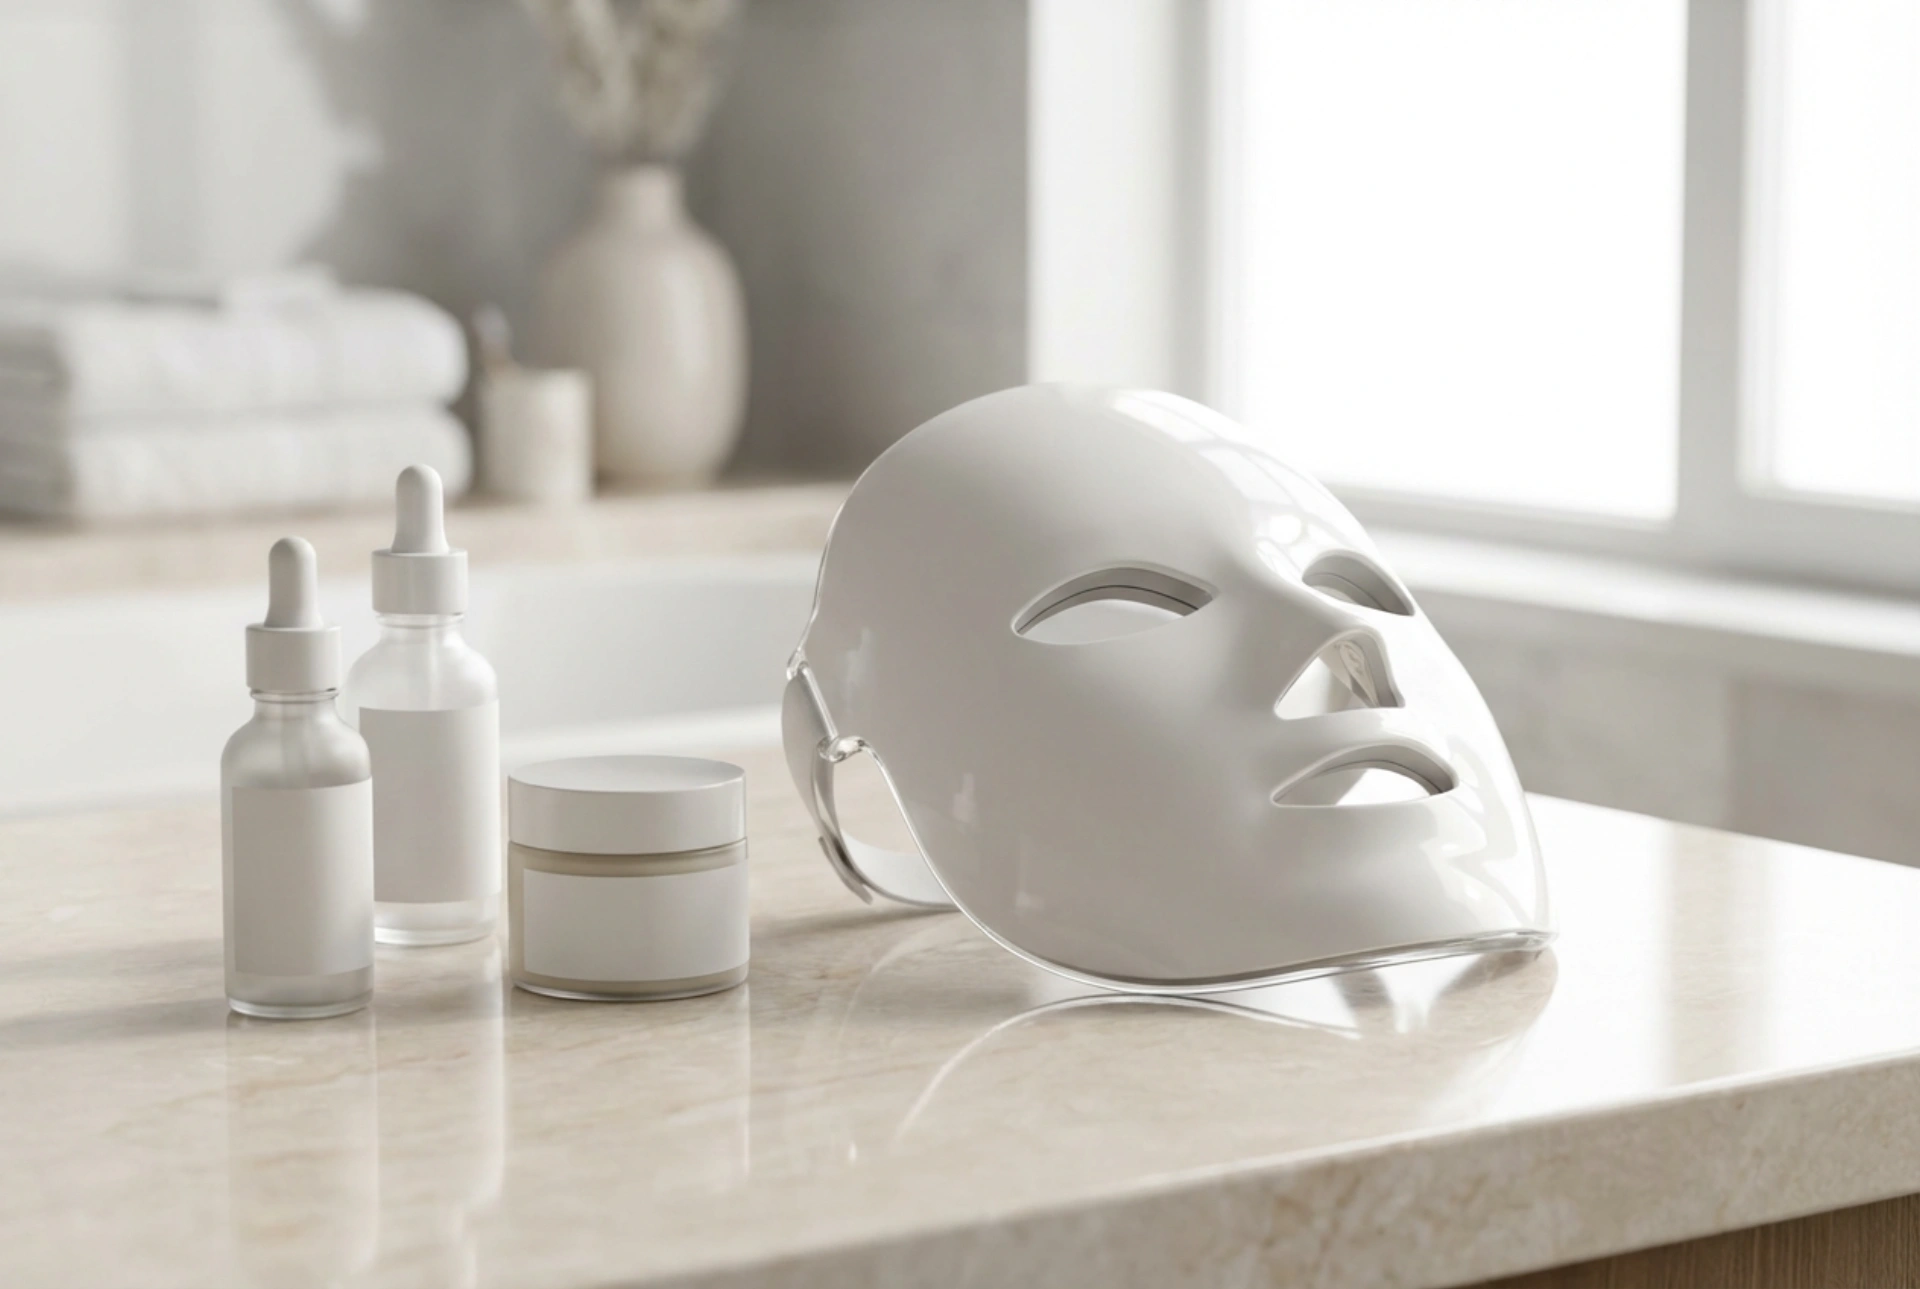


LED light therapy has become a popular feature in modern at-home beauty rituals, offering a way to enhance your regular skincare routine. Using a device like an LED mask can feel like a futuristic step, but achieving the best results depends on a simple, consistent process. Proper preparation, correct usage, and thoughtful aftercare are key to integrating this technology into your quest for radiant skin. This guide will walk you through the essential steps to make the most of your LED mask sessions.
Preparing Your Skin for an LED Mask Session
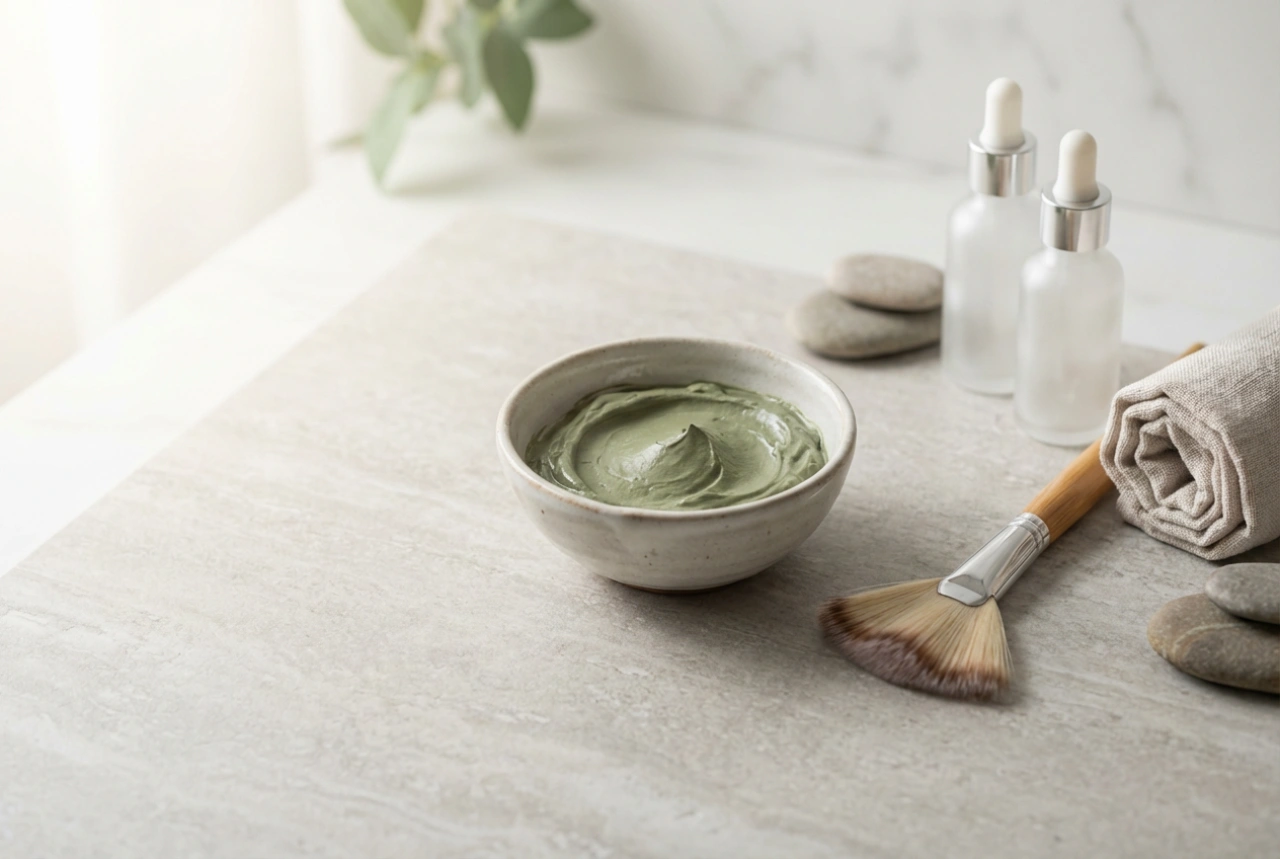
For the light from your LED mask to penetrate the skin effectively, it needs a clean, clear surface. Any barrier, such as makeup, dirt, or excess oil, can block the light and reduce the effectiveness of your session. A thorough preparation routine is therefore the first and most crucial step.
Step 1: Thorough Cleansing
Begin by washing your face with a gentle cleanser suited to your skin type. Massage it into your skin to dissolve all traces of makeup, sunscreen, and daily grime. Rinse thoroughly with lukewarm water and pat your skin dry with a soft towel. Avoid using oil-based cleansers right before a session, as any oily residue could interfere with the light. The goal is to have completely clean, dry skin.
Step 2: To Tone or Not to Tone
After cleansing, you can apply a simple, hydrating, alcohol-free toner. A toner can help to remove any last traces of impurities and balance your skin’s pH level. However, ensure the toner is fully absorbed before you begin your LED session. It's best to avoid toners with active exfoliating acids or astringent properties immediately before using the mask, as this can increase sensitivity.
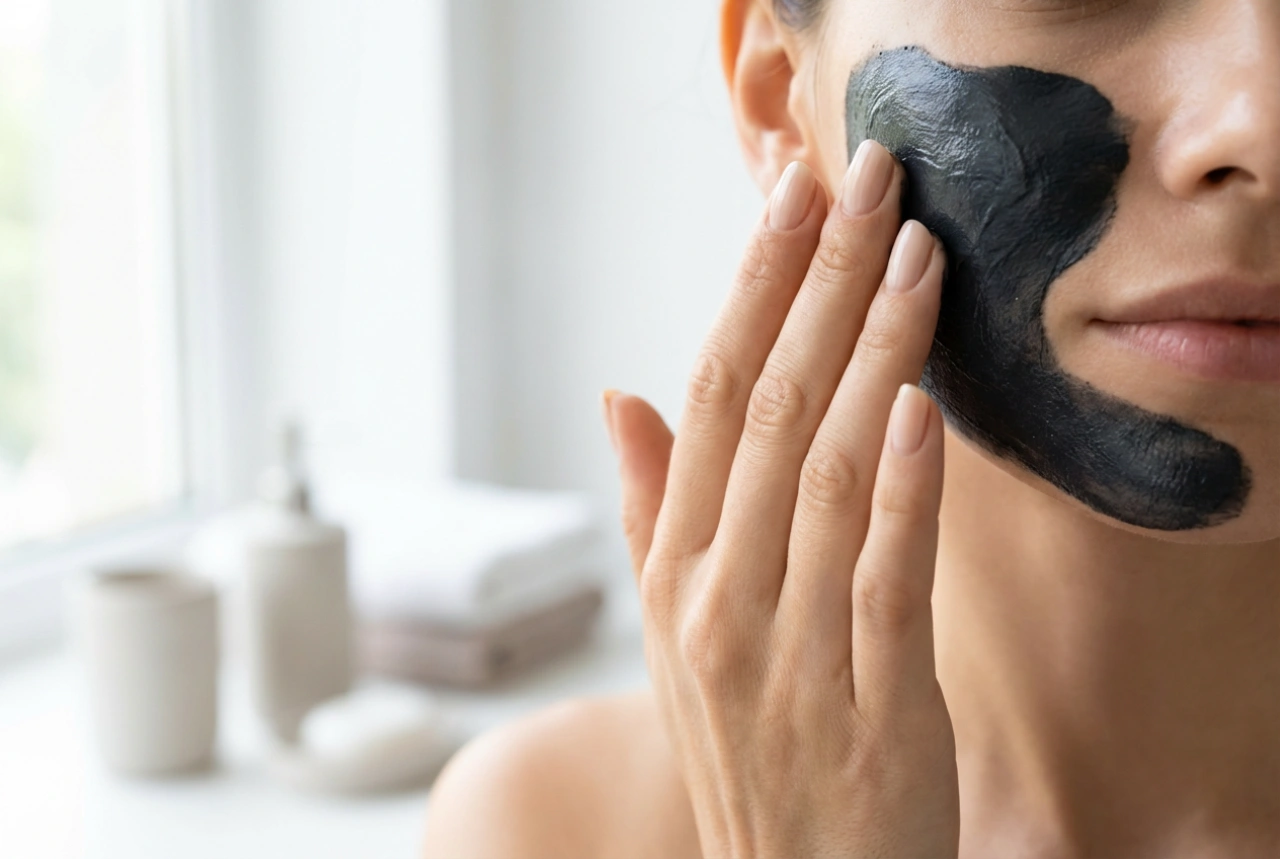
Step 3: Hold the Serums and Creams
While it might seem logical to apply a serum beforehand, most experts and manufacturers recommend using an LED mask on bare skin. Some product ingredients could potentially block the light waves or, in rare cases, react negatively with the light. It's safer and generally more effective to apply your potent serums and rich moisturisers after the treatment, when your skin is perfectly prepped for absorption.
How to Use the LED Mask: Session Duration and Frequency
Once your skin is prepared, you're ready for the light session. The key to success with LED therapy is consistency, not intensity. Adhering to the recommended guidelines will help you achieve results safely.
Session Duration
Always refer to the manufacturer's instructions for your specific device, as timings can vary. Generally, a typical session lasts between 10 and 20 minutes. If you are new to LED therapy, it's wise to start with shorter sessions, perhaps 10 minutes, to see how your skin responds. Overexposing your skin won't speed up results and could lead to sensitivity.
Frequency of Use
For most at-home devices, a frequency of 3 to 5 times per week is recommended. Consistency is more important than the length of each individual session. Using the mask regularly as part of your weekly routine will yield better long-term results than sporadic, longer sessions. Create a schedule that fits your lifestyle to ensure you can stick with it.
Understanding Light Colours
Many masks offer different colours of light, each associated with different visual skin benefits.
- Red Light: Often used to help improve the appearance of skin texture and promote a more youthful, plump look. It's a popular choice for general rejuvenation.
- Blue Light: Commonly used to help manage surface oiliness and clarify the appearance of the skin, making it a good option for those with congested or blemish-prone skin types.
- Amber/Yellow Light: This wavelength is often associated with soothing the look of redness and sensitivity.
Some masks allow you to cycle through colours or use a combination to address multiple concerns at once.
Post-Session Skincare: Maximising the Benefits
What you do after your LED session is just as important as the preparation. Your skin is now highly receptive to topical products, making this the perfect time to apply nourishing and hydrating ingredients.
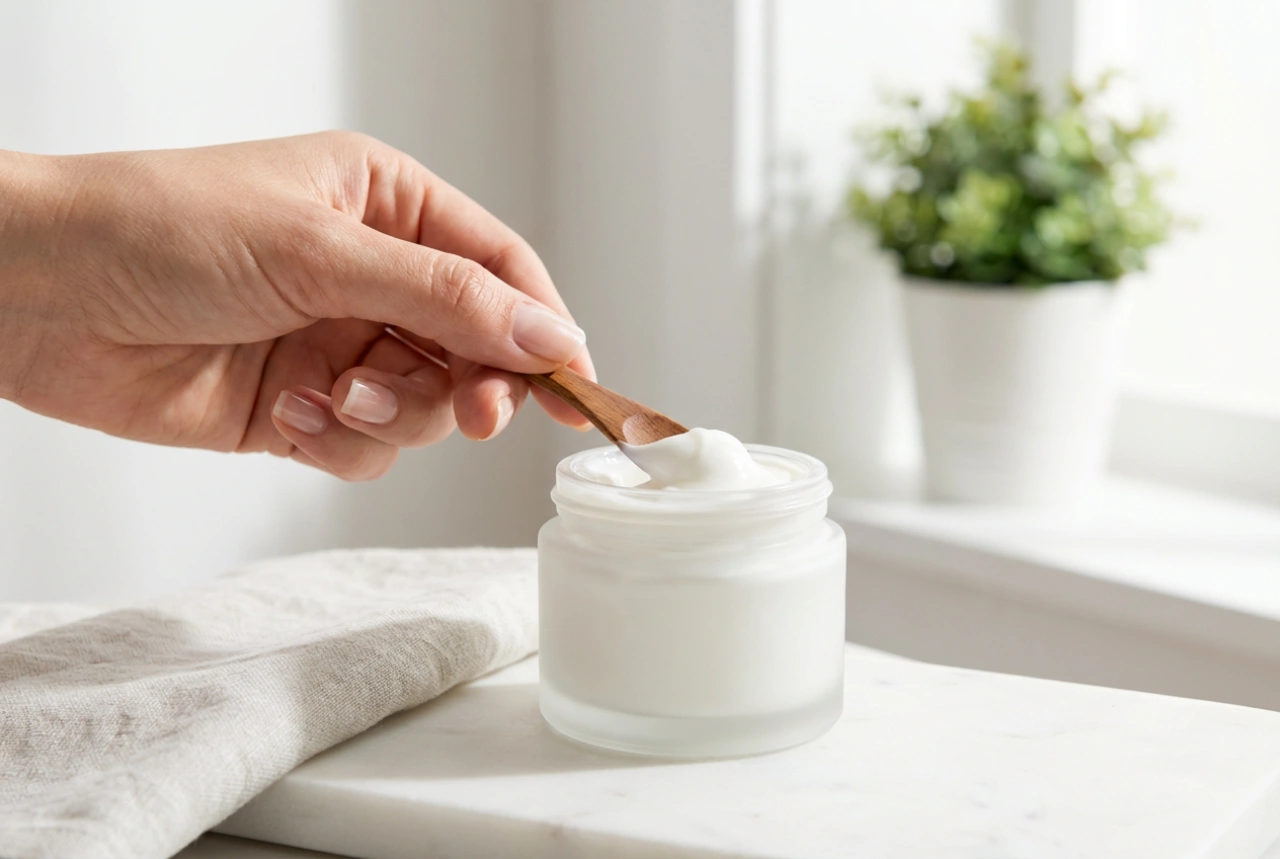
Step 1: Apply a Hydrating Serum
Immediately after removing the mask, apply a hydrating serum. Look for ingredients like hyaluronic acid, which draws moisture into the skin, or glycerin. These will help to plump and hydrate the skin, leaving it looking refreshed and dewy. Gently pat the serum into your face and neck.
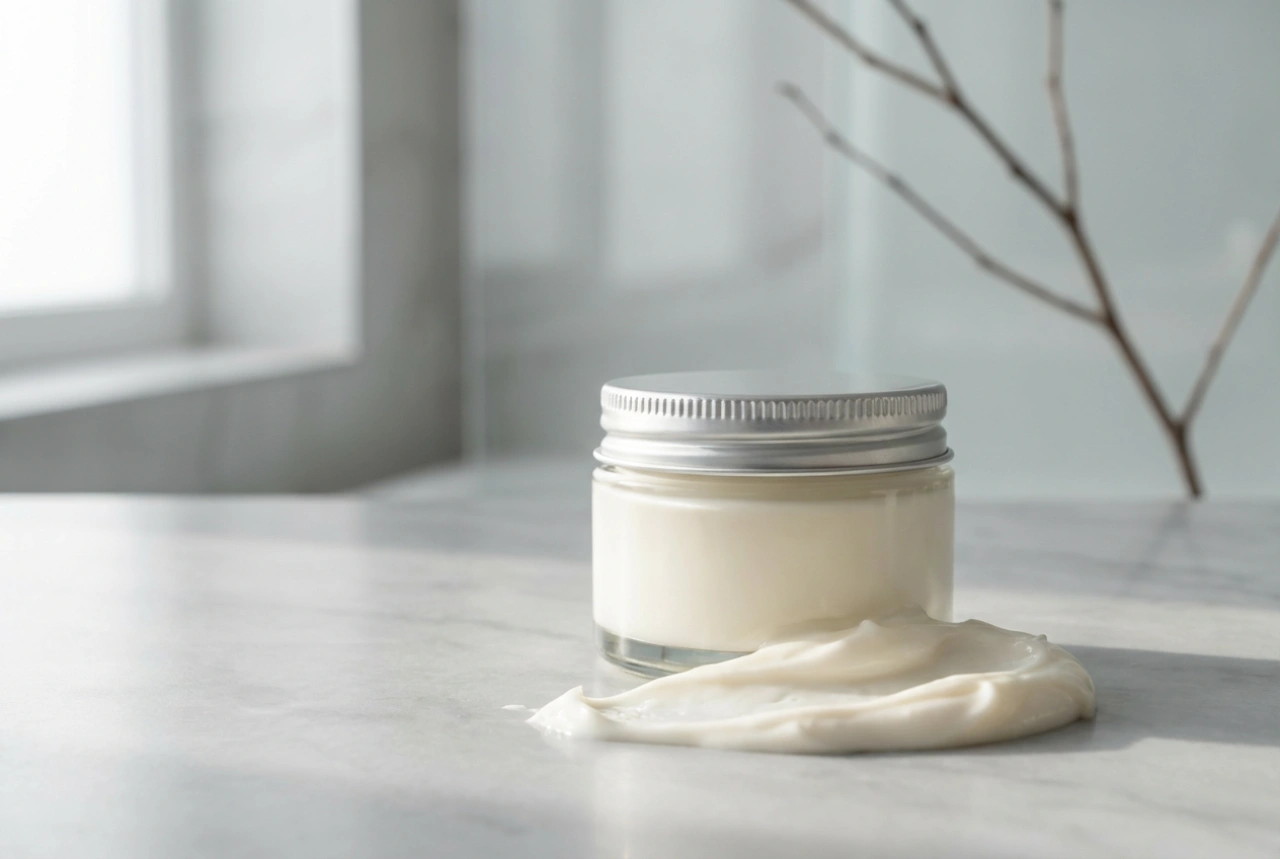
Step 2: Lock It In with a Moisturiser
Follow up with your favourite moisturiser to seal in the serum and provide a protective barrier for your skin. Choose a product suited to your skin type—whether it's a lightweight lotion or a richer cream. This step ensures your skin remains hydrated and soft.
Step 3: Don't Forget Sunscreen (in the Morning)
If you conduct your LED session in the morning, the final and most critical step is to apply a broad-spectrum sunscreen with an SPF of 30 or higher. LED therapy doesn't typically increase photosensitivity in the same way as some other treatments, but daily sun protection is a non-negotiable rule for maintaining skin health and preventing future damage.