


A 2-in-1 hair styler that combines a straightener and a curling tong is a true game-changer in any beauty collection. It offers incredible versatility, saving both space in your drawer and time during your morning routine. Whether you desire a flawlessly sleek, straight look or prefer soft, tumbling waves, a single device can help you achieve both. Mastering its dual functionality is simpler than it seems. This guide will walk you through the process step-by-step, ensuring you can confidently switch between styles while keeping your hair looking its best.
Preparing Your Hair for Heat Styling
Proper preparation is the key to achieving a beautiful, long-lasting style and, most importantly, protecting your hair from potential heat damage. Rushing this stage can lead to uneven results and compromise hair health. Before you even plug in your styler, follow these essential preparatory steps.
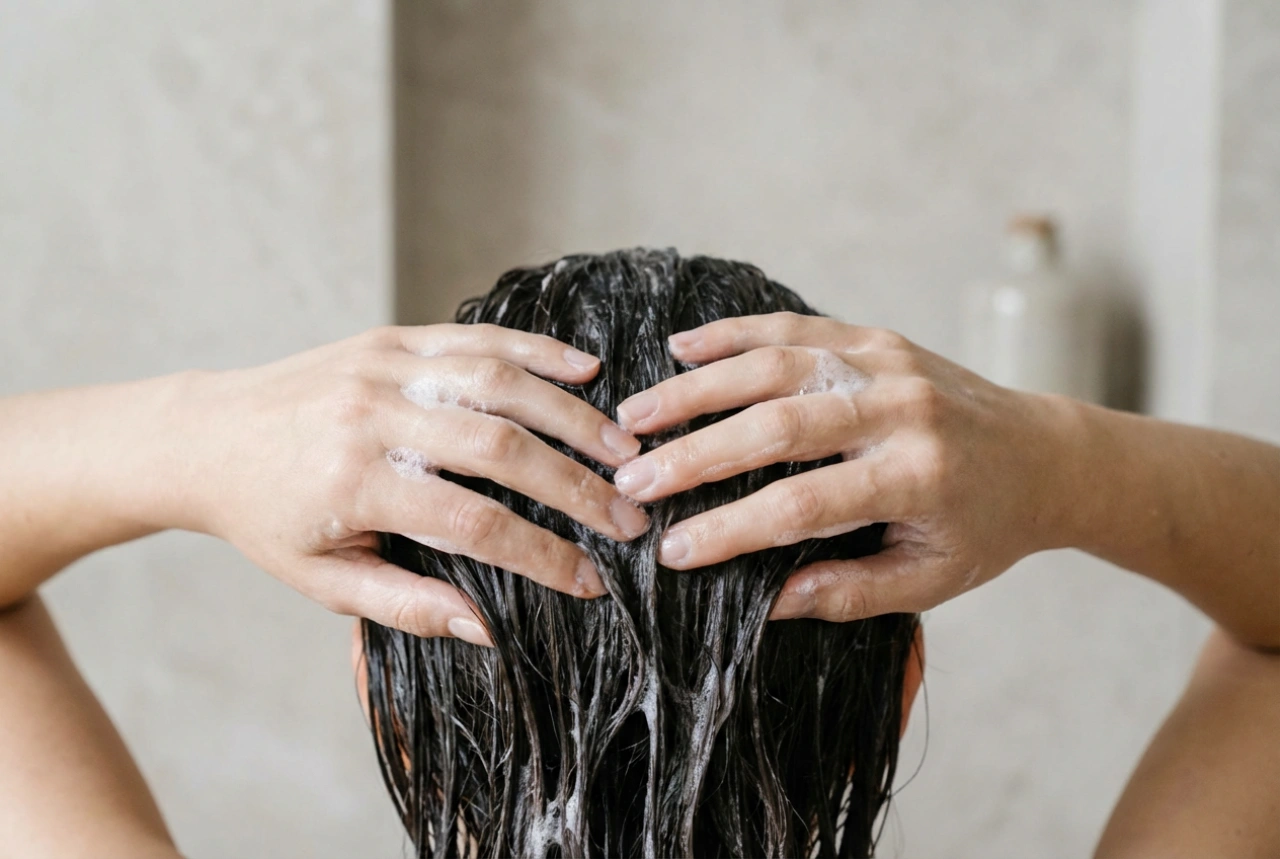
Start with Clean, Completely Dry Hair
Never use a heat styling tool on wet or even slightly damp hair. Styling damp hair with high heat can cause the water within the hair shaft to boil, leading to severe damage. For best results, wash and condition your hair, then blow-dry it thoroughly. If you are not washing your hair on the day of styling, ensure it is free from any heavy product build-up and is completely dry to the touch.
Apply a Heat Protectant
This is a non-negotiable step in any heat styling routine. A good quality heat protectant spray or serum creates a protective barrier between your hair and the hot plates of the styler. This barrier helps to minimise moisture loss and shield the hair cuticle from damage. Distribute the product evenly from roots to ends, combing it through to ensure every strand is coated.
Section Your Hair for Control
Styling your hair in one large mass is inefficient and leads to an uneven finish. To ensure every strand gets the attention it deserves, divide your hair into manageable sections. Use clips to secure the parts you are not working on. A common method is to create four main sections: two at the front and two at the back. You can then work with smaller sub-sections (about 1-2 inches wide) from each larger part. This gives you greater control and ensures a more uniform result.
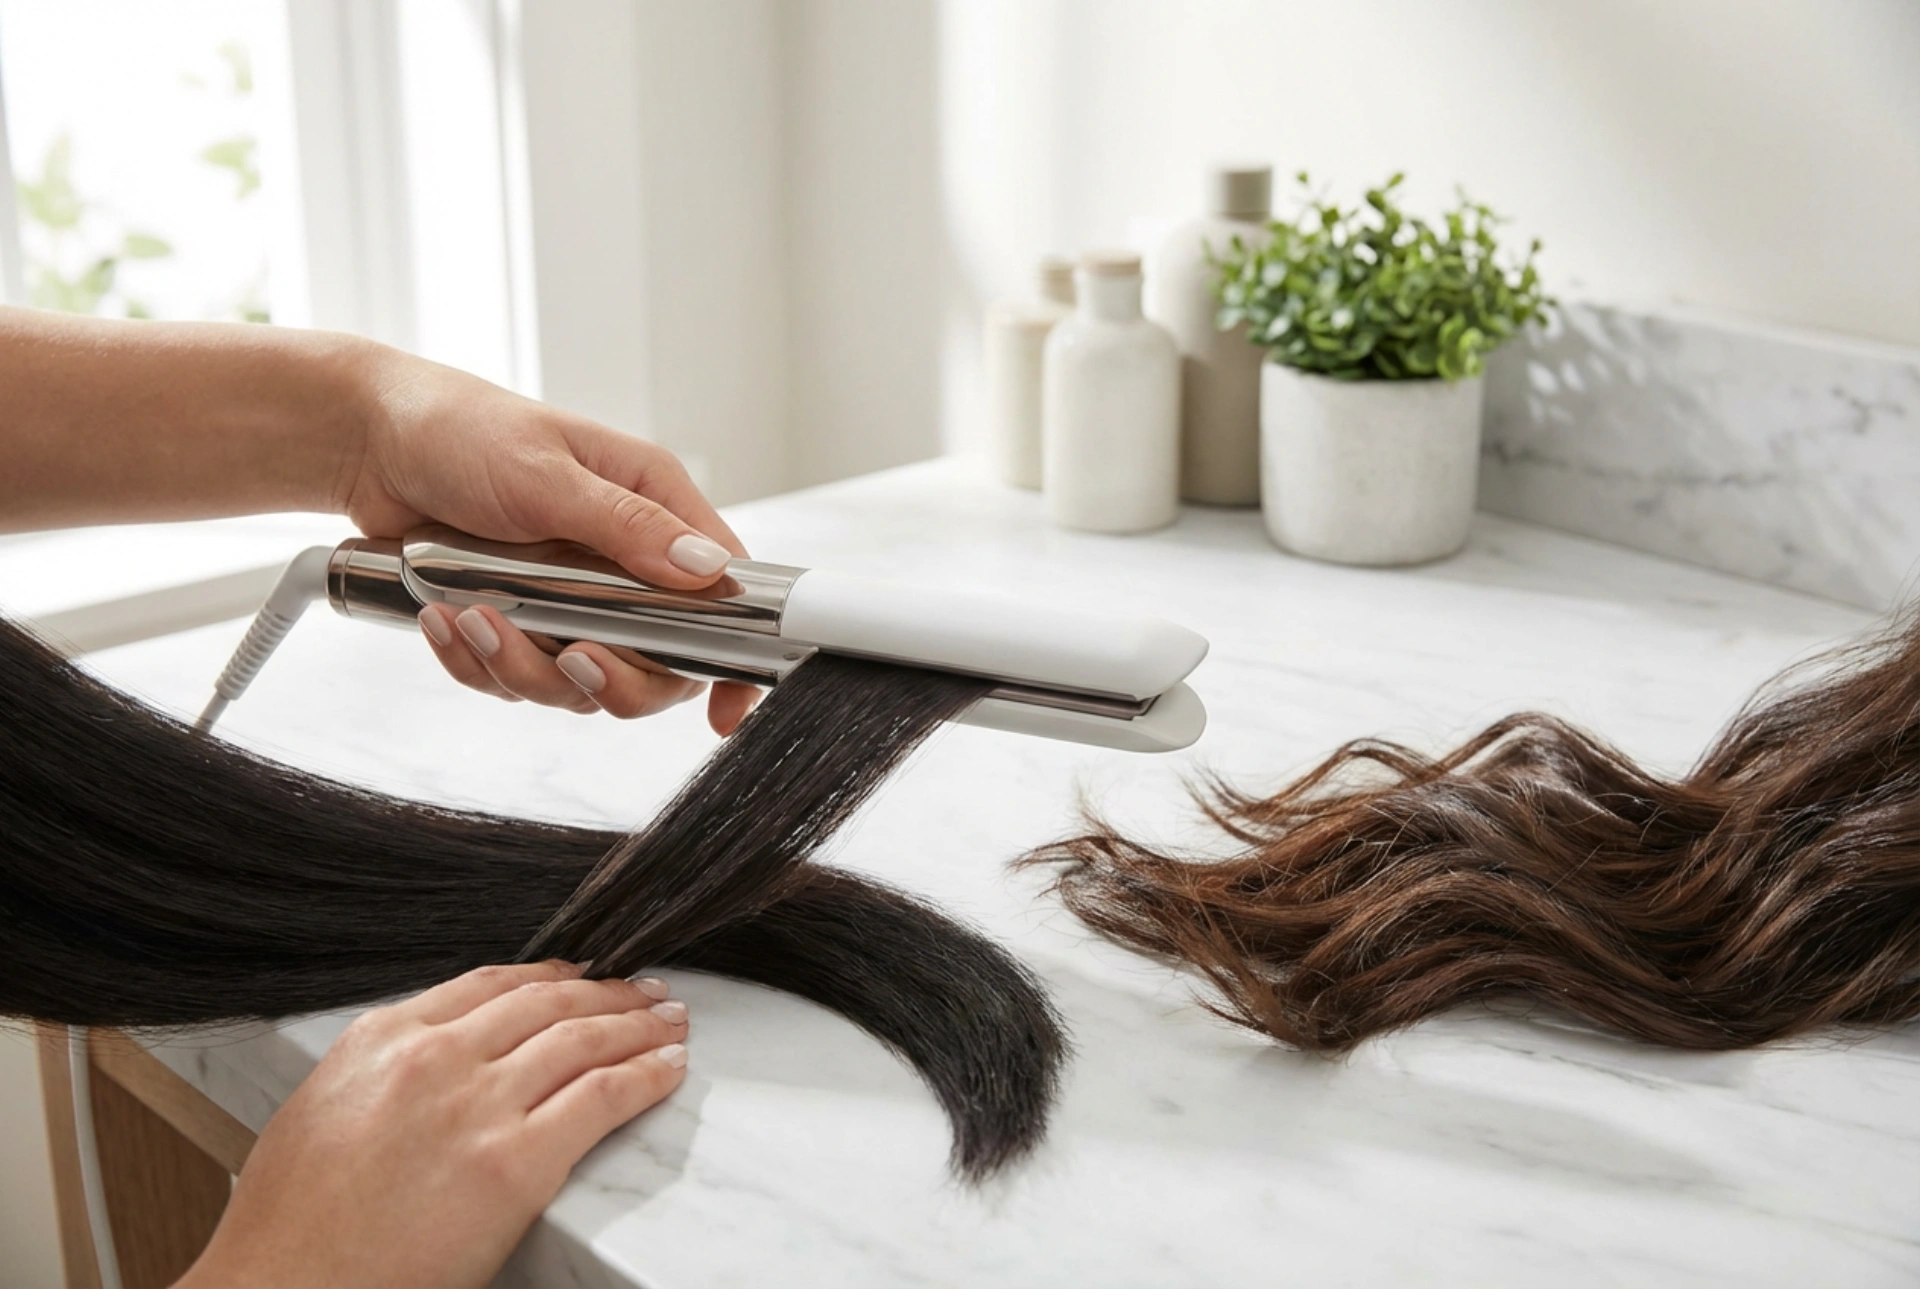
How to Achieve a Flawlessly Straight Look
Creating a sleek, polished style is the primary function of the straightening feature. With the right technique, you can achieve a smooth, glossy finish that looks professionally done.
- Select the Right Temperature: Begin with a lower heat setting, especially if you have fine or colour-treated hair. You can increase the temperature if necessary, but it's always best to use the minimum heat required to style your hair effectively.
- Work with Small Sections: Take a section of hair about 1-2 inches wide. A smaller section allows the heat to be distributed more evenly for a straighter result in a single pass.
- Begin at the Roots: Clamp the straightener plates gently but firmly around the section of hair, close to the roots but not touching the scalp.
- Glide Downwards Smoothly: Pull the styler down the length of the hair shaft in one continuous, steady motion. Avoid stopping midway, as this can create kinks. The speed of your glide will determine the result; a slower pass provides a straighter finish.
- Repeat for All Sections: Continue this process, working methodically through each section until all of your hair is straight.
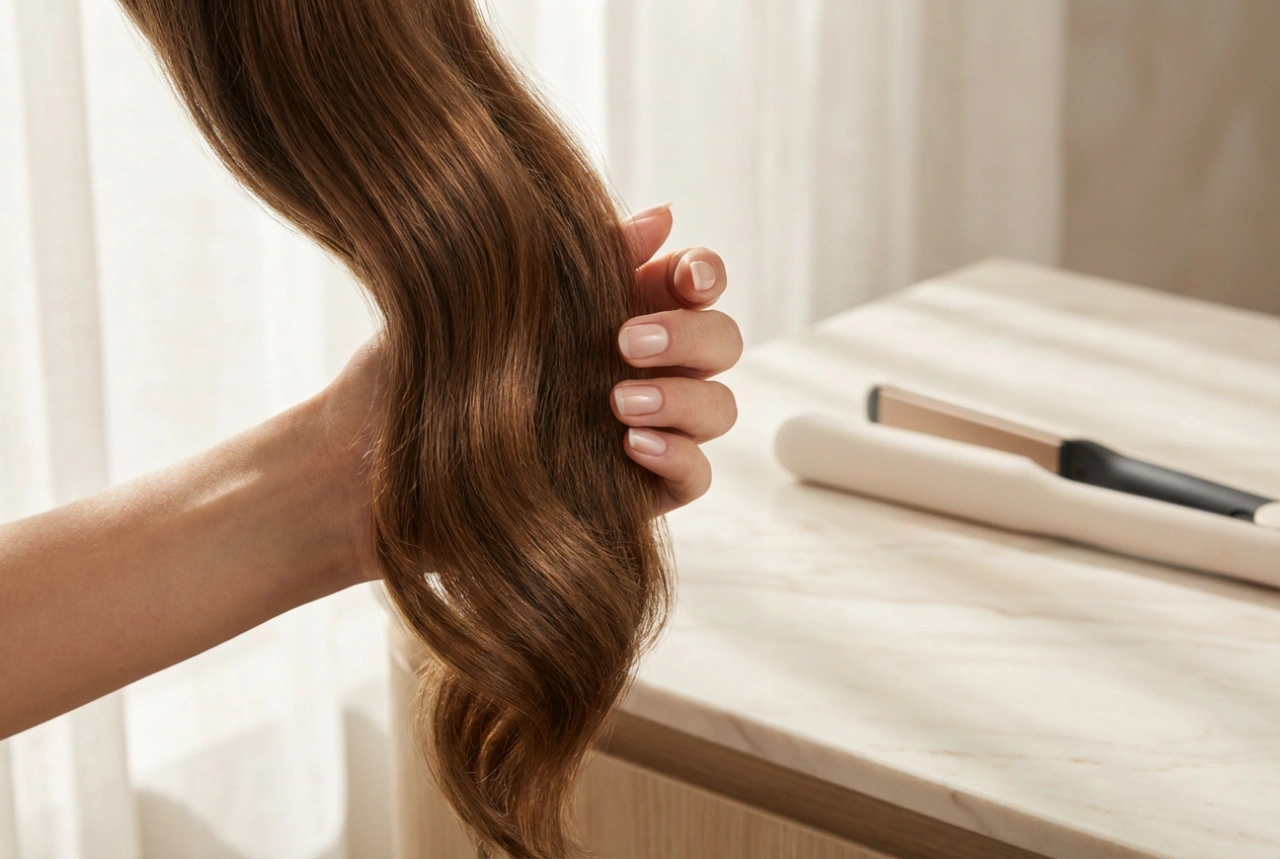
Creating Curls and Waves with Your Styler
This is where the versatility of a 2-in-1 tool truly shines. The rounded outer edges of the styler are designed to help you create various types of curls and waves.
Technique for Defined Curls
For a bouncier, more defined curl, the technique involves both clamping and rotating the tool. Start by taking a small section of hair. Clamp it with the styler a few inches down from the root, just as you would for straightening. Then, rotate the styler 180 degrees (a half-turn) away from your face. While maintaining this rotation, slowly glide the tool down the entire length of the hair section. The slower you pull, the tighter the curl will be. Release the hair, and you should have a perfect spiral. For a cohesive look, try to rotate the tool in the same direction for each section on one side of your head.
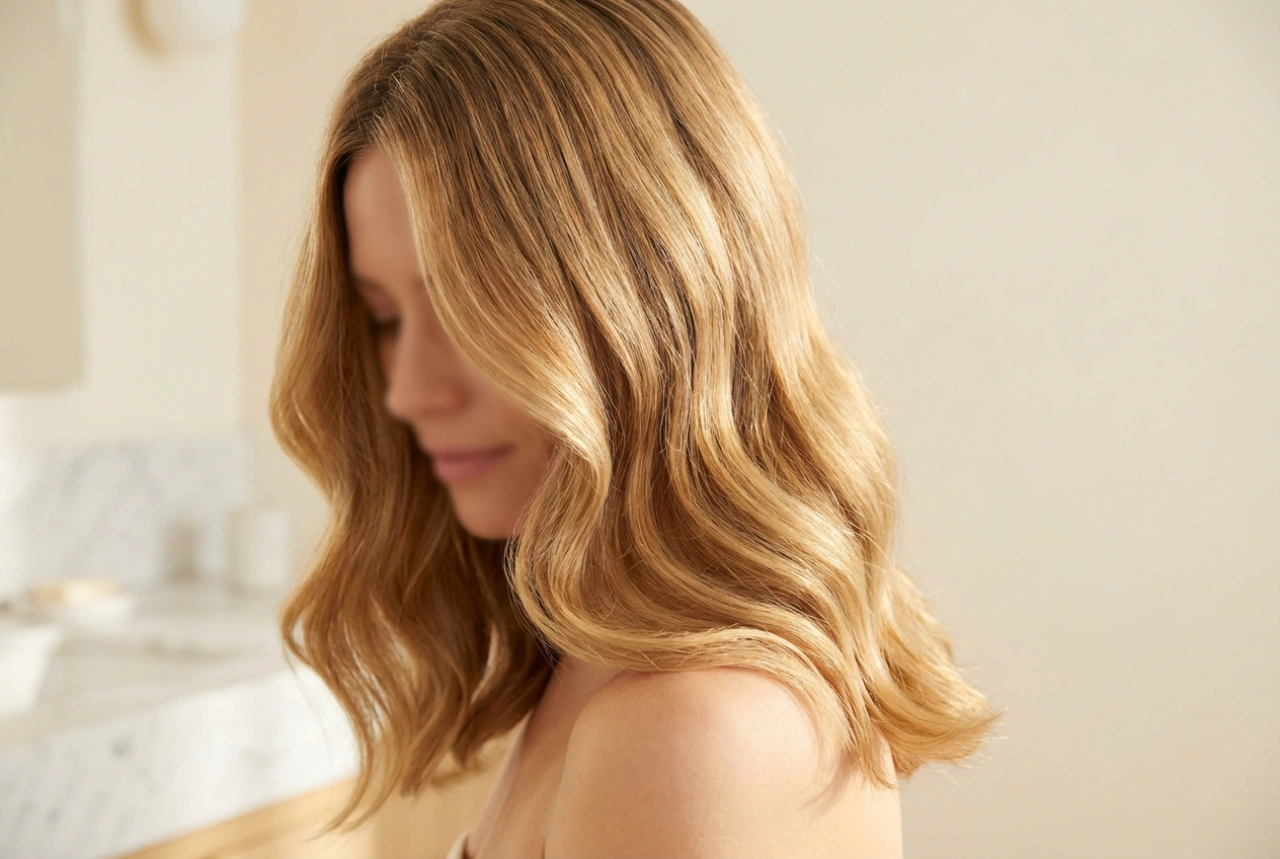
Technique for Soft, Beachy Waves
If you prefer a more relaxed, undone look, the technique is slightly different. You can achieve soft waves in two ways. The first is to follow the same 'clamp and rotate' method as for curls, but glide the styler through the hair much more quickly. The faster movement will create a looser bend rather than a tight curl. Alternatively, you can create 'S' waves by clamping a section of hair, creating a slight bend, then moving the styler further down the hair shaft and bending it in the opposite direction, repeating this pattern all the way to the ends.
Finishing Touches and Aftercare
Once you have finished straightening or curling, a few final steps will help set your style and keep your tool in great condition.
Let It Cool
Allow your hair to cool down completely before touching it too much. This helps the style to set properly and ensures it will last longer. If you have created curls, letting them cool before you brush them out will maintain their definition.
Apply a Finishing Product
To tame any flyaways and add shine, you can use a small amount of a lightweight serum or oil. For extra hold, a light mist of a flexible-hold hairspray can be applied from a distance. Avoid heavy products that might weigh down your style.
Tool Maintenance
Once your styler has completely cooled down, wipe the plates with a soft, damp cloth to remove any product residue. Keeping the plates clean ensures optimal performance and prevents product build-up from snagging your hair during future use.