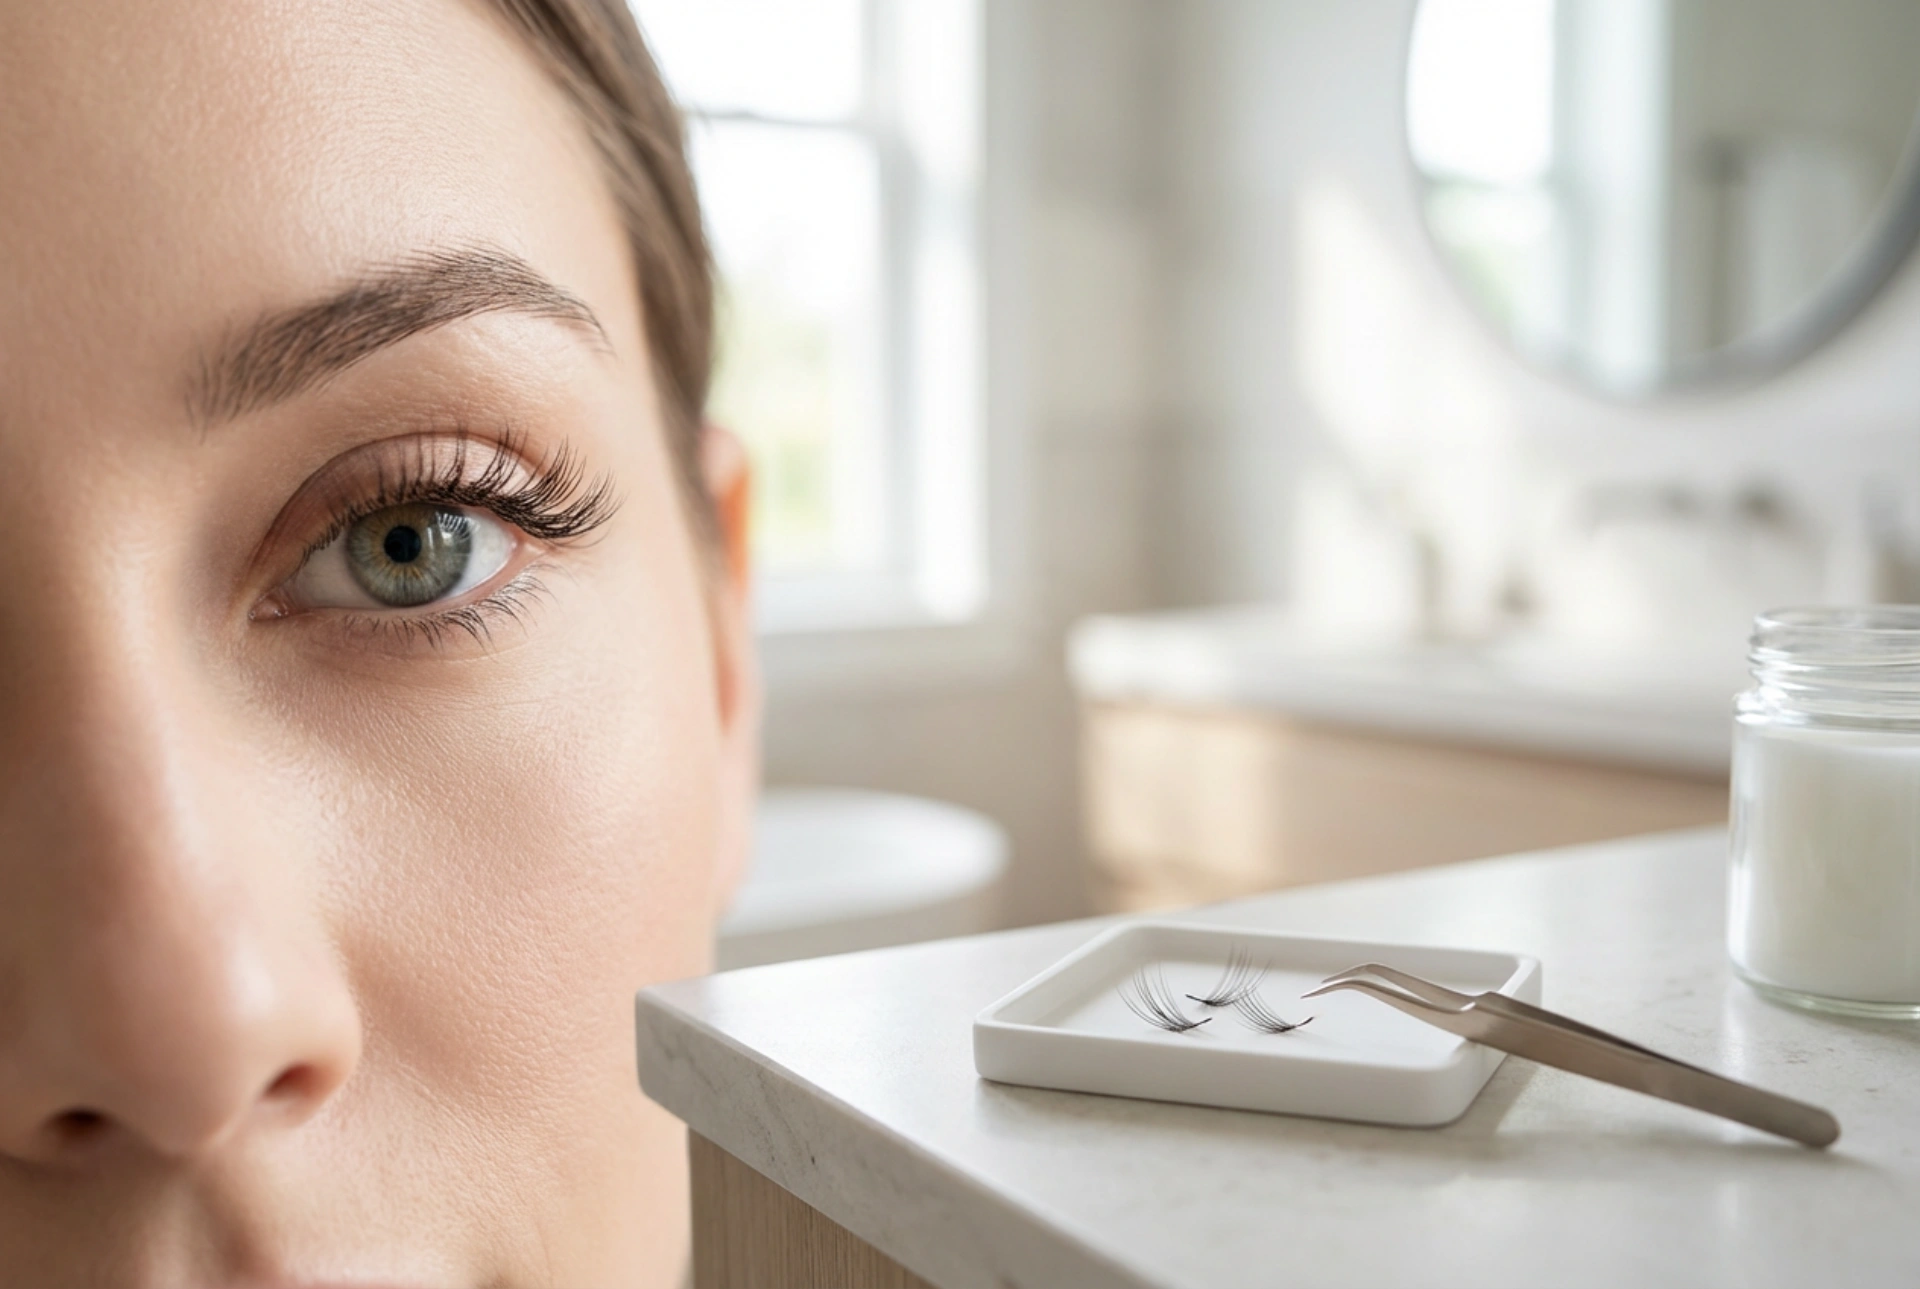


Many of us dream of lashes that look effortlessly full and long, enhancing our eyes without appearing overtly artificial. While traditional strip lashes can sometimes feel heavy or look too dramatic for daily wear, individual lash clusters offer a customisable and wonderfully natural-looking alternative. When applied correctly, they blend seamlessly with your own lashes, creating a subtle lift and definition. This guide will walk you through the process of applying cluster lashes at home for a beautiful, understated finish.
Preparation: The Foundation of Flawless Lashes
Before you even pick up a lash cluster, proper preparation is key to ensuring a smooth application and lasting results. Start with a completely clean slate. Your natural lashes must be free from any makeup, oil, or residue. Use a gentle, oil-free cleanser to wash your eye area, paying close attention to the lash line. Pat the area dry. It's also wise to curl your natural lashes at this stage, as this helps the clusters to blend in more effectively.
Next, lay out your tools. You will typically need: a set of individual lash clusters in various lengths, a lash bond (the adhesive), a sealant, and an applicator tool (specialised tweezers). For a natural look, opt for clusters with a clear, thin band. Having a mix of short, medium, and long clusters allows you to create a customised map that mimics the natural growth of your own lashes.
The Step-by-Step Application Guide
The modern technique for applying cluster lashes involves placing them *underneath* your natural lashes, not on top. This method hides the bands completely, resulting in a seamless look that appears to grow directly from your lash line.
Step 1: Apply the Bond
Working in small sections, apply a thin layer of the lash bond to the base of your natural lashes, similar to how you would apply mascara. Avoid coating the entire length of your lashes; focus only on the first 1-2 millimetres near the root. Don't apply the bond to all your lashes at once, as it may dry too quickly. Work on one small section of your eye at a time.
Step 2: Place the Clusters
Using your applicator tool, gently pick up a single lash cluster from its tray. A common technique is to start from the outer corner of the eye and work your way inwards. Take a longer cluster and carefully place it underneath your natural lashes, about 1-2 millimetres away from your waterline to avoid any irritation. Press it gently against the base of your natural lashes where you applied the bond. Hold it for a few seconds to secure it. Continue this process, moving towards the inner corner and typically using progressively shorter clusters to create a natural taper.
Step 3: Clamp and Seal
Once all the clusters are in place and you're happy with the arrangement, it's time to fuse them. Use your applicator to gently clamp the clusters and your natural lashes together. This ensures a strong hold. Finally, apply a thin coat of the sealant along the base of the lashes where you placed the clusters. The sealant removes any stickiness from the bond and helps to create a water-resistant barrier, prolonging the life of your lashes.
Expert Tips for a Truly Natural Finish
To avoid a look that's too uniform or artificial, consider these professional tips:
- Vary the lengths: Don't just use one size. A typical 'lash map' for a natural look might use 14mm or 12mm clusters on the outer corner, transitioning to 12mm and 10mm in the middle, and 8mm or 10mm on the inner corner.
- Embrace the gaps: You don't need to place a cluster on every single lash. Leaving small, natural-looking gaps between some of the clusters can make the final result look more believable and less like a solid strip.
- Less is more: If you're new to cluster lashes, start with fewer clusters than you think you need. You can always add more. The goal is enhancement, not a complete transformation.
- Focus on the outer corners: For a very subtle 'cat-eye' lift, try applying just two or three clusters to the outer third of your lash line. This can open up the eye beautifully without the need for a full set.
Proper Aftercare and Safe Removal
With proper care, your cluster lashes can last for several days. To maintain them, avoid using oil-based makeup removers or cleansers around the eyes, as oil will break down the bond. Be gentle when washing your face and try not to rub your eyes. When sleeping, try to sleep on your back to avoid crushing the lashes.
When you're ready to remove them, never pull or tug at the clusters, as this can damage your natural lashes. Use a dedicated remover designed for this type of lash adhesive. Apply the remover generously to the base of the lashes and let it sit for a minute or two to dissolve the bond. The clusters should then slide off easily. Gently wipe away any remaining residue with a clean cloth or cotton pad to ensure your natural lashes are clean and healthy.





