


Applying lipstick can be a moment of pure elegance, a final touch that completes a look. While classic reds and pinks have their place, brown lipstick has re-emerged as a sophisticated and versatile choice for any occasion. From subtle nudes to deep chocolates, there is a shade of brown to suit everyone. The key lies in selecting the right tone for your complexion and mastering the application technique for a polished, flawless finish.
Finding Your Perfect Brown Shade
The secret to pulling off brown lipstick is to choose a shade that harmonises with your skin's undertones. A poorly chosen brown can wash you out or look too harsh, while the right one will enhance your natural beauty. Here’s how to navigate the options based on your complexion.
For Fair and Light Skin Tones
If you have fair skin, look for browns with pink, peach, or rosy undertones. These shades will add warmth without overwhelming your complexion. Light taupes, beige-browns, and soft caramels are excellent choices. Avoid very dark or overly cool-toned browns, as they can create too much contrast and appear severe. A shade slightly darker than your natural lip colour is often the most flattering starting point.
For Medium and Olive Skin Tones
Medium skin tones have the widest range of options. Warm caramel, terracotta, and rich honey browns look particularly stunning. You can also experiment with deeper chocolate shades or browns with a hint of red or orange. For olive complexions, browns with a slightly golden or coppery undertone can beautifully complement the skin's natural warmth. The goal is to choose a colour that provides a clear definition without blending in completely.
For Deep and Dark Skin Tones
Deep skin tones are beautifully enhanced by rich, saturated browns. Think of deep espresso, mahogany, and berry-infused browns. Shades with red or purple undertones, like dark cherry-chocolate, can add incredible dimension and warmth. Don't be afraid to go for bold, deep colours, as they create a stunning and sophisticated look against darker complexions. Metallic or glossy finishes can also add a beautiful highlight to the lips.
Preparing Your Lips for a Flawless Finish
A perfect lipstick application starts with a smooth, hydrated canvas. Flakes or dry patches can make even the best lipstick look uneven and patchy. Follow these simple preparation steps for a professional result.
- Exfoliate Gently: Remove any dry skin from your lips. You can use a gentle lip scrub or simply brush your lips lightly with a soft, damp toothbrush in a circular motion. This creates a smooth surface for the colour to adhere to.
- Hydrate and Moisturise: After exfoliating, apply a nourishing lip balm. Let it absorb for a few minutes before you start with your makeup. If you have time, apply a thicker layer of balm and let it sit while you do the rest of your makeup, blotting off any excess just before applying lipstick.
- Consider a Primer: A lip primer can be a game-changer. It helps to create a neutral base, fill in fine lines, and significantly extend the wear time of your lipstick. It also prevents the colour from feathering or bleeding outside your lip line. In a pinch, a very light layer of foundation or concealer can serve a similar purpose.
The Art of Precise Application
Achieving a sharp, well-defined lip requires a bit of technique and patience. Using the right tools will make the process much easier and give you a more polished outcome.
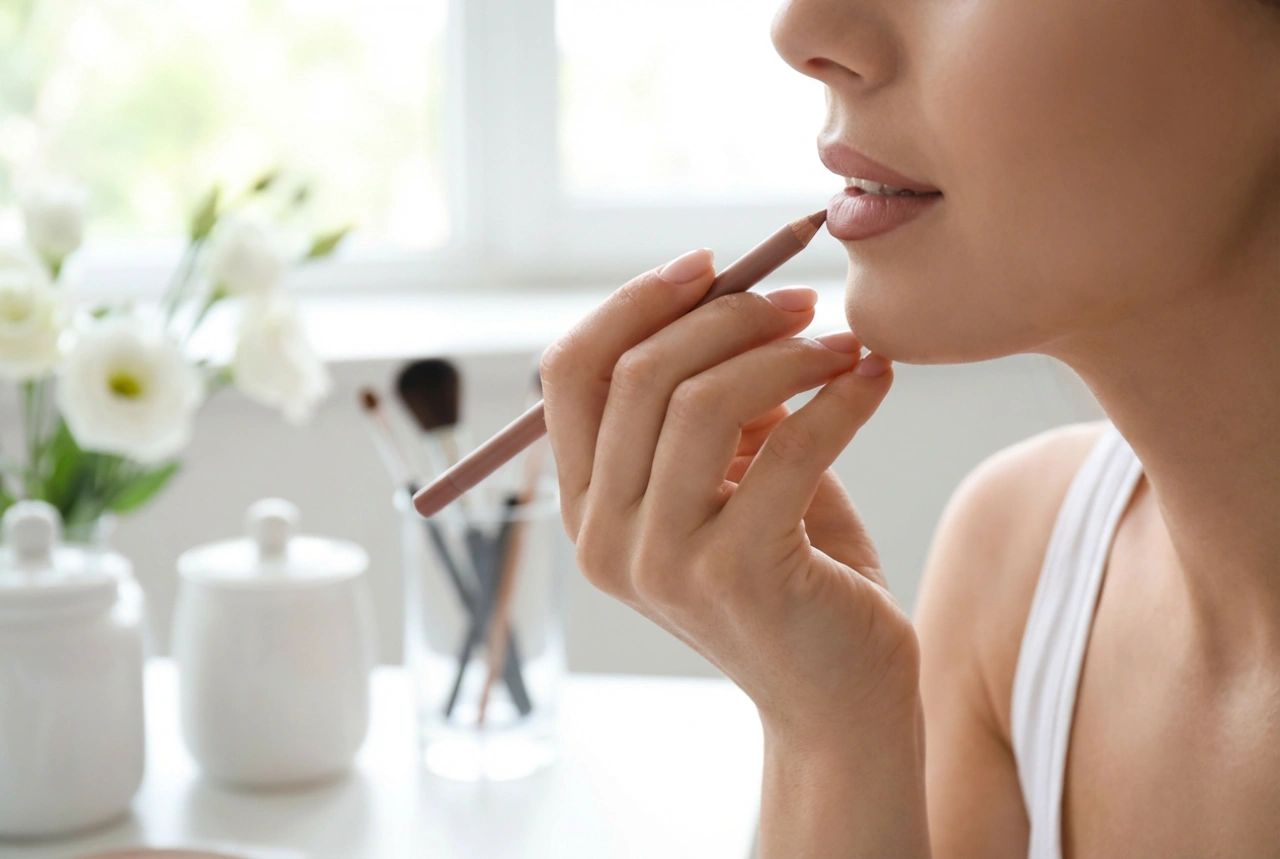
Step 1: Define with a Lip Liner
A lip liner is essential for creating structure and preventing your lipstick from smudging. Choose a liner that either matches your chosen brown lipstick shade exactly or is one shade slightly darker to create a subtle contour. Carefully outline your lips, starting with the Cupid's bow and the centre of your bottom lip. Then, connect the lines from the corners of your mouth inwards. You can also lightly fill in your entire lip with the liner to create a long-lasting base for your lipstick.
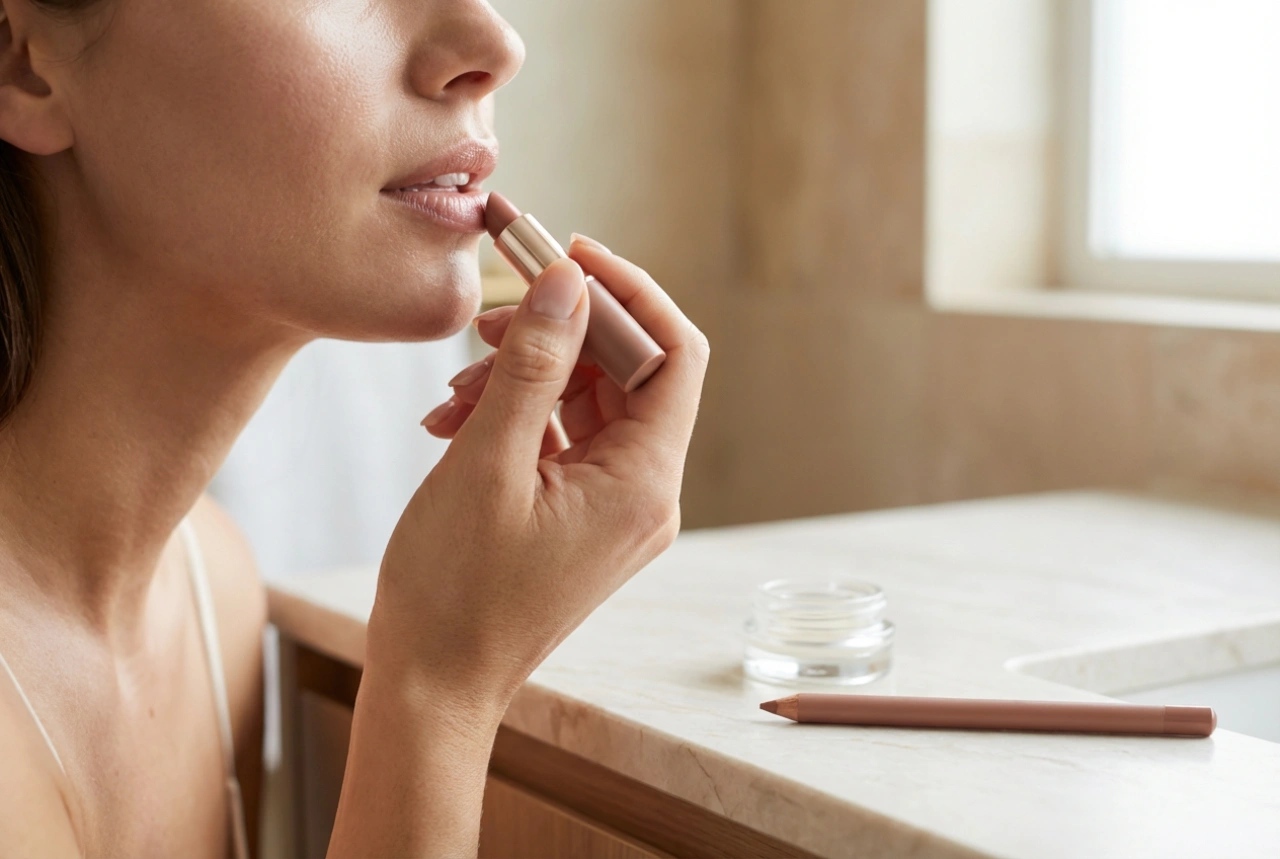
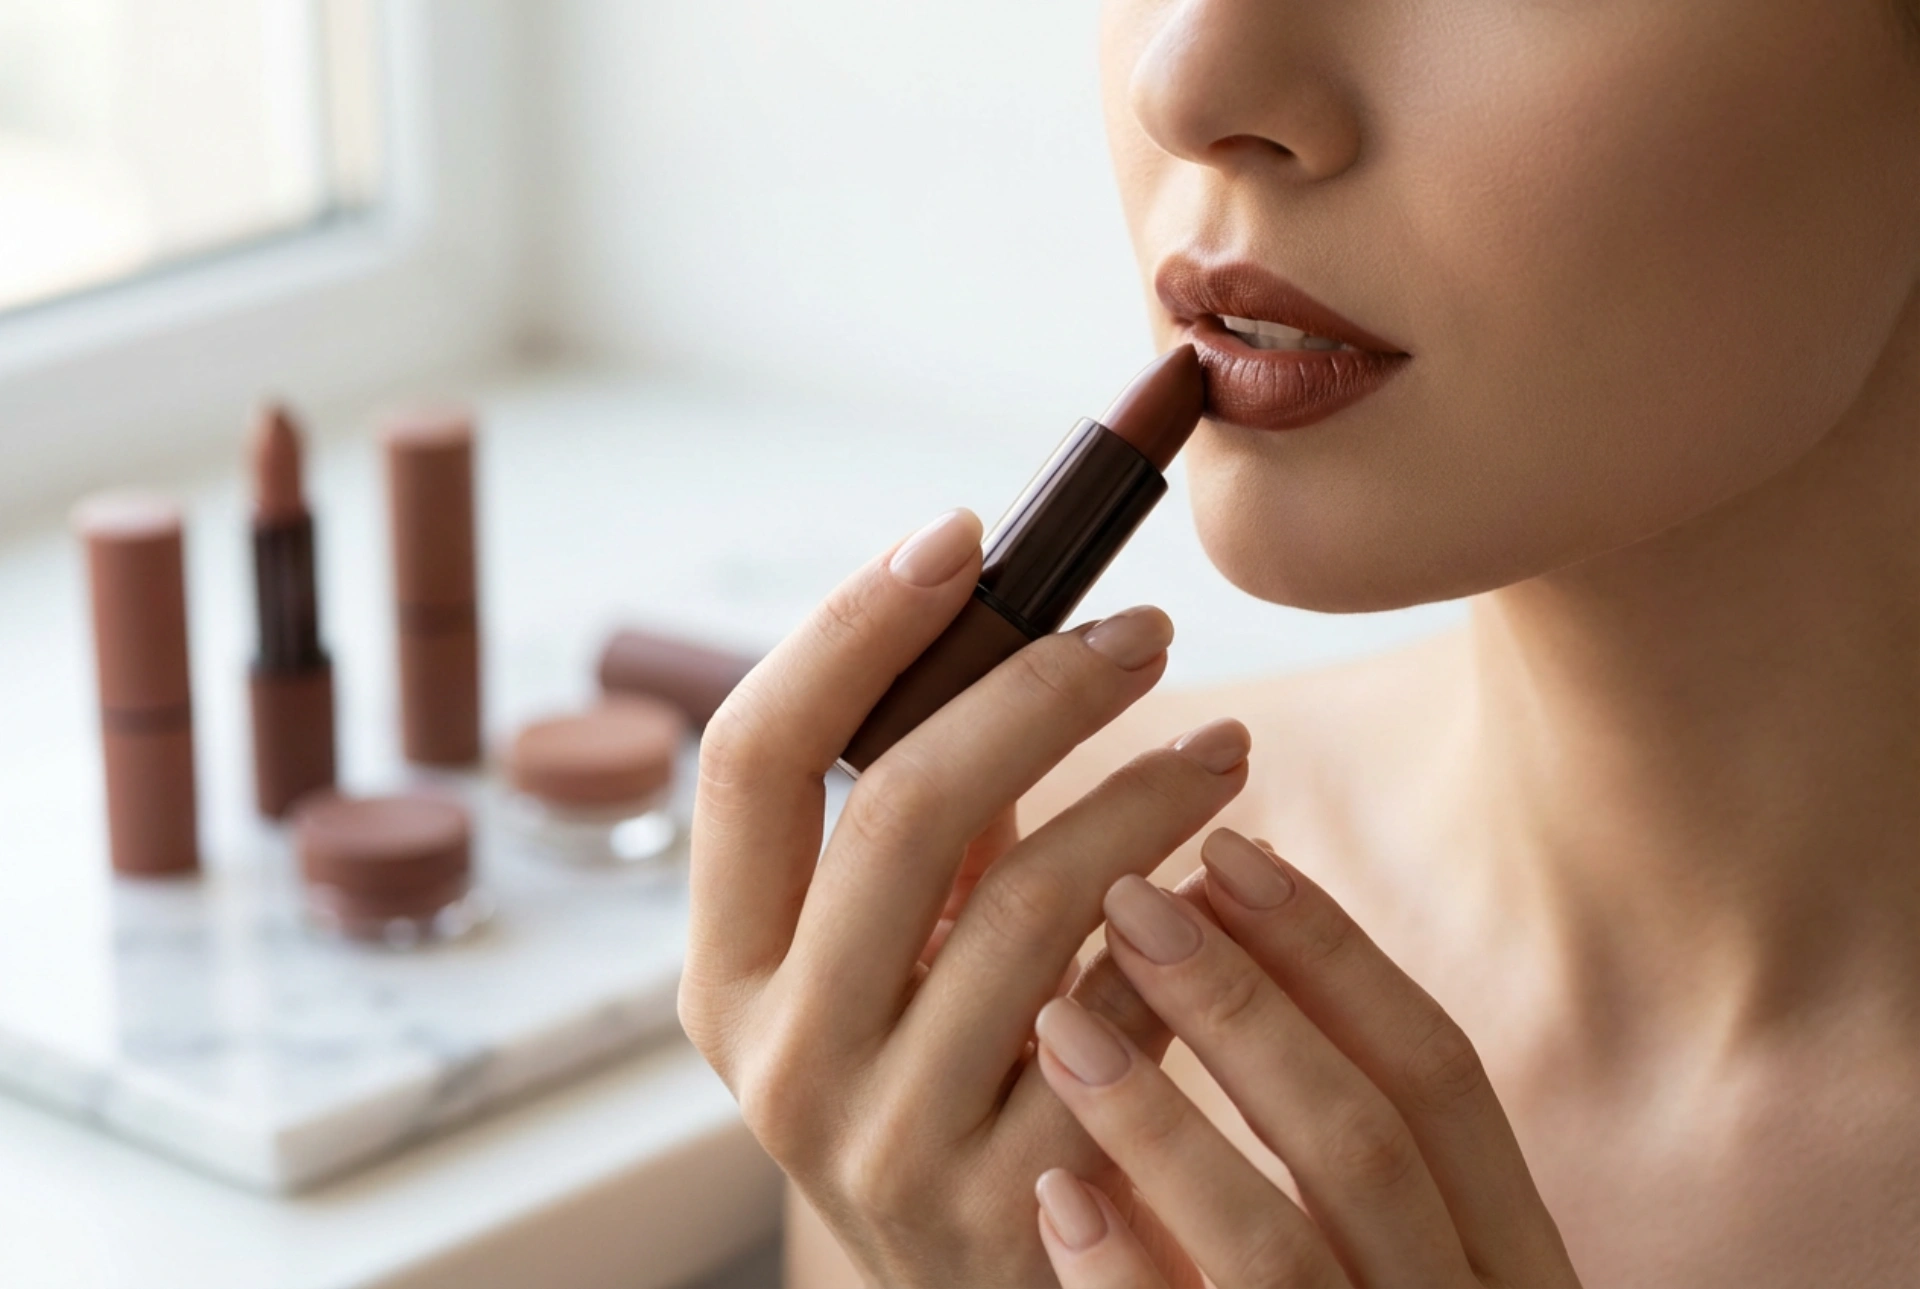
Step 2: Apply the Colour
For the most precise application, use a lip brush. Load the brush with colour from the lipstick bullet and apply it starting from the centre of your lips, blending it outwards towards the edges. This gives you more control than applying directly from the tube. Build the colour in thin layers for a more even and durable finish. Once you have an even coat, gently press your lips together to distribute the product.
Step 3: Blot and Perfect
For extra staying power, take a single-ply tissue and place it over your lips. Lightly press to blot away any excess oil without removing the pigment. You can then apply a second, light layer of lipstick. To create an exceptionally sharp edge, take a small, flat brush with a tiny amount of concealer and carefully trace around the outside of your lip line to clean up any mistakes and make your lip shape pop.