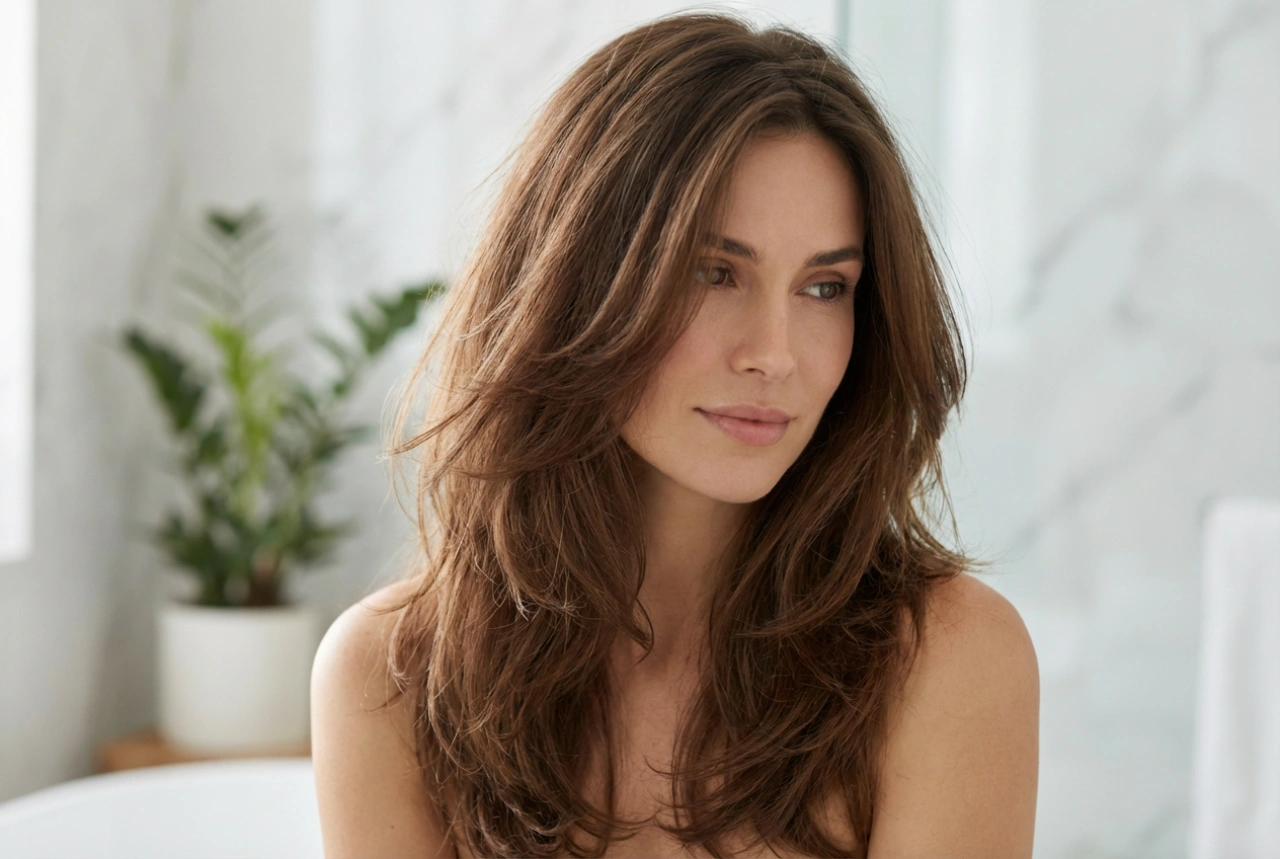


Achieving beautiful, bouncy curls or soft waves often involves high temperatures that can leave hair feeling dry and brittle. Fortunately, innovative styling tools offer a gentler alternative. An air curler uses a powerful jet of air to shape the hair, significantly reducing the reliance on extreme heat. This method not only helps protect the hair's integrity but also creates a smooth, polished finish. If you're looking for a way to style your hair without compromising its health, learning how to use an air curler could be a game-changer for your beauty routine.
What Is an Air Curler and How Does It Work?
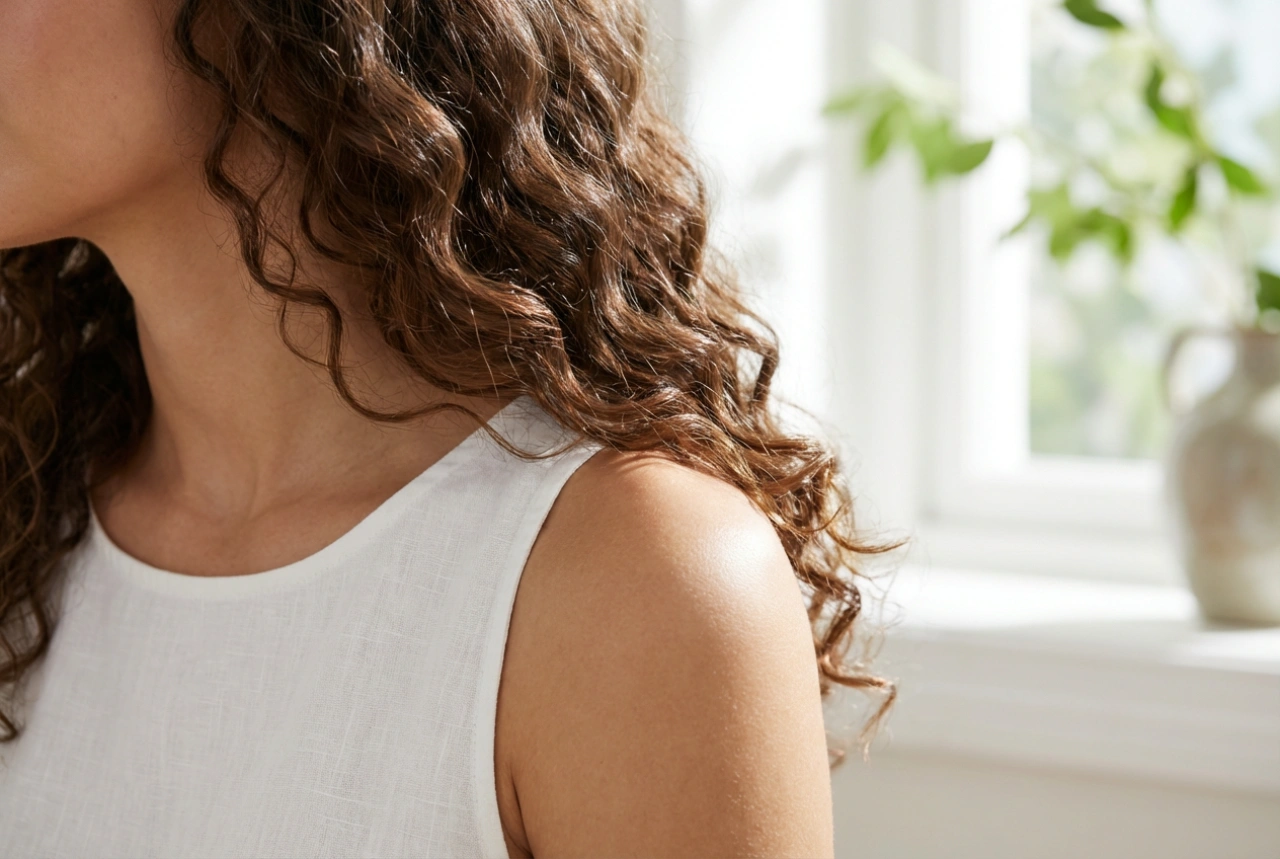
Unlike traditional curling tongs that press hair between two scorching hot surfaces, an air curler utilises a phenomenon known as the Coandă effect. It generates a high-speed jet of air that flows out of slots in the styling barrel. This airflow creates a vortex that attracts and wraps the hair around the barrel automatically. The air then heats the hair just enough to style it while simultaneously drying it. This combination of airflow and controlled temperature styles the hair without the need for extreme heat, which is the primary cause of heat damage, weakened strands, and colour fading. The result is styled hair that feels and looks healthier.
Preparing Your Hair for Air Styling
Proper preparation is the key to achieving a flawless and long-lasting style. Following these steps will ensure your hair is ready for the air curler and help your curls hold their shape for longer.
Start with Damp Hair
For the best results, your hair should be damp, not soaking wet or completely dry. After washing, gently towel-dry your hair until it's about 80% dry. If your hair is already dry, you can lightly mist it with water from a spray bottle. Styling from a damp state allows the air curler to both dry and shape the hair in one step, locking in the style as the hair's hydrogen bonds are reformed.
Section and Protect
Always apply a heat protectant spray or lotion before using any heat styling tool, even a low-temperature one like an air curler. This creates a barrier that shields your hair from potential stress. Afterwards, divide your hair into manageable sections. For thinner hair, four to six sections might be enough, while thicker hair may require more. Using clips to secure the sections you aren't working on will make the process much smoother and more organised.
A Step-by-Step Guide to Perfect Curls
Once your hair is prepped, you're ready to start styling. The process is intuitive and much quicker than many people expect.
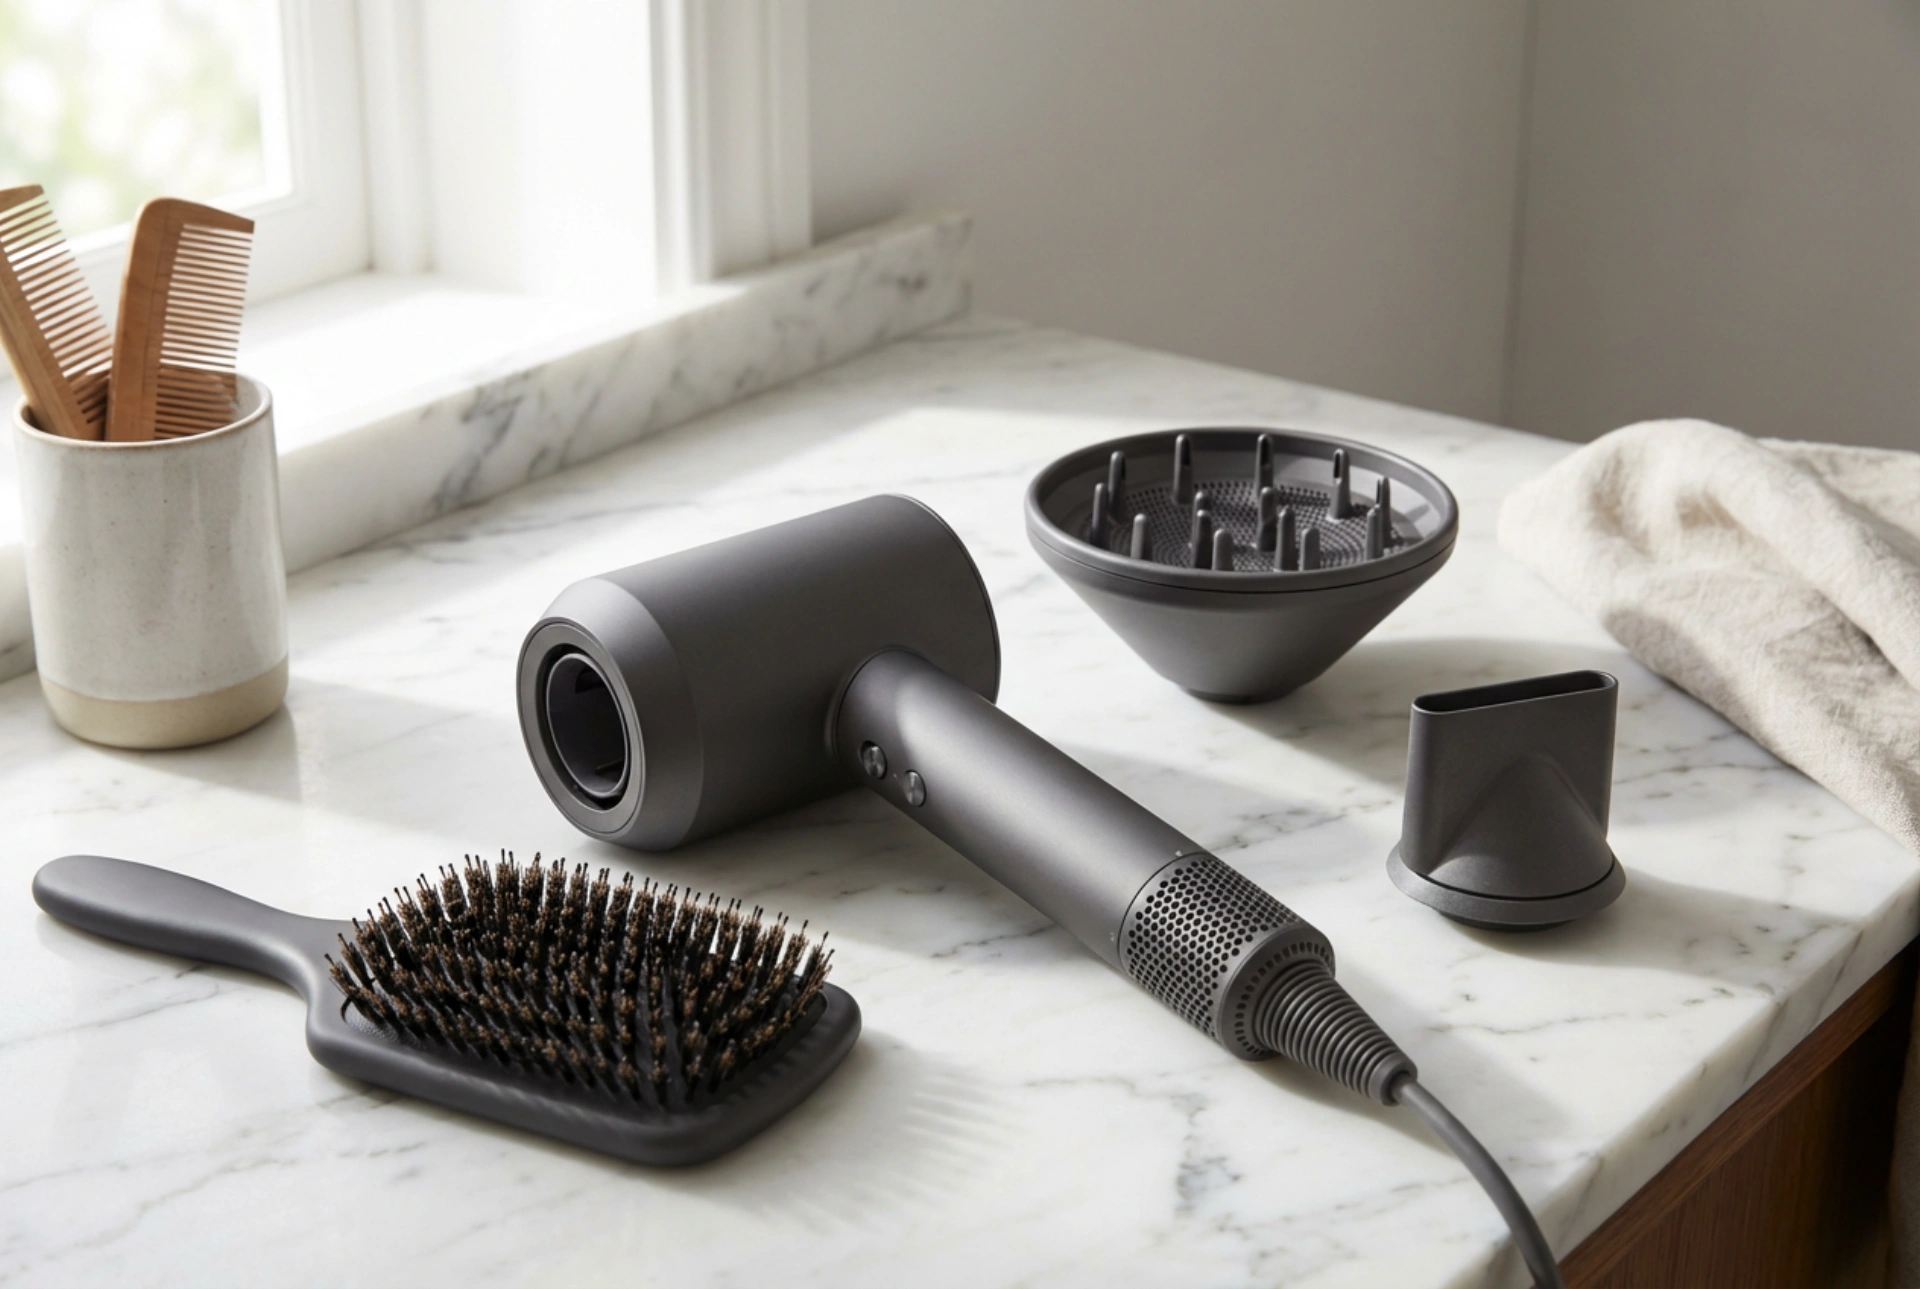
- Choose your attachment: Most air curlers come with different barrel sizes. Select a smaller barrel for tighter curls or a larger one for loose waves. Ensure the attachment is securely locked in place.
- Attract the hair: Take a small section of hair, about one to two inches wide. Hold the tool vertically and bring the end of your hair section close to the barrel. The airflow will automatically catch the hair and wrap it around the barrel.
- Hold and heat: Keep the tool in place for about 10-15 seconds to allow the hair to dry and take on the curl's shape. There's no need to manually twist or wrap the hair around the tool.
- Set with a cool shot: This is a crucial step. Press and hold the 'cool shot' button for 5-10 seconds. This blast of cool air rapidly cools the hair, setting the curl and ensuring it lasts much longer.
- Release the curl: Turn off the device and pull it straight down to release a perfectly formed curl. Avoid touching or pulling on the curl while it's still warm.
- Repeat the process: Continue this process with the remaining sections of your hair. To create a more natural look, you can alternate the direction of the curls for different sections.
Tips for Longevity and a Flawless Finish
A few extra steps can make all the difference between curls that fall flat and a style that lasts all day. Consider your hair type and desired finish. For fine hair that struggles to hold a curl, applying a light mousse before you begin can provide extra grip. For thick hair, using smaller sections will ensure each strand is dried and styled effectively. Once you've curled all your hair, allow the curls to cool down completely. This can take 5-10 minutes. Once cool, you can gently run your fingers through them to loosen them into soft waves or leave them as they are for a more defined look. A light mist of a flexible-hold hairspray will provide extra hold without making your hair stiff or crunchy.