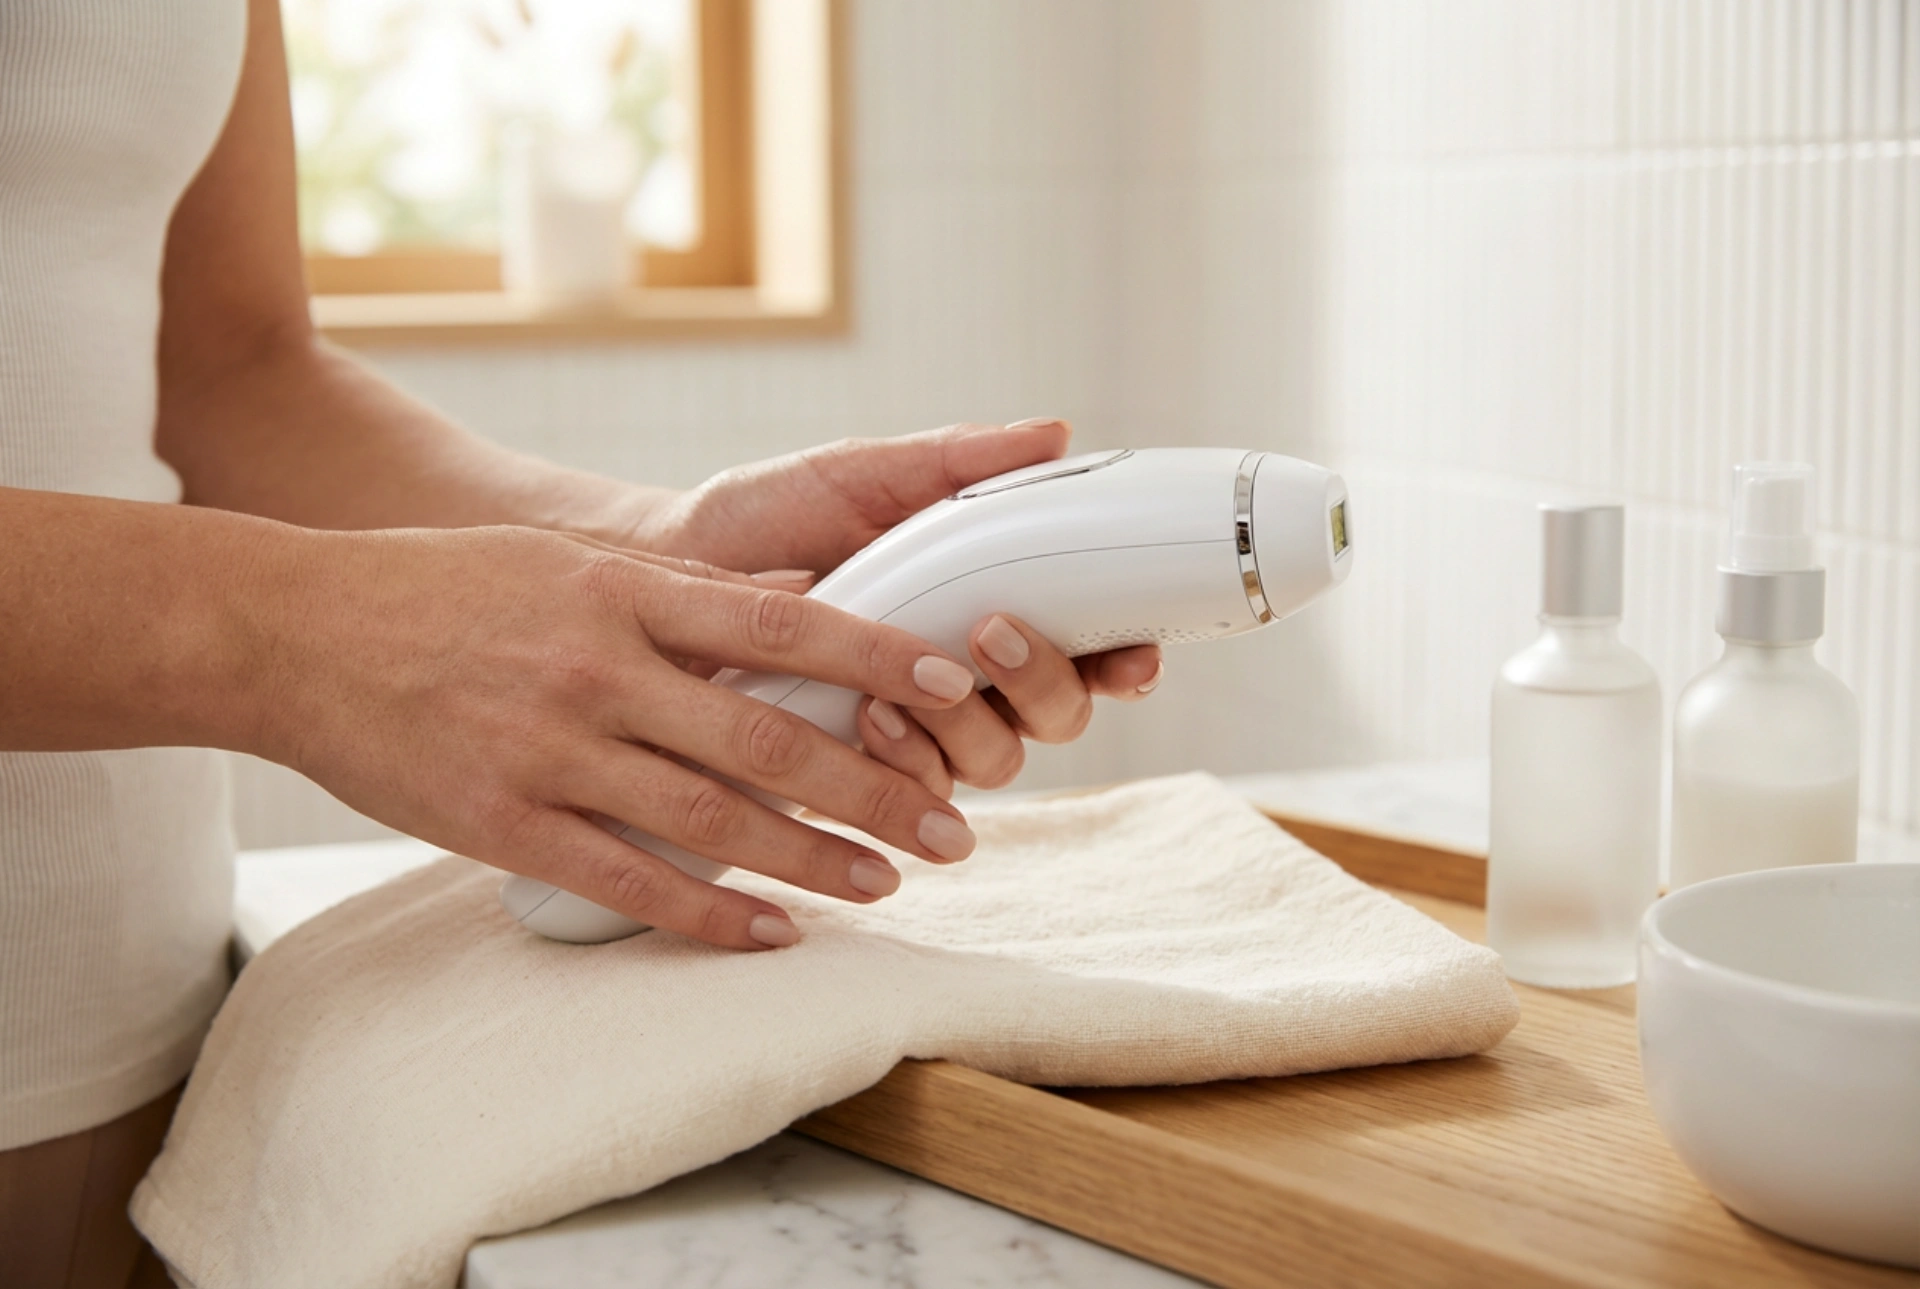


Modern beauty technology offers sophisticated solutions for achieving smooth, hair-free skin within the comfort and privacy of your own home. Devices using intense pulsed light (IPL) have become a popular choice for long-term hair reduction. However, to achieve the best and safest results, it is crucial to understand how to use them correctly and how to plan your treatment schedule. This guide will walk you through the entire process, from initial preparation to long-term maintenance, ensuring you feel confident in your at-home hair removal journey.
Understanding At-Home Light-Based Hair Removal
Before you begin, it's helpful to understand the basic principle behind at-home IPL devices. These gadgets work by emitting broad-spectrum light pulses that travel through the skin and are absorbed by the melanin (pigment) in the hair shaft. This light energy converts to heat, which affects the hair follicle, disrupting its growth cycle. Over a series of treatments, this process leads to a significant reduction in hair growth. It's important to note that these devices are most effective on dark hair and lighter skin tones, as there needs to be a contrast between the hair and skin pigment for the light to be targeted correctly. Most modern devices include a skin tone sensor for safety, preventing use on skin that is too dark for treatment.
Preparing for Your Treatment: The Essential Checklist
Proper preparation is the key to a safe and effective treatment session. Rushing this stage can lead to skin irritation or less-than-optimal results. Follow this checklist before every session.
- Check Compatibility: First, confirm that your skin tone and hair colour are suitable for the device you are using. Refer to the user manual's chart. IPL is generally not effective on very light blonde, red, grey, or white hair, as it lacks sufficient melanin to absorb the light.
- Perform a Patch Test: This is a non-negotiable step, especially before your first-ever use or when treating a new body area. Test the device on a small, inconspicuous patch of skin 24 to 48 hours before your full treatment. This helps you determine the highest energy level that is comfortable for your skin and checks for any adverse reactions.
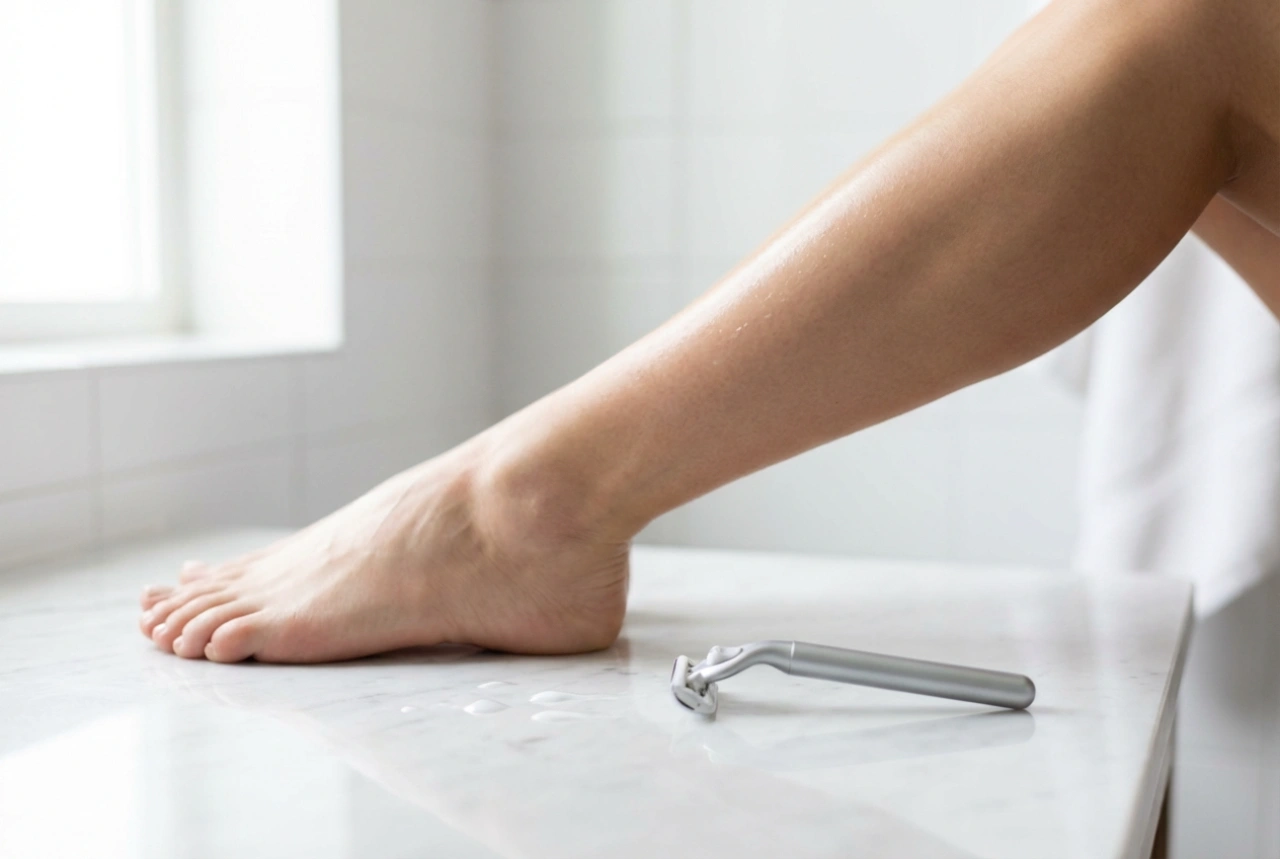
- Shave the Area: Unlike waxing or epilating, you must shave the area you intend to treat, ideally the day before or on the day of treatment. The device needs the hair to be present in the follicle beneath the skin's surface, but any hair above the skin can burn and cause discomfort. Never wax, pluck, or use depilatory creams before a session, as these methods remove the hair root that the light needs to target.
- Clean and Dry Your Skin: Ensure the treatment area is completely clean, dry, and free from any lotions, creams, deodorants, or oils. Any residue on the skin can interfere with the light pulses or cause an unwanted reaction.
How to Use Your Device: A Step-by-Step Guide
Once your skin is prepped, you are ready to begin the treatment. Find a comfortable place with good lighting. Plug in your device and get started.
Step 1: Select the Right Intensity Level
Based on your patch test, select the appropriate energy setting. Many devices have built-in sensors that recommend a level, but always start with a lower setting if you are unsure. The sensation should be a feeling of warmth, perhaps with a slight snap, but it should never be painful. If it hurts, lower the intensity.
Step 2: Position the Device Correctly
Place the treatment window firmly against your skin, ensuring it makes full contact. Most devices have a safety mechanism that prevents the light from flashing unless the window is fully covered by skin. This protects your eyes from the bright flashes.
Step 3: Administer the Flash
Press the flash button. You will see a bright flash of light and feel a warm sensation. For larger areas like legs, many devices have a 'glide' mode where you can hold the button down and slowly slide the device over your skin, with it flashing automatically at set intervals. For smaller, more precise areas like the underarms or bikini line, the 'stamp' mode (press, lift, and reposition for each flash) is more suitable.
Step 4: Move to the Next Spot
Lift the device and reposition it on the adjacent spot. Try to avoid overlapping the treated areas, as this can increase the risk of skin irritation, but also try not to leave any gaps. Work systematically in a grid-like pattern to ensure full coverage.
Planning Your Treatment Schedule for Best Results
Consistency is vital for success with light-based hair removal. Hair grows in different cycles, and you need to catch each hair in its active growth phase. A typical treatment plan is divided into two phases.
- Initial Phase: During the first 4 to 12 weeks, you will typically perform a treatment once every one or two weeks. This frequent scheduling is designed to target as many hair follicles as possible as they enter their growth phase. You should start to notice a reduction in hair growth after just a few sessions.
- Maintenance Phase: After the initial phase, once you are satisfied with the hair reduction, you can switch to maintenance treatments. These are performed much less frequently, typically once every one to two months, or simply as needed to manage any new hair growth.
Post-Treatment Care and What to Expect
After your session, your skin may feel slightly warm and appear a little red, similar to a very mild sunburn. This is normal and usually subsides within a few hours. Proper aftercare will soothe the skin and protect it.
- Soothe the Skin: Apply a gentle, fragrance-free lotion or an aloe vera gel to cool and hydrate the treated area.
- Avoid Heat: For 24 hours after treatment, avoid hot baths, saunas, steam rooms, and very hot showers. Also, avoid wearing tight-fitting clothing that could chafe the sensitive skin.
- Protect from the Sun: Your skin will be more sensitive to UV light after treatment. It is crucial to avoid direct sun exposure and tanning beds. Apply a broad-spectrum sunscreen with high SPF to the treated areas if they will be exposed to sunlight.
In the weeks following a treatment, you will notice the treated hairs appearing to 'grow' before they shed and fall out naturally. This is a sign the treatment is working. Be patient and stick to your schedule for smooth, long-lasting results.