The appeal of a flawless, glossy manicure that lasts for weeks is undeniable. Hybrid nail styling, once primarily the domain of professional salons, is now easily accessible for home use. Creating your own starter kit is an exciting first step towards achieving durable and beautiful nails yourself. With a well-organised set of tools and products, as depicted by a neat collection of polishes and a lamp, you can unlock your creativity and enjoy salon-quality results. This guide will walk you through everything you need to know to assemble your kit and begin your styling journey.
Essential Components of a Hybrid Nail Starter Kit
Building a comprehensive kit is key to a successful hybrid manicure. While you can buy pre-packaged sets, selecting items individually allows for greater customisation. Here are the non-negotiable elements every beginner should have.
The Curing Lamp: LED or UV?
The lamp is the centrepiece of your kit, as it’s responsible for curing, or hardening, the polish. You have two main choices: UV or LED. LED lamps cure polish much faster (typically 30-60 seconds per layer) and their bulbs have a longer lifespan. UV lamps are often less expensive initially but take longer to cure (around 2 minutes) and the bulbs need replacing periodically. For home use, an LED lamp is generally the more efficient and convenient option.
Essential Liquids and Preparations
A series of liquids prepares the nail and ensures the longevity of your manicure. You will need:
- Nail Cleaner/Degreaser: An alcohol-based solution used to cleanse the natural nail plate of oils and residue before application and to wipe off the sticky inhibition layer after curing the top coat.
- Primer: An optional but highly recommended product, especially for those with oily nail plates. It enhances adhesion between the natural nail and the base coat, preventing lifting.
- Base Coat: This is the foundation of your manicure. It protects the natural nail from staining and creates a strong bond for the colour polish.
- Top Coat: The final layer that seals in the colour, provides a high-gloss (or matte) finish, and protects the manicure from chipping and scratching.
- Hybrid Polish Remover: An acetone-based solution specifically designed to dissolve hybrid polish for safe removal.
Coloured Hybrid Polishes
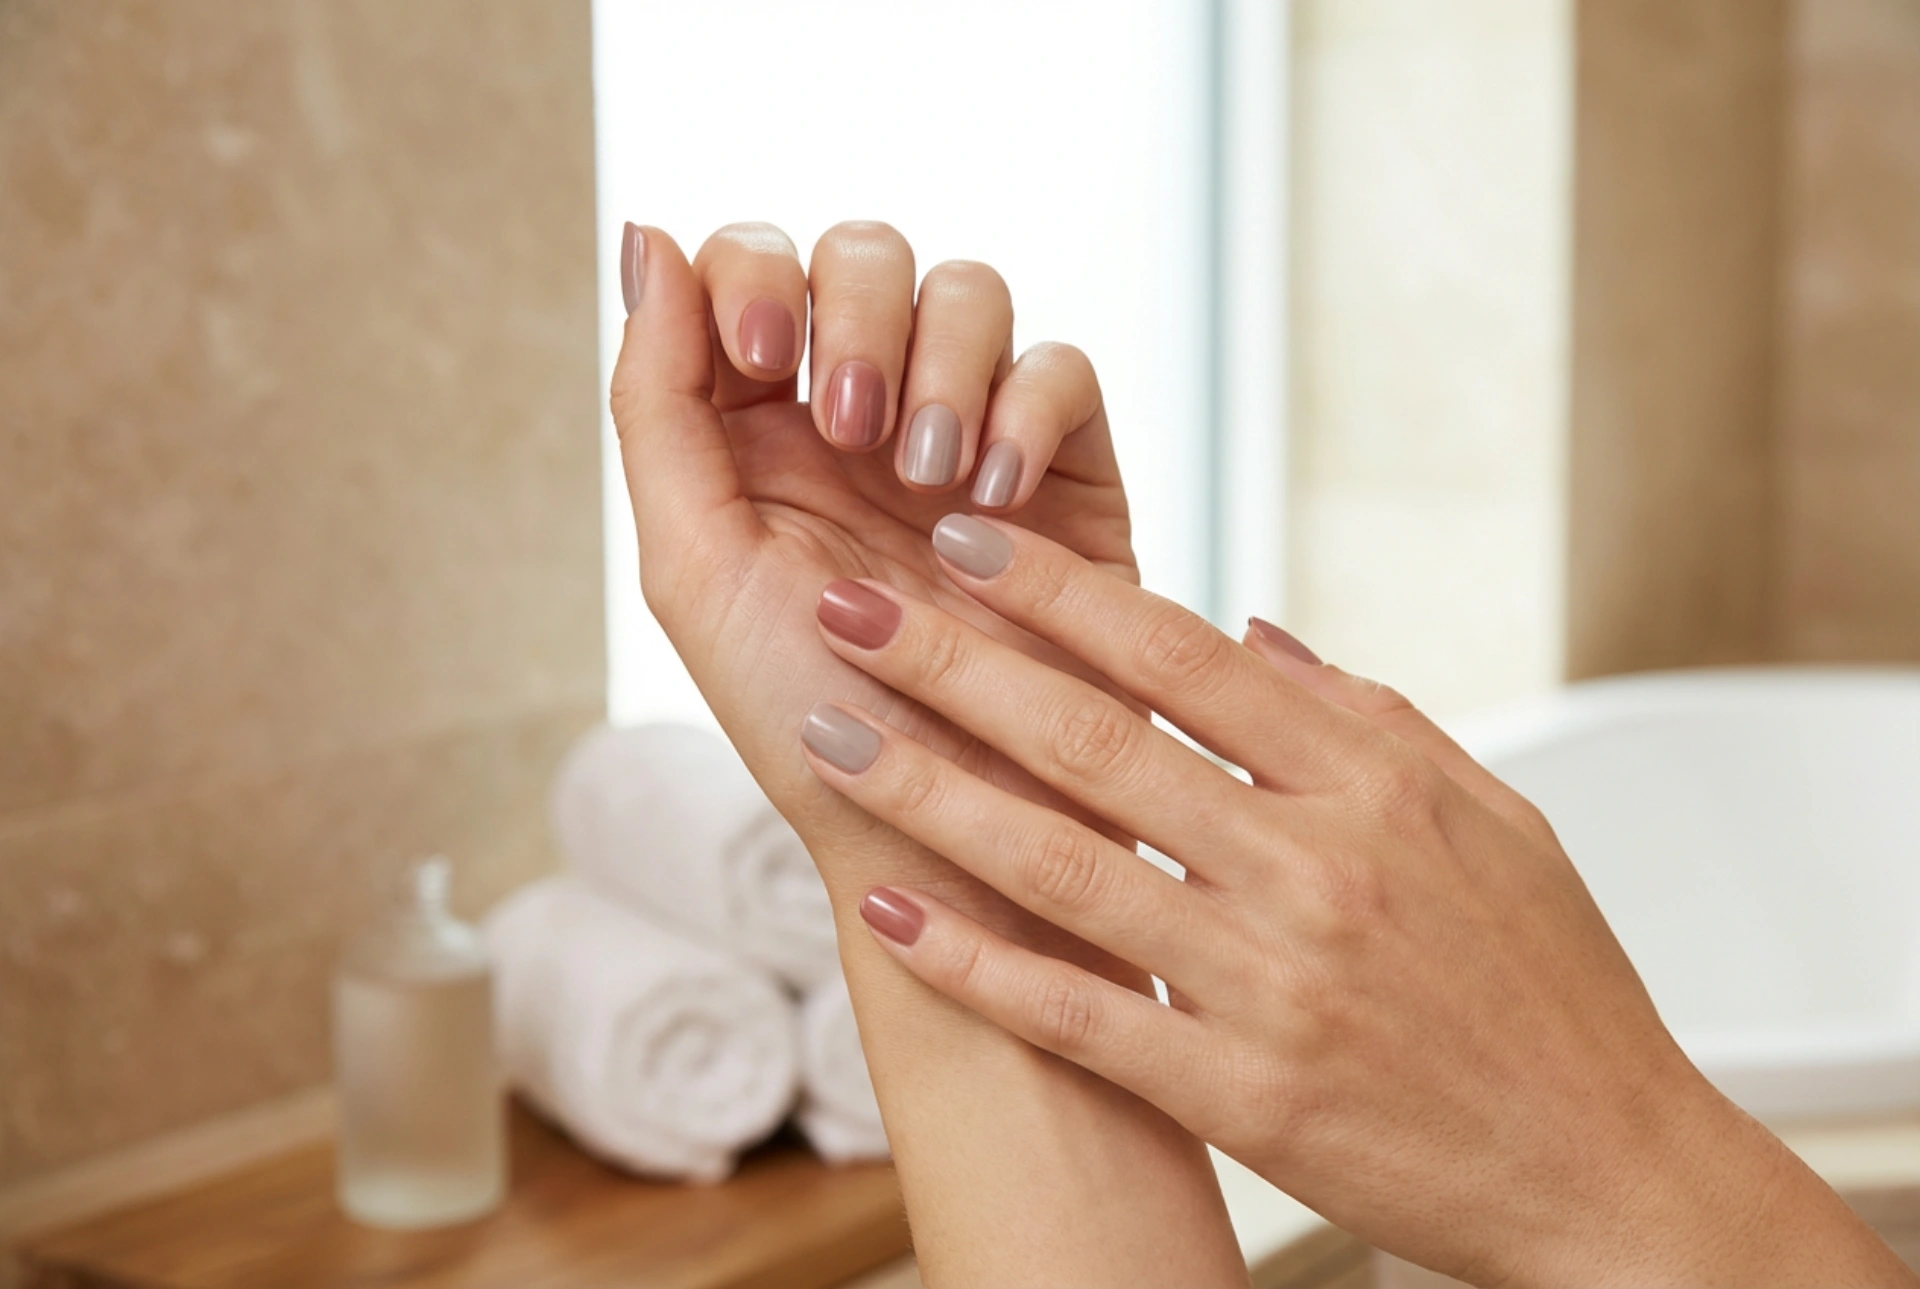
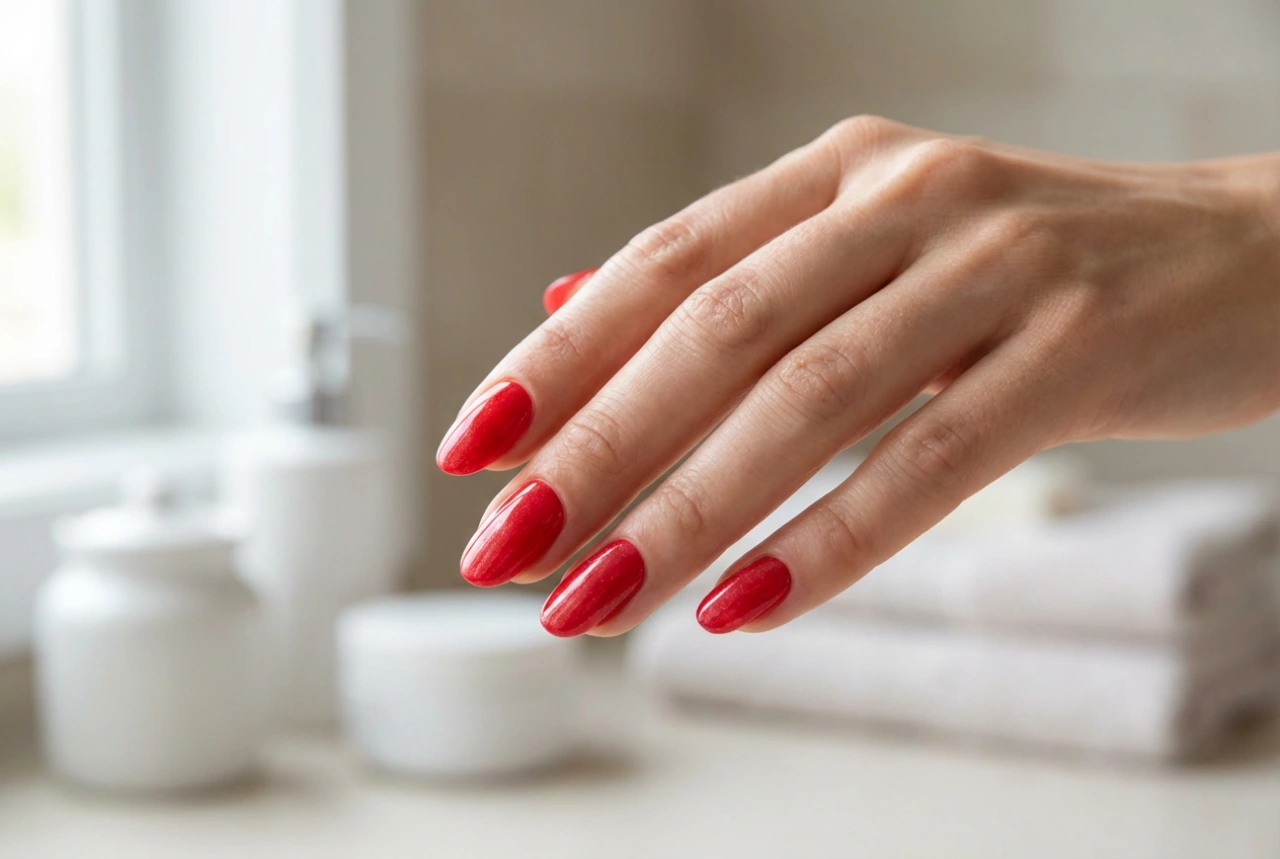
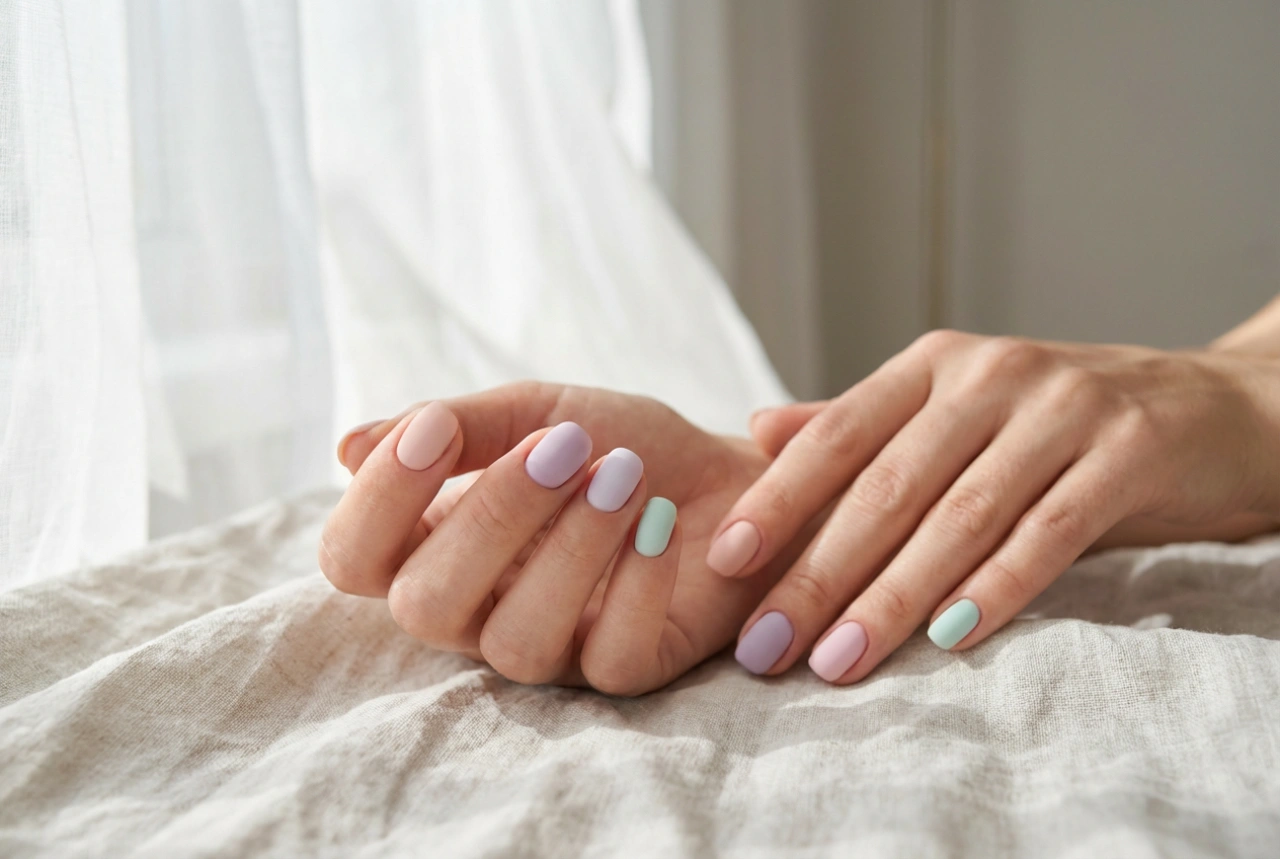
Start your collection with a few versatile colours. A classic red, a neutral nude, and a timeless pastel are great starting points. As you become more confident, you can expand your palette. Look for polishes with good pigmentation, which will provide full coverage in two thin coats.
Tools and Accessories
Proper tools make the application process smoother and more professional. Ensure you have:
- Nail Files: Have at least two grits. A medium grit (around 180) for shaping the nail and a fine grit (around 240) for gentle refinement.
- Buffer Block: Used to gently mattify the surface of the nail plate, which helps the base coat adhere better.
- Cuticle Pusher or Wooden Sticks: For gently pushing back cuticles and cleaning up any polish that may have gotten onto the skin before curing.
- Dust-Free Wipes: Essential for applying the cleaner without leaving lint behind on the nail plate.
- Cuticle Oil: To nourish the skin around the nails after the manicure is complete.
Your First Hybrid Manicure: A Step-by-Step Guide
With your kit assembled, you're ready to start. Follow these steps for a perfect application. Patience and precision are key, especially when you're just beginning.
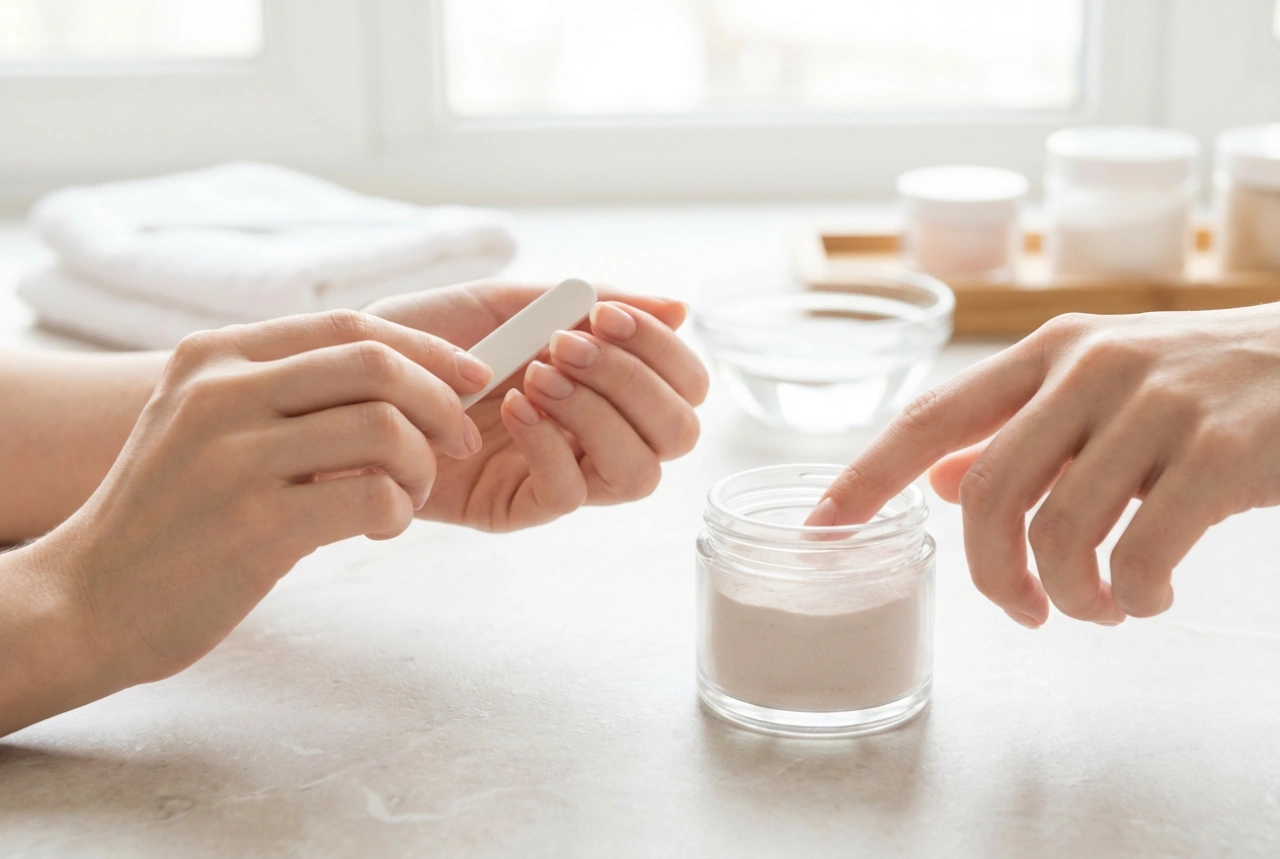
- Preparation: Start with clean, dry hands. Shape your nails with a file. Gently push back your cuticles. Lightly buff the entire surface of each nail plate with a buffer block to remove any shine. Use a brush or wipe to remove all the dust.
- Degreasing: Soak a dust-free wipe in nail cleaner and thoroughly wipe each nail to remove any oils and residue.
- Primer Application: If using, apply a very thin layer of primer to the nail plate and allow it to air dry completely.
- Base Coat: Apply a thin, even layer of the base coat, making sure to cap the free edge of the nail. Be careful not to touch the skin. Cure under your lamp for the recommended time.
- Colour Application: Apply a very thin layer of your chosen coloured polish. If you get any on your skin, clean it up with a wooden stick before curing. Cure under the lamp. Apply a second thin coat for full opacity and cure again.
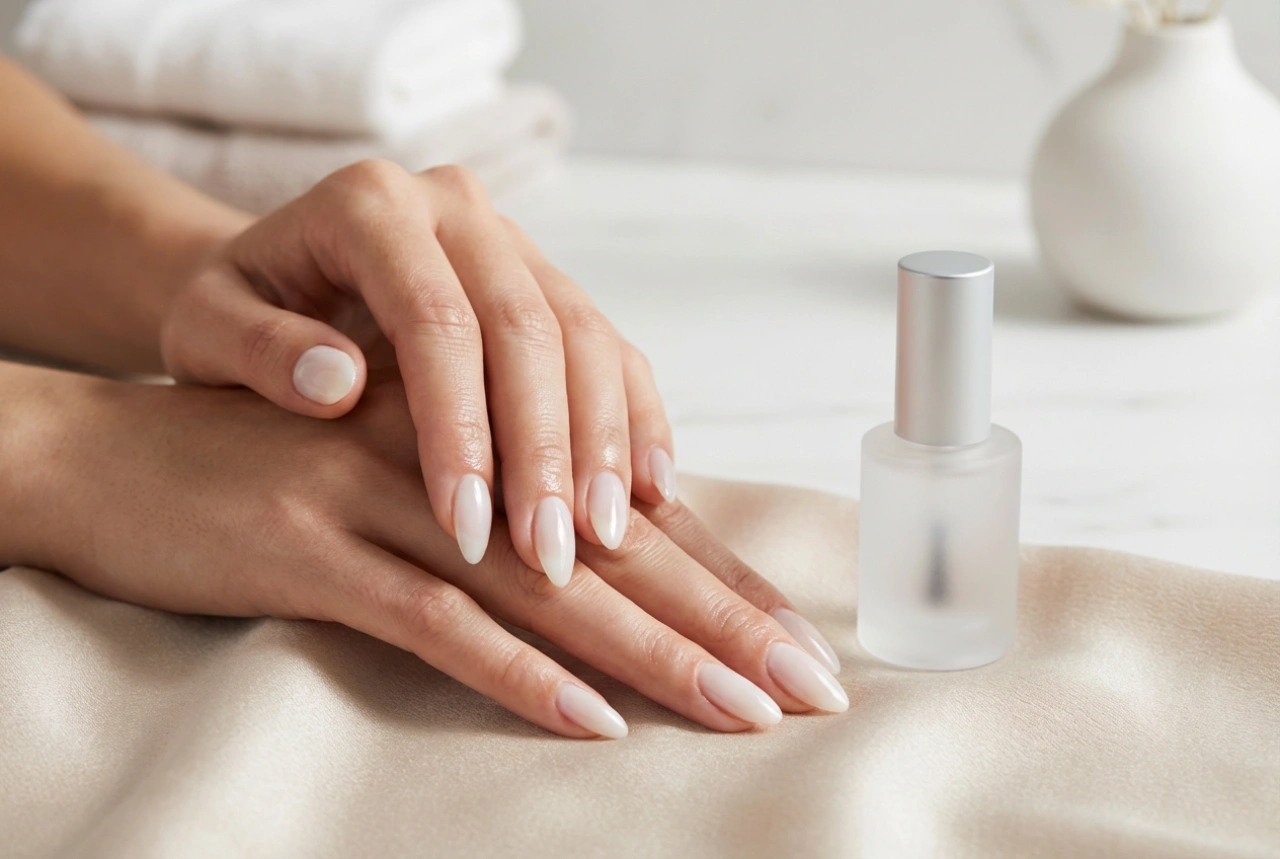
- Top Coat: Apply a layer of top coat, again capping the free edge. This will seal everything in and provide the final shine. Cure for the time specified for your lamp and top coat.
- Final Cleanse: After curing the top coat, the nail will feel sticky. This is the inhibition layer. Soak a fresh dust-free wipe in cleaner and firmly wipe each nail to reveal the hard, glossy finish.
- Nourish: Finish by applying a drop of cuticle oil to the skin around each nail and massaging it in.
Tips for Longevity and Nail Health
To keep your manicures looking great and your nails healthy, remember a few key things. Always apply products in thin layers; thick coats may not cure properly and can lead to wrinkling or peeling. Most importantly, never peel or pick off your hybrid polish. This can damage the top layers of your natural nail. Always follow the proper removal process, which involves soaking your nails in the specialised remover. Giving your nails a break between manicures and keeping them and your cuticles moisturised will also contribute to their long-term health and strength.