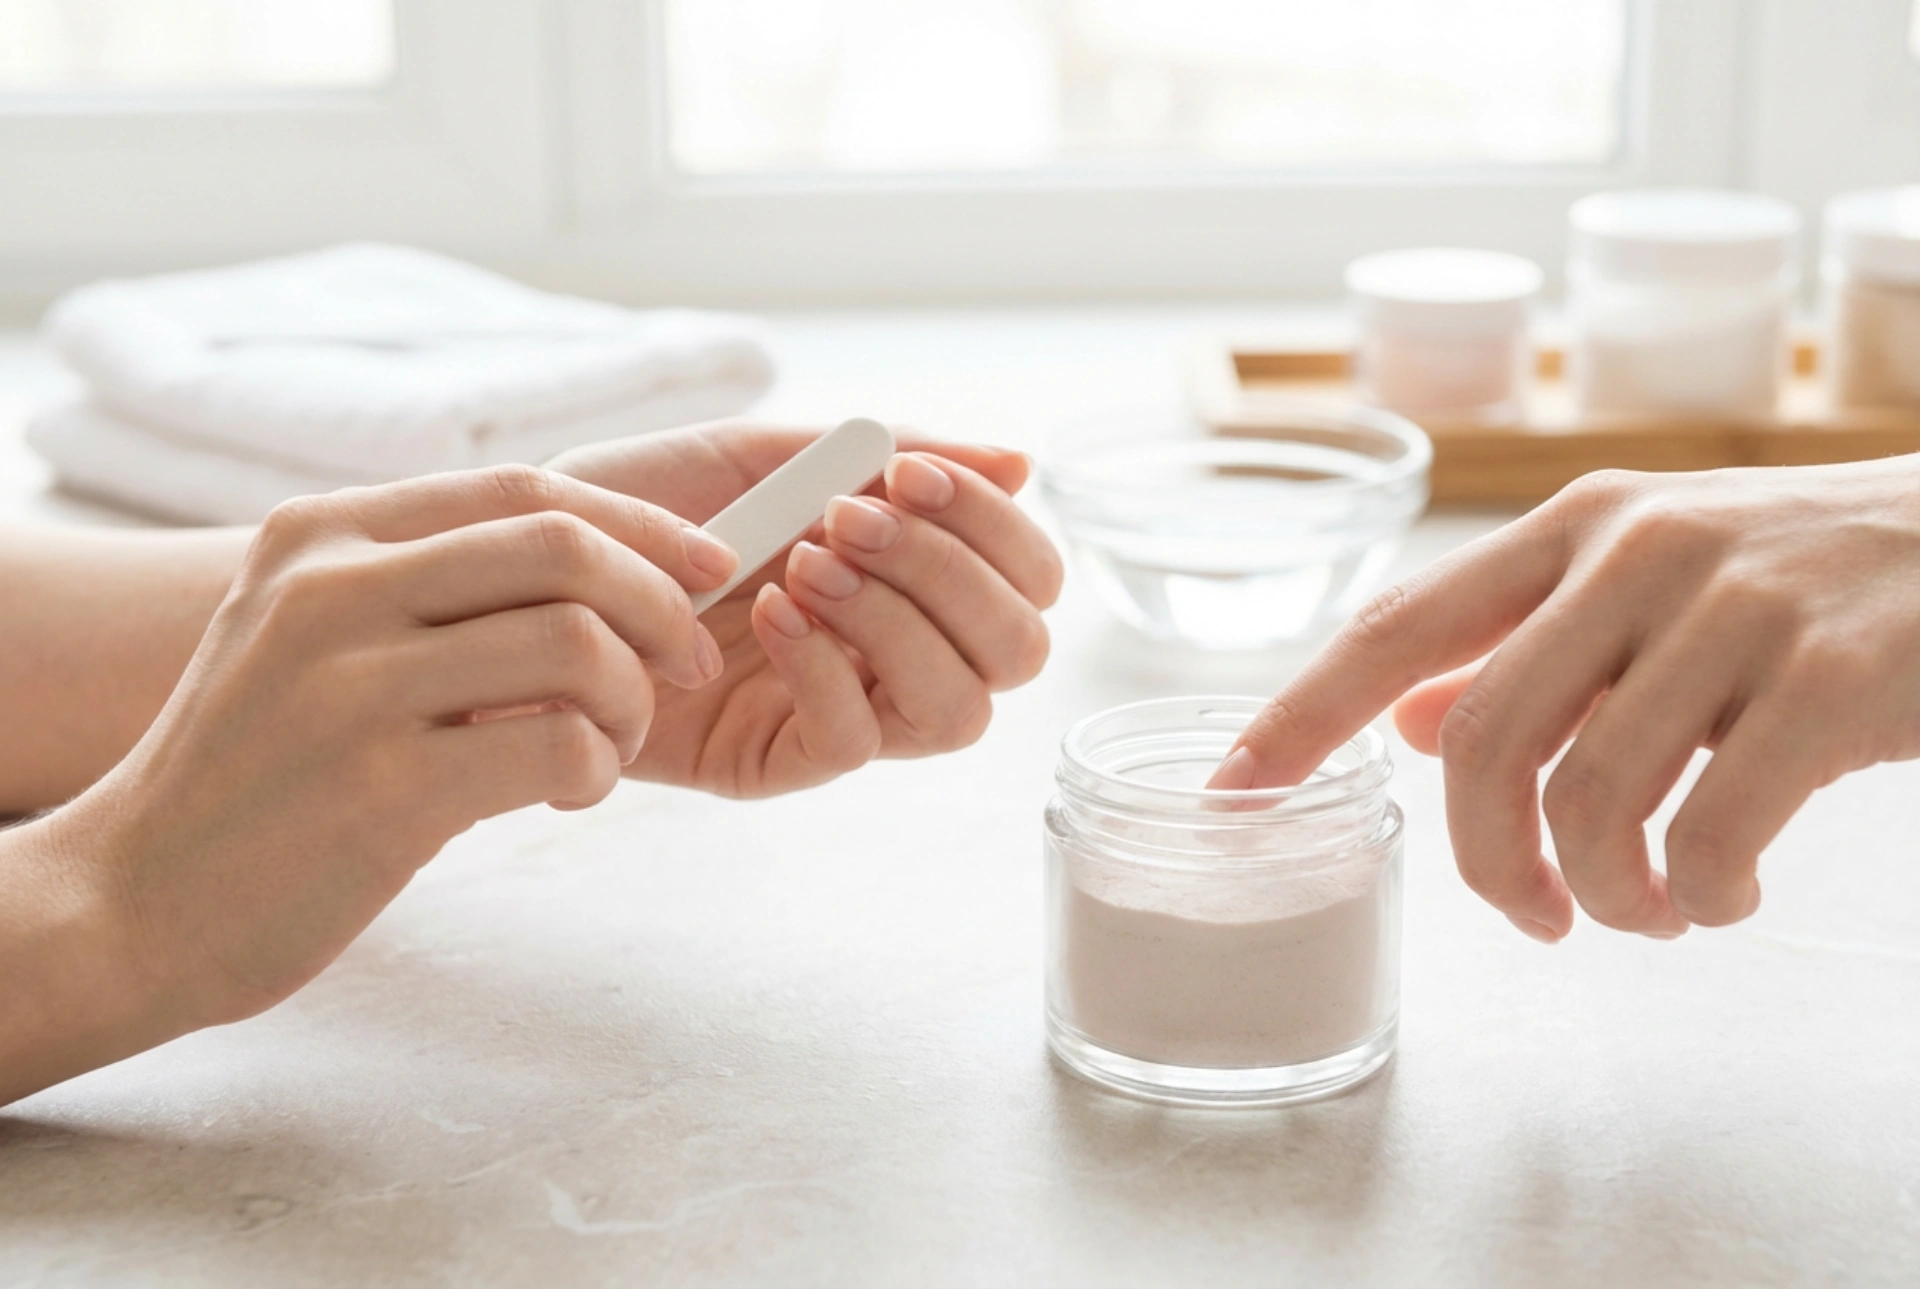


The quest for a perfect, long-lasting manicure that withstands daily life is a common goal in many beauty routines. Among the various methods available, the dip powder system has gained significant popularity for its durability and glossy finish, which can be achieved without the use of a UV lamp. This technique involves layering a fine powder onto the nail using a special adhesive. Understanding the correct procedure, from preparing the nail plate to the final finishing touches, is key to achieving a flawless and resilient result right at home.
What Is a Dip Powder Manicure?
A dip powder manicure is a nail enhancement technique that utilises a system of liquids and powders to create a strong, durable coating on natural nails or tips. Unlike traditional nail polish, it doesn't air dry in the same way, and unlike gel polish, it doesn't require curing under a UV or LED light. The process relies on a chemical reaction between a cyanoacrylate-based liquid (the base coat) and a fine acrylic powder. When a special liquid called an 'activator' is applied, it hardens the layers almost instantly, resulting in a finish that is known for being chip-resistant and lasting for several weeks.
Crucial First Step: Preparing the Nail Plate
Proper preparation is the foundation of any long-lasting manicure, and it is especially important for dip powder systems. Skipping this stage can lead to lifting and a shorter lifespan for your manicure. The goal is to create a clean, dry, and slightly textured surface that the product can adhere to securely.
Clean, Shape, and Manage Cuticles
Begin by ensuring your hands and nails are clean. File your nails to your desired shape, whether square, round, or almond. Next, focus on the cuticles. It is recommended to gently push back the cuticle tissue from the nail plate using a cuticle pusher. Avoid cutting the live cuticle tissue, as it serves as a protective barrier. Once your cuticles are neat, cleanse the nail surface thoroughly to remove any dust or debris.
Buff and Dehydrate
Using a fine-grit buffer, lightly buff the entire surface of each nail. The aim is not to thin the nail but simply to remove the natural shine. This creates a slightly rough texture that helps the base coat bond effectively. After buffing, it is vital to dehydrate the nail plate to remove any residual oils and moisture. You can do this by wiping each nail with a lint-free wipe soaked in a nail dehydrator solution or 99% isopropyl alcohol. Be careful not to touch the nail surface with your fingers after this step.
The Dipping Process: A Step-by-Step Guide
With your nails perfectly prepped, you are ready for the application. Work on one nail at a time to ensure the base coat doesn't dry before you can dip it into the powder.
- Step 1: Apply the Base Coat. Brush a thin, even layer of the base coat over the entire nail, stopping just short of the cuticle line to prevent the product from touching the skin.
- Step 2: Dip the Nail. Immediately and gently dip the nail into the pot of coloured powder at a 45-degree angle. This angle helps create a smooth application. Coat the entire nail and then pull it out straight.
- Step 3: Remove Excess Powder. Gently tap your finger to shake off any loose, excess powder. Do not wipe it at this stage.
- Step 4: Brush Away Particles. Using a clean, fluffy brush (like a makeup brush), lightly dust off all remaining loose powder from the nail and surrounding skin.
- Step 5: Repeat for Coverage. For most colours, two layers are sufficient for full opacity and strength. Simply repeat steps 1-4 on each nail to build your second layer. Some lighter or sheerer colours may benefit from a third layer.
Activating and Finishing for a Flawless Look
Once you have built up your desired layers of powder, the final steps involve hardening and perfecting the surface for a professional-looking shine.
Applying the Activator
Apply a generous coat of the activator liquid to every nail. This is the magic step that hardens the powder and base coat layers, creating a solid and durable structure. Allow the activator to dry completely, which usually takes a minute or two. The nail will feel hard to the touch when it's ready.
Shaping and Buffing the Surface
After the activator has fully cured, the nail surface may feel slightly rough or lumpy. Now is the time to perfect its shape and smoothness. Use a file to refine the edges and overall shape of the nail. Then, use a buffer to smooth out the entire surface until it is perfectly even and free of any imperfections. Wipe away all the dust before moving to the final step.
The Final Seal: Top Coat
Apply a final, thin layer of activator and wait about 30 seconds before wiping the nail with a lint-free cloth. To complete the manicure, apply two thin layers of the special top coat designed for the dip powder system. The first layer should be applied quickly. Allow it to dry for a minute before applying a second, more detailed layer to ensure full coverage and a high-gloss shine. This top coat will air dry in a few minutes, leaving you with a beautiful, durable manicure.




