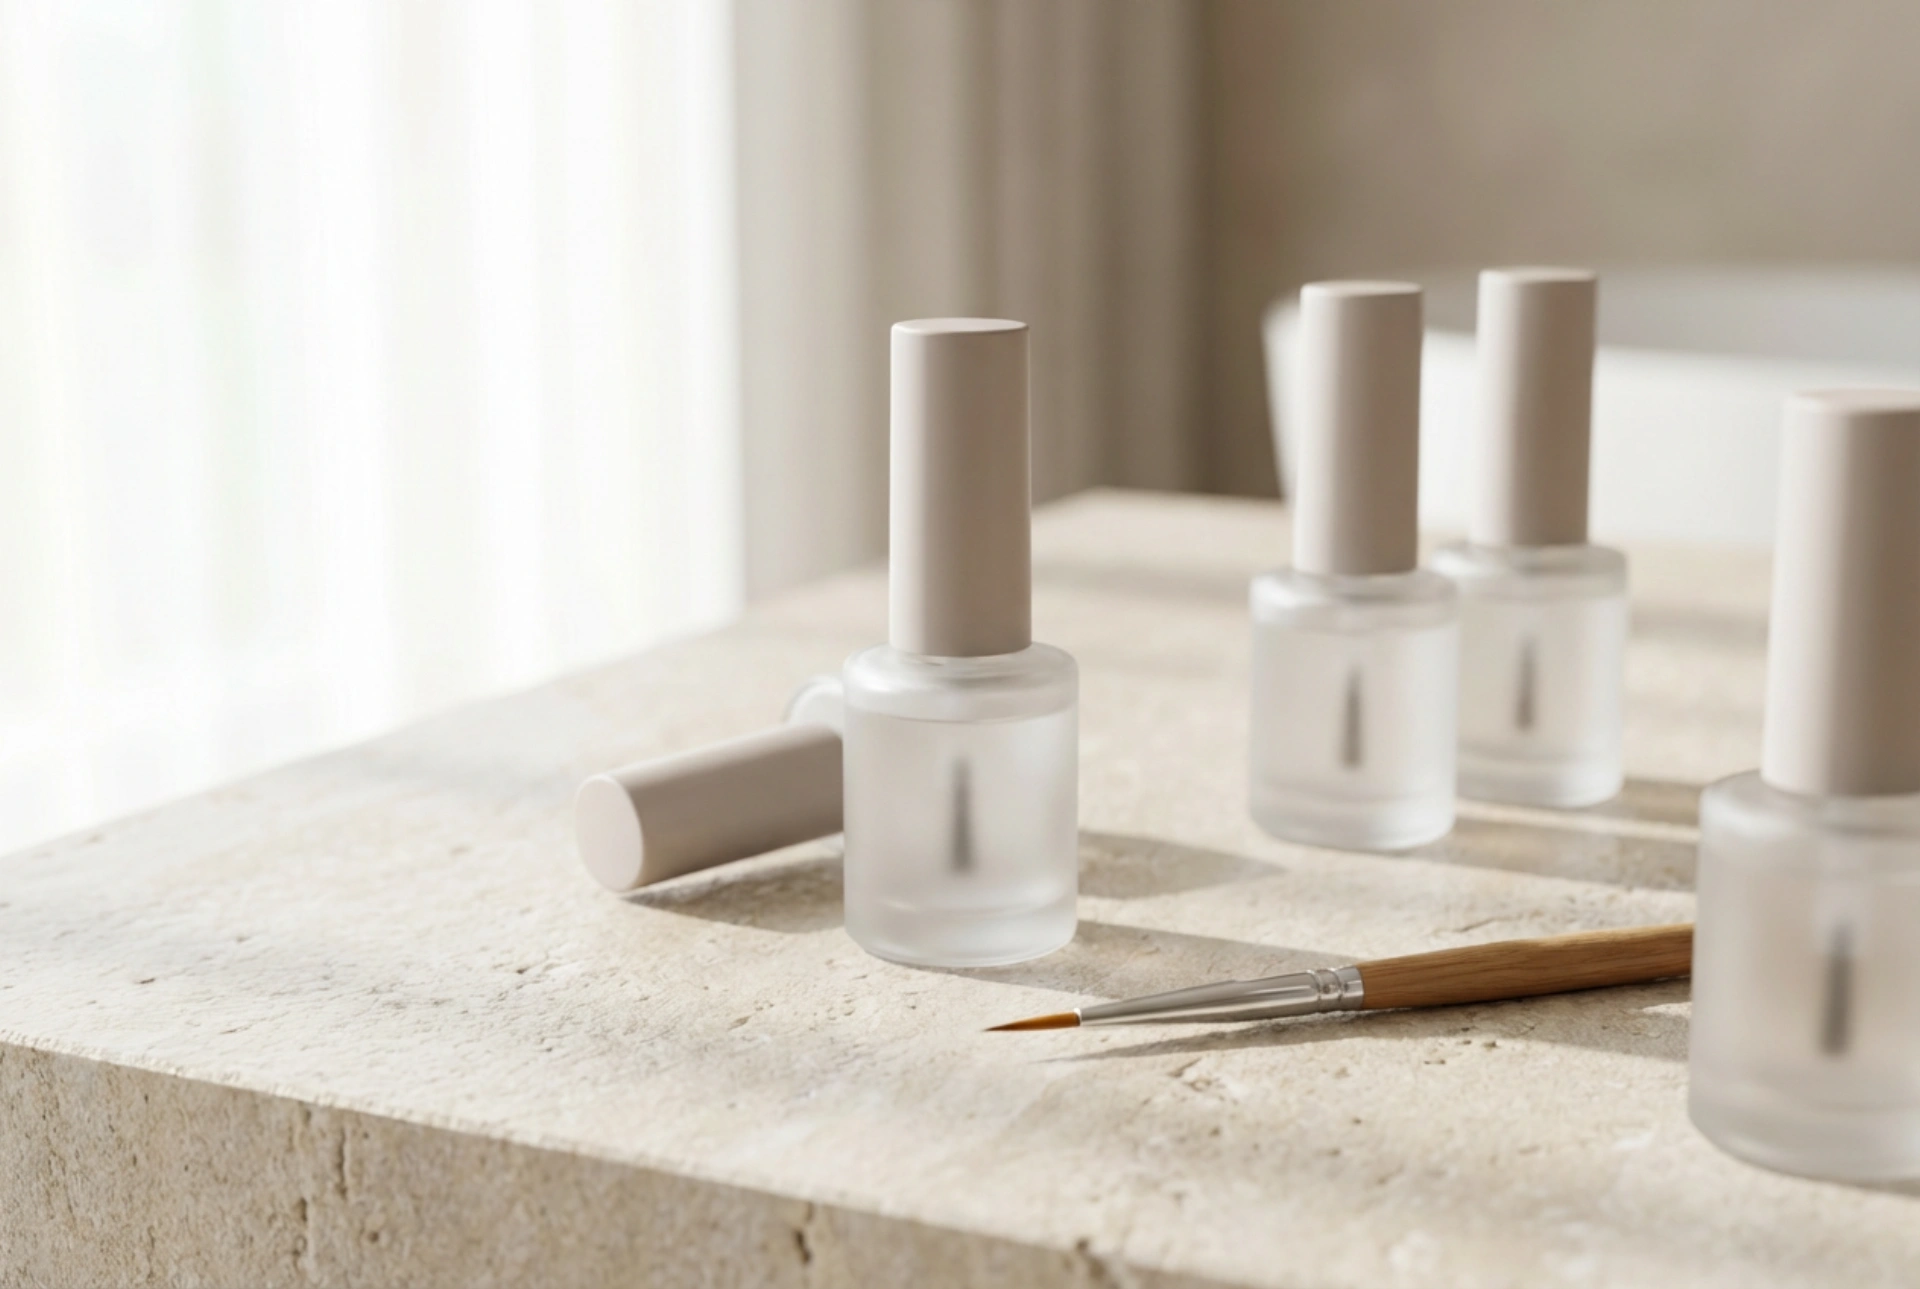


Creating a flawless, long-lasting manicure begins long before the first swipe of colour. As depicted by an elegant flat lay of pristine bottles and fine brushes, the secret to an immaculate finish lies in the precise preparation and selection of the base coat. The base coat acts as a crucial double-sided adhesive, binding the natural nail plate with the coloured gel polish while protecting the nail from discolouration. Understanding the various formulations available, mastering the application technique, and avoiding frequent slip-ups can elevate your home manicure to professional standards of durability and appearance.
Understanding Different Types of Gel Polish Base Coats
Not all nail plates are created equal, which is why the beauty industry offers a diverse range of base formulations. Selecting the correct type is the first step towards a manicure that resists chipping and lifting.
Classic Base Coats
The classic base coat is characterised by its thin, fluid consistency. It is designed primarily for healthy, hard nail plates that do not require structural correction or extensions. Its main function is to ensure maximum adhesion of the colour coat while remaining practically invisible on the nail.
Rubber Base Coats
Rubber bases are significantly thicker and more flexible than their classic counterparts. Infused with rubber bonds, they work harmoniously with the natural movement of the nail plate, preventing fractures. This type of base is ideal for brittle, thin, or uneven nails, as it allows for minor self-levelling, concealing ridges, and even slight extensions of the free edge.
Fibre-Reinforced Base Coats
Formulated with tiny synthetic fibres, these bases offer exceptional mechanical support for fragile and damaged nails. The fibres create a protective mesh-like structure over the nail plate, preventing splitting and cracking. It is an excellent choice for individuals looking to grow out their natural nails safely.
Peel-Off Base Coats
For those who enjoy changing their nail design frequently or wish to avoid the traditional soaking removal process, peel-off base coats provide a convenient solution. They create a temporary barrier that can be gently peeled away when desired, minimising contact with acetone and other removal solvents.
How to Properly Apply a Gel Base Coat
Even the most premium formulation will fail to perform if the application process is rushed or imprecise. Achieving a salon-quality bond requires a methodical approach to preparation and application.
- Dehydrate and Cleanse: The natural nail must be completely free of oils, dust, and moisture. After gently pushing back the cuticles and buffing the shine off the nail plate with a high-grit buffer, cleanse the area thoroughly with a professional dehydrator or prep solution.
- Control the Product Amount: Wipe the brush against the neck of the bottle to remove excess product. A common misconception is that more product ensures a stronger bond; in reality, thin, even layers are paramount.
- The Application Technique: Place a small drop of the base near the centre of the nail, push it gently towards the cuticle line without making contact with the skin, and pull it down to the free edge. Ensure the entire nail plate is evenly coated.
- Cap the Free Edge: Gently run the brush along the very edge of the nail tip. This sealing step prevents moisture from seeping under the gel polish, which is the primary cause of lifting.
- Cure Correctly: Place the hand in the curing lamp for the duration recommended by the manufacturer. Avoid touching the sticky inhibition layer that remains after curing, as this layer is vital for the adhesion of the subsequent colour coat.
Common Mistakes to Avoid During Application
While the process may seem straightforward, minor oversights can dramatically reduce the lifespan of your manicure. Recognising these common errors is key to mastering the craft.
Flooding the Cuticles
Allowing the base coat to run into the cuticles or lateral nail folds creates a physical bridge between the skin and the nail. As the skin moves and sheds natural oils, the cured gel will inevitably lift from the edges, causing the entire manicure to peel away prematurely.
Applying Thick Layers
If a base coat layer is too thick, the light from the curing lamp may not penetrate fully to the bottom of the layer. This leaves uncured, wet product trapped underneath a hardened shell, which can lead to rapid lifting and potential skin irritation due to prolonged contact with uncured monomers.
Inadequate Nail Plate Preparation
Skipping the buffing or dehydrating steps is one of the most frequent causes of manicure failure. Even microscopic traces of natural sebum or moisture on the nail plate will prevent the base coat from establishing a secure chemical bond.
Ignoring the Free Edge
Forgetting to cap the free edge exposes the vulnerable tip of the nail. Daily activities, such as typing or washing hands, can easily introduce water and oils under the uncured edges, leading to chips within a few days.
How to Choose the Right Base for Your Nail Type
To achieve the best results, evaluate the condition of your natural nails. If your nails are naturally strong and rarely bend, a classic, thin base will suffice. For those with flexible, soft, or damaged nail plates, a rubber or fibre-reinforced base is highly recommended to provide the necessary flexibility and support. By matching the product's physical properties to your nail's specific needs, you ensure a durable, beautiful finish that lasts for weeks.