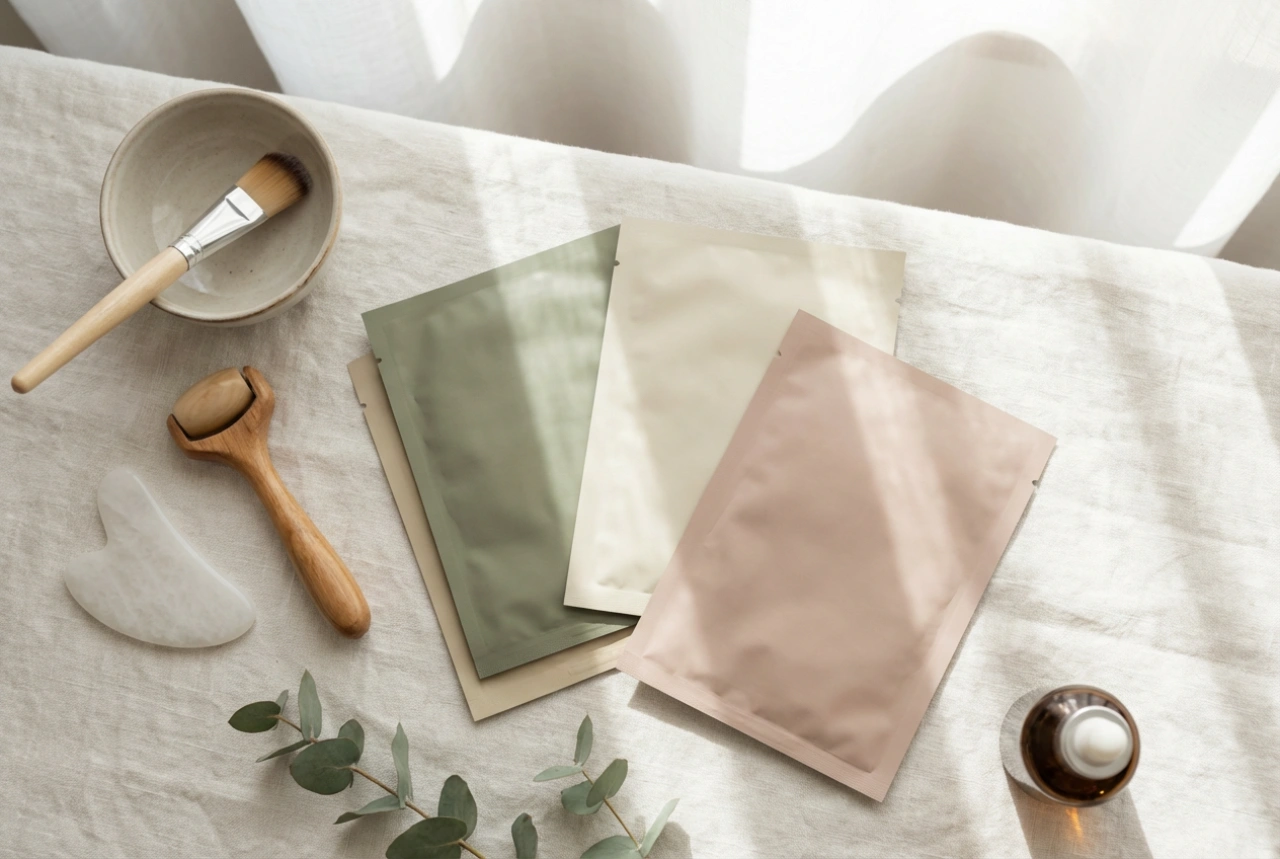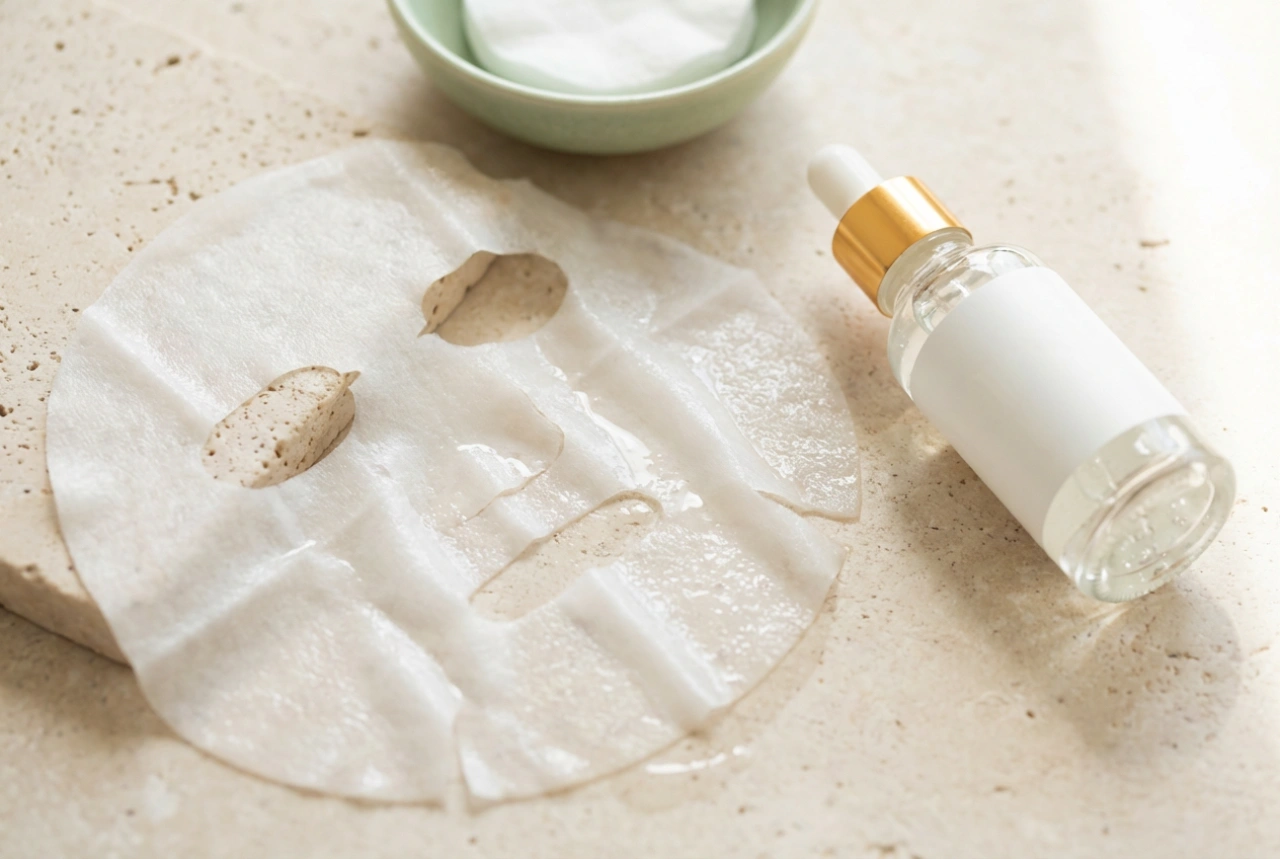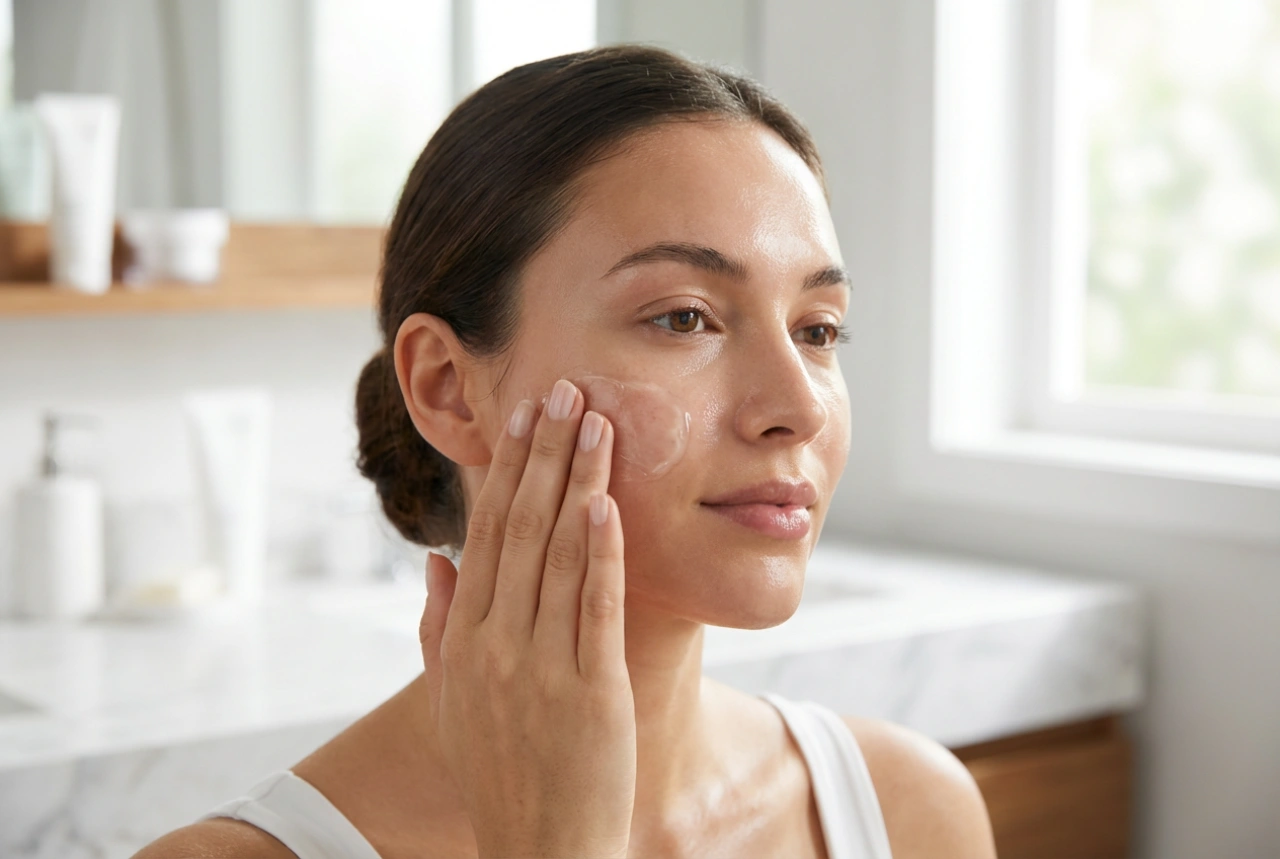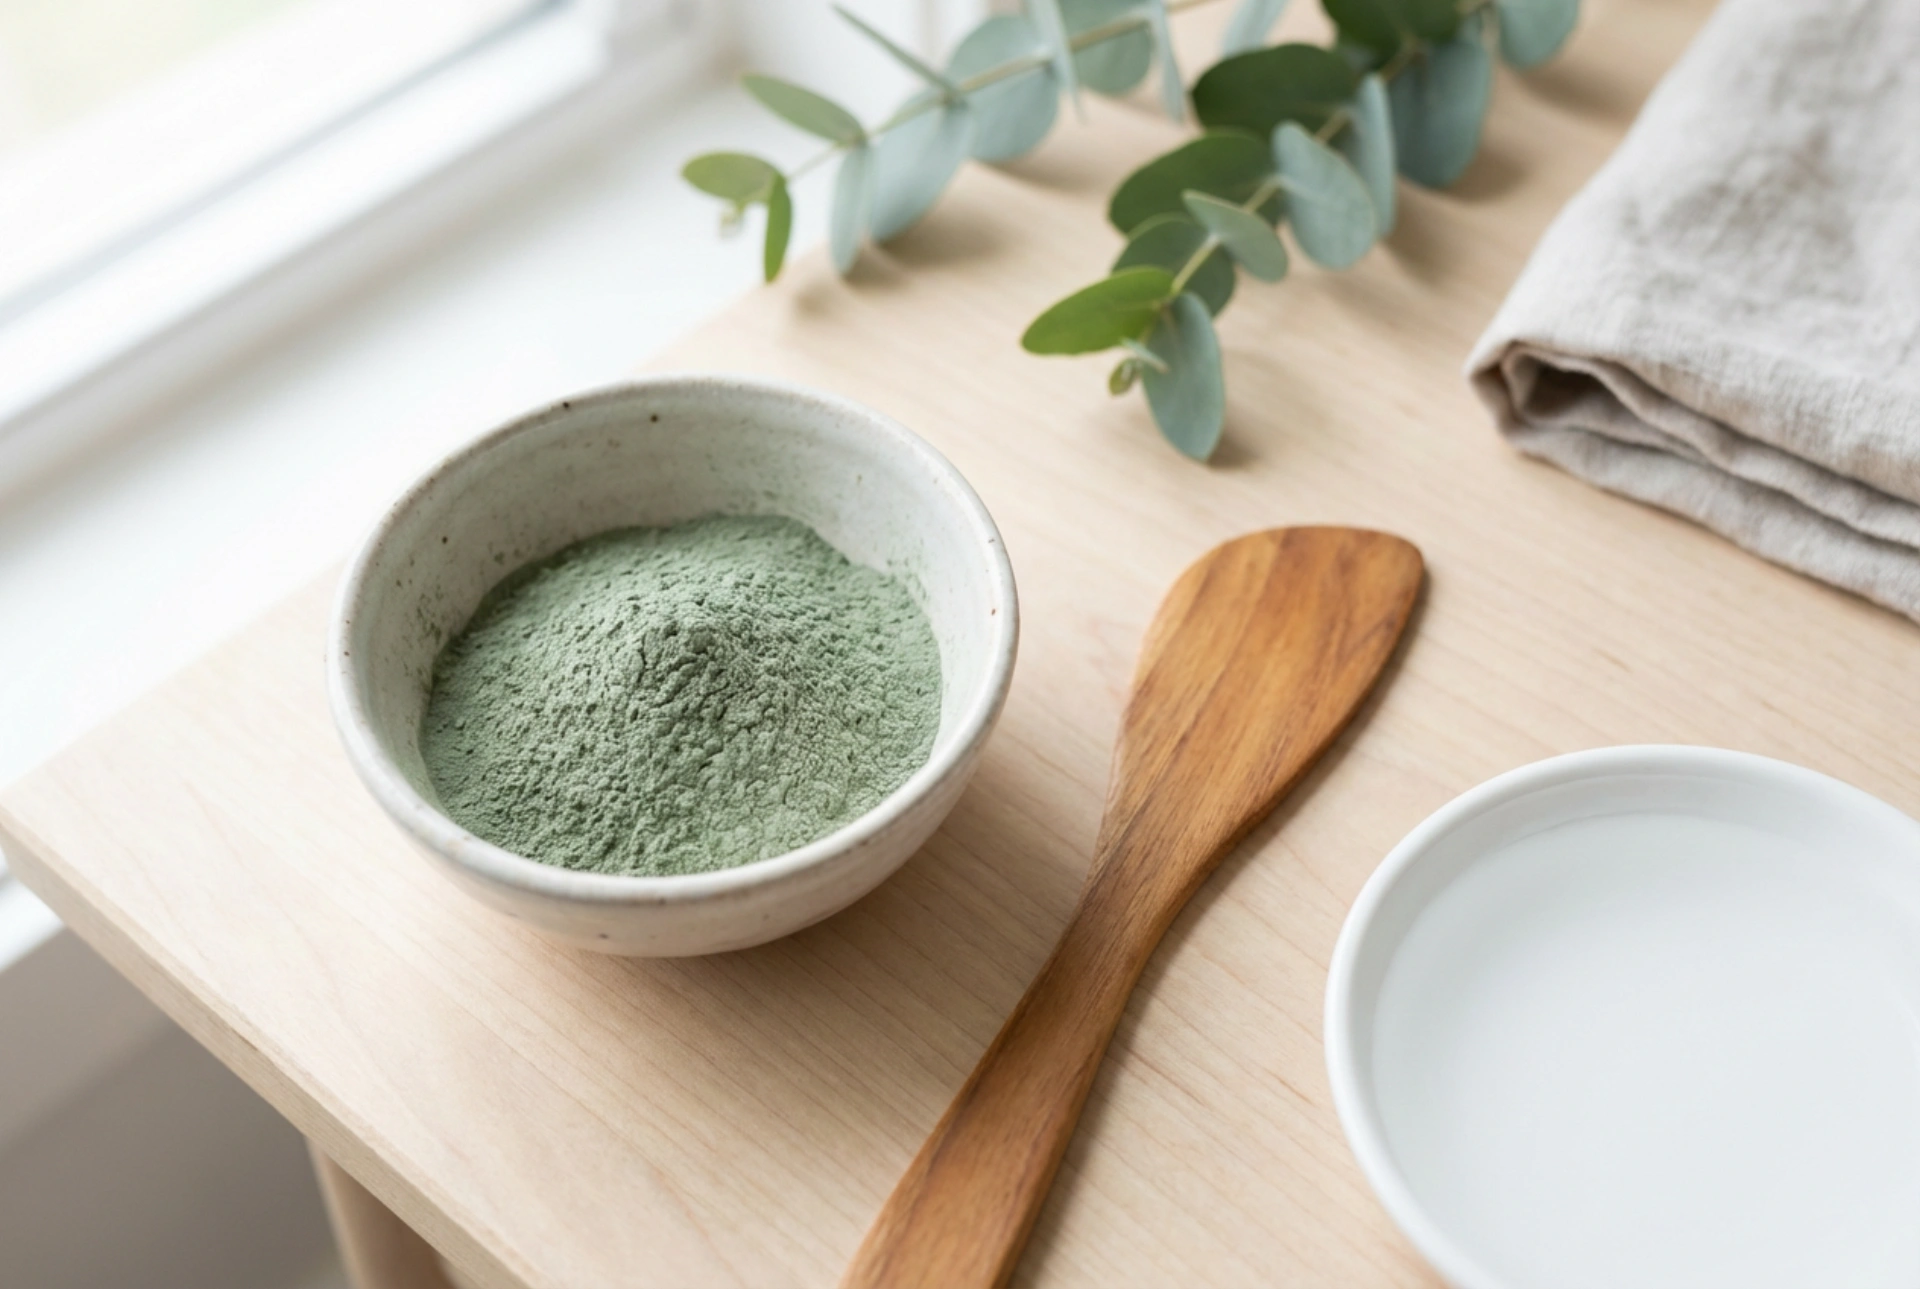


The ritual of preparing a professional-grade beauty treatment at home brings a sense of serenity and mindful self-care to our daily routines. Creating a calm space with a ceramic bowl, finely milled green algae powder, a wooden spatula, and a small dish of pure water sets the stage for a deeply rejuvenating experience. Algae peel-off masks, often known as modeling masks, have transitioned from premium spa cabins directly to our dressing tables. Achieving the perfect results requires understanding the subtle art of mixing, application thickness, and the technique behind a clean, satisfying peel.
The Appeal of Algae Masks in Home Skincare
Algae masks are celebrated for their unique ability to create a completely occlusive barrier over the skin. Unlike traditional clay or cream masks that dry out or absorb excess oils, algae masks form a rubber-like, gelatinous seal. This seal prevents trans-epidermal water loss, forcing the hydrating elements and botanical active ingredients deep into the epidermis. Derived from natural marine sources, particularly brown and red seaweed, these powders are naturally rich in alginates, vitamins, and minerals that soothe, cool, and deeply revitalise the complexion.
When mixed with water, the alginate powder undergoes a rapid polymerisation process, turning from a loose powder into a thick paste, and eventually setting into a flexible, solid membrane. This process makes it incredibly versatile, adapting perfectly to the contours of any face. It is an ideal treatment for anyone looking to restore plumpness, ease temporary redness, and give the skin a refreshed, luminous glow without relying on harsh chemical agents or invasive salon procedures.
Step-by-Step Powder Preparation: Getting the Perfect Consistency
The success of an algae mask application relies heavily on the initial preparation stage. The mixing process is highly time-sensitive, as the gelation process begins the moment water touches the powder. To achieve a smooth, lump-free paste that is easy to spread, follow these essential steps:
- Measure accurately: Always follow the recommended ratio, which is typically three parts powder to two parts liquid, or equal volumes depending on the specific formulation. Accurate measurement ensures the mask neither runs down the neck nor hardens too quickly in the bowl.
- Use cool, pure water: Warm water accelerates the setting process, giving you less time to apply the mixture. Cool or lukewarm mineral water is ideal as it keeps the paste workable for longer and provides an incredibly refreshing, cooling sensation on the skin.
- Stir with vigour: Using a wide wooden or silicone spatula, rapidly mix the water into the powder with sweeping, pressing motions against the sides of the bowl. This helps break up any pockets of dry powder, resulting in a smooth, cake-batter consistency within thirty to forty-five seconds.
The Secret is in the Thickness: Why Layering Matters
One of the most common mistakes when applying an algae mask at home is spreading it too thinly. An inadequate layer will dry out completely on the skin, becoming paper-like, dusty, and incredibly difficult to peel off. Conversely, an excessively thick layer may slide down the face under its own weight, making the experience messy and wasting valuable product.
The ideal thickness for an algae mask is approximately two to three millimetres across the entire face. This depth provides enough moisture to prevent the mask from drying out and cracking, while maintaining the structural integrity needed to peel it off in one piece. Pay special attention to the edges of the face, near the hairline, jawline, and ears. These border areas tend to be applied too thinly, leading to stubborn, dry patches that are tedious to clean. To prevent this, build up slightly thicker, rounded borders (often called "rolled edges") during application.
Seamless Removal: How to Peel it Off in One Go
After applying the mask, allow it to rest for fifteen to twenty minutes. During this time, you will feel a pleasant cooling and tightening sensation as the mask solidifies. You can gently test the state of the mask by tapping it with a clean fingertip; if it feels firm, springy, and no longer leaves any wet residue on your finger, it is ready for removal.
To achieve a seamless, single-piece removal, follow this gentle technique:
- Moisten the edges: Take a damp cotton pad or wet your fingertips and gently trace the dry, thin outer borders of the mask near your hairline and jawline. This softens any dry areas, making them easy to lift.
- Create a starting point: Gently wiggle your facial muscles or smile slightly to help loosen the grip of the mask along the outer edges of your face. Use your fingers to lift the lower edge of the mask near the chin or base of the neck.
- Peel upwards: Holding the lifted edge with both hands, slowly and smoothly peel the mask in an upward direction, moving from the chin towards the forehead. Peeling upwards works with the natural direction of the skin's structure and ensures a comfortable, pull-free removal.
Post-Mask Care for Radiant Skin
Once the main mask is removed, you may find a few tiny fragments left along the perimeter of your face. Do not scrub or scratch these away. Instead, simply sweep over the area with a cotton pad saturated with a gentle toner or water. Because the skin beneath the mask is now deeply hydrated and receptive, this is the perfect moment to seal in the benefits. Apply a few drops of your favourite hydrating serum or a lightweight moisturiser to lock in the newly locked-in moisture and maintain a plump, glowing complexion throughout the day.