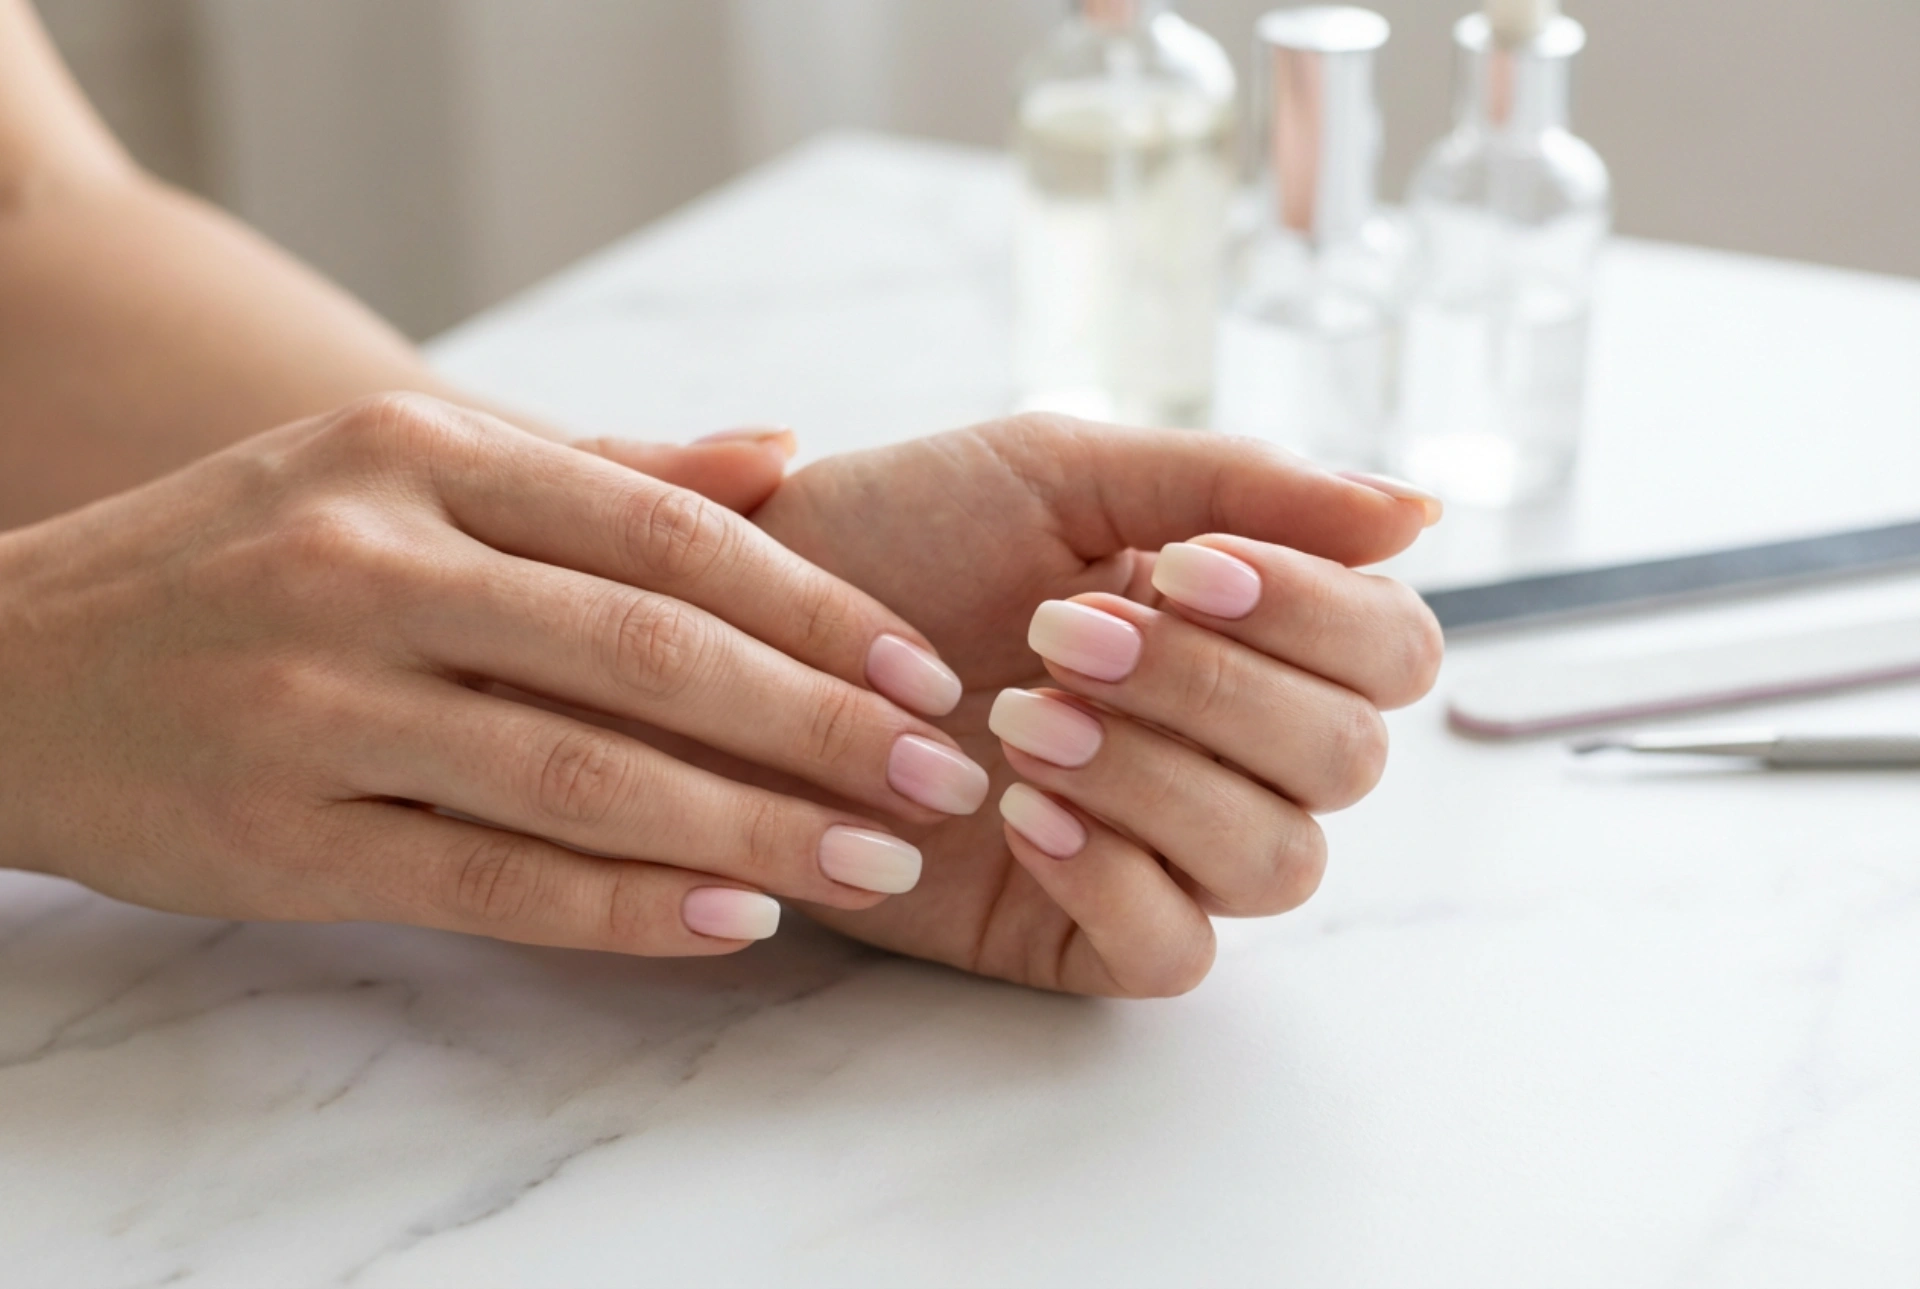


Beautifully manicured hands are a universal showcase of elegance, and subtle gradients on the nails have remained one of the most popular styling choices for seasons. The ombre technique, which features a soft transition from one colour to another, adds depth to the nails and complements both everyday outfits and formal looks. Achieving a flawless, seamless blend requires the right approach and a bit of patience, but the final glossy finish is incredibly rewarding.
The classic sponge method
The most traditional and popular way to create an ombre effect is by using a cosmetic sponge. This method is highly accessible and allows for a beautiful, diffused transition between chosen shades.
- Preparation: Apply a light base colour over the entire nail plate and let it dry completely. This will serve as the background for your gradient.
- Application: Apply stripes of your chosen nail colours directly onto a small, dense latex or cosmetic sponge, ensuring the edges of the colours overlap slightly.
- Stamping: Gently press the sponge onto the nail surface, moving it slightly up and down to blend the boundaries between the shades. Repeat this step after the first layer dries to build up colour intensity.
The brush blending technique
For those who prefer a more precise application without the textured finish that sponges can sometimes leave, a specialised ombre brush is an excellent alternative. These brushes typically feature feathered, uneven bristles that make blending seamless.
- Colour placement: Apply the first colour to one half of the nail and the second colour to the other half, letting them meet in the middle.
- Blending: Using light, horizontal or vertical feathering strokes with the ombre brush, gently sweep across the wet polish where the two colours meet to create a smooth gradient.
- Refinement: Clean the brush regularly during the process to avoid muddiness, and apply a second thin layer if necessary to achieve perfect opacity.
The pigment powder method
Using cosmetic pigment powders is a modern and highly effective way to achieve an exceptionally smooth gradient transition, especially when working with dry or semi-cured surfaces.
- Base application: Start with a smooth, solid base coat. If using products that leave a tacky residue, this sticky layer will help the powder adhere perfectly.
- Dusting: Use a soft eyeshadow applicator or a fluffy brush to pick up a small amount of pigment powder. Gently tap and blend the powder onto the tip of the nail, fading it out towards the cuticle.
- Sealing: Once the gradient looks perfectly diffused, use a soft fan brush to sweep away any excess powder before applying a protective layer.
Essential tips for maximum durability
Creating a beautiful gradient is only half the battle; ensuring the design lasts without chipping is equally important for a long-lasting, sophisticated look. Proper sealing is the key to maintaining the smooth transition and glossy finish.
Always finish your nail art with a generous layer of high-quality top coat. A good top coat not only protects the design from external damage but also helps to visually merge the gradient layers, smoothing out any minor imperfections or textures left by sponges. Ensure you seal the free edge of the nail by running the brush along the very tip to prevent lifting and premature wear.




