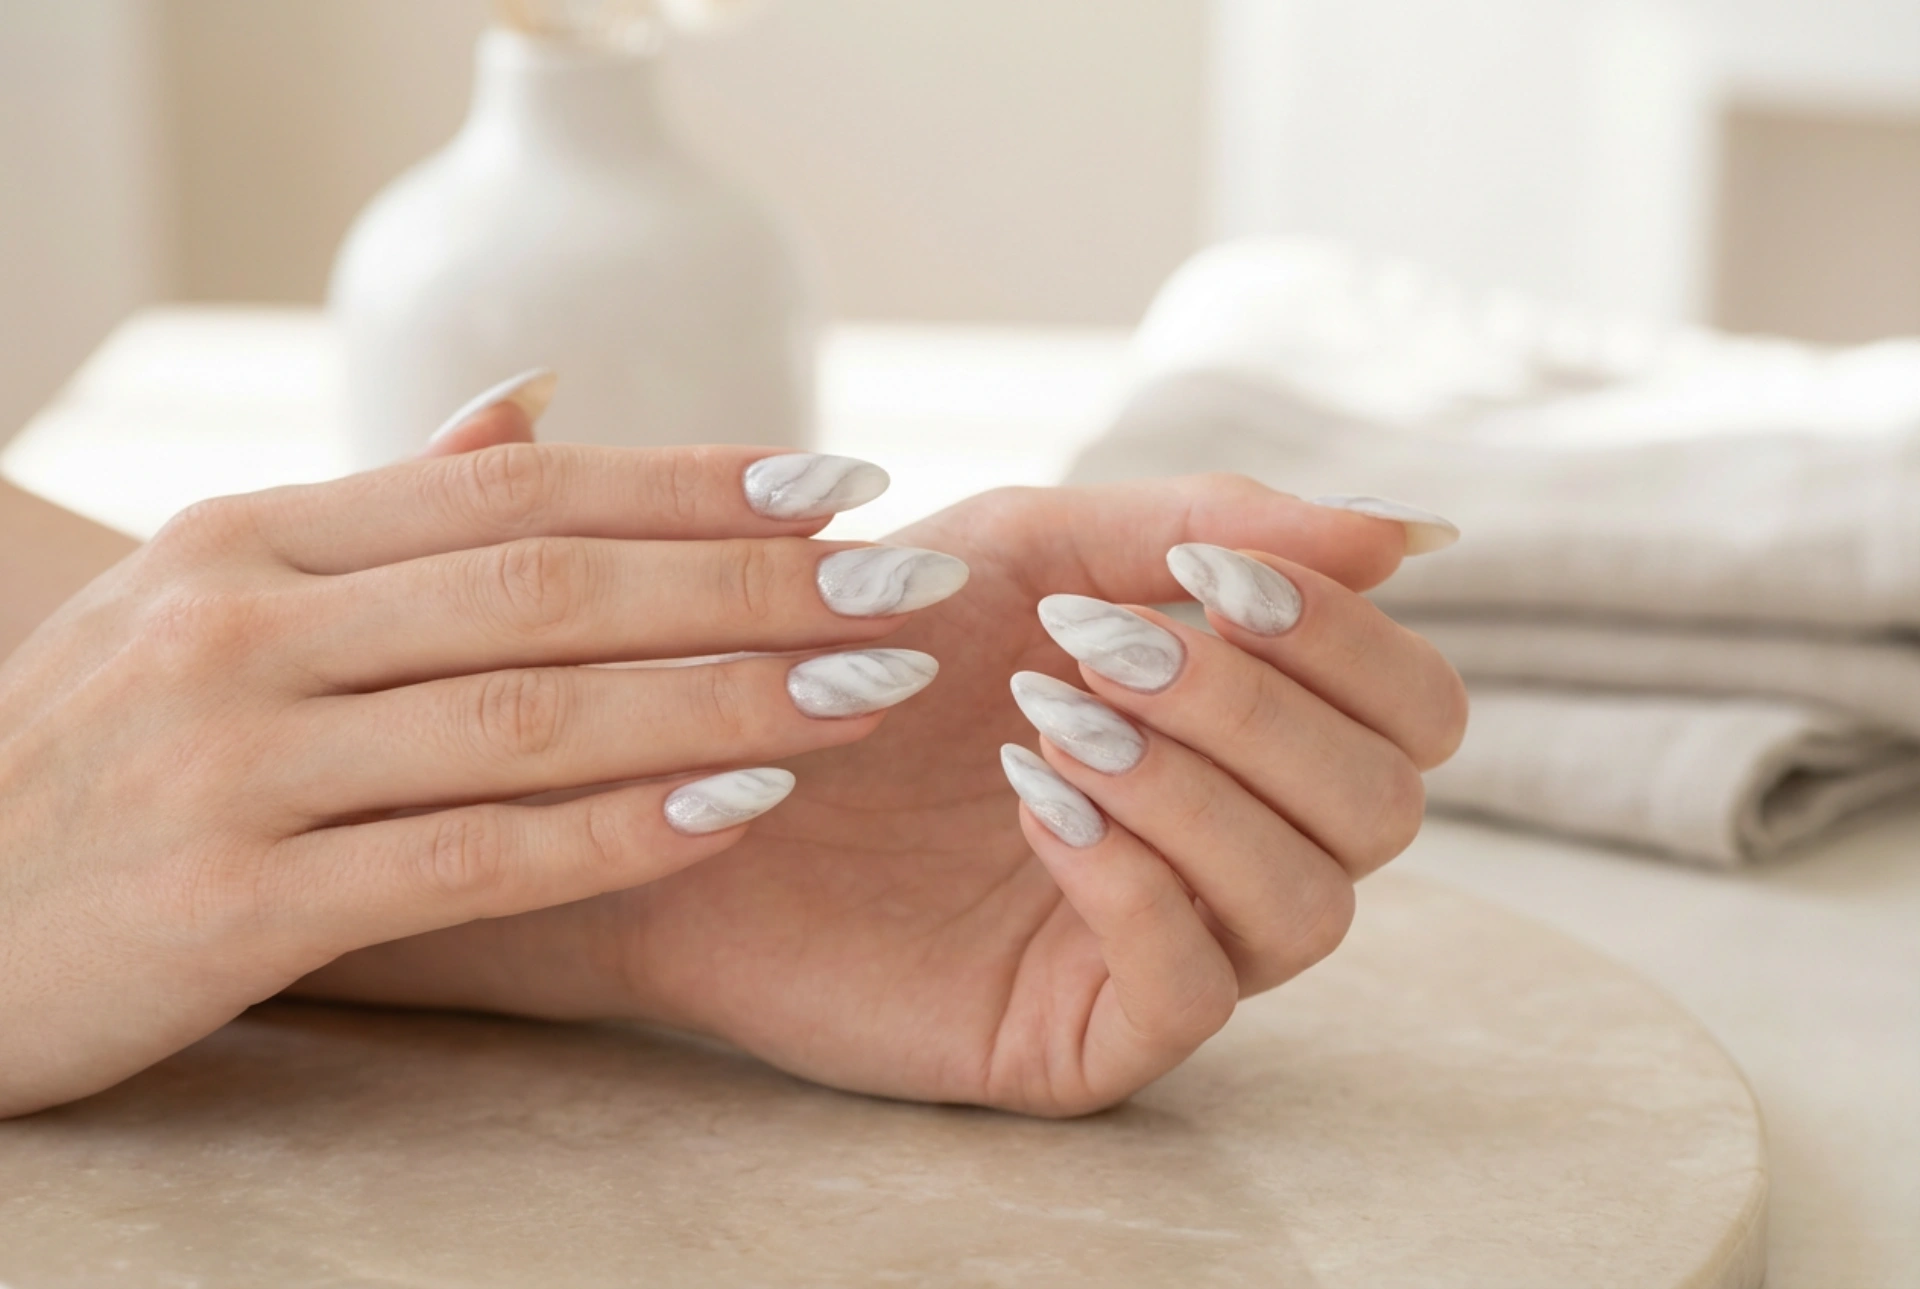


Beautifully manicured hands are a true reflection of personal style and elegance. Among the most popular nail art trends of recent seasons, the delicate marble design stands out as a timeless classic. Reminiscent of luxurious stone surfaces, this sophisticated look combines soft grey, white, and subtle shimmering tones to create a refined aesthetic that suits any occasion. Achieving this artistic design at home is easier than it looks, and it does not require professional salon skills. With a bit of patience and the right approach, you can transform your nails into a canvas of minimalist beauty.
The Appeal of Marble Nail Art
The marble nail trend owes its enduring popularity to its sheer versatility and unique character. No two marble patterns are ever exactly the same, meaning every single manicure is a bespoke piece of art. This style works exceptionally well on various nail shapes, from classic oval to modern almond, and can be adapted to suit both short and long lengths. By blending neutral shades with delicate veins, you achieve a clean, sophisticated look that complements both casual everyday outfits and formal evening wear.
Preparing Your Canvas
Before diving into the creative process, proper nail preparation is essential for a flawless and long-lasting finish. Start by shaping your nails with a gentle file and gently pushing back the cuticles. Lightly buff the nail surface to ensure smooth application, and cleanse the plate thoroughly to remove any natural oils or dust. Applying a high-quality base coat is a crucial step that protects your natural nails and provides a smooth foundation for the marble design to adhere to.
Method 1: The Classic Wet-on-Wet Technique
The wet-on-wet technique is one of the most popular ways to create a soft, diffused marble effect. This method relies on applying wet polish onto an uncured or wet base, allowing the colours to naturally blend and spread. It creates incredibly realistic, smoky veins that mimic natural stone textures perfectly.
- Apply a solid base colour, such as a soft white or light grey, and let it dry or cure.
- Apply a thin layer of clear top coat or a special blooming gel, but do not dry or cure it yet.
- Using a very fine nail art brush, pick up a tiny amount of a contrasting darker shade, such as charcoal grey or deep black.
- Gently paint thin, irregular wavy lines onto the wet layer. Watch as the colour softly spreads and blurs.
- Once you are happy with the diffusion, let the design set completely and seal it with a glossy top coat.
Method 2: The Precise Fine Brush Technique
For those who prefer more control over their nail art, the fine brush technique is the perfect choice. This method allows you to paint precise, delicate veins exactly where you want them, making it ideal for creating intricate, high-contrast marble patterns.
- Start with two coats of your chosen background shade and ensure they are fully dry or cured.
- Dip a detailer brush into a diluted darker polish or nail paint. It is helpful to mix the paint with a little top coat to make it more translucent.
- Paint thin, shaky, and branching lines across the nail. Real marble veins are never perfectly straight, so intentional shaking of the hand actually enhances the realistic effect.
- Use a clean brush dampened with a tiny amount of solvent or top coat to gently soften one side of the painted lines, creating depth and shadow.
- Add a few tiny flecks of silver or gold shimmer along the veins for a subtle touch of luxury, then seal with your favourite top coat.
Method 3: The Household Plastic Wrap Method
If you are looking for a quick, effortless, and abstract way to achieve a textured stone look, the plastic wrap method is an excellent alternative. This technique uses simple household items to create a beautifully distressed, organic marble texture with minimal effort.
- Apply your primary base colour and allow it to dry fully.
- Apply a second contrasting colour over the entire nail surface.
- While the second layer is still completely wet, take a crumpled piece of plastic wrap and gently dab it onto the nail.
- The plastic wrap will lift away sections of the top colour, revealing the base shade underneath in a unique, marbled pattern.
- Clean any excess polish from the surrounding skin, let the pattern dry, and apply a generous layer of top coat to smooth out the texture.
Finishing Touches for a Professional Look
Regardless of the method you choose, the final step is what truly elevates the design. A thick, high-shine top coat will smooth out any minor unevenness created during the layering process, giving your nails a professional, glass-like finish. For an ultra-modern twist, you can also experiment with a matte top coat, which transforms the marble effect into a chic, satin-stone texture. Do not forget to apply a nourishing oil to your cuticles at the very end to keep your hands looking perfectly groomed and hydrated.




