


A lip liner is one of the most transformative yet underappreciated tools in any makeup collection. More than just a simple pencil, it's the secret to achieving a polished, long-lasting, and perfectly defined lip look. Whether you want to create the illusion of fuller lips, prevent your lipstick from feathering, or simply perfect your natural lip shape, mastering the art of the lip liner is a game-changer. This guide will walk you through everything you need to know, from selection to flawless application.
Choosing Your Perfect Lip Liner
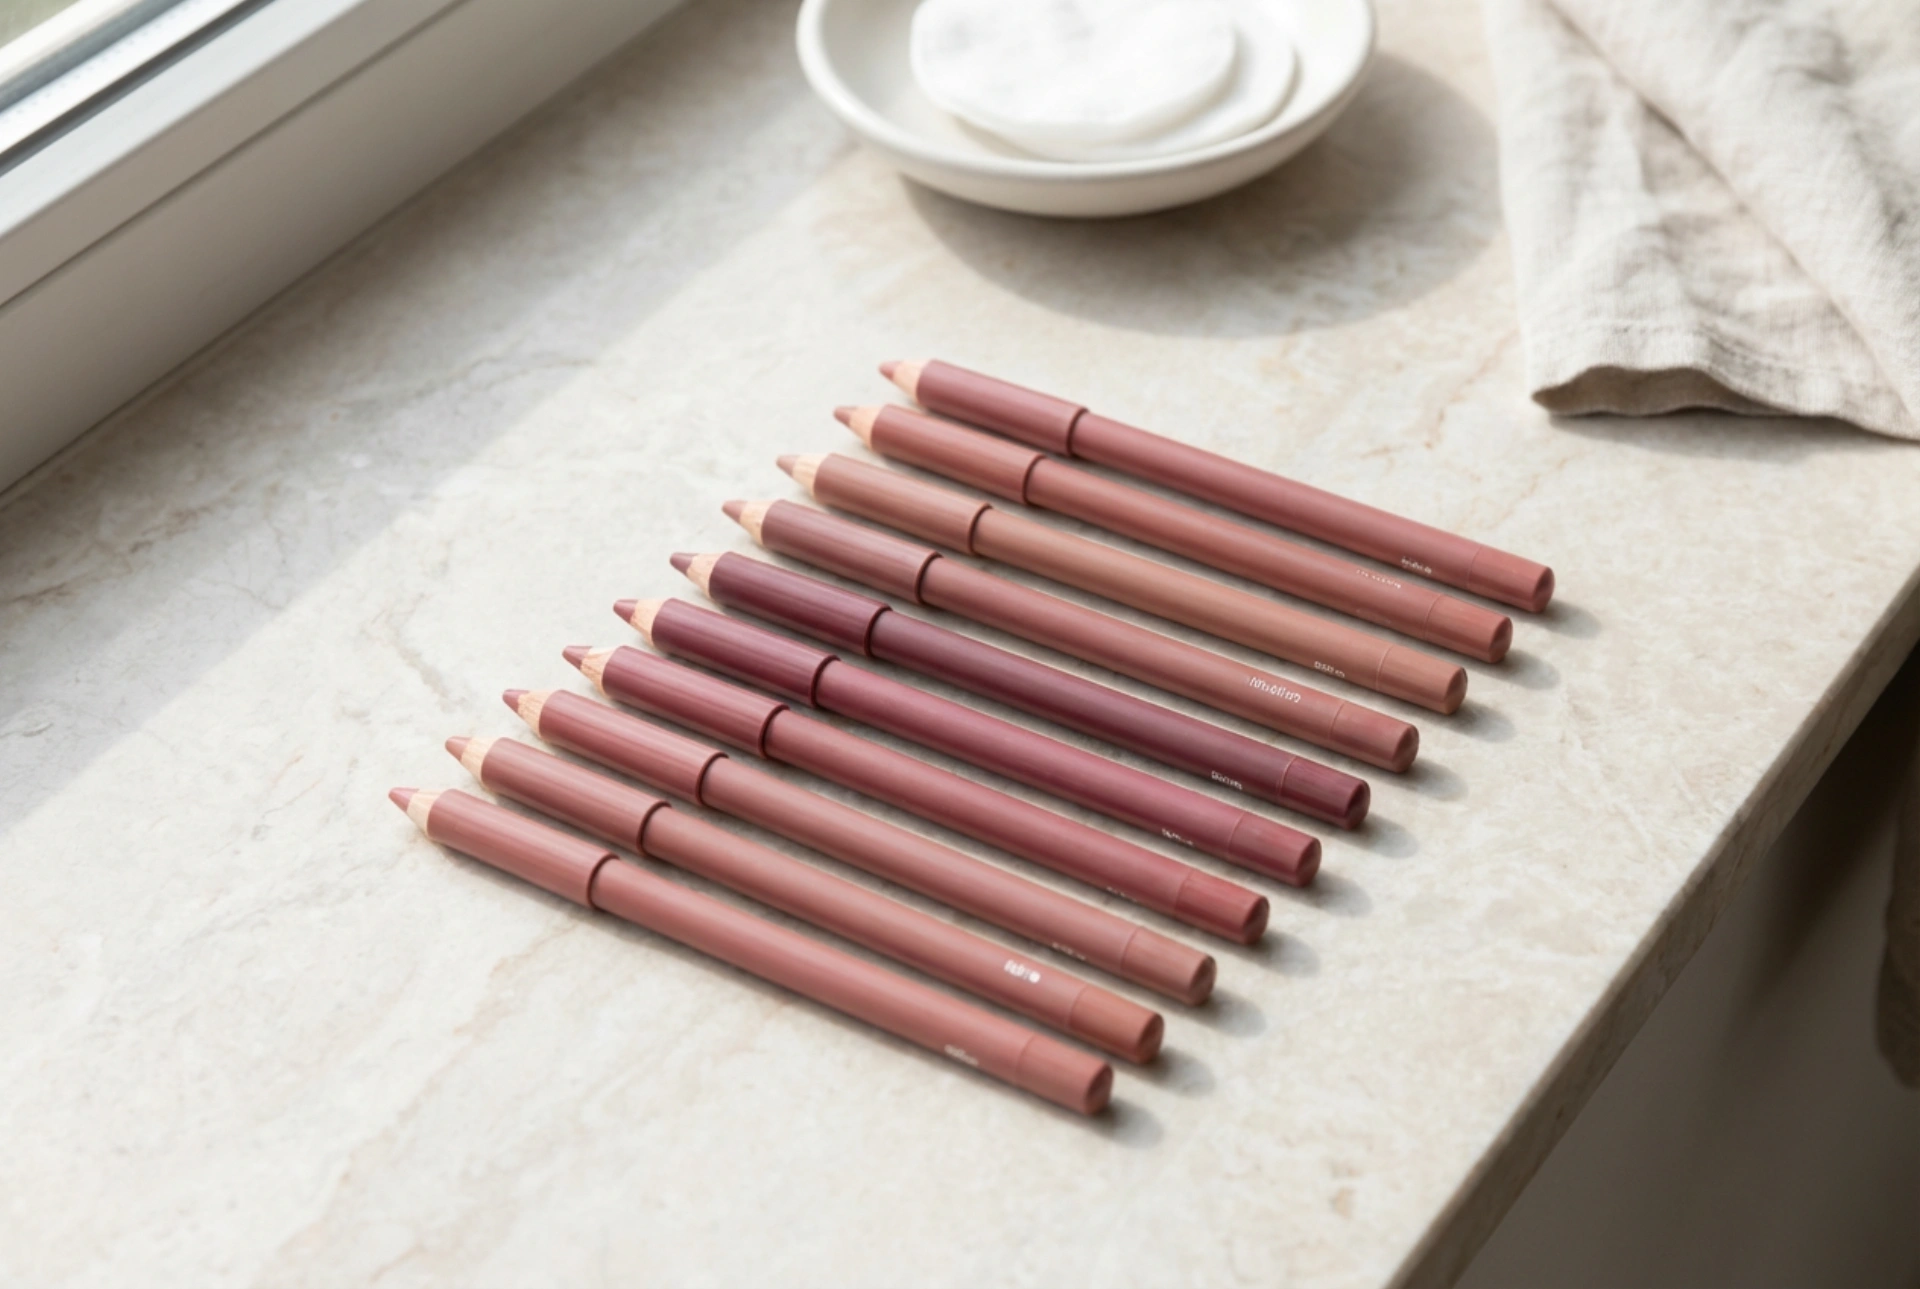
The foundation of a great lip look is the right product. When it comes to lip liners, two key factors come into play: the texture (or hardness) of the pencil and its colour. Making the right choice here will make application easier and ensure the final result is exactly what you envision.
Understanding Texture and Hardness
Lip liner formulas vary, and each has its own strengths. Generally, they fall into two categories:
- Soft, Creamy Pencils: These liners glide on effortlessly and are rich in pigment. Their smooth texture makes them ideal for filling in the entire lip as a base, which helps lipstick adhere better and last longer. They are very comfortable to wear but may require more frequent sharpening to maintain a precise point. They blend easily, making them great for creating a softer, more diffused lip line.
- Harder, Waxy Pencils: These pencils offer unparalleled precision. Their firmer tip allows you to draw incredibly sharp, clean lines, which is perfect for correcting asymmetry or creating a very structured lip shape. They are less prone to smudging and are excellent at creating a barrier to stop lipstick from bleeding. However, they can feel a bit drier on the lips and may not be as suitable for filling in the entire lip area.
Selecting the Right Shade
The shade of your lip liner can completely alter the final effect. Here are three reliable strategies for choosing a colour:
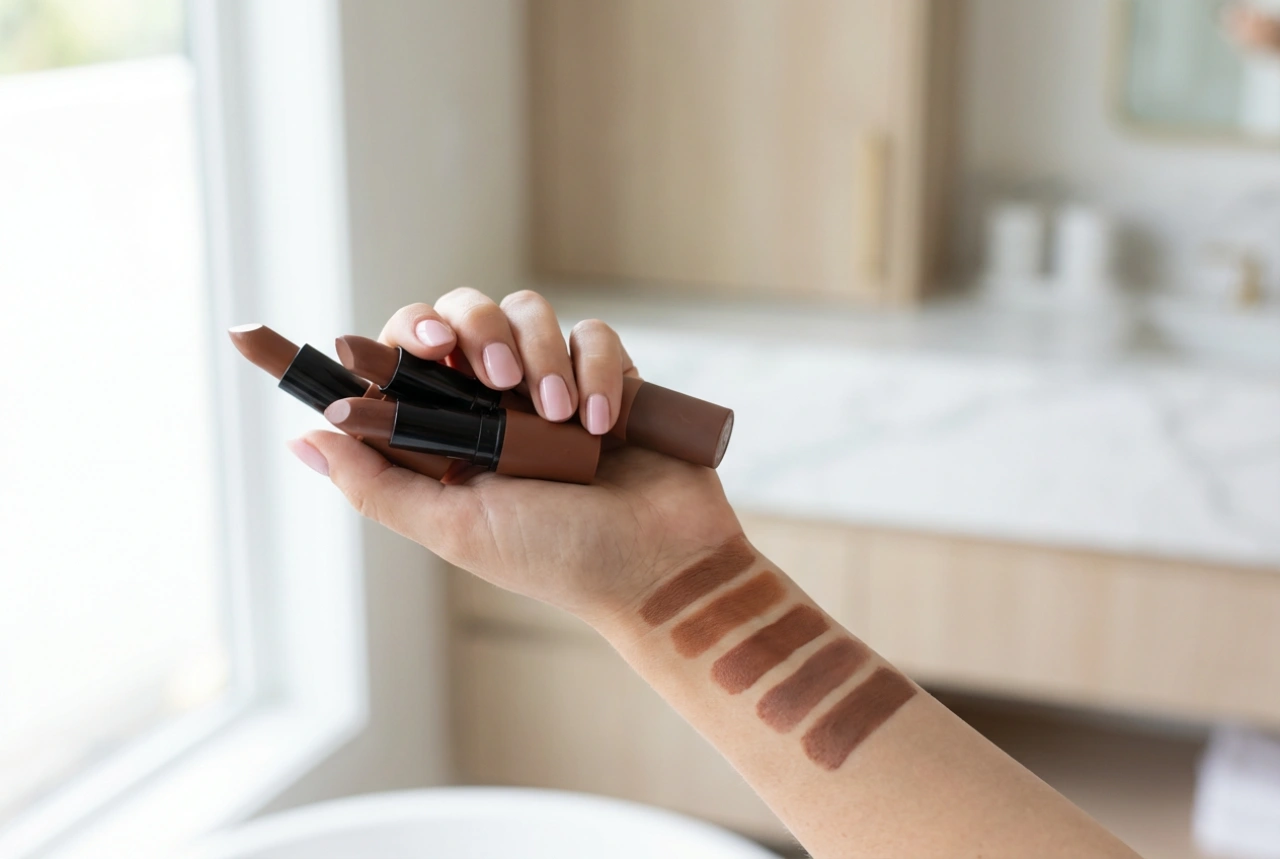
- Match Your Lipstick: This is the most classic approach. Using a liner in the exact same shade as your lipstick creates a seamless, uniform look. It defines the lips without creating any visible lines, ensuring the focus remains on the lipstick colour itself.
- Match Your Natural Lip Colour: A nude liner that closely matches your own lip tone is perhaps the most versatile pencil you can own. It can be used with any lipstick colour, from pale nudes to vibrant berries, as well as with sheer glosses. It provides definition and shape correction in the most natural way possible.
- Go Slightly Darker for Contouring: To create depth and the illusion of a fuller pout, you can choose a liner that is one or two shades deeper than your lipstick. This technique requires careful blending to avoid a harsh, dated outline. When executed correctly, it adds dimension and makes the lips appear more voluminous.
Masterful Application Techniques
A great pencil is only half the battle; technique is what brings the look to life. Follow these steps for a professional finish.
Step 1: Prepare Your Canvas
Always start with smooth, hydrated lips. Gently exfoliate with a lip scrub or a soft, damp cloth to remove any dry flakes. Follow up with a light layer of lip balm, blotting away any excess with a tissue before you begin. This ensures the pencil glides on smoothly without catching on dry patches.
Step 2: Sharpen for Precision
A sharp pencil is non-negotiable for a clean line. A dull tip will result in a thick, imprecise application. Keep a dedicated sharpener for your makeup pencils handy to ensure you always have a fine point to work with.
Step 3: Define the Shape
Using light, feathery strokes, begin by defining your Cupid's bow with a small 'X'. Then, outline the centre of your bottom lip. Finally, connect these lines by drawing from the outer corners of your mouth inwards, meeting the lines you've already made. For the most natural look, try to smile slightly as you apply, which stretches the lips and makes it easier to draw a steady line.
Step 4: Enhance and Fill
To subtly enhance volume, apply the liner just a fraction outside your natural lip line, focusing only on the fullest part of your top and bottom lips (the centre). Keep the liner strictly on the natural line as you move towards the corners to maintain a believable shape. For longevity, use the side of the pencil to lightly fill in your entire lips. This creates a pigmented base that grabs onto your lipstick, significantly extending its wear time.
Step 5: Blend for a Soft Finish
To avoid a severe, drawn-on look, gently soften the line. You can use a small lip brush, a cotton bud, or even your clean fingertip to lightly smudge the liner inwards towards the centre of the lips. This creates a gentle gradient and helps it merge seamlessly with your lipstick, preventing any harsh edges.
Common Lip Liner Mistakes and How to Avoid Them
Even a small error can detract from an otherwise perfect makeup look. Be mindful of these common pitfalls to ensure your pout is always on point.
- The Overly Dark Outline: The stark contrast between a dark liner and a light lipstick is a look best left in the past. Always ensure your liner is either a match for your lipstick or only subtly deeper, and always blend it well.
- Skipping the Blend: A harsh, unblended line around the lips can look severe and artificial. Blending is the key to making the liner a seamless part of your overall lip colour.
- Applying on Dry, Flaky Lips: Liner and lipstick will cling to dry patches, resulting in a cracked, uneven finish. Proper lip prep is an essential first step for a smooth application.
- The 'Ring Around the Mouth': This happens when your lipstick wears off but the durable liner remains. To prevent this, fill in your entire lip with liner before applying lipstick. This ensures that as the colour fades, it does so evenly, leaving a soft stain behind rather than just an outline.
- Forgetting the Corners: Many people focus on the Cupid's bow and bottom lip but neglect the outer corners. Drawing the line all the way to the corners completes the shape and prevents lipstick from bleeding at the edges.