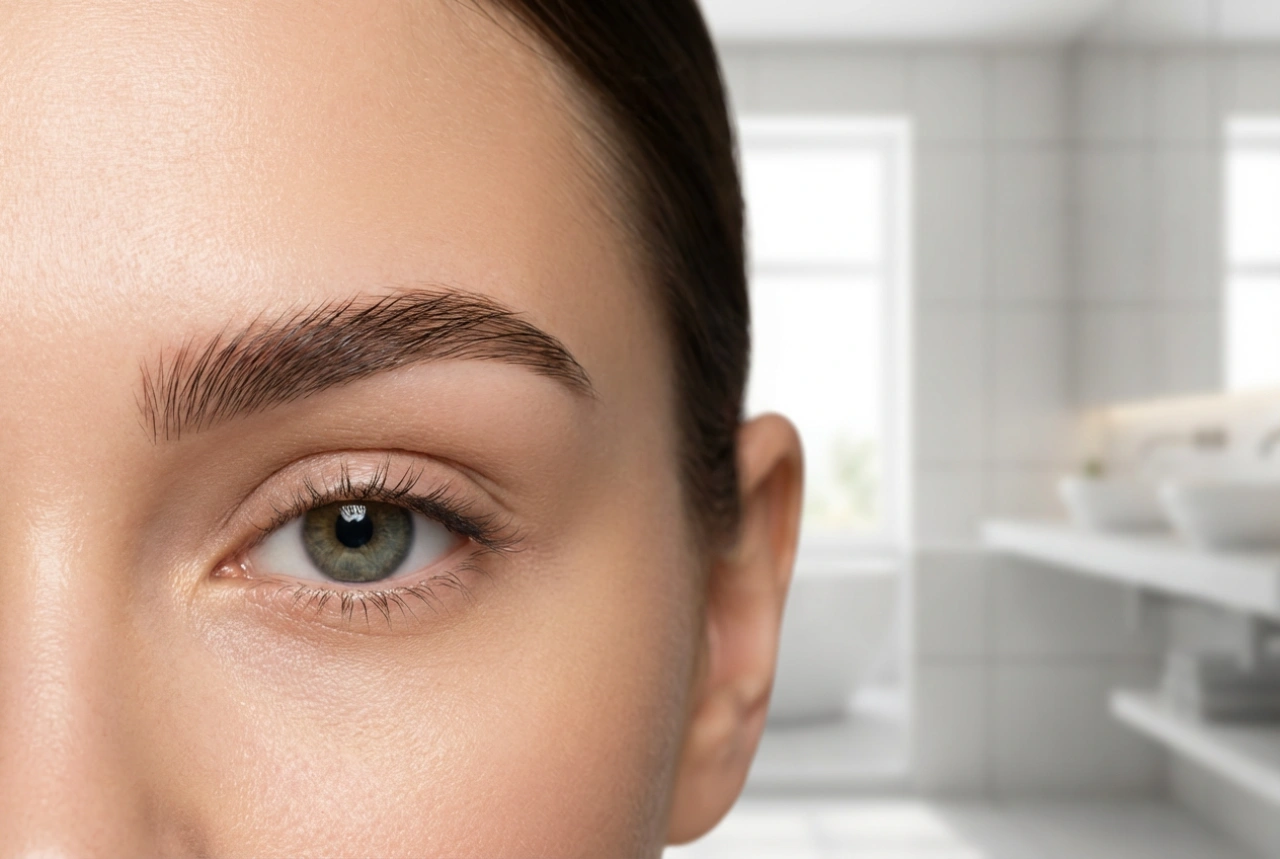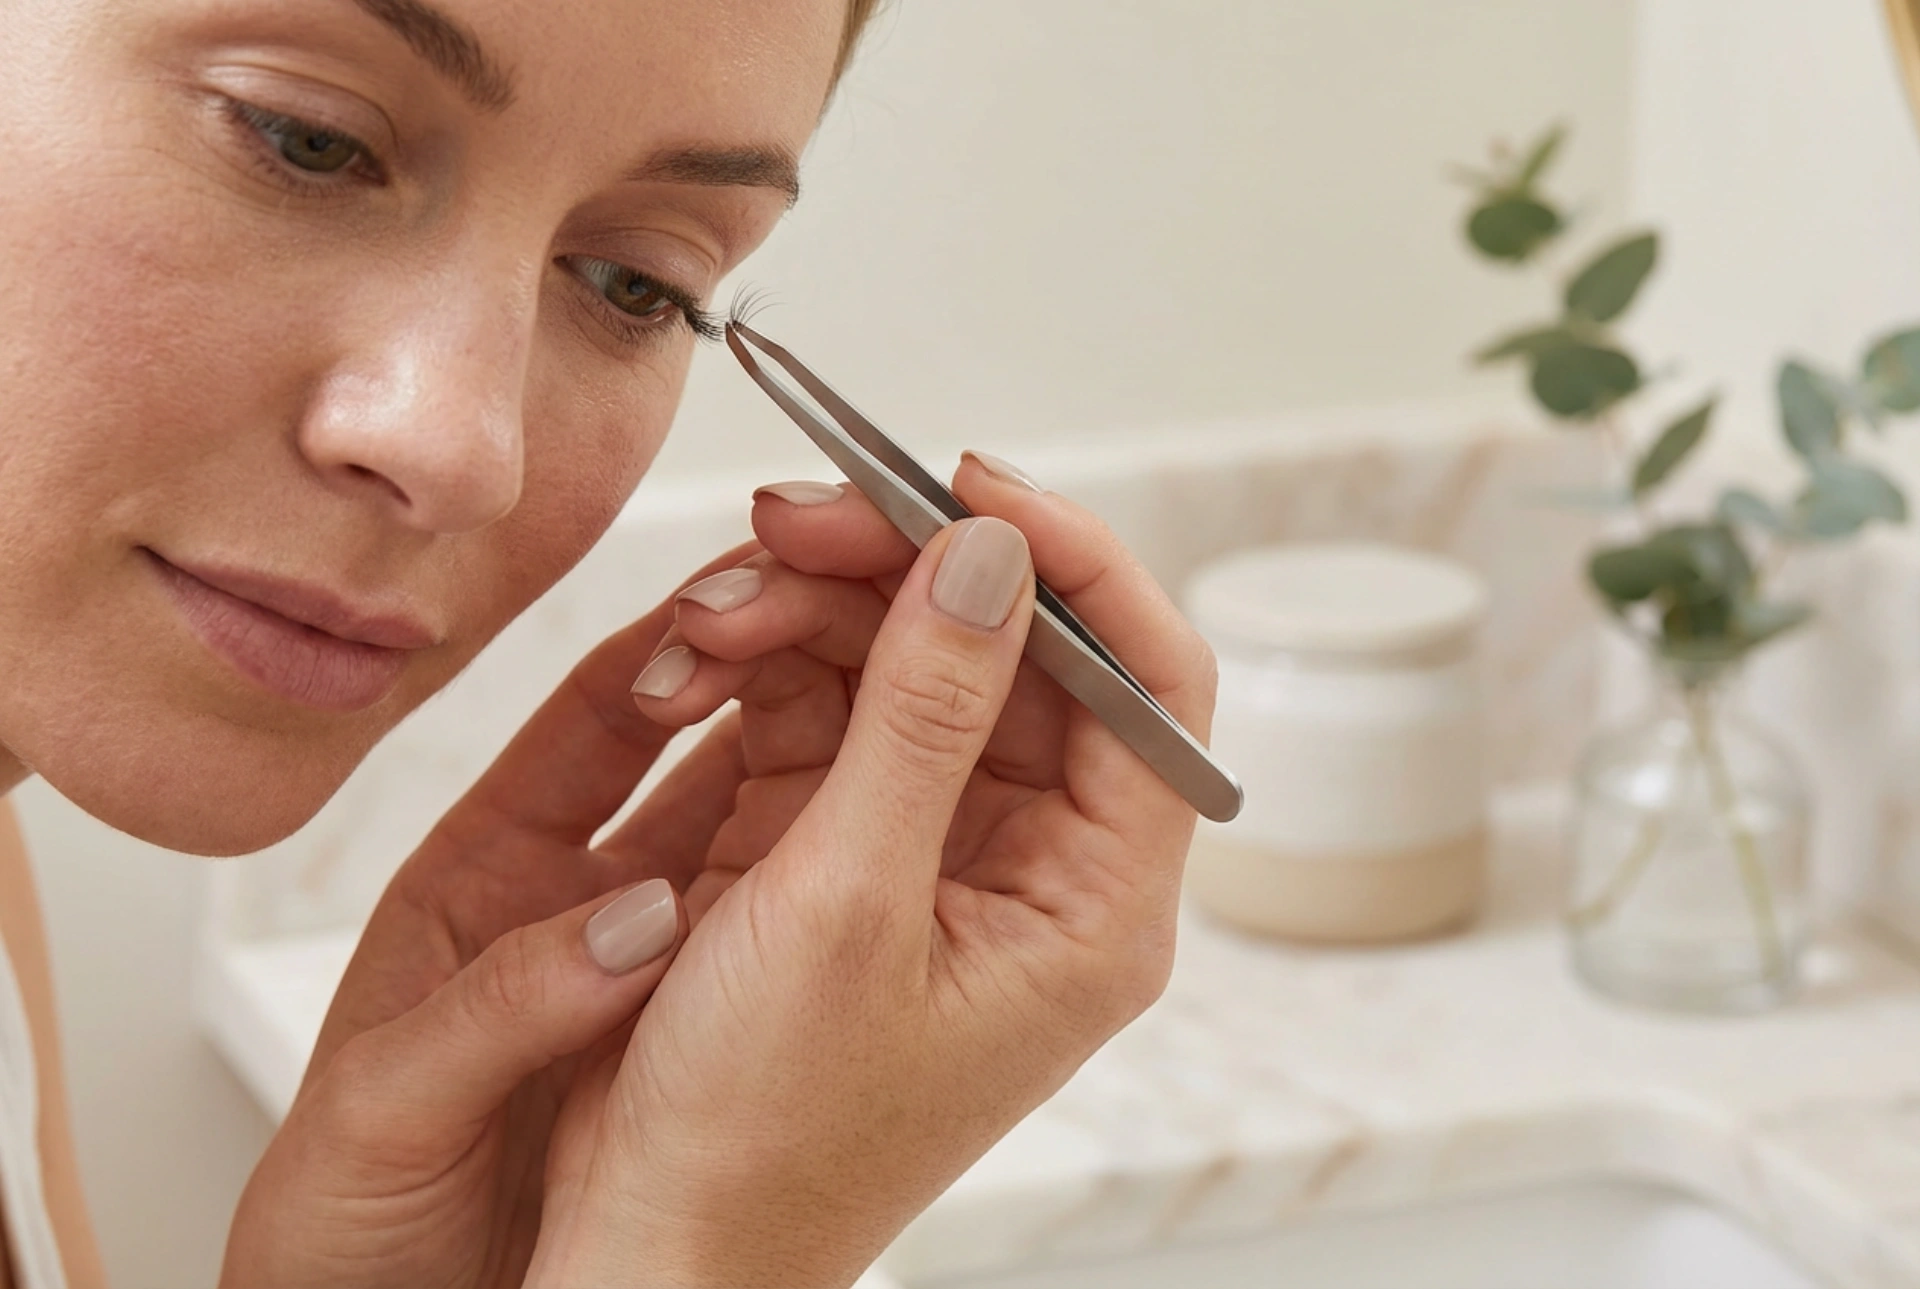


Achieving a fluttery, natural look from the comfort of your own dressing table has become a favourite ritual for beauty enthusiasts. With elegant hands working under soft, natural light, applying delicate lash clusters with precision tweezers has transformed from a rare treat into a serene home beauty habit. Rather than relying on daily strip lashes or committing to salon extensions, the semi-permanent weekly lash cluster technique offers a customisable, long-lasting alternative that you can master yourself.
The Appeal of Under-Lash Clusters
Unlike traditional false eyelashes that sit on top of the lash line, modern DIY semi-permanent clusters are applied underneath your natural lashes. This clever placement conceals the lash band, resulting in an incredibly seamless and natural-looking finish. By using lightweight cluster segments, you can customise the volume, length, and shape to suit your unique eye structure.
Because the adhesive used for these weekly clusters is stronger than standard daily lash glue but gentler than salon-grade cyanoacrylate, it allows the lashes to stay secure for up to seven days. This technique provides the convenience of waking up with perfectly styled eyes every morning, bypassing the daily makeup routine while keeping your natural lashes safe from heavy weights.
Preparing Your Lashes for Application
Preparation is the foundation of any long-lasting beauty application. To ensure the adhesive bonds correctly, your natural lashes must be completely clean and free from any oils, makeup residues, or skincare products.
- Deep Cleanse: Wash your eye area with an oil-free cleanser or a dedicated lash foam. Any remaining oils will prevent the glue from curing properly.
- Dry Thoroughly: Ensure your lashes are bone dry. You can gently pat them with a lint-free towel.
- Gently Curl: If your natural lashes are straight, a light squeeze with a lash curler can help lift them, making the application of clusters underneath much easier and helping them blend beautifully.
Step-by-Step Home Application Technique
Applying lash clusters requires patience, a steady hand, and a focused approach. It is best done in a well-lit space with a magnifying mirror positioned slightly below your face so you can easily see the underside of your lash line.
Step 1: Applying the Bond
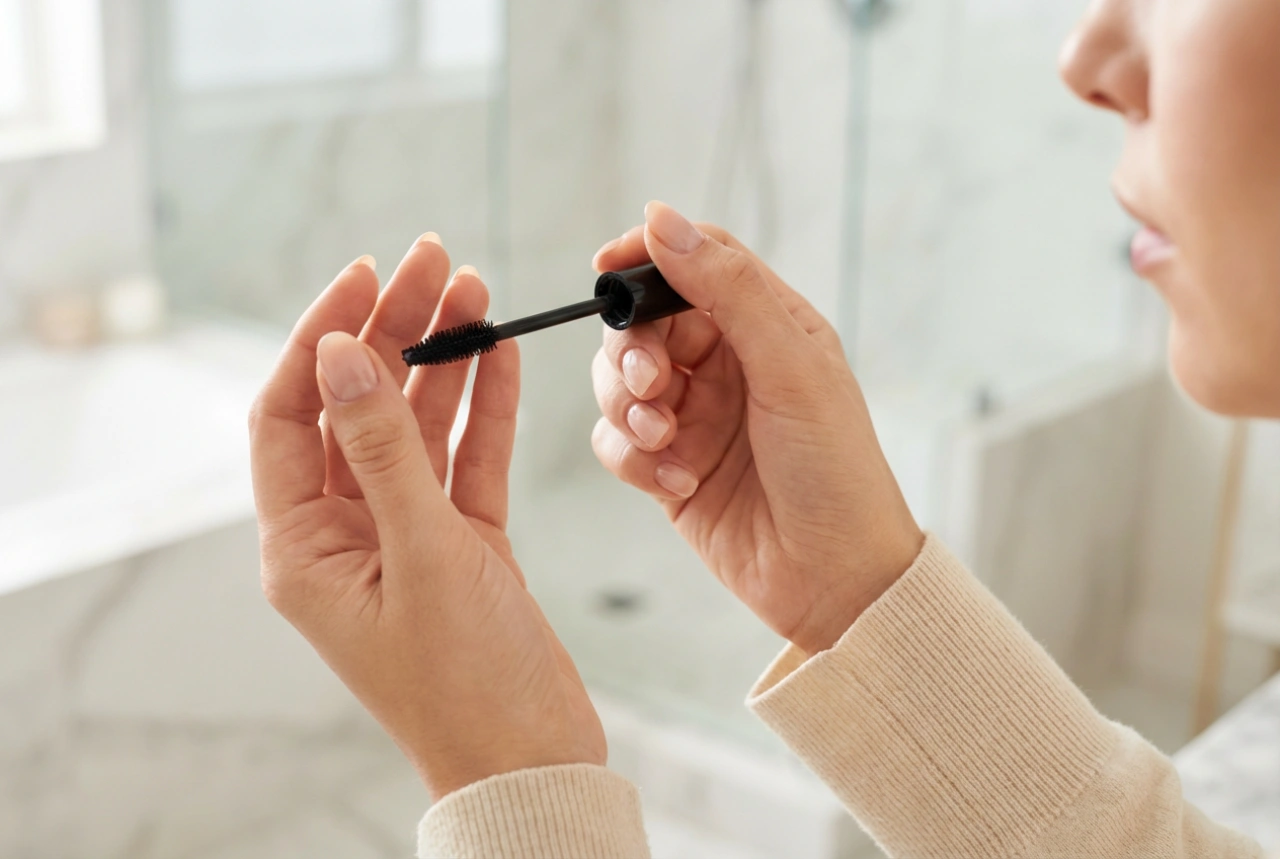
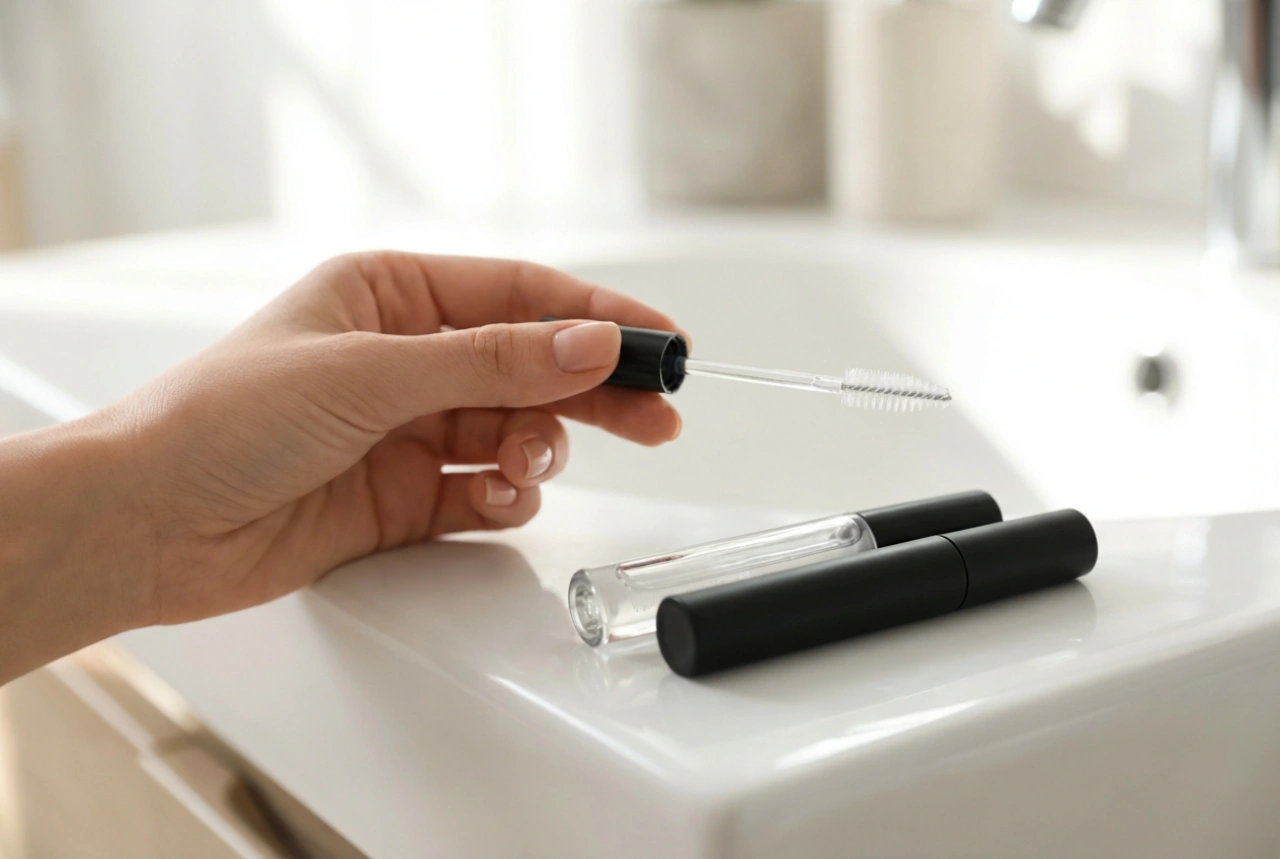
Gently brush a minimal amount of the specialised lash bond onto the roots of your natural lashes. Avoid coating them like mascara; instead, focus on the bottom 1-2 millimetres near the root. A little goes a long way, and excess bond can lead to clumping.
Step 2: Placing the Clusters
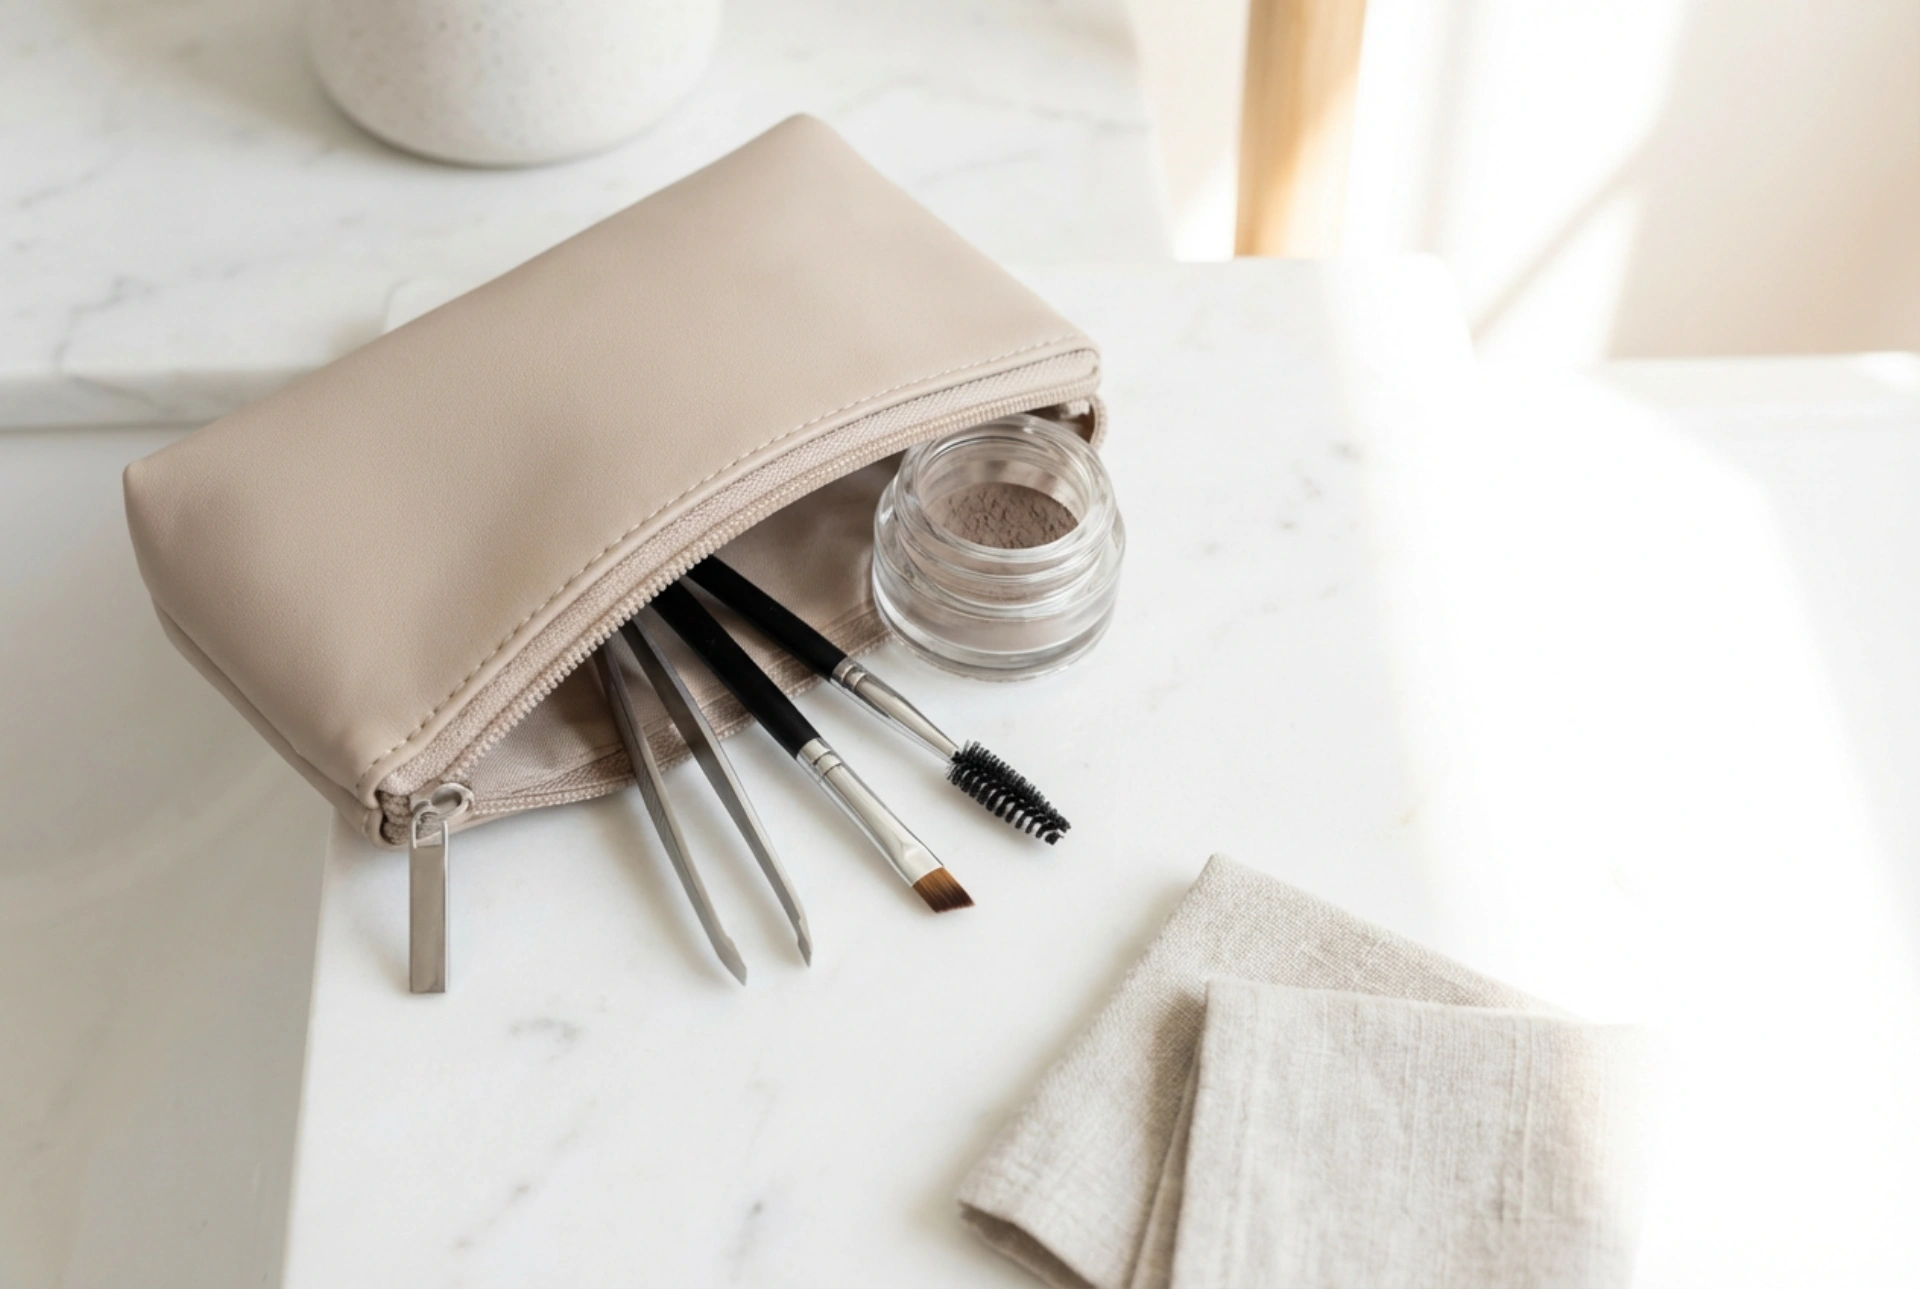
Using fine tweezers, carefully pick up a lash cluster from its tray, grasping it near the tips rather than the base to avoid damaging the delicate fibres. Place the cluster underneath your natural lashes, about 1 millimetre away from your wet waterline. Never apply the adhesive or the cluster band directly to the skin of your eyelid, as this can cause discomfort and block your natural follicles.
Step 3: Building the Look
Work your way from the outer corner of the eye to the inner corner. For a classic cat-eye effect, use longer clusters on the outer edges and gradually transition to shorter lengths near the nose. Ensure the clusters slightly overlap or sit snugly side-by-side to create a cohesive lash line.
Step 4: Fusing and Sealing
Once all clusters are in position, use your tweezers or a lash applicator to gently squeeze the clusters and your natural lashes together. This fuses the bond and locks everything in place. To finish, apply a thin layer of protective sealer over the application area to neutralise any remaining stickiness and extend the wear time.
Essential Aftercare for Weekly Longevity
Maintaining your DIY semi-permanent lashes requires a few minor adjustments to your daily routine. By protecting the adhesive bond, you can easily enjoy a full week of beautiful, maintenance-free lashes.
- Keep Them Dry: Avoid exposing your new lashes to water, steam, or heavy sweat for the first 24 hours to allow the adhesive to fully cure.
- Sleep Mindfully: Try to sleep on your back or side using a silk or satin pillowcase to reduce friction on your eyes.
- Avoid Oil-Based Products: Check your eye creams, cleansers, and makeup removers. Any oil-based formula will dissolve the lash bond, causing the clusters to slide off prematurely.
- Groom Gently: If needed, use a clean spoolie brush to gently brush through the tips of your lashes in the morning, avoiding the base where the bond is applied.
Safe and Gentle Removal
The health of your natural lashes should always be the priority. When it is time to remove the clusters, never pull, tug, or pick at them, as this can pluck out your natural lashes. Instead, use a gentle oil-based remover or a dedicated lash adhesive dissolving serum. Apply the product generously with a cotton swab, let it sit for a couple of minutes to break down the bond, and gently slide the clusters away. Cleanse the area thoroughly afterwards to leave your natural lashes clean, healthy, and ready for their next beautiful transformation.