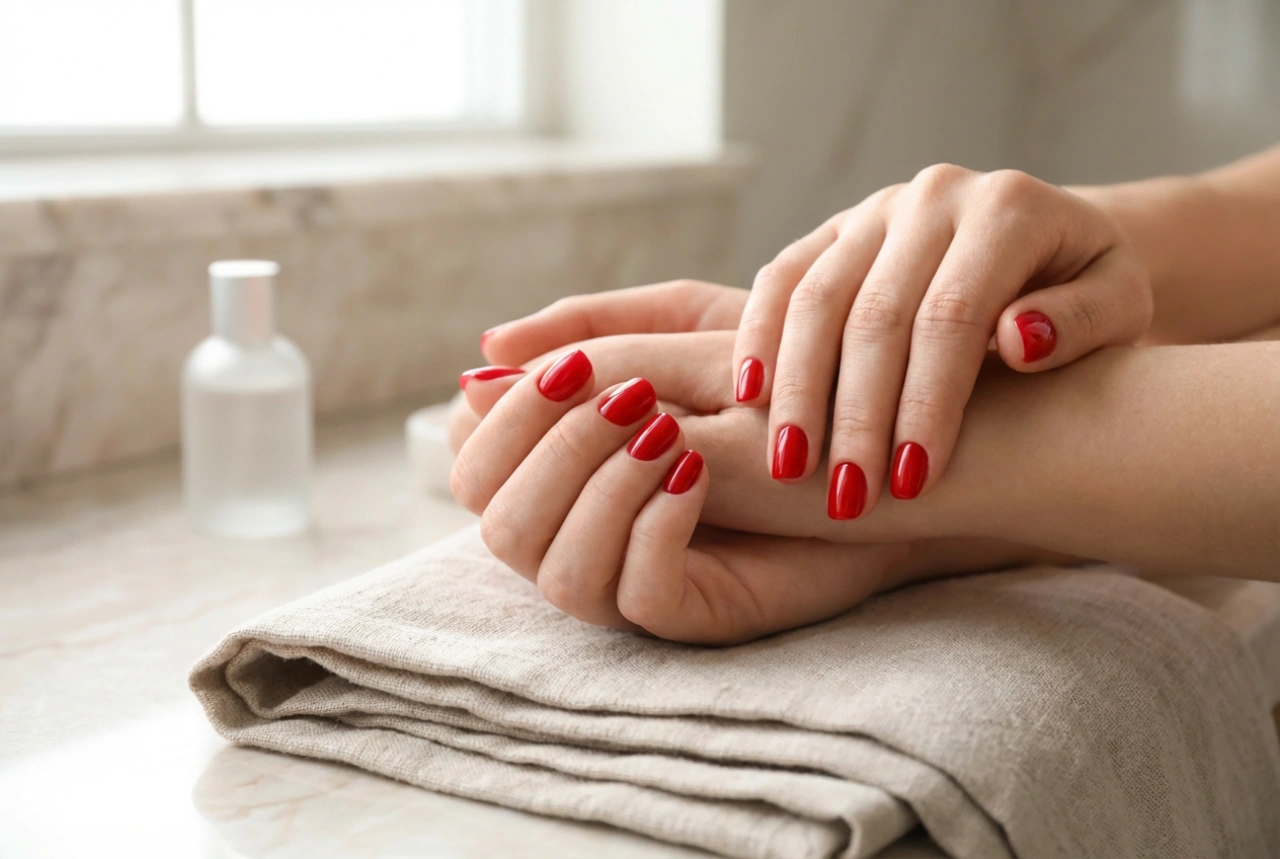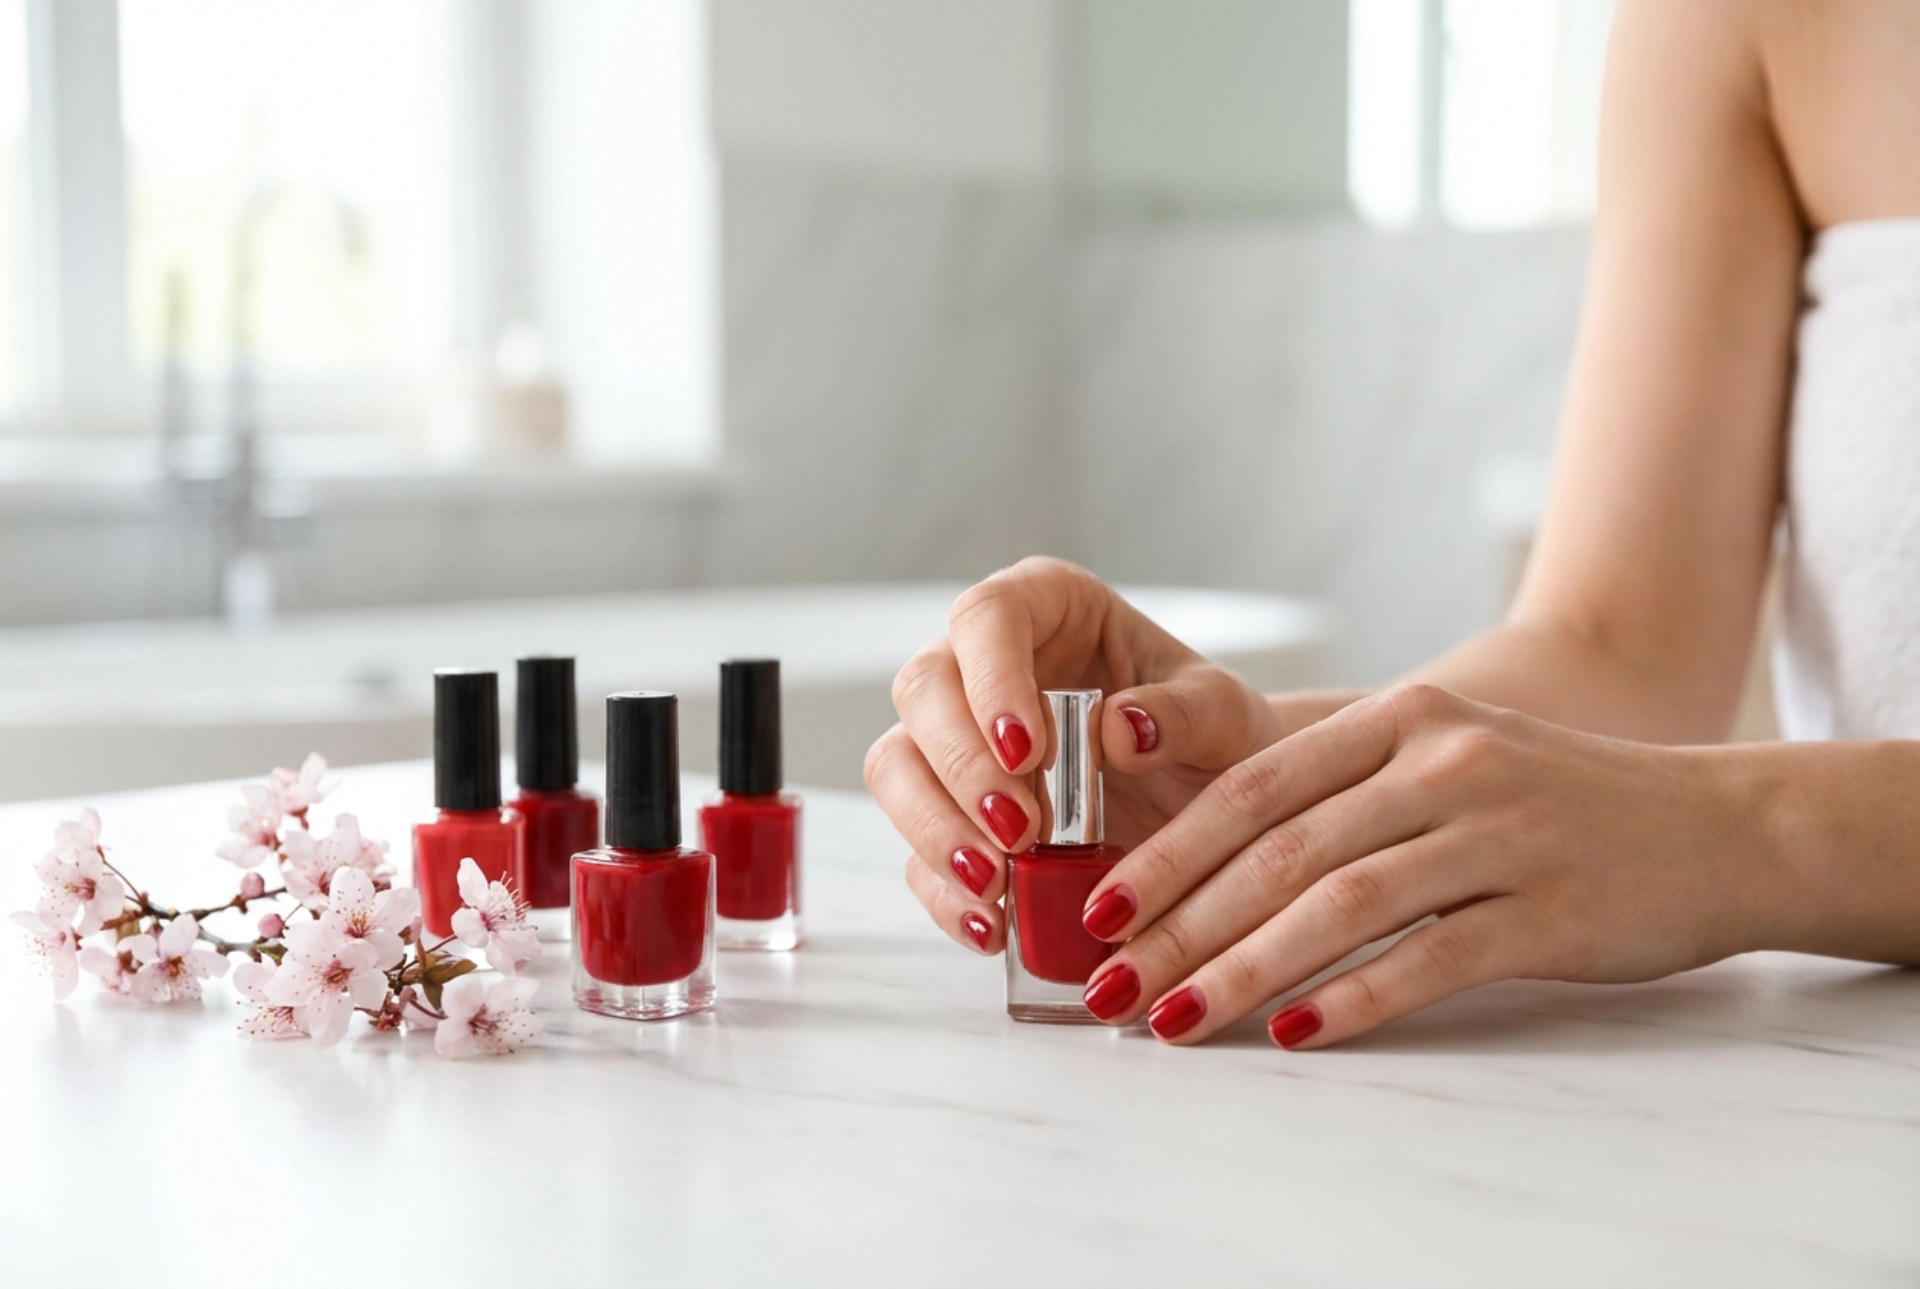


There is something timelessly elegant about a well-executed manicure, especially when it features classic, deep red hues. A beautiful set of nails, paired with subtle, minimalist art like delicate cherry motifs, brings a touch of fresh, playful sophistication to any look. Recreating this aesthetic at home is surprisingly simple, requiring only a few basic tools, some patience, and a steady hand. By setting up a clean, well-lit workspace with your favourite red nail polishes and a touch of creative inspiration, you can easily achieve professional-looking results without leaving your house.
Preparing Your Nails for the Perfect Canvas
Before diving into any nail art, the foundation of your manicure must be pristine. Clean, well-shaped nails not only look more elegant but also ensure that your polish adheres better and lasts longer.
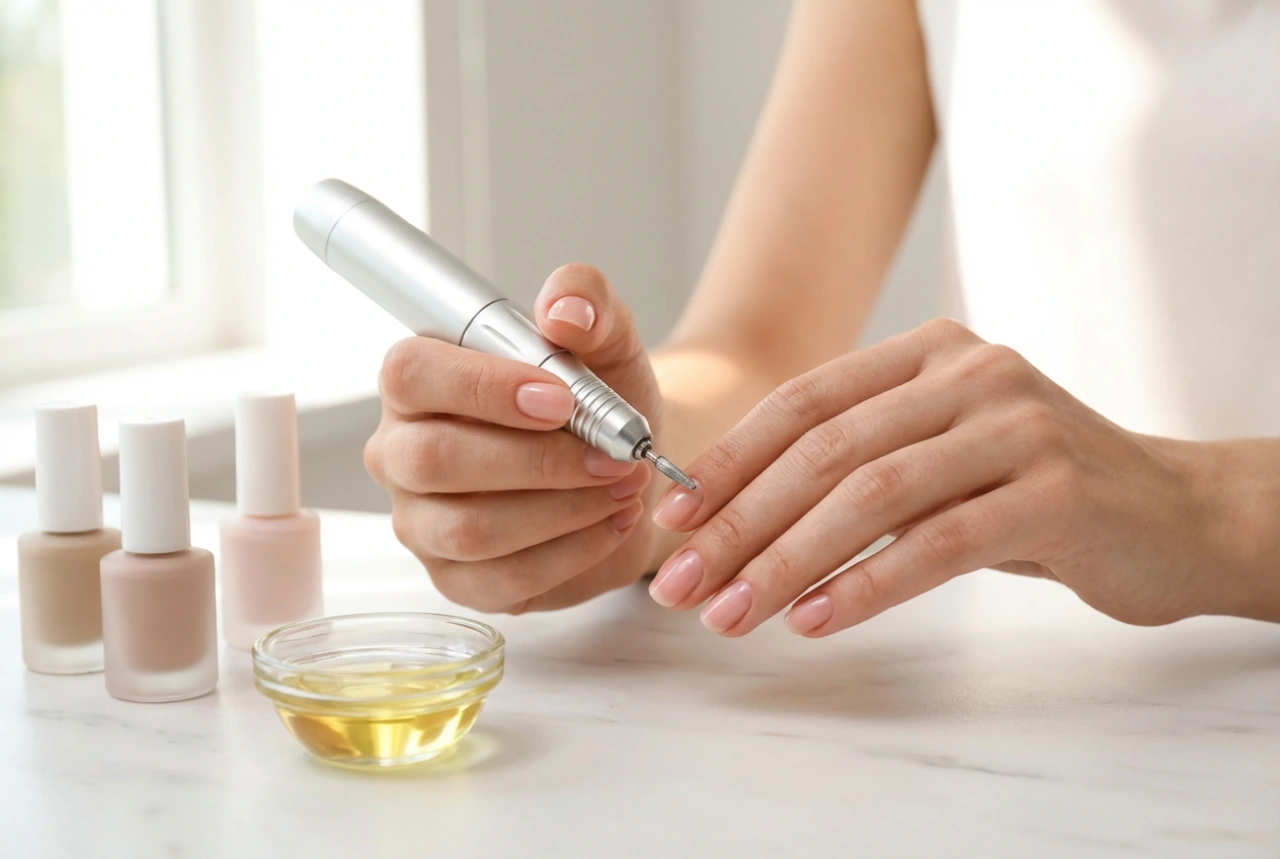
- Shape and File: Begin by shaping your nails to your preferred length and style. Round or oval shapes work beautifully with cherry designs, as they complement the soft, organic curves of the fruit pattern. Always file in one direction to prevent splitting.
- Gently Push Back Cuticles: Soften your cuticles with a warm soak or a gentle cuticle softener, then gently push them back using a wooden manicure stick. Avoid cutting them, as this can lead to irritation.
- Cleanse the Nail Plate: Wipe each nail with a lint-free pad soaked in polish remover to eliminate any residual oils or dust. This step is crucial for ensuring maximum polish adhesion.
- Apply a Protective Base Coat: A high-quality base coat protects your natural nails from staining—especially important when working with rich red pigments—and provides a smooth surface for the colour.
How to Paint Simple Cherry Designs Step-by-Step
Creating cherry designs does not require professional artistic skills. In fact, some of the most charming patterns are made using basic geometric shapes. To begin, you will need a classic cherry-red polish, a deep green or brown polish for the stems, and a simple tool like a dotting tool, a toothpick, or even the tip of a bobby pin.
Step 1: The Base Colour
Apply two thin coats of your chosen background colour. A neutral backdrop—such as a sheer pink, soft beige, or clean white—makes the cherry-red design stand out beautifully. Allow this base to dry completely before proceeding to the art.
Step 2: Creating the Cherries
Dip your dotting tool or the blunt end of a toothpick into the red polish. Place two small dots close to each other on the nail. These will form the plump body of your cherries. You can place one pair on each nail for a subtle accent, or create a scattered pattern across all your fingers for a playful, retro look.
Step 3: Drawing the Stems and Leaves
Using a very fine brush or a clean toothpick, dip into the green polish. Gently draw two thin, curved lines connecting the red dots at the top to form a V-shape. If you feel confident, add a tiny green leaf next to the stem to complete the organic look.
Choosing the Right Shades of Red and Green
The secret to a stunning cherry design lies in the colour palette you select. While a classic, vibrant red is the traditional choice for the fruit, you can adjust the hues to match the season or your mood. For a deep, moody autumnal vibe, choose a rich burgundy or a deep bordeaux shade for the cherries. If you prefer a bright, summery look, opt for a playful coral-red or a neon cherry pink.
For the stems, a forest green provides a sophisticated contrast, while a bright mint green offers a youthful, whimsical appeal. If green feels too bold, a delicate chocolate brown or soft metallic gold can be used to paint the stems, adding an unexpected touch of luxury to your simple home manicure.
Chic Variations of the Cherry Nail Trend
Once you master the basic technique, you can experiment with different styles to match your personal aesthetic. The beauty of this design lies in its versatility.
For a modern twist, try incorporating the cherry design into a French manicure. Instead of a traditional white tip, apply a sheer base coat, paint the tips in a soft pastel, and add a single, delicate pair of cherries near the cuticle line on an accent nail. This negative-space approach is elegant and grows out gracefully.
Another stylish option is playing with textures. You can apply a velvety matte top coat over the entire nail, then use a glossy top coat solely on the red cherry dots. This contrast creates an eye-catching, three-dimensional effect that catches the light beautifully.
Essential Tips for a Flawless, Long-Lasting Finish
To ensure your hard work lasts for days without chipping, always secure your manicure with a protective top coat. Apply a generous layer of a clear, high-gloss top coat over the entire design, making sure to seal the free edge of the nail. This prevents moisture from getting underneath the polish and peeling it away. Once dry, nourish your hands and cuticles with a rich cream or a drop of nourishing oil to keep the surrounding skin looking fresh and hydrated.