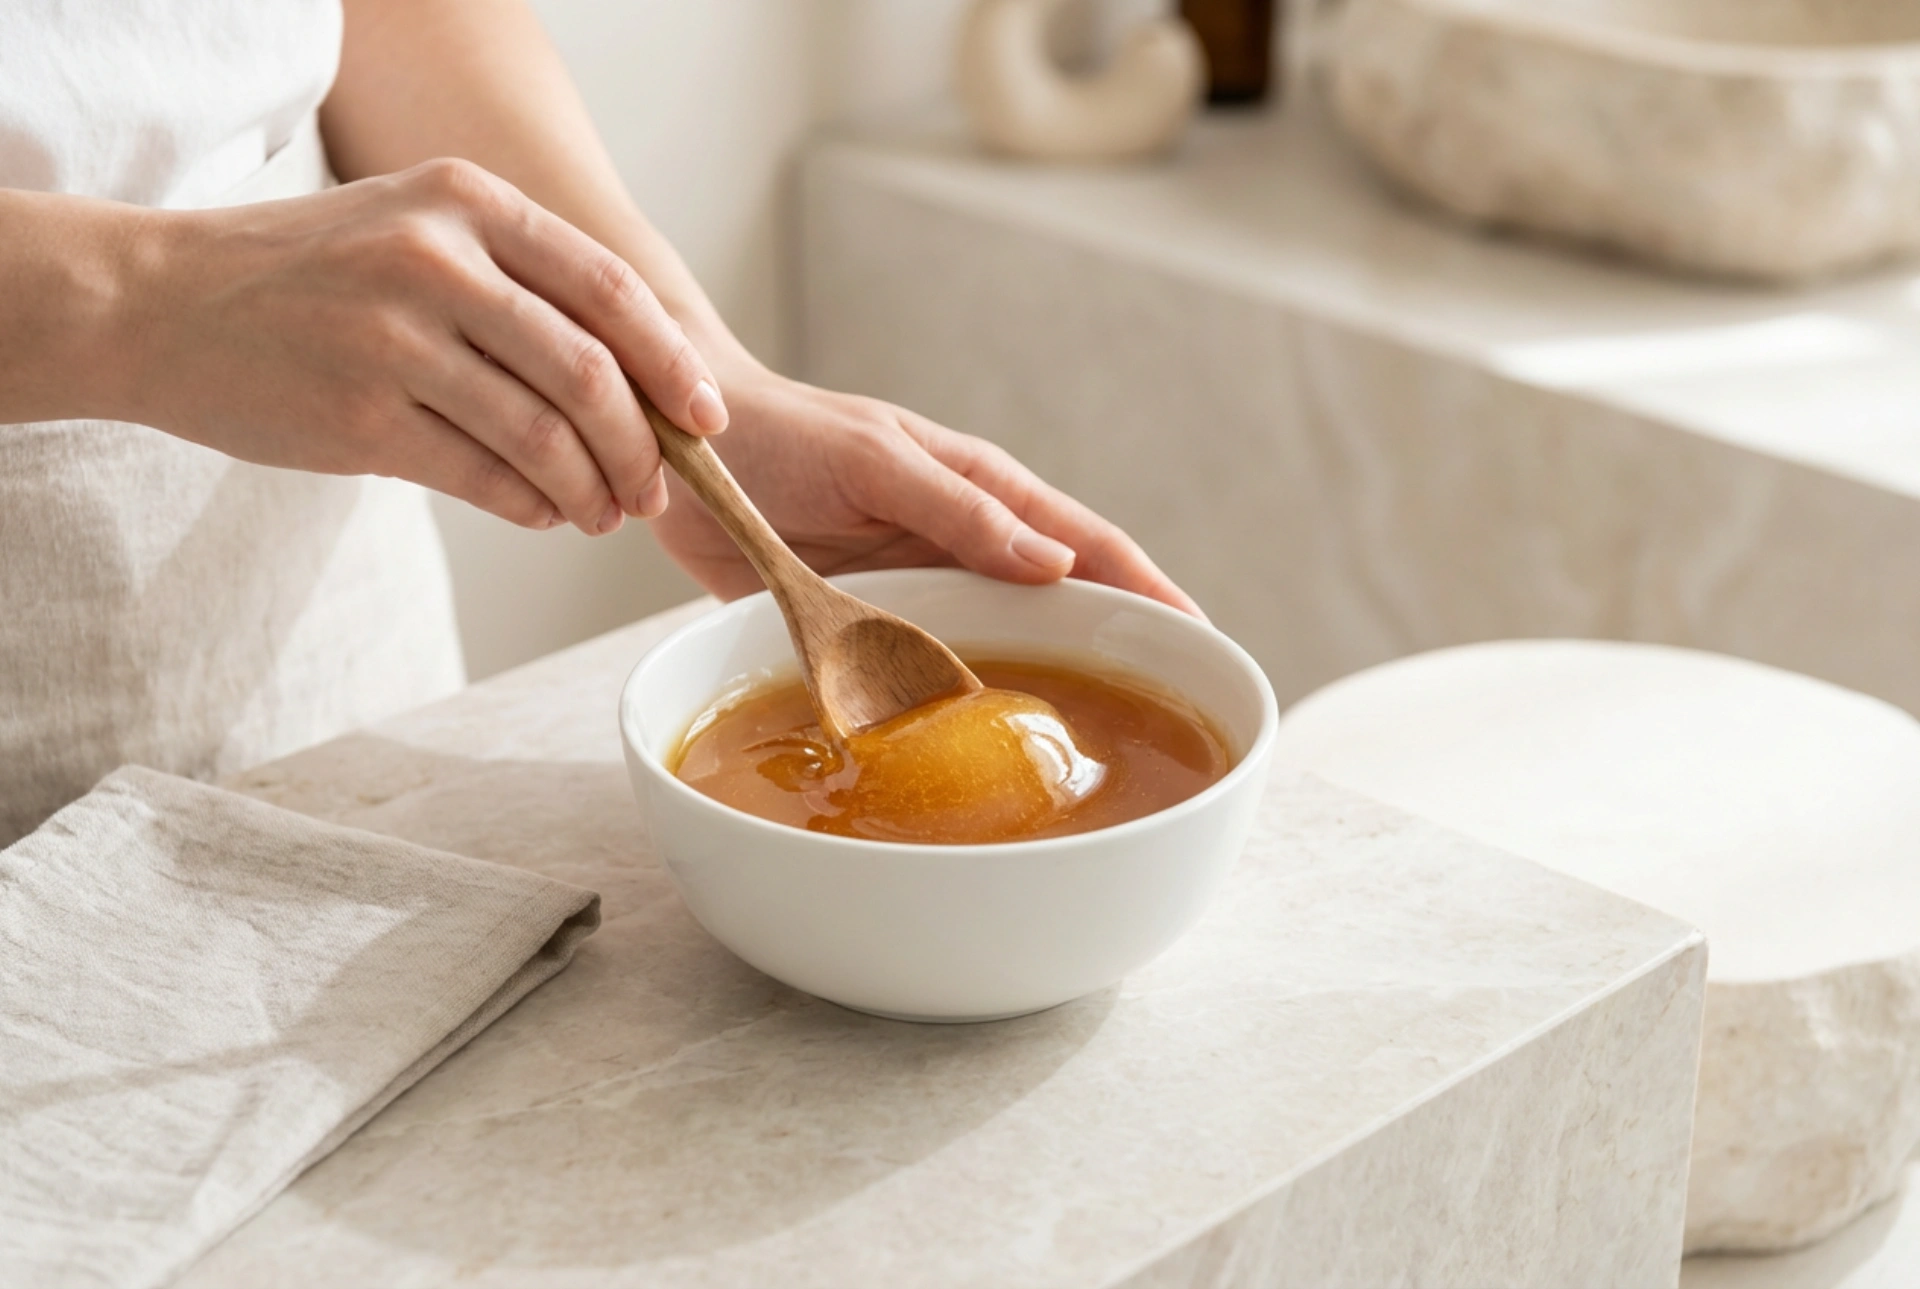


Creating a personal beauty ritual at home can be a wonderfully soothing experience, especially when using natural and time-tested methods. One of the most elegant and traditional techniques for achieving smooth skin is sugaring. Preparing a warm, golden-amber sugar paste in a simple ceramic bowl evokes a sense of mindful self-care. This natural hair removal method, which dates back centuries, has regained immense popularity due to its gentle approach to the skin and the simplicity of its ingredients. By mastering this DIY practice, you can enjoy long-lasting results in the comfort of your own space.
Why Choose Sugaring for Hair Removal?
Unlike many modern hair removal methods that rely on synthetic chemicals, sugaring uses entirely natural ingredients that are gentle on the skin. The sugar paste adheres only to the dead skin cells and the hairs themselves, rather than pulling at the living skin. This significantly reduces the discomfort often associated with traditional waxing. Furthermore, because the paste is applied at a lukewarm temperature, there is no risk of burns, making it an excellent option for sensitive areas.
Another benefit is the water-soluble nature of the mixture. If you make a mistake or find the paste becomes too sticky during application, it can be easily washed away with warm water, leaving no stubborn residue behind. Over time, regular sugaring can also lead to finer and sparser hair regrowth, making each subsequent session easier and more comfortable.
The Classic Home Recipe: Ingredients and Preparation
To prepare your own sugaring paste, you only need three basic pantry ingredients: white sugar, water, and fresh lemon juice. The lemon juice acts as a natural acidifier, preventing the sugar from crystallising and helping it achieve that perfect, pliable texture.
The Formula
- 200 grams of white granulated sugar
- 30 millilitres of fresh lemon juice
- 30 millilitres of water
The Cooking Process
Combine all three ingredients in a heavy-bottomed saucepan. Heat the mixture over a medium-low flame, stirring constantly to ensure the sugar dissolves evenly. As the mixture begins to simmer, you will notice bubbles forming and the colour slowly changing from a pale yellow to a warm, golden-amber hue. This transition is crucial; cooking it too little will leave it too runny, while overcooking will turn it into hard caramel that cannot be kneaded.
Once the paste reaches the colour of light honey, remove it from the heat and pour it carefully into a heat-resistant ceramic or glass bowl. Allow it to cool to a safe, warm temperature. It should feel comfortably warm to the touch and have a pliable, dough-like consistency when manipulated.
Preparing the Skin for the Session
Proper preparation is essential for a successful sugaring session. Since the sugar paste needs to grip the hairs effectively, your skin must be completely clean, dry, and free of any oily residues.
- Gently Exfoliate: One or two days before your scheduled session, gently exfoliate the target area to remove dead skin cells and lift any flat-lying hairs. Do not exfoliate on the actual day of treatment to avoid over-sensitising the skin.
- Cleanse and Dry: Take a warm shower to open the pores, then dry your skin thoroughly. Avoid applying any body lotions, oils, or deodorants afterwards.
- Use Powder: Apply a light dusting of natural, unscented talc-free powder or cornstarch to the skin. This absorbs any lingering moisture or sweat, ensuring the sugar paste adheres strictly to the hairs.
Step-by-Step Sugaring Technique
The technique of sugaring is unique and requires a bit of practice to perfect. Unlike waxing, which is applied in the direction of hair growth and pulled against it, sugaring works in the exact opposite direction. This key difference is what makes sugaring less painful and minimises the occurrence of ingrown hairs.
Begin by scooping up a small, walnut-sized ball of the cooled paste with your fingertips. Knead it gently for a few seconds until it becomes opaque and highly pliable. Using your fingers, slowly stretch the paste over the skin against the direction of hair growth. Apply light pressure to ensure the paste wraps around the base of the hairs.
Hold the skin taut with your other hand. With a quick, smooth motion, flick the paste off in the same direction as the hair growth, parallel to the skin. Never pull upwards, as this can cause bruising or break the hairs. The same piece of paste can be reused multiple times until it loses its elasticity and becomes too soft or warm.
Post-Treatment Care and Skin Recovery
After you have finished, any remaining sugar residue can be wiped away with a damp, warm washcloth. Because the skin might be slightly pink and sensitive immediately after hair removal, it is important to provide some gentle, soothing care.
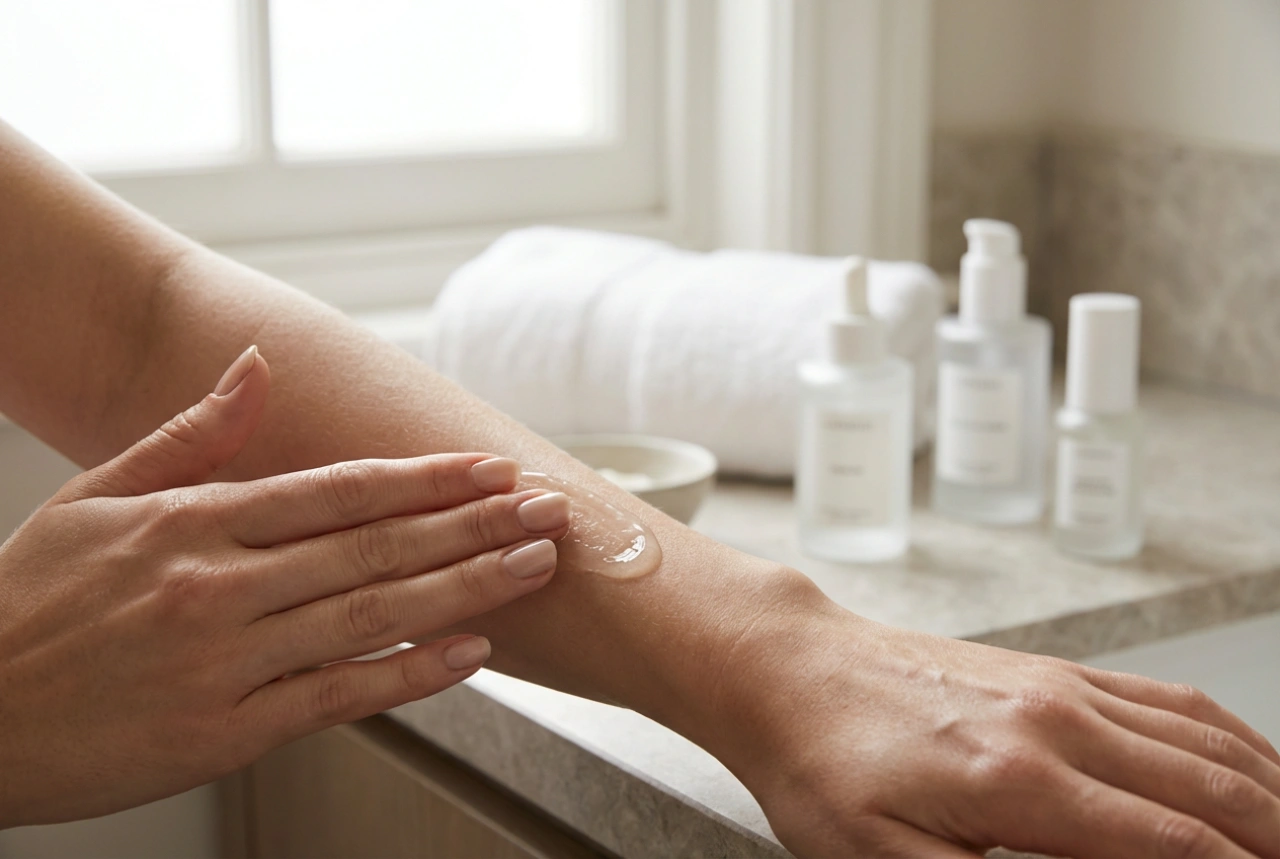
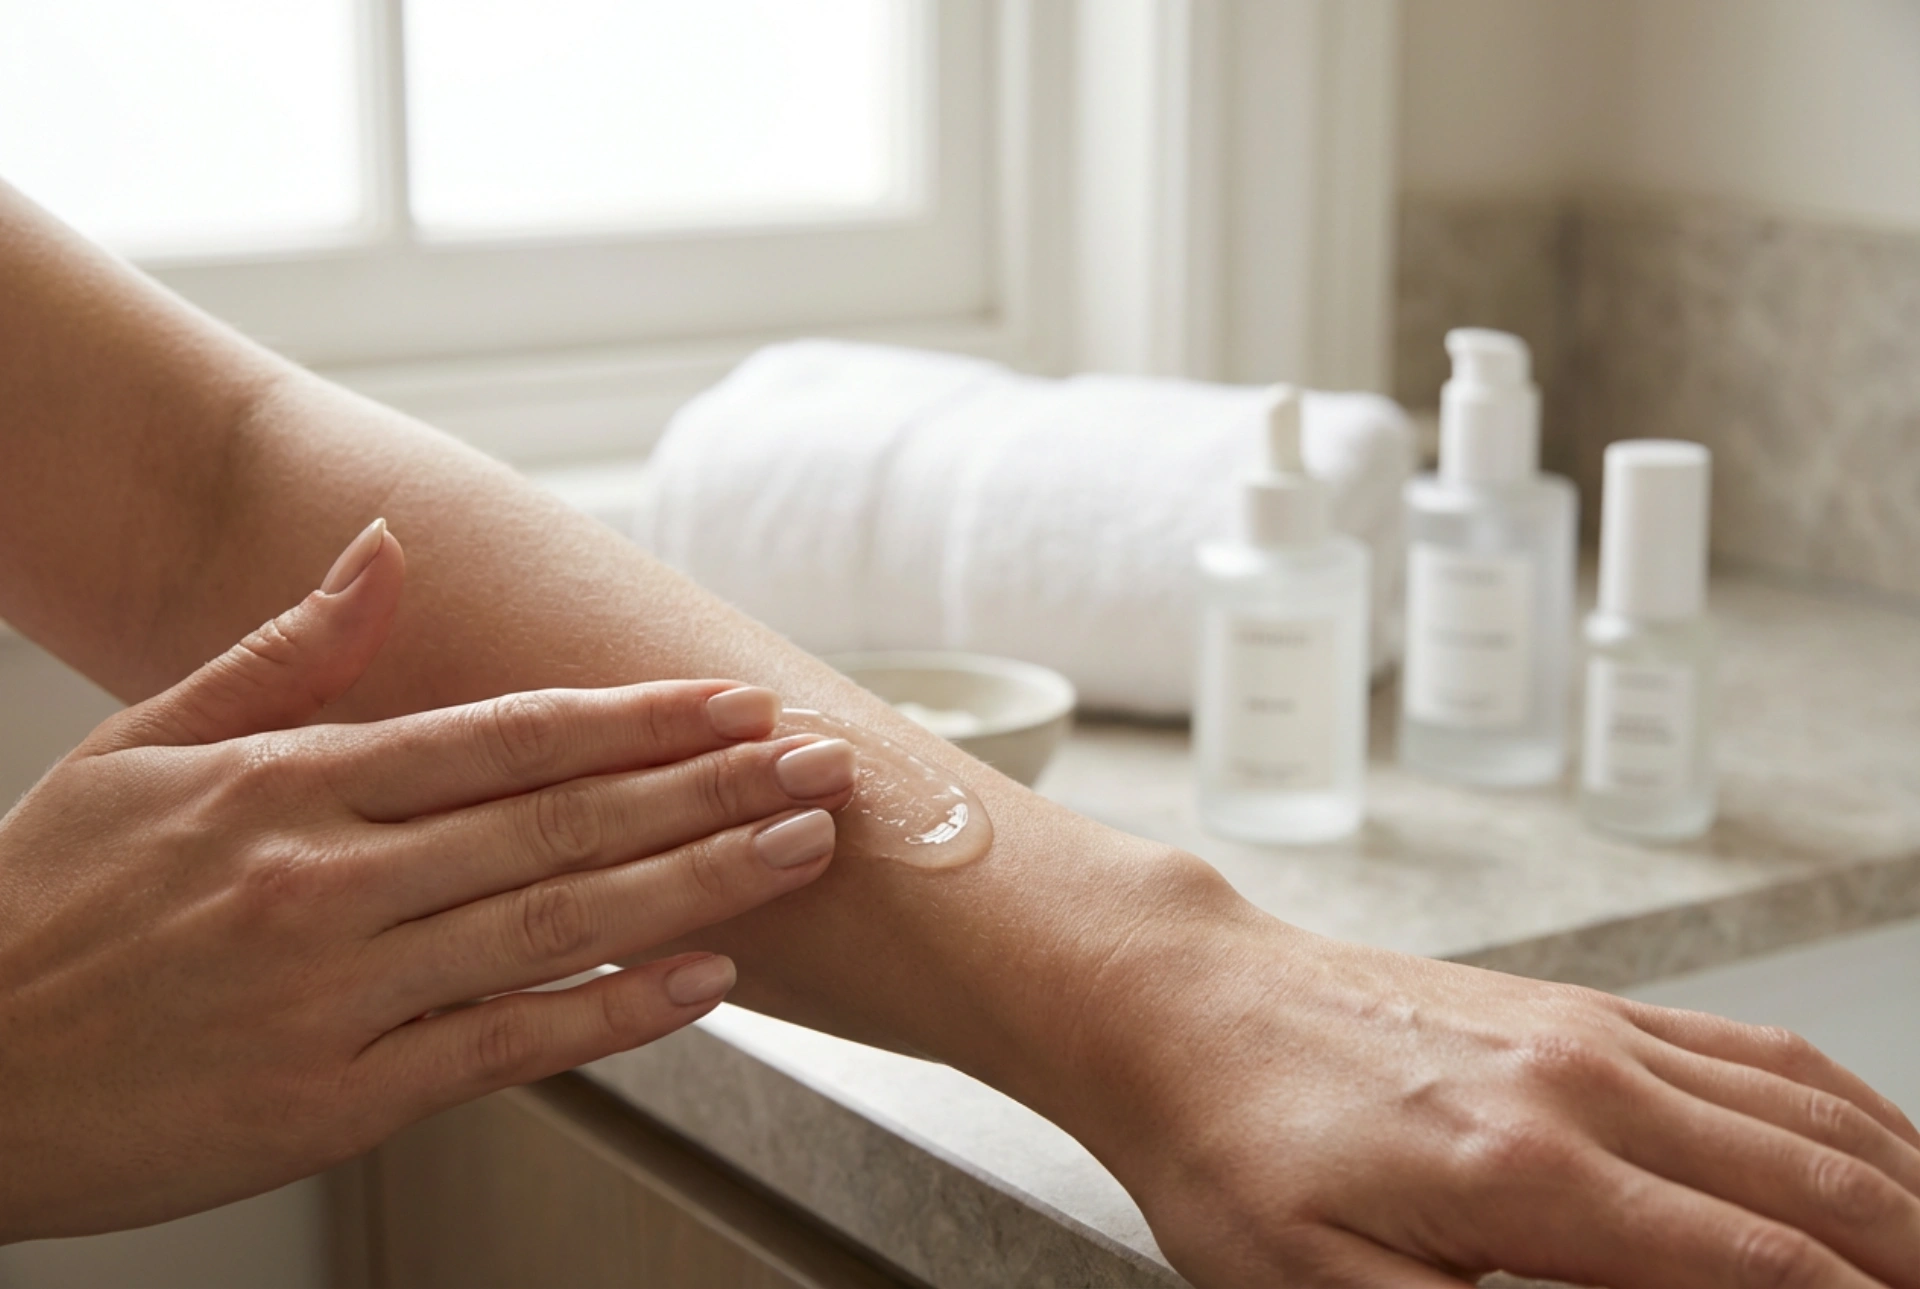
Apply a pure, cooling gel like aloe vera to calm any mild irritation. Avoid hot baths, saunas, intense workouts, and direct sun exposure for at least twenty-four hours to let the hair follicles close and recover. Stick to loose-fitting, breathable clothing to prevent friction. Within a day, your skin will feel exceptionally soft, smooth, and refreshed, showcasing the wonderful benefits of this simple, natural beauty ritual.