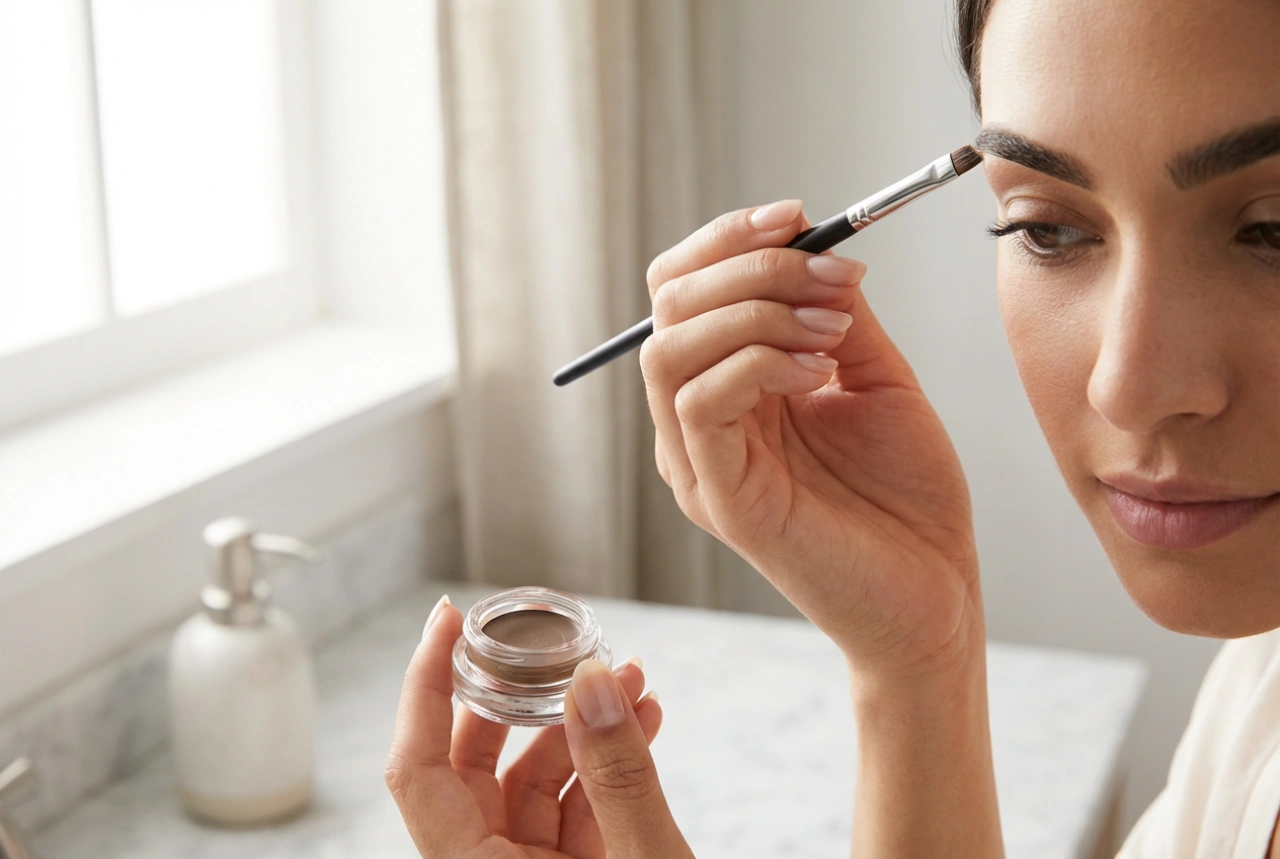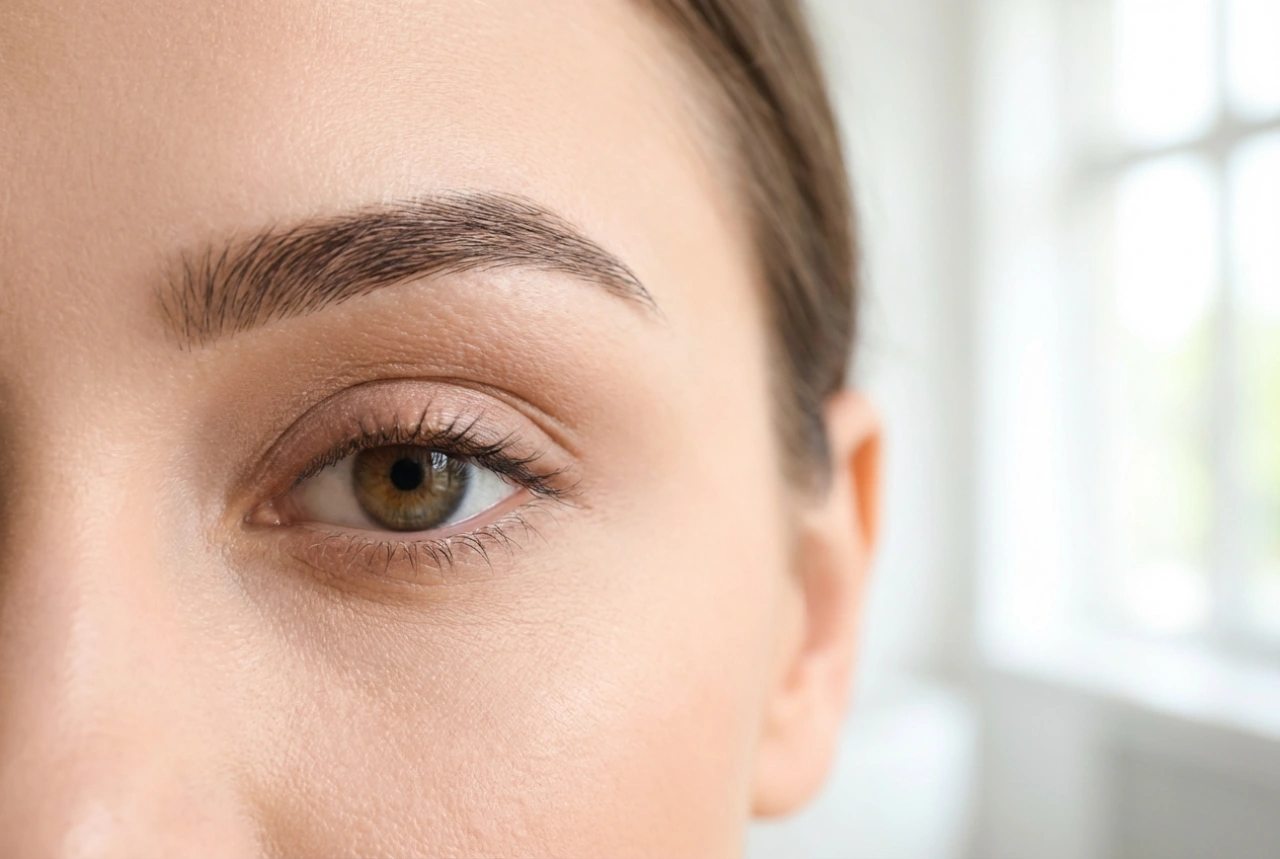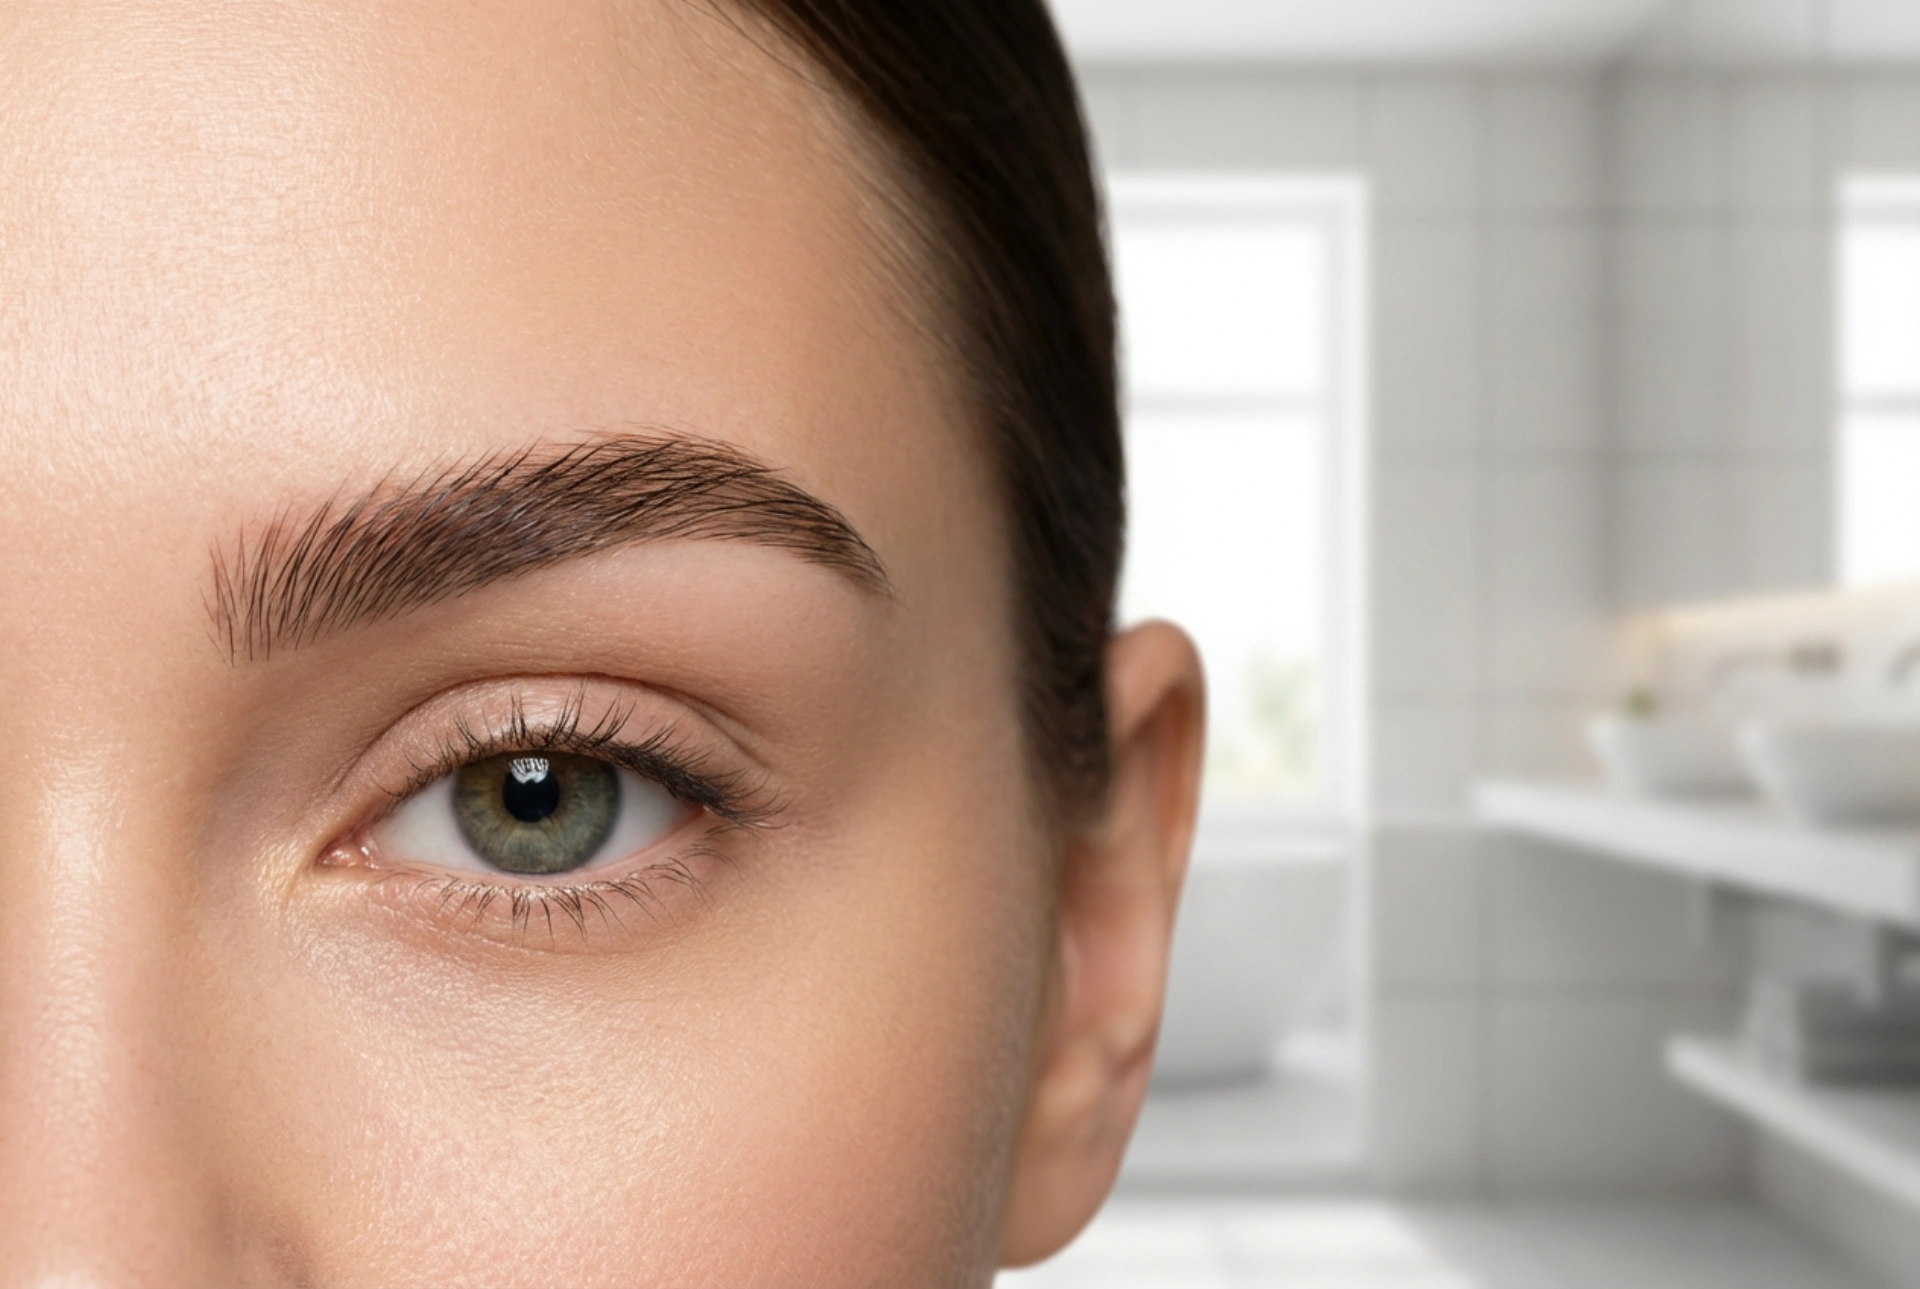


The secret to an elegantly framed eye often lies in the subtle details of the eyebrows. When fine brow hairs are beautifully set and enhanced with a delicate tint, they catch the soft, natural light, highlighting their natural texture and shape. In modern beauty, the trend has shifted away from heavily drawn, block-like brows towards a more natural fullness and refined definition. Achieving this sophisticated look does not require complicated salon procedures or invasive treatments. Instead, a simple, everyday cosmetic tool like a tinted brow gel can completely transform your beauty routine. This versatile product offers a dual benefit: it optically thickens the brow area by coating each individual hair, whilst simultaneously holding them in place for a neat, polished appearance that lasts all day.
The Science of Optical Thickening with Brow Gels
To understand why tinted brow gels are so effective, it is helpful to look at how they interact with individual hairs. Unlike traditional brow pencils or pomades, which primarily colour the skin underneath the hair, a brow gel is designed to wrap around the hair shaft itself. When you apply a tinted gel, the pigment adheres to even the finest, lightest hairs that are usually invisible to the naked eye. This immediately creates the illusion of density and volume, making the brows look naturally fuller without the need for heavy filling.
Furthermore, many modern formulas are enriched with lightweight styling polymers or delicate, microscopic fibres. These fibres cling to the natural hairs, adding physical volume and length to each strand. This is particularly beneficial for individuals with sparse or over-tweezed brows who want to restore a youthful, feathery appearance. Because the product targets the hairs rather than the skin, the result is incredibly multidimensional, allowing natural light to pass through the brow structure and create realistic shadows, just like naturally thick eyebrows would.
Finding the Perfect Shade for Your Undertone
Selecting the correct colour is crucial for achieving a natural, elegant finish. If the shade is too dark, it can make the face look tired or overly stern. Conversely, a shade that is too light or warm may look unnatural under bright, natural light. When choosing a tinted brow gel, the goal should be to match your natural hair colour or go one shade lighter for a softer appearance, especially if you have dark hair.
- Blonde and Fair Hair: Opt for cool, ash-blonde or soft taupe shades. Avoid warm, golden tones that can turn orange on the skin and contrast too sharply with your natural colouring.
- Brunette and Medium Hair: Medium brown shades with neutral or slightly cool undertones work best. This adds definition without making the brows look overly heavy.
- Dark Brown and Black Hair: A soft charcoal or deep, cool brown is ideal. Avoid pure black formulas, as they can look too harsh and artificial; instead, a dark espresso shade will provide a softer, more sophisticated frame.
- Grey or Silver Hair: Soft granite, slate, or cool taupe tones beautifully complement silver hair, enhancing the natural shape of the brows without looking out of place.
Step-by-Step Application Guide for a Flawless Finish
Applying a tinted brow gel may seem straightforward, but a few professional techniques can make a significant difference in the final result. To achieve a perfectly set, voluminous look that remains flexible and flake-free, follow these simple steps:
Step 1: Prep the Brush
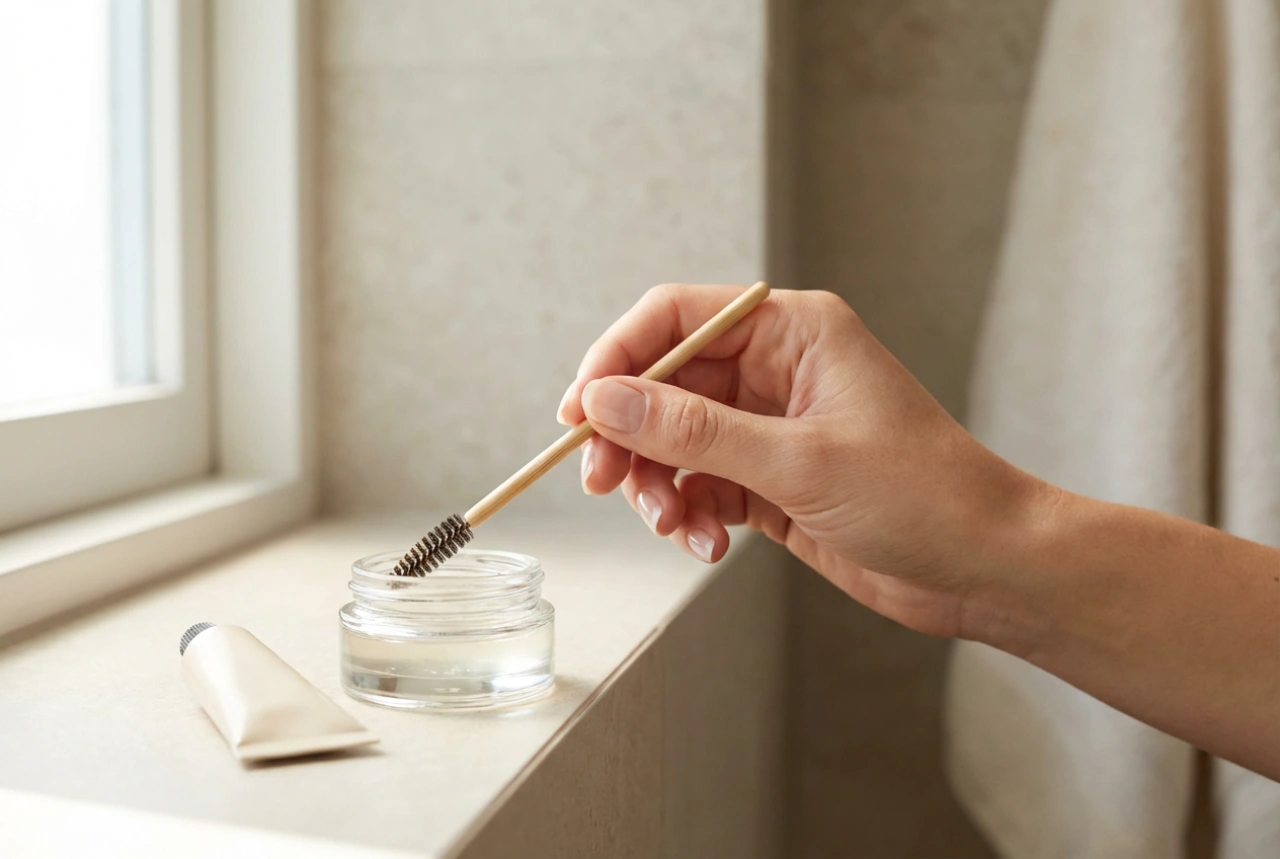
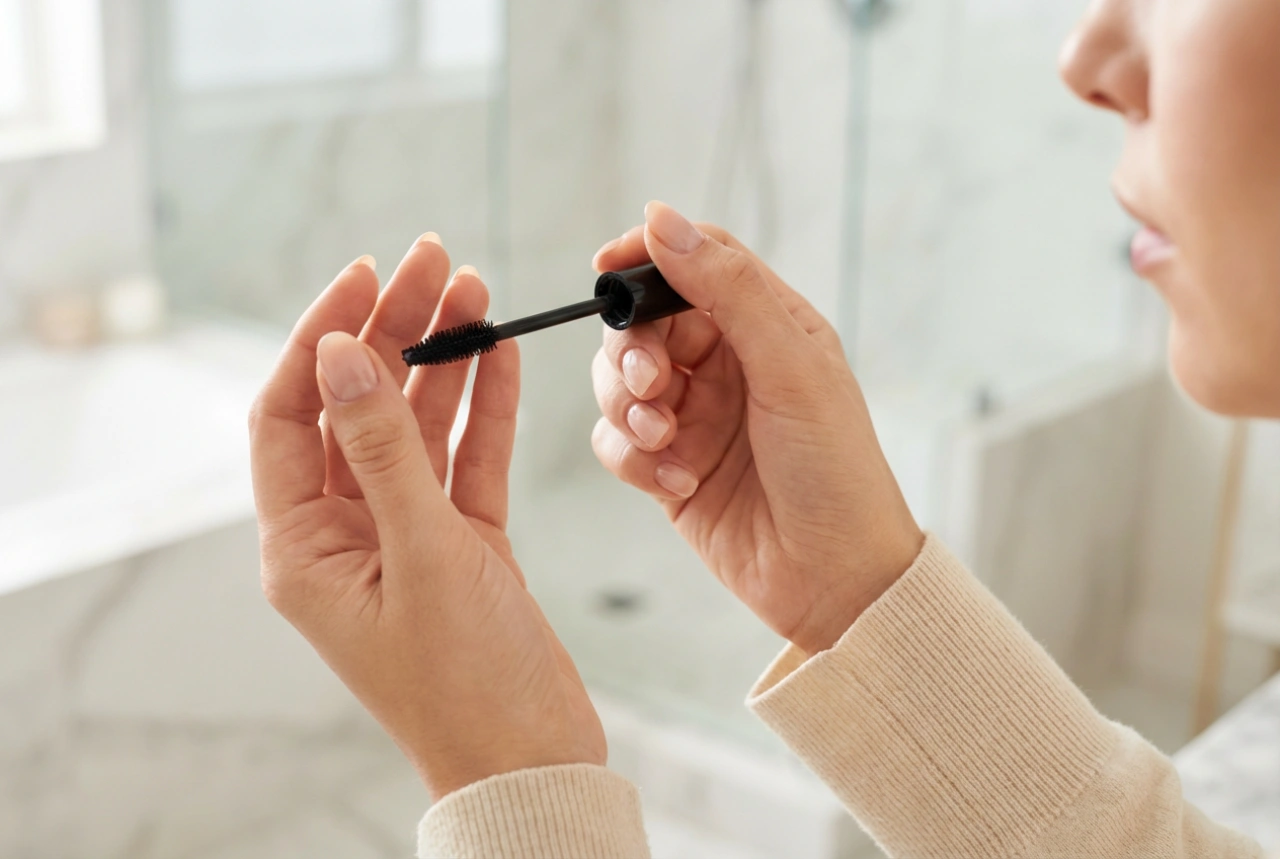
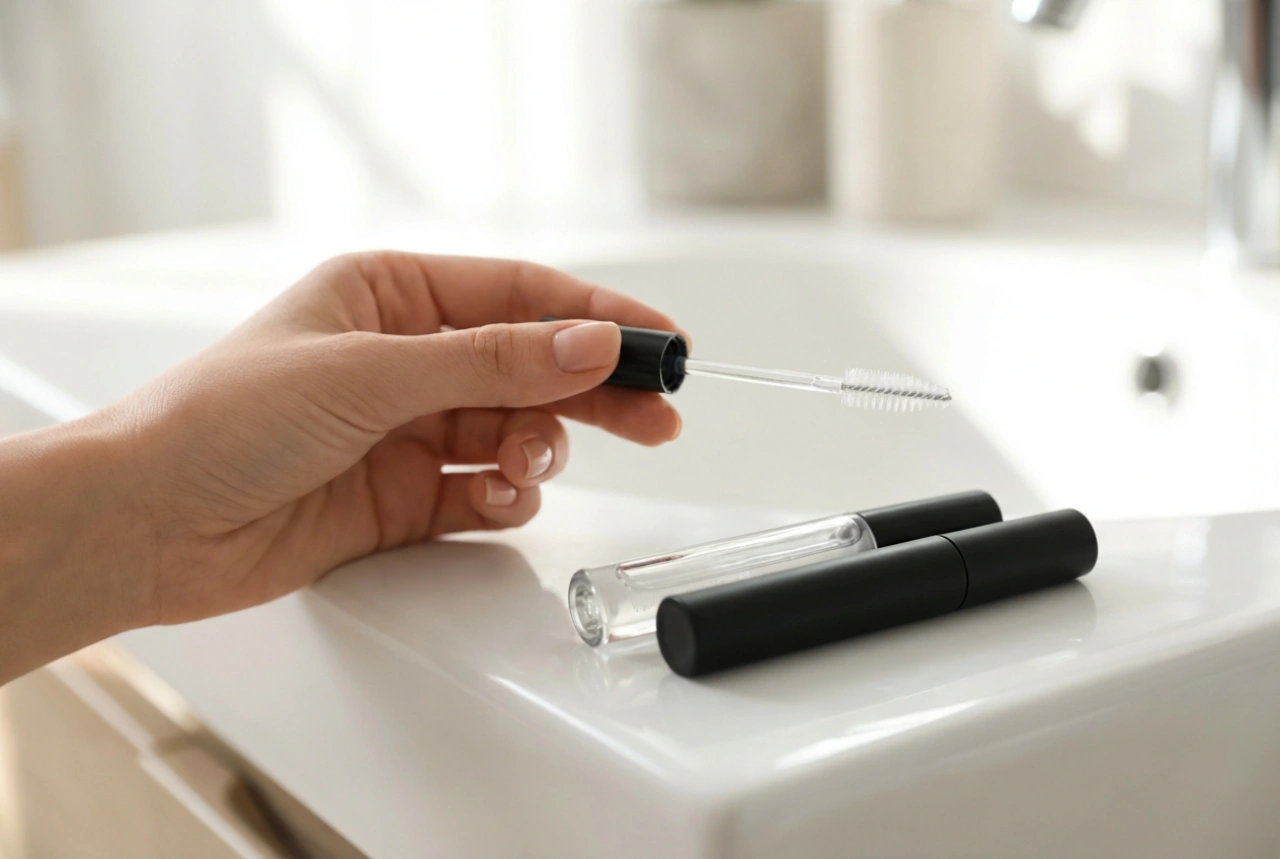
Before applying the gel to your face, always check the applicator brush. Tinted gels can sometimes accumulate excess product at the tip of the wand. Gently wipe any excess gel onto the rim of the tube or a clean tissue. This prevents clumping and ensures an even, lightweight distribution of colour across the brows.
Step 2: The Reverse Brushing Technique
To get the maximum volumising effect, start by brushing the gel through your brows in the opposite direction of hair growth—from the tail of the brow towards the nose. This back-brushing technique ensures that the underside of each hair is thoroughly coated with pigment, instantly doubling the visible thickness of your brows.
Step 3: Shape and Set
Next, brush the hairs back into their natural position, moving the wand upwards and outwards. In the inner corner of the brow, brush the hairs straight up to create a trendy, feathery look. As you move towards the arch and the tail, guide the hairs diagonally outwards to follow the natural line of your brow bone. This lifts the entire eye area, creating a fresh, awakened look.
Step 4: Clean Up the Edges
If any product gets onto the skin around the brows, do not panic. Wait a minute for the gel to dry completely, then gently sweep it away using a clean, dry cotton bud. Trying to wipe it off while wet may smudge the product and ruin your base makeup.
How to Maintain Healthy, Beautiful Brows
While styling products are excellent for daily enhancement, keeping your natural brow hairs healthy is the foundation of any great beauty look. Because brow gels dry to a set finish to hold the hairs in place, it is vital to treat them gently to avoid breakage. Always remove your makeup thoroughly at the end of the day using a gentle, oil-based cleanser or micellar water. Avoid rubbing or pulling at the brow area, as this can weaken the hair follicles over time.
Incorporating a simple nourishing routine at night, such as applying a drop of natural castor oil or a gentle conditioning serum to clean brows, can keep the hairs soft, supple, and resilient. With healthy hairs as your canvas, your daily styling with a tinted brow gel will look even more spectacular, giving you that effortless, elegant look day after day.