


Simple, home-based beauty rituals can be a wonderful way to care for your skin using ingredients you likely already have in your kitchen. One of the most traditional and straightforward preparations is a face mask made from egg white. Known for its temporary tightening and smoothing effects, this mask can be a quick solution for giving your skin a refreshed and toned appearance before a special occasion or as part of a weekly self-care routine. It's a simple process that, when done correctly, can leave your skin feeling firm and looking mattified.
The Benefits of an Egg White Mask
The primary benefit of an egg white mask comes from its high protein content. As the egg white dries on your skin, the proteins form a thin film that contracts, creating a noticeable tightening sensation. This temporary effect can help to:
- Visibly tighten the skin: The contracting film gives an immediate, though short-lived, feeling of firmness.
- Minimise the appearance of pores: By tightening the skin's surface, pores can appear smaller and less prominent for a few hours.
- Reduce excess surface oil: Egg whites can help absorb some of the sebum on the skin's surface, leaving it with a more matte finish. This makes it particularly popular for those with combination or oily skin types.
It is important to remember that these effects are cosmetic and temporary. An egg white mask is not a long-term solution for skin concerns but rather a quick and effective way to achieve a smoother-looking complexion for a short period.
Step-by-Step Guide to Preparation and Application
Creating and using your egg white mask is simple. Follow these steps for the best results and a safe experience.
Step 1: Prepare Your Skin and Tools
Start with a completely clean face. Use your regular cleanser to remove all makeup, dirt, and oil. Gently pat your skin dry with a soft towel. You will need one fresh egg, a clean small bowl, and a whisk or fork. If you prefer not to use your fingers for application, have a clean, soft face mask brush ready.
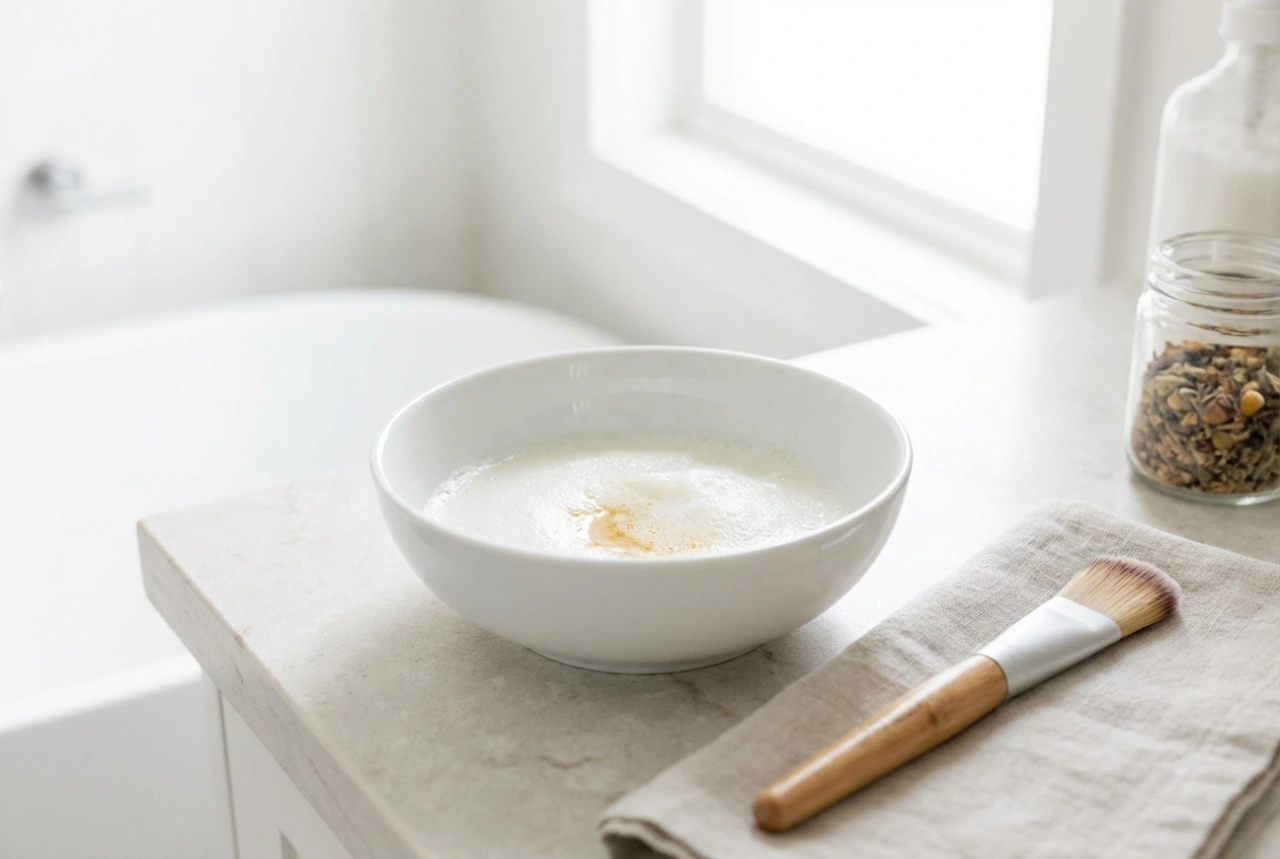
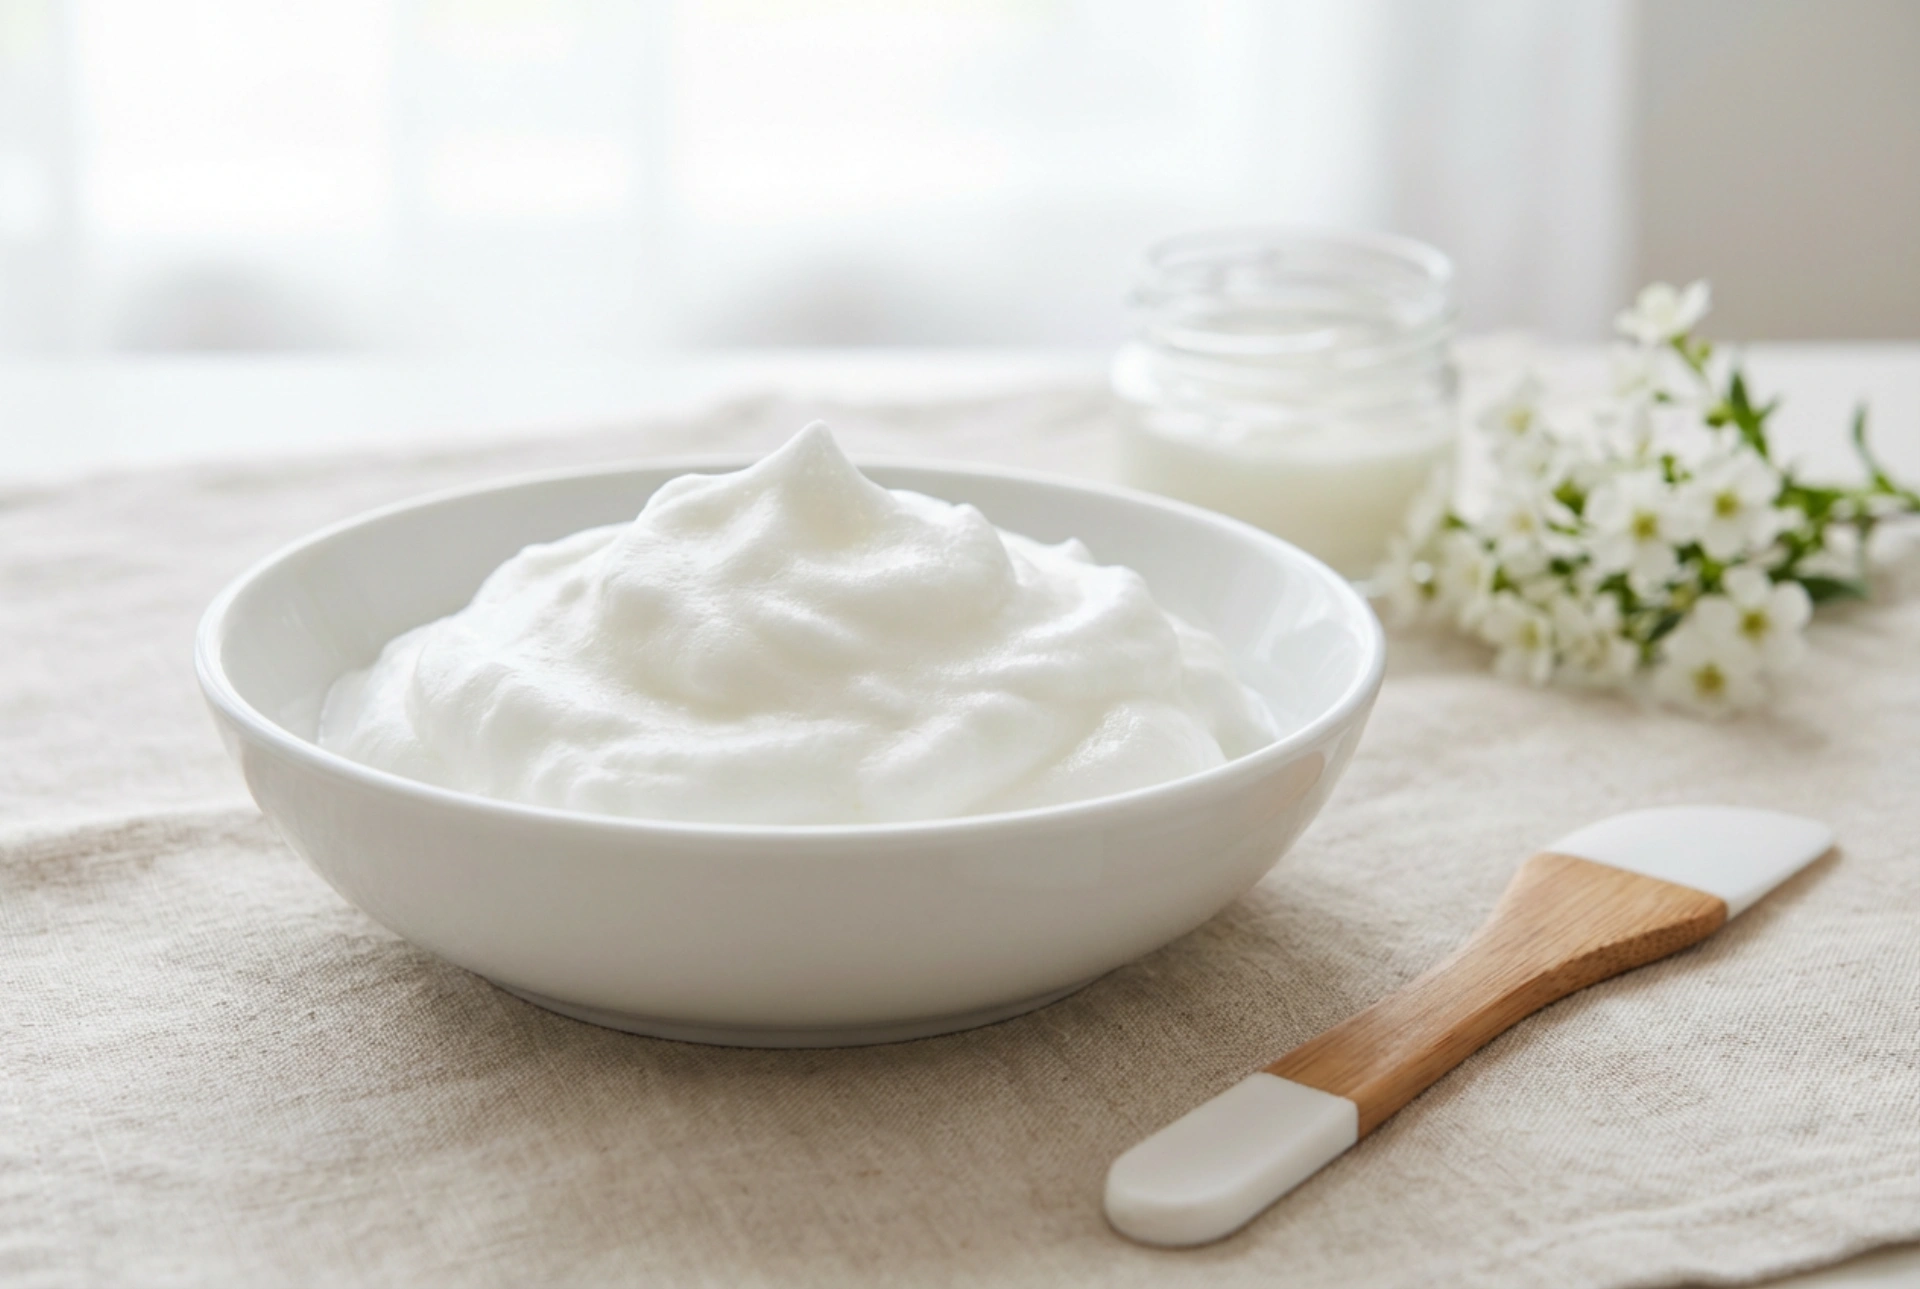
Step 2: Separate and Whip the Egg White
Carefully crack the egg and separate the white from the yolk. You will only need the egg white for this mask. Place the egg white in your clean bowl and begin to whisk it vigorously. Continue whisking for a minute or two until the liquid turns into a white, light foam with soft peaks. The ideal consistency is frothy and airy, not stiff like a meringue, and no longer runny.
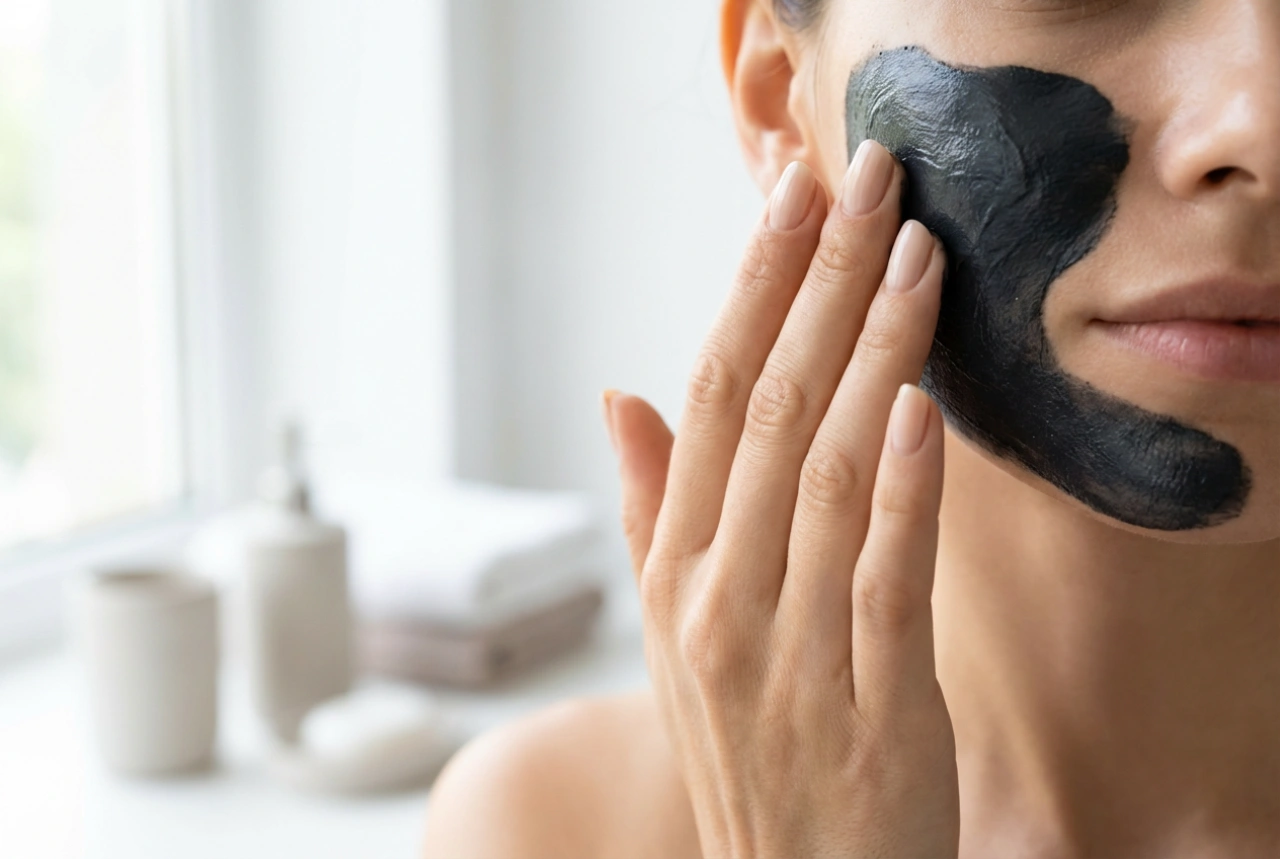
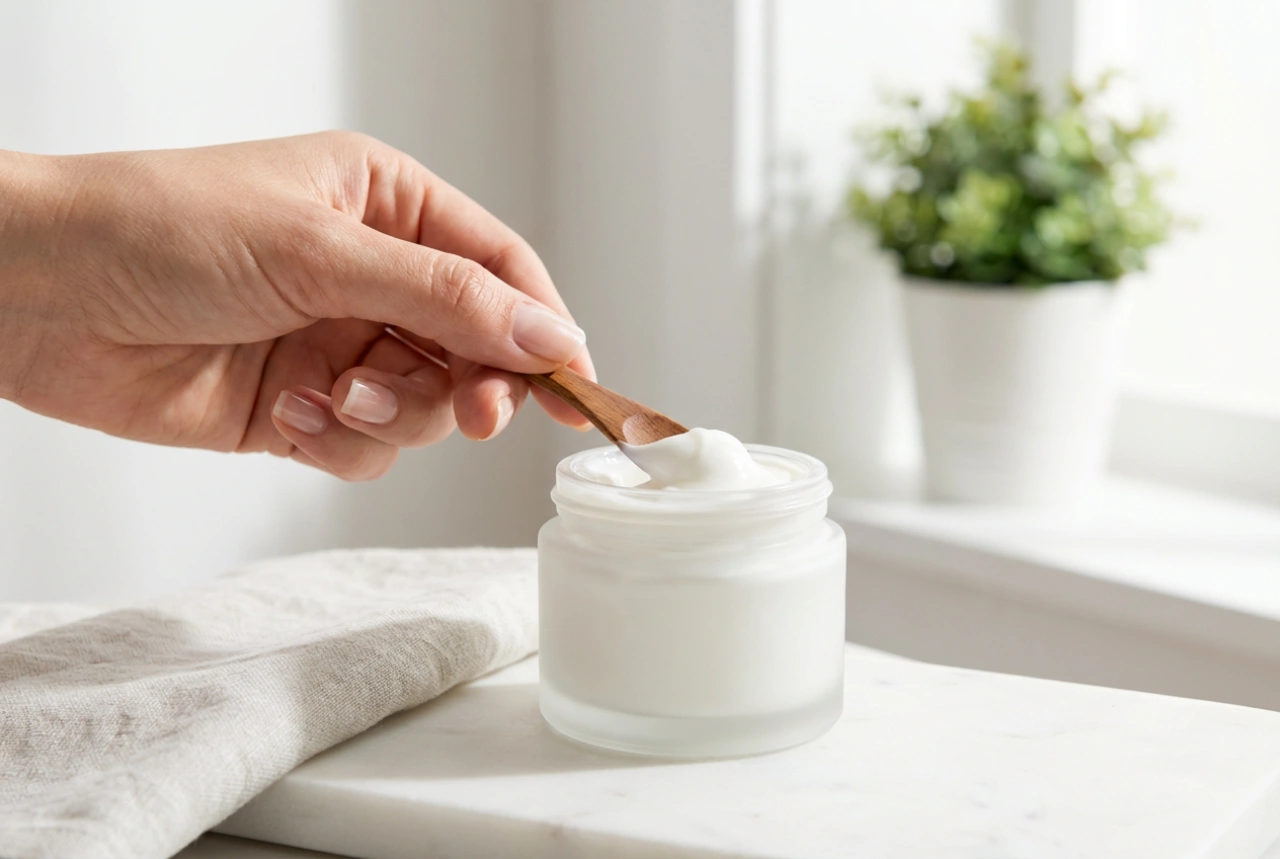
Step 3: Apply the Mask
Using your clean fingertips or a brush, apply a thin, even layer of the whipped egg white onto your face. Focus on areas where you want to see a tightening effect, such as the forehead, cheeks, and nose. Be careful to avoid the delicate area directly around your eyes, as well as your eyebrows, hairline, and lips.
Drying, Removal, and Aftercare
The final part of the process is just as important as the preparation.
Step 4: Let the Mask Dry
Once applied, relax and let the mask dry completely. This typically takes between 10 and 15 minutes. During this time, you will feel your skin becoming tighter as the mask dries. Try to keep your face still and avoid talking or making strong facial expressions to allow the mask to work evenly.
Step 5: Rinse Gently
When the mask is fully dry and feels tight all over, it’s time to remove it. Do not attempt to peel or scrub it off, as this can be harsh on your skin. Instead, soften the mask by splashing your face several times with lukewarm water. Once it has softened, use your fingertips and more lukewarm water to gently rinse away all traces of the egg white. A soft, damp washcloth can also be used to gently wipe it away. Finish with a splash of cool water to help your skin feel refreshed.
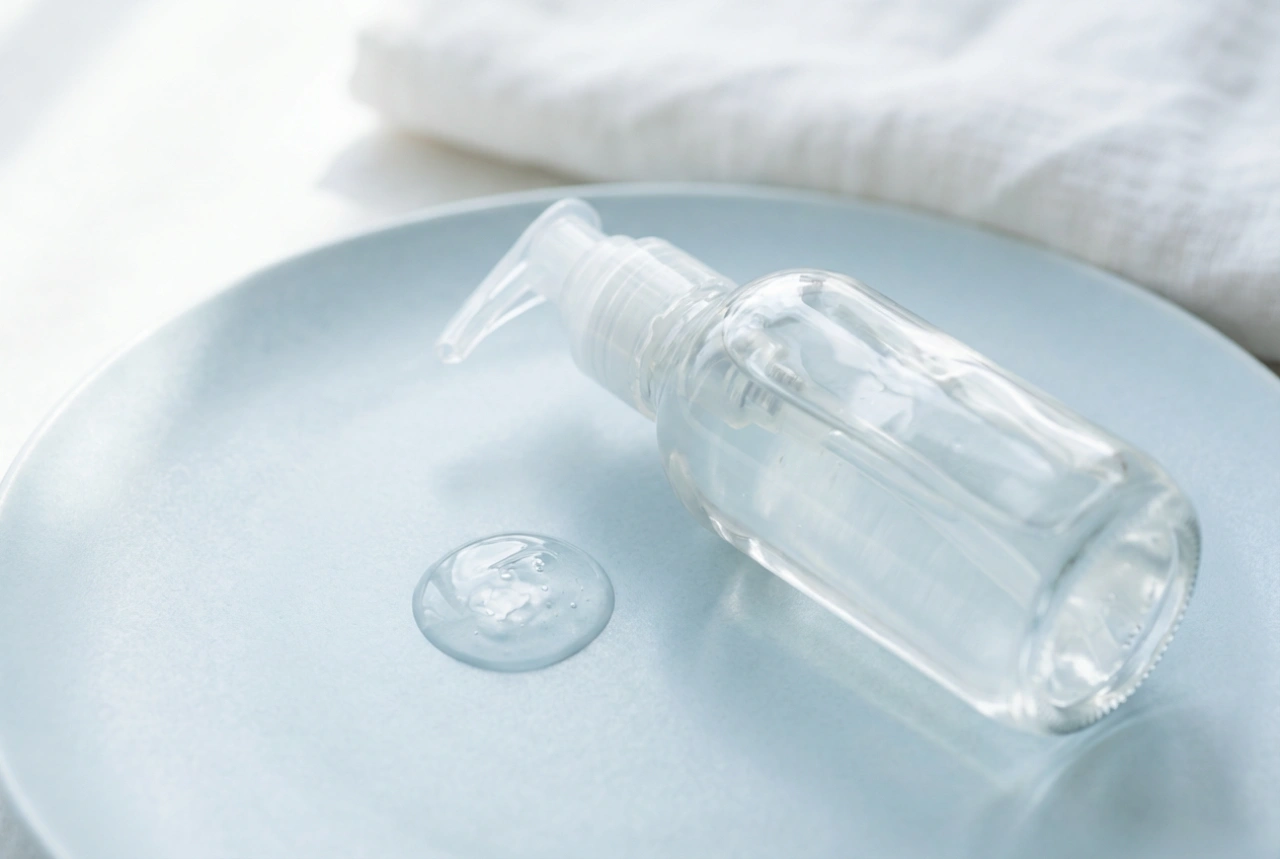
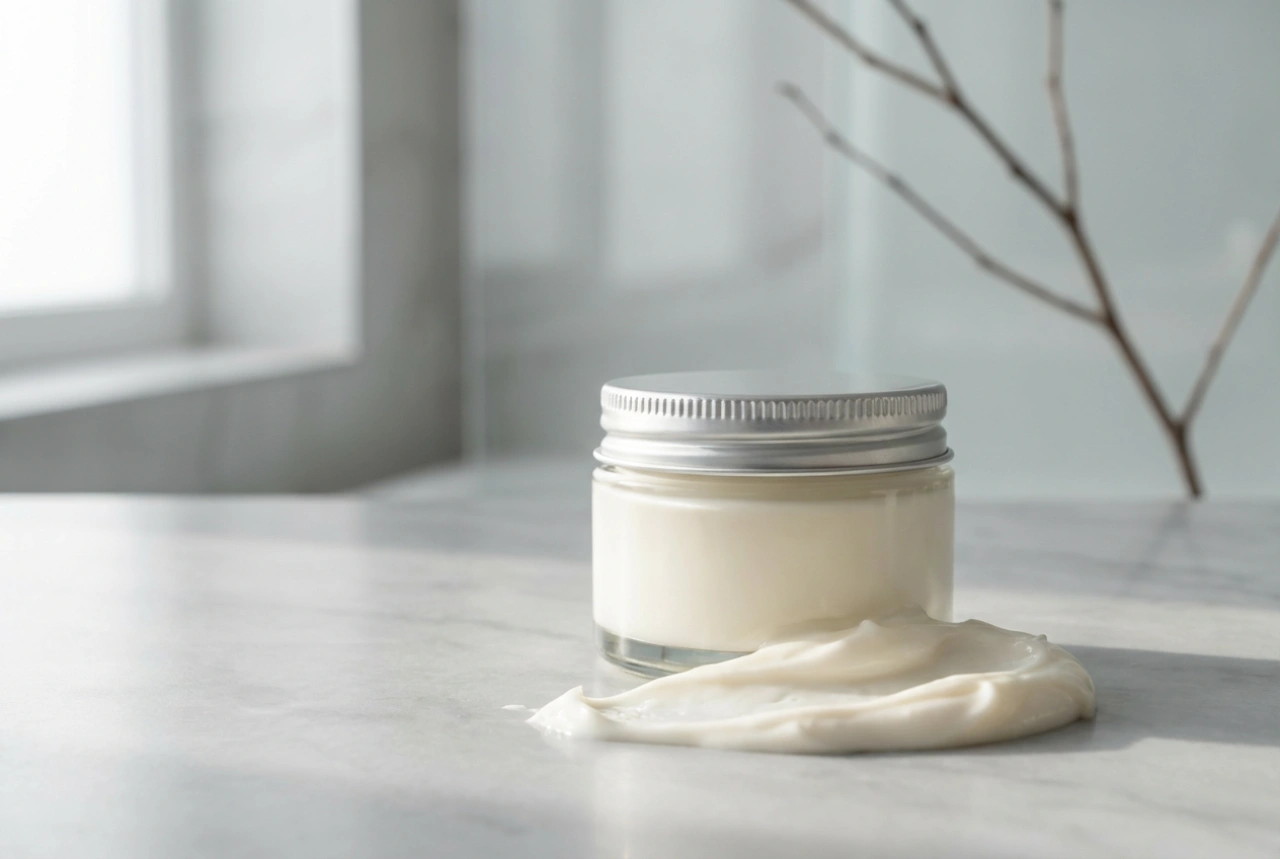
Step 6: Moisturise
After rinsing, gently pat your face dry with a clean towel. The mask can be slightly drying, so it's essential to follow up immediately with your favourite hydrating serum or moisturiser to replenish your skin's moisture barrier.
Common Mistakes to Avoid
To ensure a positive and safe experience, be mindful of these common pitfalls:
- Not doing a patch test: Before applying the mask to your entire face for the first time, test a small amount on your inner arm to check for any sensitivity or reaction. People with an egg allergy should not use this mask.
- Leaving it on for too long: Keeping the mask on for more than 15-20 minutes can lead to excessive dryness and potential irritation.
- Applying too thick a layer: A thin, even layer will dry more effectively and is easier to remove than a thick, goopy one.
- Peeling the dry mask off: This can pull at your skin and cause redness. Always soften it with water before rinsing.
- Expecting permanent results: Remember that the tightening and smoothing effects are temporary. Enjoy the immediate boost, but maintain a consistent skincare routine for long-term skin health.