


A perfectly applied lip colour can elevate any makeup look, adding a touch of elegance and polish. While it may seem like a professional skill, achieving a flawless, long-lasting pout is an art that anyone can master with the right techniques and a little practice. It all comes down to a simple three-part process: preparing the canvas, defining the shape, and applying and setting the colour for longevity. Forget smudges and feathering – this comprehensive guide will walk you through each step to ensure your lip makeup looks impeccable from the moment you apply it until the end of the day.
Preparing Your Lips: The Foundation for Flawless Colour
Before you even think about reaching for a lip liner or lipstick, proper preparation is essential. The smoothest, most even colour application starts with a healthy, hydrated canvas. Applying lipstick over dry or flaky lips will only accentuate texture and lead to a patchy finish. To create the perfect base, follow these two simple steps.
First, gently exfoliate. You don't need a harsh scrub; a soft, damp cloth, a clean, soft-bristled toothbrush, or a gentle sugar-based lip scrub will work wonders. Move it in small, circular motions across your lips to slough away any dry skin. This creates a uniform surface for products to adhere to. Afterwards, rinse or wipe away the residue.
Second, hydrate. After exfoliating, apply a light layer of a nourishing lip balm. It's crucial to let it absorb for at least 10-15 minutes before you begin applying colour. If you apply lipstick directly over a greasy layer of balm, the colour will slide right off. For best results, apply your lip balm at the very beginning of your makeup routine, so by the time you get to your lips, they are soft, supple, and ready for colour, with no excess residue.
The Art of the Contour: Defining Your Shape with Lip Liner
Lip liner is a transformative tool that is often overlooked. Its primary purpose is to create a clean, defined border that prevents your lipstick from bleeding or feathering into the fine lines around your mouth. It also provides a guide for your lipstick application and can be used to subtly enhance or even out your natural lip shape.
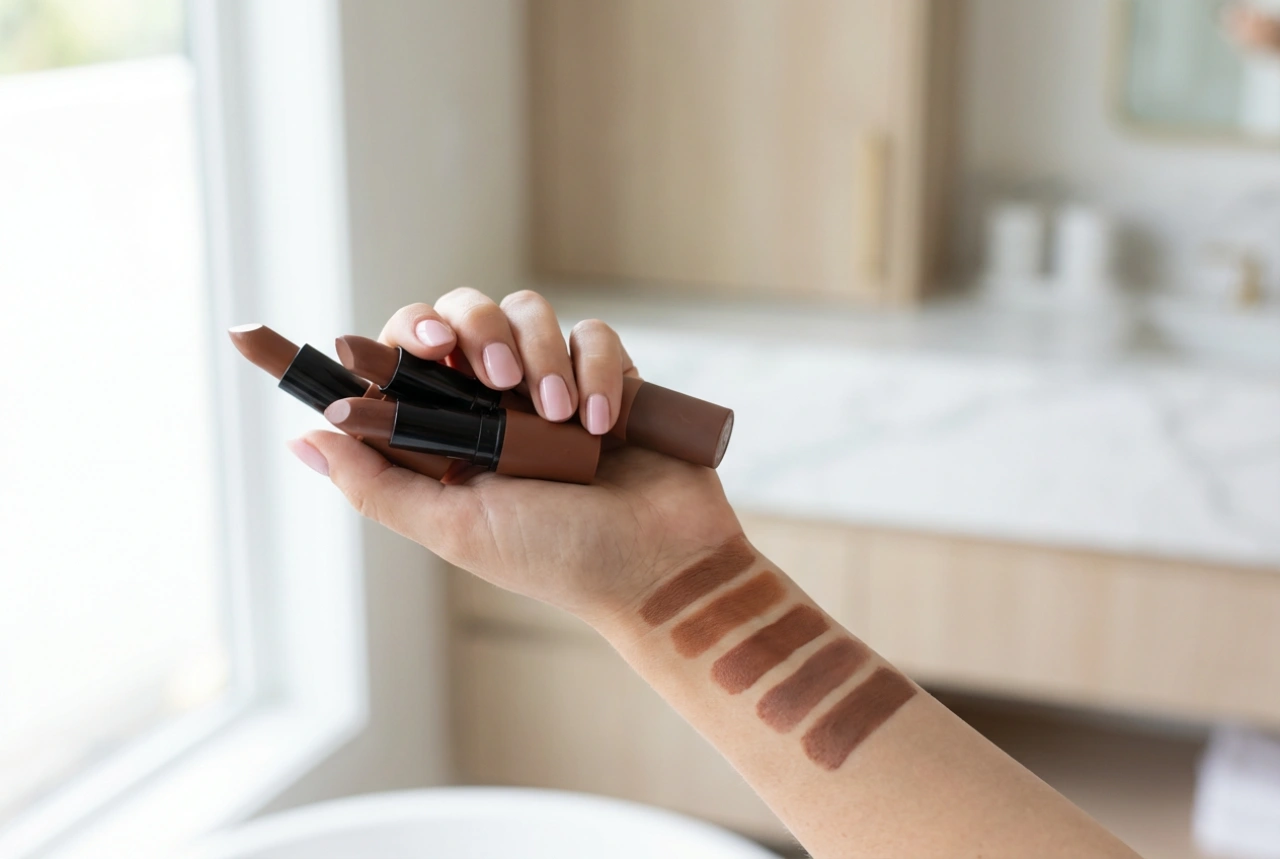
Choosing Your Shade
For the most natural look, choose a lip liner that either perfectly matches your chosen lipstick shade or is very close to your natural lip colour. A neutral liner is a versatile addition to any makeup bag as it will work with a wide range of lipstick colours. Avoid using a liner that is significantly darker than your lipstick, as this can create a harsh, dated outline.
Application Technique
With a sharpened pencil for maximum precision, begin by relaxing your mouth. Don't stretch your lips into a thin line, as this will change their shape.
- Start at the Cupid's bow, drawing a small 'X' to define the peaks of your upper lip.
- Next, define the centre of your bottom lip line.
- Working from the outer corners inwards, use short, light strokes to connect the lines you've already drawn. Drawing one long, continuous line can easily lead to mistakes.
- For greatly improved longevity, lightly fill in your entire lip with the liner. This creates a waxy base that your lipstick can grip onto, making it last for hours longer.
Filling with Colour: Achieving a Rich and Even Finish
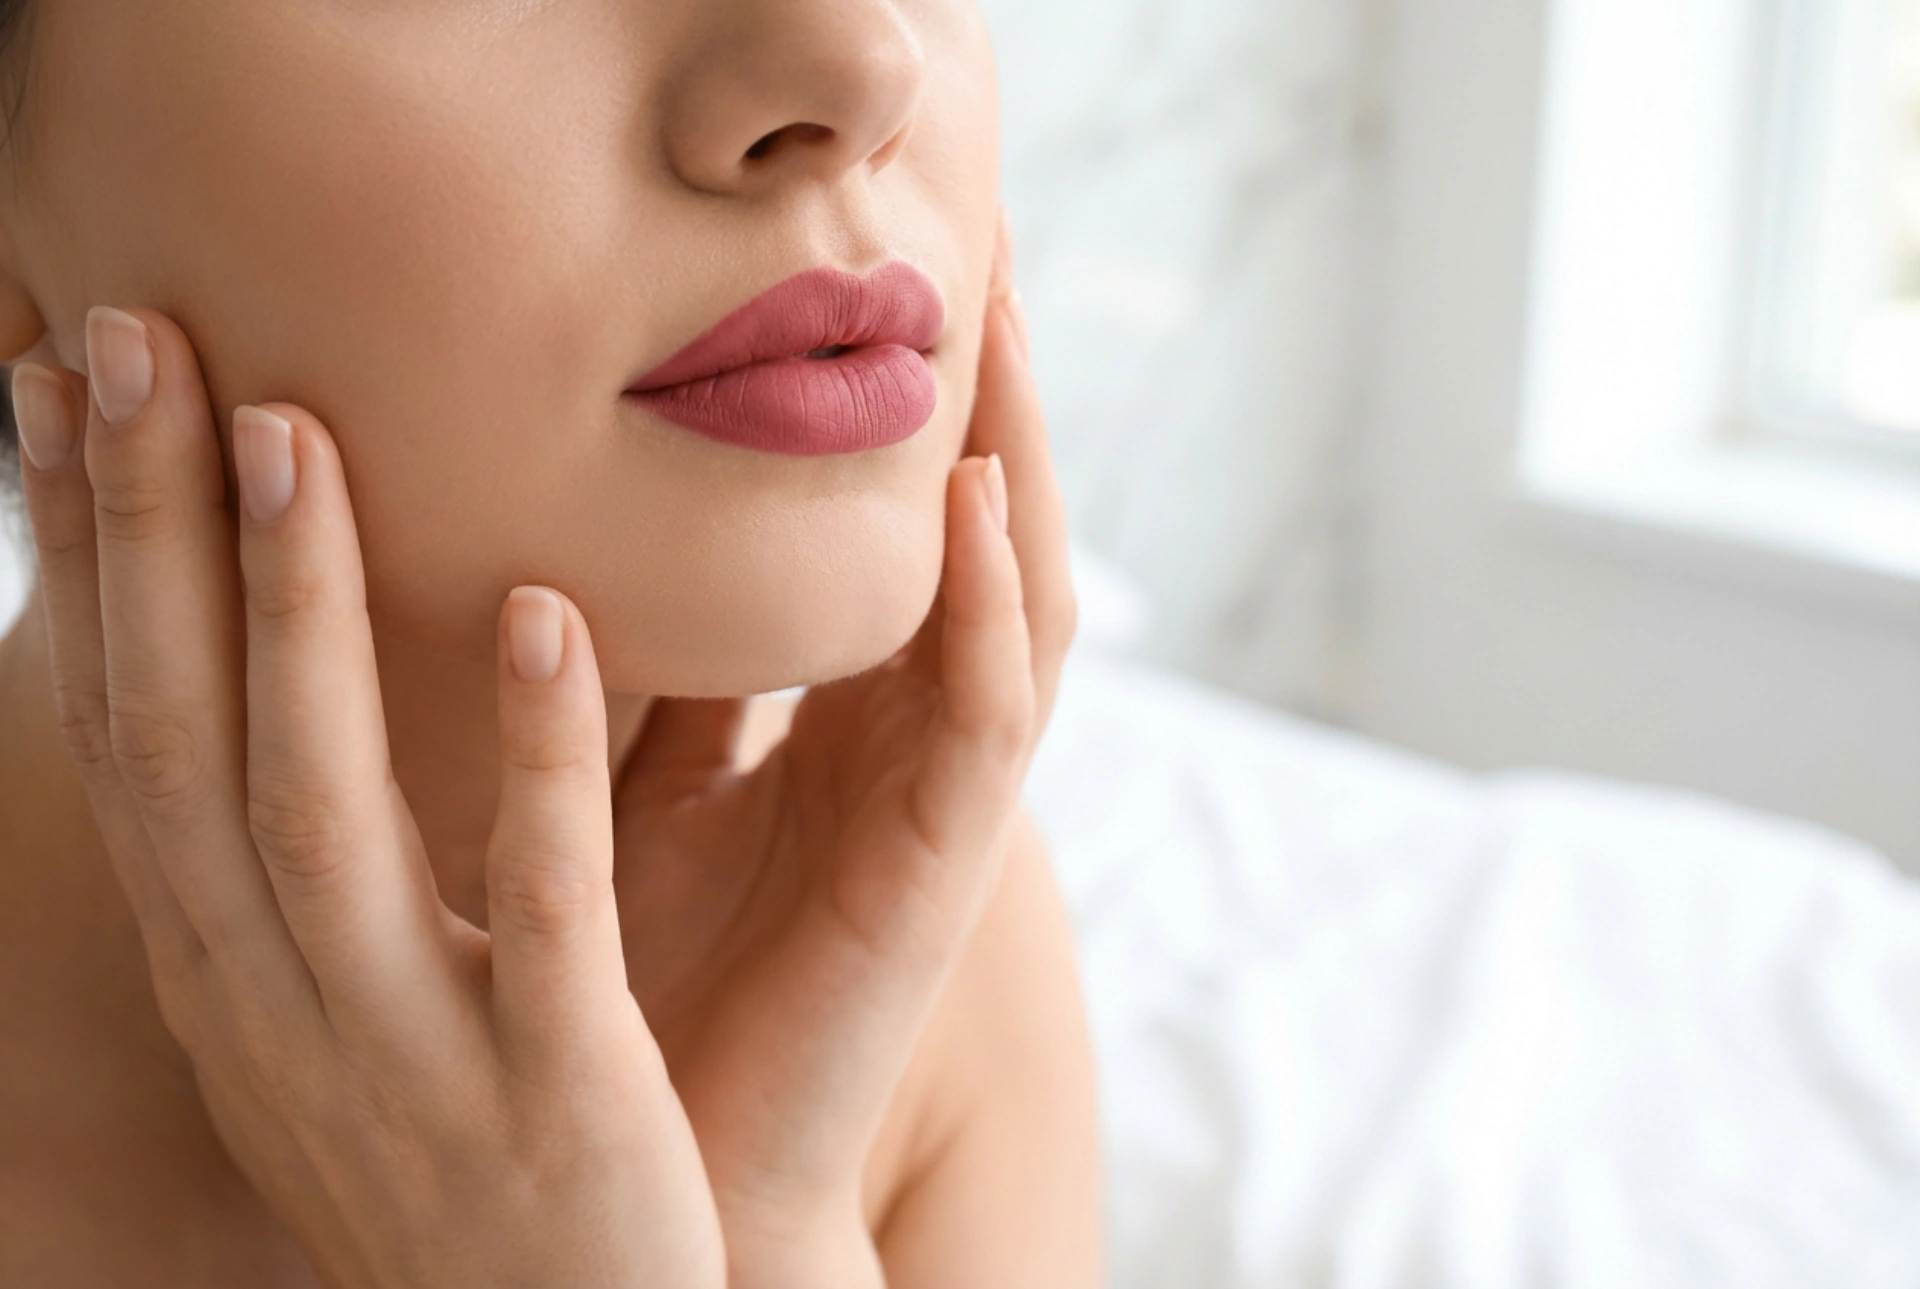
With your lips prepped and defined, it's time for the main event: the lipstick. Whether you prefer a creamy satin finish, a modern matte, or a vibrant gloss, the application method can make all the difference in the final result.
Brush vs. Bullet
Applying lipstick directly from the bullet is quick and convenient. However, for unparalleled precision and a more professional finish, a lip brush is your best friend. A small, flat or tapered brush allows you to control the amount of product you use, work it into the lips for better staying power, and achieve crisp, clean edges that follow your liner perfectly.
How to Apply
Scrape a small amount of lipstick from the bullet onto your brush. Start applying the colour at the centre of your lips, blending it outwards towards the corners. By starting in the middle, you concentrate the most product where your lips are fullest and can then fade it out for a more controlled application. Press your lips together gently to help distribute the colour evenly. For a more intense, saturated look, blot the first layer with a tissue and then apply a second coat.
Setting for Longevity: How to Make Your Lip Colour Last All Day
If you need your lip colour to withstand meals, drinks, and hours of wear, setting it is a non-negotiable final step. This simple professional trick locks in your lipstick, mattifies the finish slightly, and dramatically reduces transfer.
The classic technique involves translucent powder. After applying your final layer of lipstick, take a single ply of a standard tissue and gently lay it over your lips. Then, using a large, fluffy brush, lightly dust a small amount of loose translucent setting powder over the tissue. The tissue acts as a sieve, allowing only the finest particles of powder to pass through and set the lipstick without depositing a cakey layer or altering the colour. Peel the tissue away, and your lip colour will be beautifully set and significantly more durable.