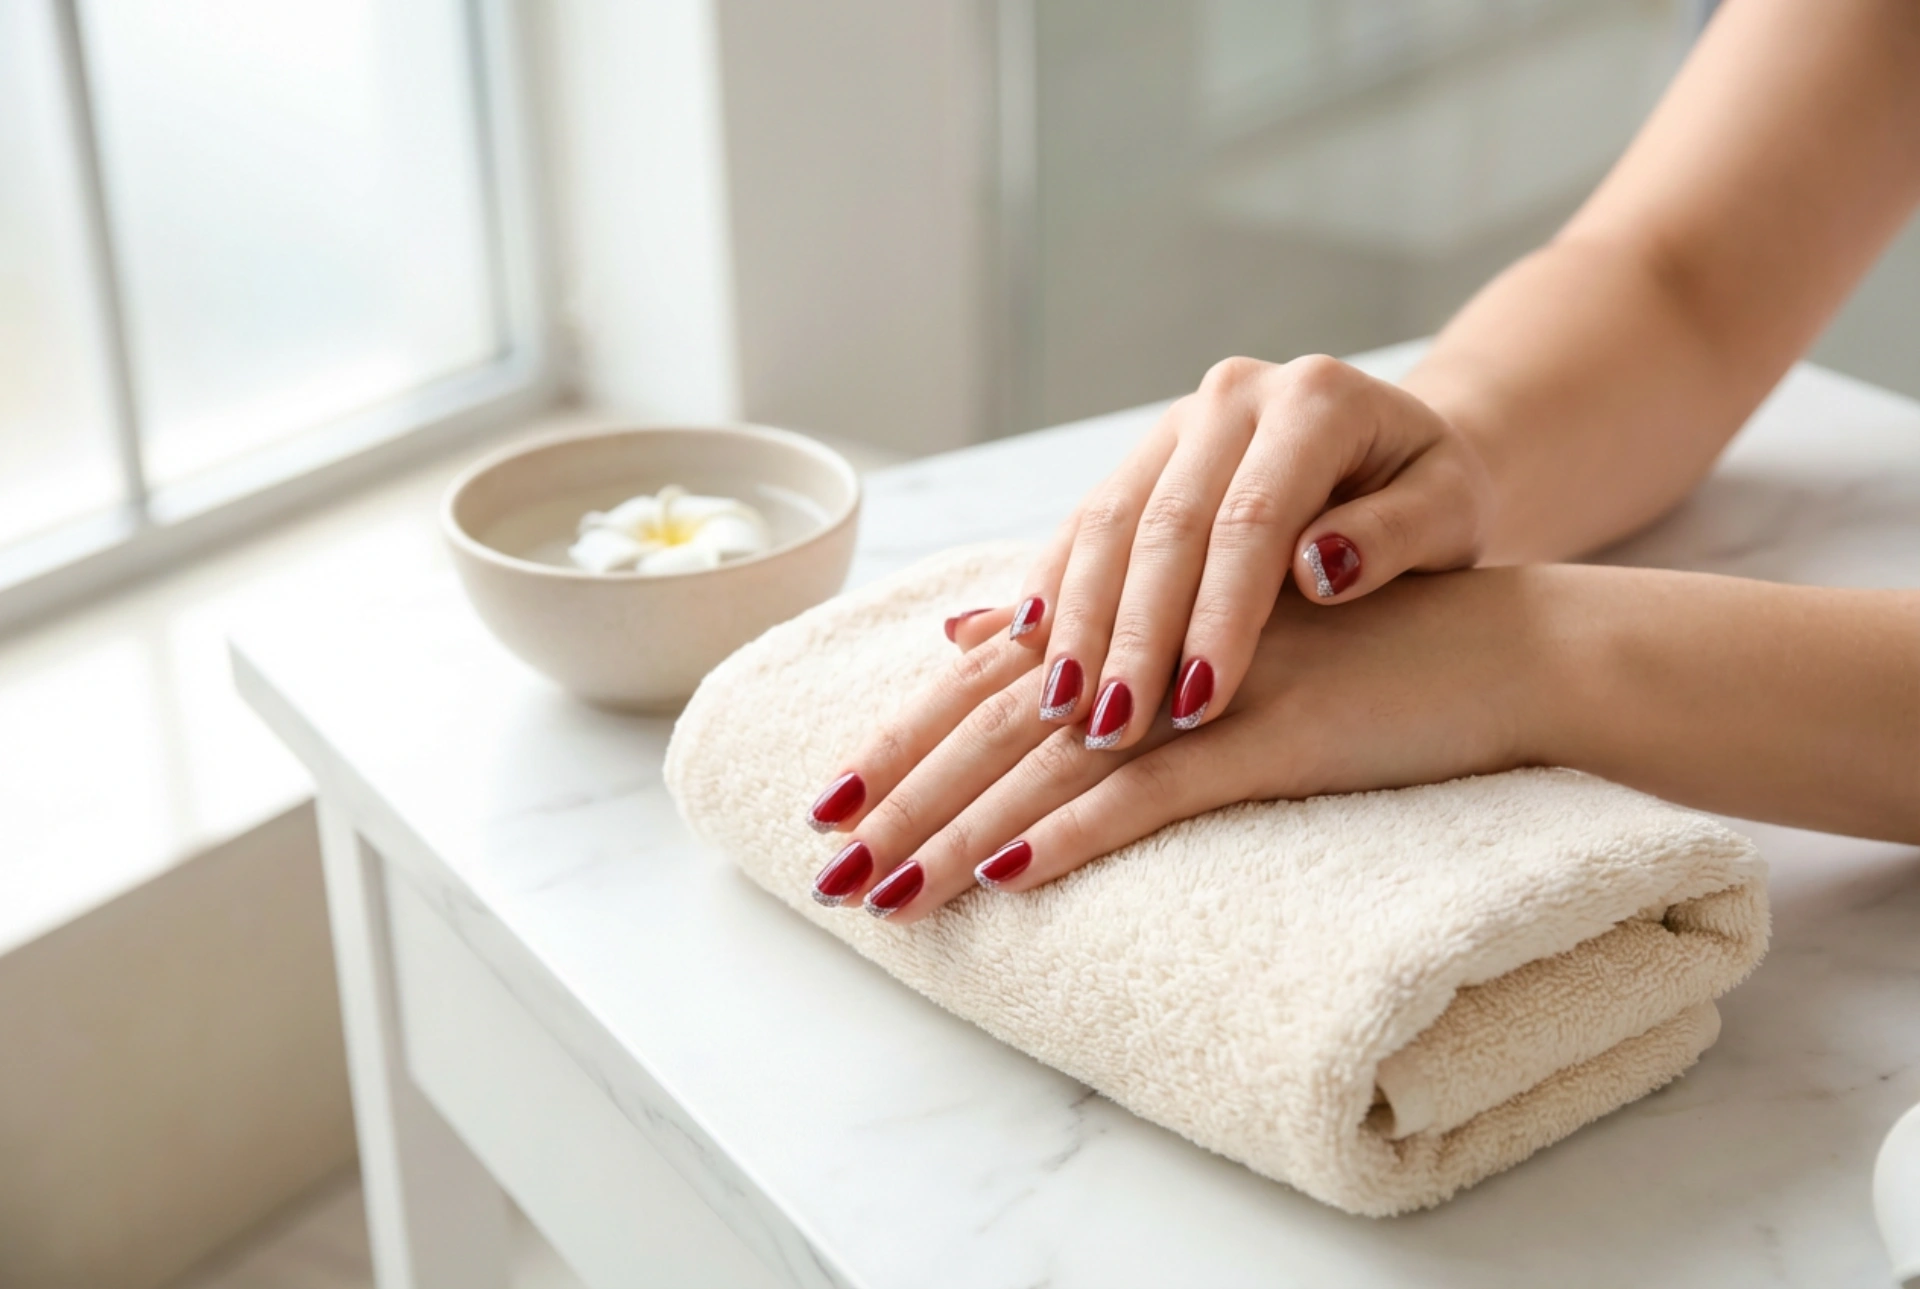


An elegant evening look is often completed by the perfect manicure, and nothing speaks of sophistication quite like a deep red base paired with sparkling silver accents. The striking contrast between a rich, warm red and the cool, reflective shimmer of silver glitter creates an instantly festive and polished aesthetic. Whether you are preparing for a special dinner, a seasonal gathering, or a formal night out, this classic colour combination offers a versatile canvas. Achieving a professional-looking finish at home is entirely accessible, provided you use the right techniques to control and distribute the glitter. Below, we explore how to prepare your nails and master three straightforward application methods for a flawless evening manicure.
The Timeless Appeal of Red and Silver
Red has long been a staple in nail design, representing confidence, elegance, and timeless beauty. From rich ruby tones to deep burgundy shades, red polish serves as an excellent foundation for nail art. When paired with silver, the look transitions from classic to celebratory. Silver glitter acts like fine jewellery for your fingertips, catching the ambient light and adding a subtle, three-dimensional texture to your nails. The key to keeping this look sophisticated lies in the balance. Instead of covering the entire nail in heavy glitter, using it as an accent or gradient creates a refined, modern aesthetic that complements any evening outfit without overwhelming it.
Preparing the Perfect Canvas
Before applying any polish, a proper manicure routine is essential to ensure longevity and a smooth surface. Any unevenness on the nail plate can cause glitter to clump or peel prematurely. Begin by shaping your nails into your preferred silhouette—oval or almond shapes look particularly elegant with deep red tones. Gently push back the cuticles and wipe the nail plate with a dehydrating solution or rubbing alcohol to remove natural oils. Apply a thin layer of protective base coat; this not only protects the natural nail from staining due to the pigment-rich red polish but also provides a smooth grip for the subsequent layers. Follow with two thin, even coats of your chosen deep red polish, allowing each layer to dry completely before proceeding to the glitter application.
Method 1: The Subtle Glitter Gradient
The gradient, or ombre effect, is a beautiful way to introduce silver glitter without crowding the nail. This technique concentrates the shimmer at either the tips of the nails or near the cuticles, fading gently towards the middle. To achieve this, you can use a glitter top coat with a fine density or loose cosmetic glitter.
- The Brush Technique: Dip a clean, dry nail art brush or a fan brush into your silver glitter polish. Wipe off any excess so the brush is relatively dry. Starting at the tip of the nail, gently stroke downwards towards the centre. The concentration of glitter will naturally decrease as you move down, creating a soft, cascading sparkle.
- The Sponge Technique: For a more controlled fade, apply a small amount of silver glitter polish onto the edge of a clean make-up sponge. Gently dab the sponge onto the top third of your nail, repeating the tapping motion to build intensity at the very edge while leaving a light dusting as you move towards the cuticle.
Method 2: Precise Accent Details
If you prefer a minimalist and highly polished look, using silver glitter to create precise accents is an excellent choice. This method works beautifully for highlighting a single accent nail or adding delicate geometric lines to all fingers. A thin detailing brush is the perfect tool for this style.
Pour a small drop of silver glitter polish or a mixture of clear top coat and loose silver glitter onto a piece of foil. Dip the tip of your detailing brush into the mixture. You can draw a thin, glittering line along the free edge of your nail for a festive twist on the classic French manicure. Alternatively, painting a delicate vertical line down the centre of the nail or framing the cuticle area in a crescent shape adds an ultra-modern touch. Because this technique relies on precision, keeping your hand steady on a flat surface while painting will yield the cleanest results.
Method 3: The Sponge Dabbing Technique for Dense Shimmer
Standard glitter polishes often contain a high ratio of clear suspension gel to actual glitter particles. When applied directly with the bottle brush, this can result in a sparse application that requires multiple coats, making the manicure thick and prone to chipping. The cosmetic sponge technique solves this issue by absorbing the excess liquid gel, leaving only a dense, brilliant layer of silver glitter on the nail.
To start, apply a small amount of liquid latex or skin barrier around the edges of your nail to simplify clean-up later. Next, paint a generous stripe of your silver glitter polish onto the corner of a clean, damp cosmetic sponge. Wait a few seconds for the sponge to absorb some of the clear base liquid. Gently tap the sponge directly onto the desired area of your nail. The glitter will transfer in a highly concentrated, opaque layer. Repeat this once or twice if you want a solid silver accent nail to contrast against your deep red manicure, then peel away the skin barrier.
Securing the Shimmer with a High-Shine Finish
Glitter polish naturally creates a textured, slightly uneven surface once dry, which can catch on fabrics and lose its lustre quickly. To ensure your evening manicure remains flawless and smooth to the touch, a generous layer of top coat is indispensable. A quick-drying, high-gloss top coat is ideal for this step. When applying the top coat, gently float the brush over the glitter rather than pressing down hard, which could drag the glitter particles. Be sure to seal the free edge of the nail by running the brush along the very tip. This caps the polish, preventing chips and ensuring your elegant red and silver evening nails maintain their dazzling shine throughout your event.