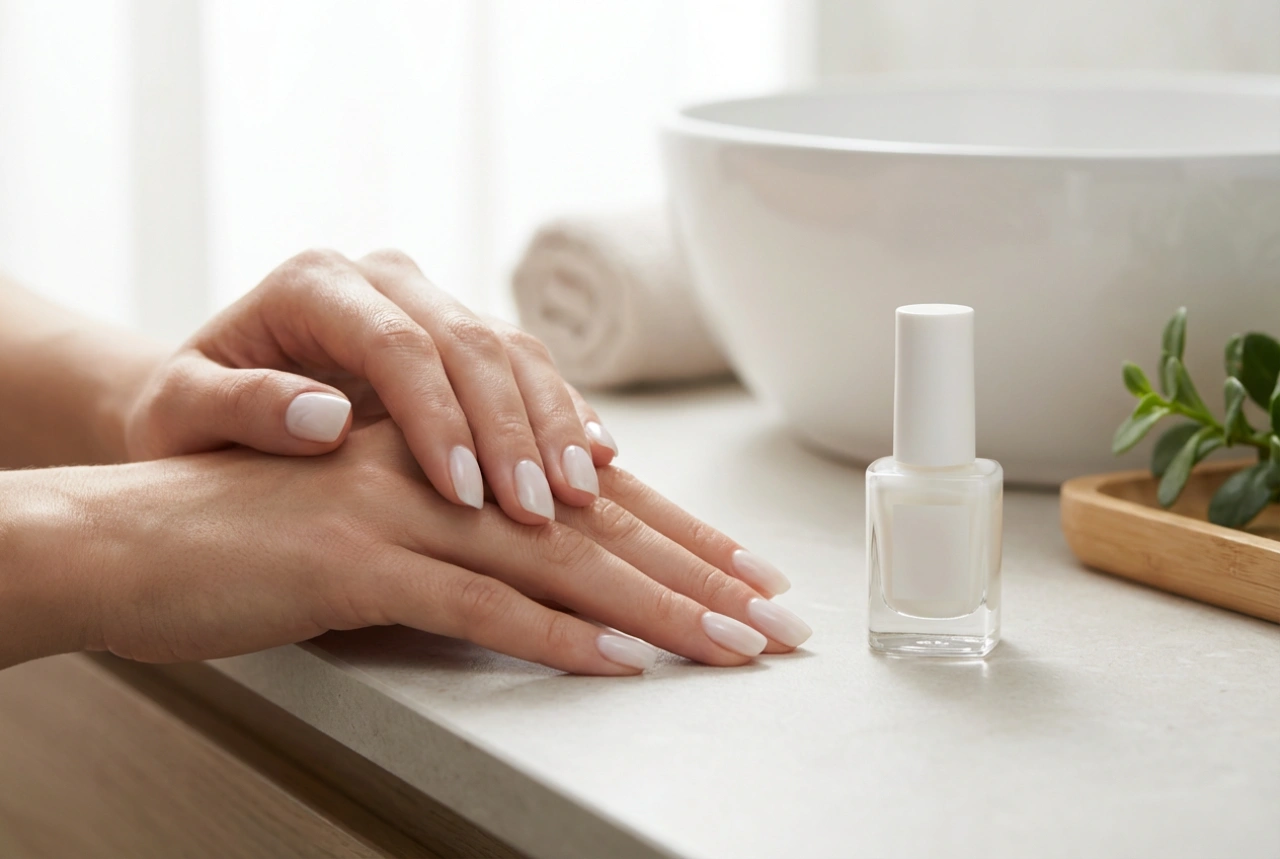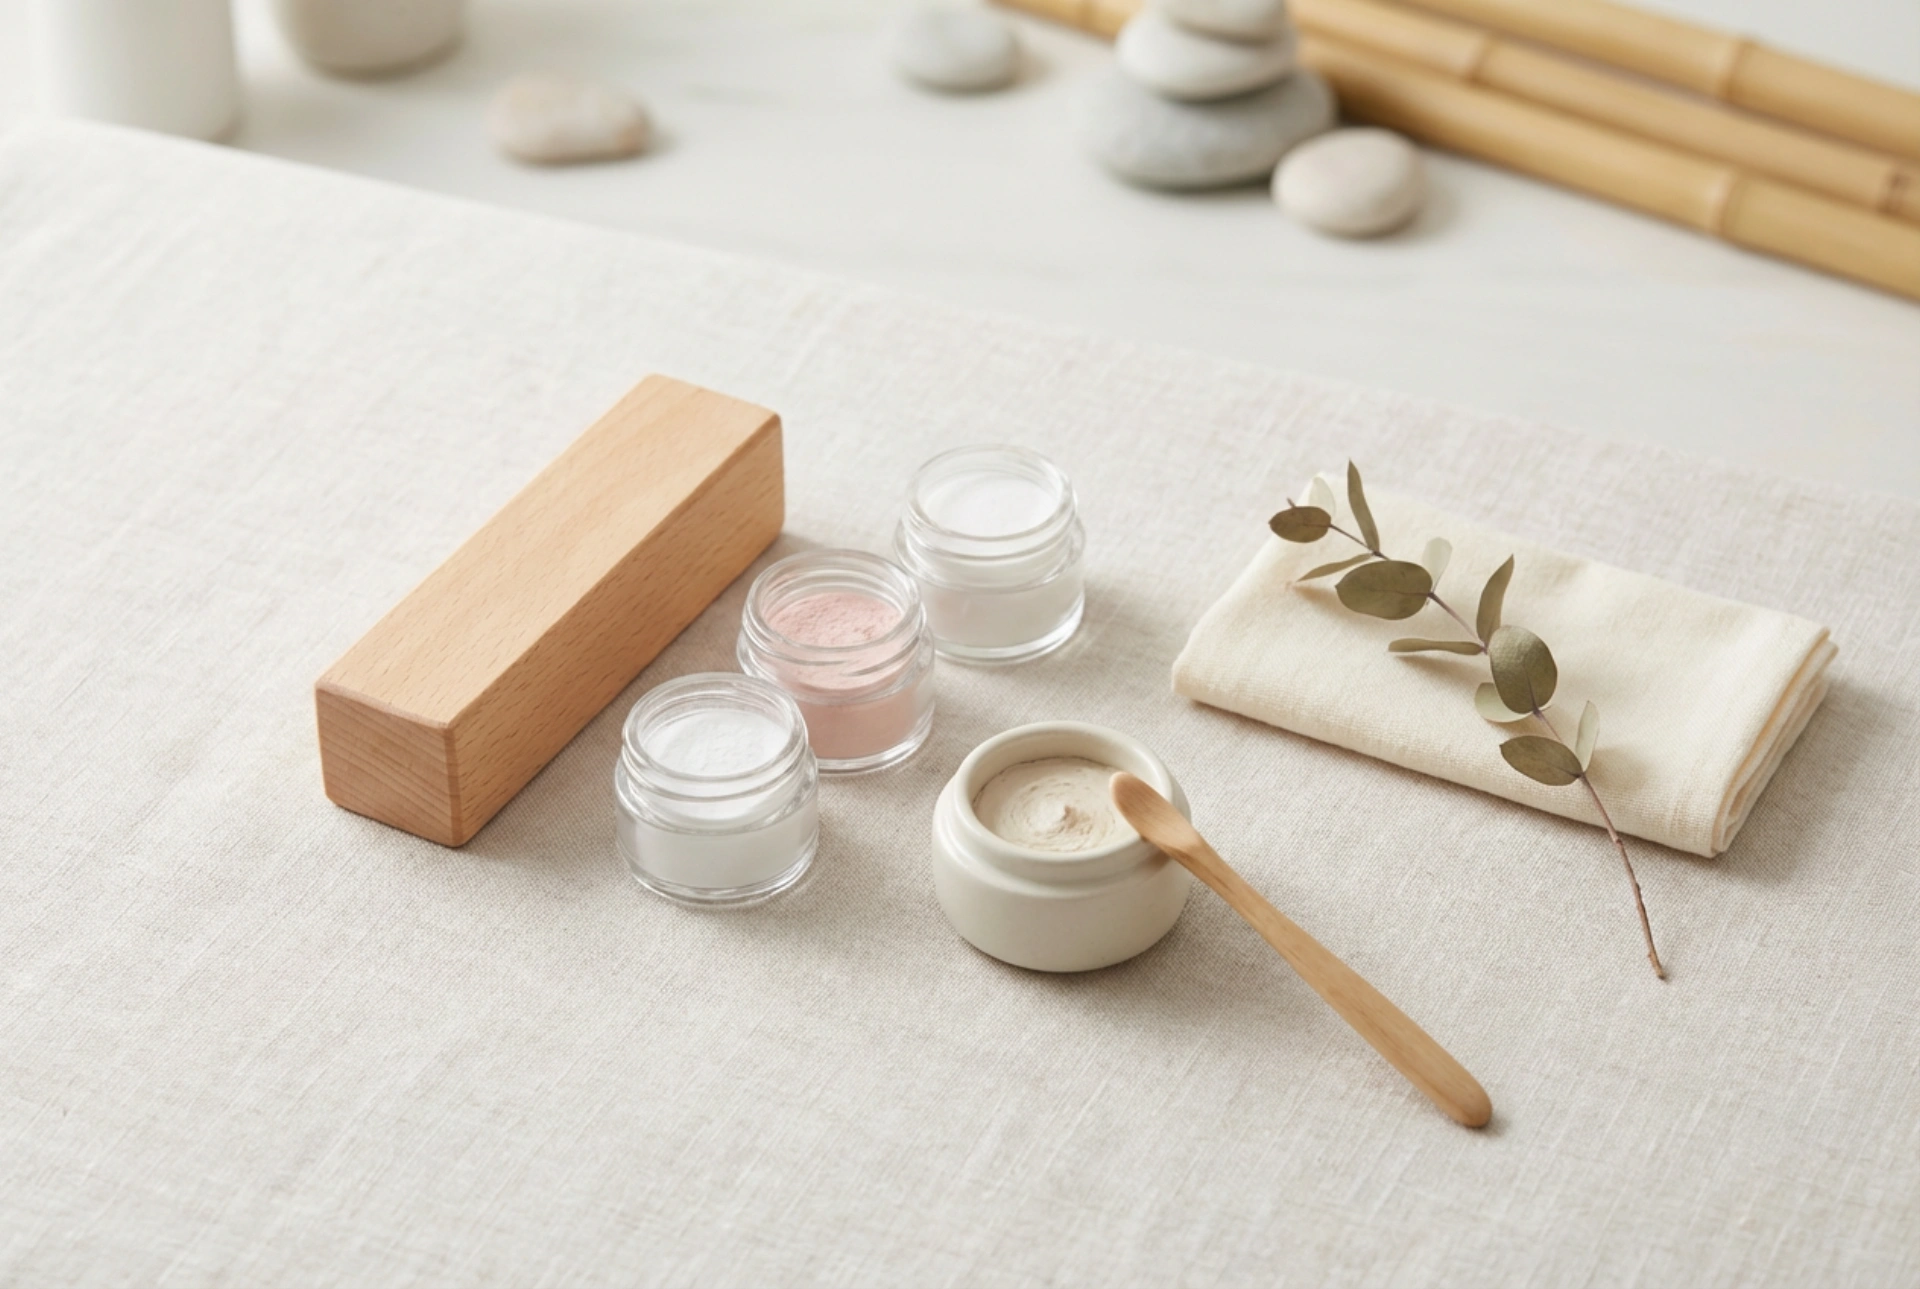


A refined flatlay of a classic Japanese manicure kit evokes a sense of tranquil, minimalist beauty. Bathed in soft, natural light, the delicate buffing blocks, fine powders, and small clay jars represent a centuries-old tradition of holistic nail care. Unlike modern cosmetic treatments that rely on synthetic polymers, acrylics, and ultraviolet lamps, the Japanese manicure celebrates the intrinsic strength and natural lustre of your own nails. It is a ritual designed to restore, protect, and beautify without the use of harsh chemicals, making it an ideal choice for anyone seeking an elegant, healthy alternative to standard polishes.
The Philosophy of the Japanese Manicure
The Japanese manicure is far more than a simple aesthetic treatment; it is a deeply nourishing therapy that has been practised for hundreds of years. The core philosophy revolves around feeding the nail plate with essential nutrients rather than merely masking imperfections with artificial coatings. By massaging highly concentrated natural ingredients directly into the nail, this technique stimulates circulation, encourages healthy growth, and leaves a brilliant, glass-like shine that can last for several weeks. It is particularly beneficial for thin, brittle, or split nails that have been weakened by frequent exposure to gel polishes or environmental stressors.
What Does a Classic Japanese Manicure Kit Contain?
A standard Japanese manicure kit is characterised by its minimalist design and the use of natural, high-quality materials. To perform the ritual correctly, it is essential to understand the purpose of each component within the set.
- The Nutrient Paste: This is the heart of the treatment. Usually green in colour, the paste is rich in natural ingredients such as beeswax, diatomaceous earth (which is packed with silica), royal jelly, and various vitamins. It fills in micro-gaps on the surface of the nail, smoothing out ridges and providing deep nourishment.
- The Sealing Powder: Applied after the paste, this fine, pale powder is designed to lock in the nutrients and create a protective barrier. It typically contains high-quality minerals, beeswax, and pearl powder, which together produce a characteristic, long-lasting pinkish shine.
- Deer-Skin Polishers (Shine Buffers): The kit includes specialised polishing blocks covered in soft, natural deer skin (often referred to as chamois leather). Usually, there are two distinct polishers: a green one for applying the paste, and a pink or white one for working the sealing powder into the nail plate.
- Double-Sided Files and Wooden Spatulas: To prepare the nail, the kit provides gentle files to shape the edges and lightly mat the surface, alongside thin wooden spatulas used to push back the cuticles and scoop the paste cleanly from the jar.
Step-by-Step Guide to the Home Ritual
To achieve the best results, it is important to perform the Japanese manicure with care, patience, and a gentle touch. Follow these steps to complete the classic version at home.
Step 1: Preparing the Nails
Begin by thoroughly cleaning and drying your hands. Use a gentle, non-acetone cleanser if you have any residue on your nails. Using a delicate wooden or paper file, shape your nails to your desired length and contour. Avoid metal files, which can cause micro-splitting. Gently push back your cuticles using the wooden spatula provided in the kit. The goal is to create a clean, unobstructed canvas for the nourishing treatment.
Step 2: Gentle Buffing
Before applying any product, the surface of the nail plate must be prepared to absorb the nutrients. Take the dual-sided buffer from your kit and use the finer side to lightly mat the nail. Brush the buffer across the nail plate in one direction. This process should be exceptionally gentle; you are not thinning the nail, but merely raising the microscopic scales of the keratin layer so the paste can penetrate deeply.
Step 3: Massaging the Nutrient Paste
Using the flat end of the wooden spatula, scoop a small, pea-sized amount of the green paste and place it onto your nail plate. Take the green deer-skin polisher and begin buffing the paste into the nail. Always buff in a single direction—either from the cuticle to the free edge or in smooth, sweeping motions. Avoid energetic back-and-forth scrubbing, which can generate friction heat and weaken the nail. Continue until the paste is completely absorbed and the nail surface looks smooth and semi-matte.
Step 4: Sealing with the Mineral Powder
Once all nails have been treated with the paste, it is time to seal in the nourishment. Apply a small amount of the sealing powder to the nail plate. Take the pink or white deer-skin polisher and buff the powder gently across the surface. Again, move the tool in one direction. You will notice a high-gloss, mirror-like shine developing almost instantly. This step creates an invisible, water-resistant barrier that protects the nail from external elements while locking in the active ingredients of the paste.
Aftercare and Long-Term Maintenance
To maintain the health and exquisite shine of your nails, certain aftercare practices should be observed. For the first few days following the treatment, avoid soaking your hands in hot water for extended periods, and wear protective gloves when doing household chores or using cleaning agents.
It is crucial to note that you should not apply traditional nail polish, gel polish, or hybrid coatings immediately after a Japanese manicure. The nourishing oils and beeswax create a highly polished, smooth surface that prevents modern synthetic polishes from adhering correctly. Instead, let your nails breathe and enjoy their natural, healthy lustre. If you wish to repeat the treatment, it is recommended to do so every two to three weeks, which aligns with the natural growth cycle of the nail plate. Over time, you will find your nails becoming naturally stronger, less prone to splitting, and beautifully radiant.